How To Rig A Face.
by PacBlend.
Okay So I was looking for face rigging tutorials online and I couldn’t find anything
Maybe I was looking in the wrong places or searching for the Wrong thing, In either case I eventually pieced together a knowledge of how to do it and decided to share it with you, the Blender Community.
Be Aware this is not a complete Tutorial it’s only purpose is to tell you my method of rigging a face.
You should start by downloading this (.blend) as it is what I used and will suit
this Tutorial Much better than anything you may have made yourself.
No offence.
By the Way I made this Face using another tutorial, With some minor modifications, which you can find here:
http://blenderartists.org/forum/showthread.php?t=20448&highlight=face+Tutorial
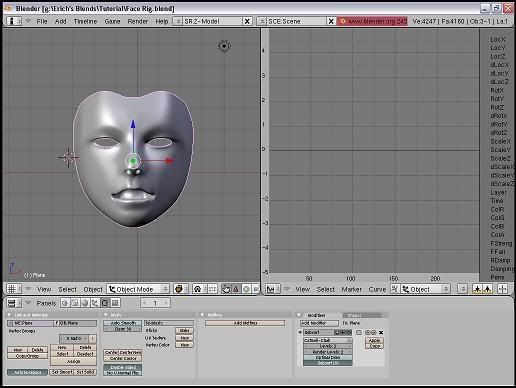
Okay Now Start up Blender and load the afore mentioned .blend.
it should look like this:
Okay So Now the First Thing you Have to do is Create a Relative Shape Key
You can do so here.
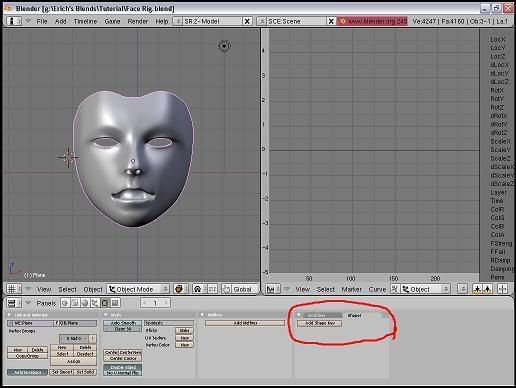
Click on Add Shape Key
Now you should have created a shape key titled Basis
create another shape key and call it Left Upper Eye Lid.
What Relative Shape Key’s Do is store the shape of the model they are applied to in memory so you can use that shape later without having to shape the entire model again.
Now go into edit mode ( Tab ) and select these vertices:
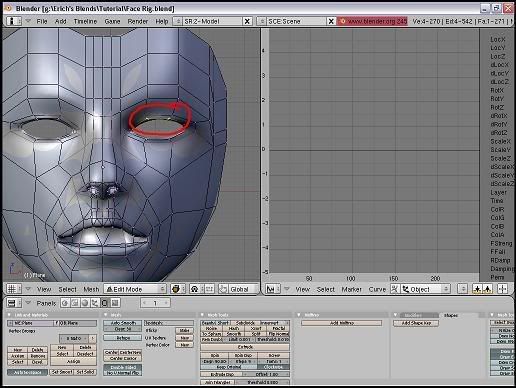
Move them down about Three BUs (Blender Units).
Next Select The Outside Corner Vertices of the Upper Eyelid.
And move them down about one and a quarter BUs or until you have something like this:
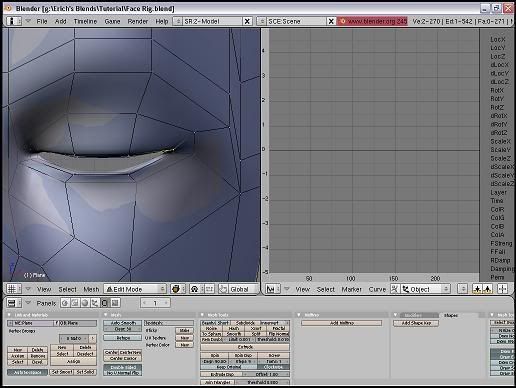
Now Select the inside corner vertices of the Upper Eyelid and move them down about half a BU.
Now In the IPO CURVE EDITOR ( the Window on the right ) change the IPO type that is being displayed to Shapes via this Tab:
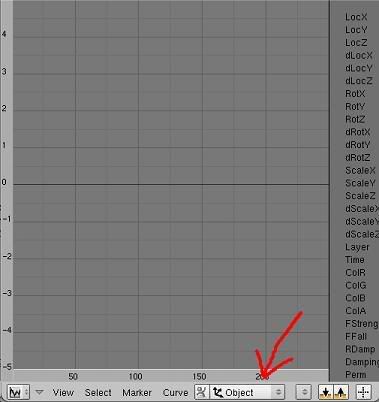
Now Back In Object mode in the 3d Window add an Armature Space > Add > Armature and move it above the Face. This is what we will move to get the eyelid to open and close.
Now name the Bone ‘Left Upper Eyelid’ and go back to the IPO Curve editor and select the eyelid’s shape key and, with the mouse still in the IPO window, press, N, on your keyboard.
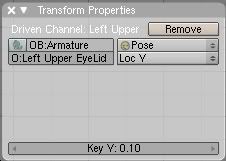
Now a new window should have popped up that looks like this

click add Driver and, in the driver object widget, type the Name of your armature, in this case ‘Armature’ Now select Pose in the Driver Type Tab and type the Name of your Bone in the Widget that appears, and last select the Loc Y Driver Channel via the tab on the right.
Now you should have something that looks this:
Close the Transform properties and press ,I, on your keyboard, again the mouse has to be in the IPO Window at the time.Now you should have created default one-to-one mapping.
Now in the Curve Tab, Located Here:
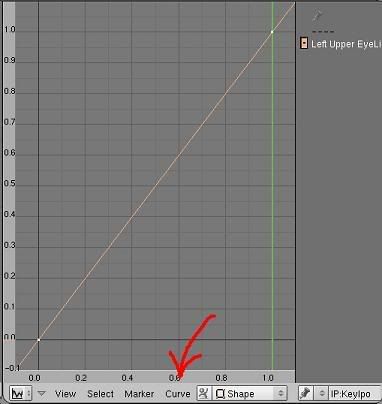
Select Extend Mode > Constant , and Interpolation mode > Linear Now you should have something that looks like this:

Now all you have left to do is press tab on your Keyboard and select the first Dot on the left and move it Down one BU.
Now In Object mode select the Armature and switch to Pose Mode and move the Bone Up 0.5000 DZ or until the Eye looks fully Open, but not wide open.
To Finish, Just Repeat these steps, adding Shape Keys and shaping the face, for all the other functions, adding another Bone for each one, and you’ll have a completely rigged Face.