I hope this is the right place for this question. I started using Blender a week or so ago. I am using a tutorial which a forum member on another forum is putting together as he learns Blender. So far so good I have to say although I know I will never reach the heights of the skills of a lot of you chaps here.
Now my question is to do with part of a model I am doing. The model is of a 1970’s Genesis Dalek from the Dr who series. The part I am having trouble with is supposed to be a wire mesh. If you have seen the mesh on disposable barbeque’s thats what I am aiming for.
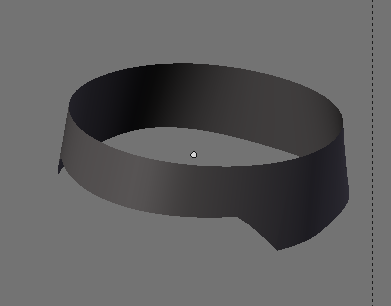
The thing is I don’t have a clue what or how I should create it. Also as this wire mesh is not a flat plane but more a section through a cone form if you will. I attach an image of the form. This is what I want to make into a wire mesh.
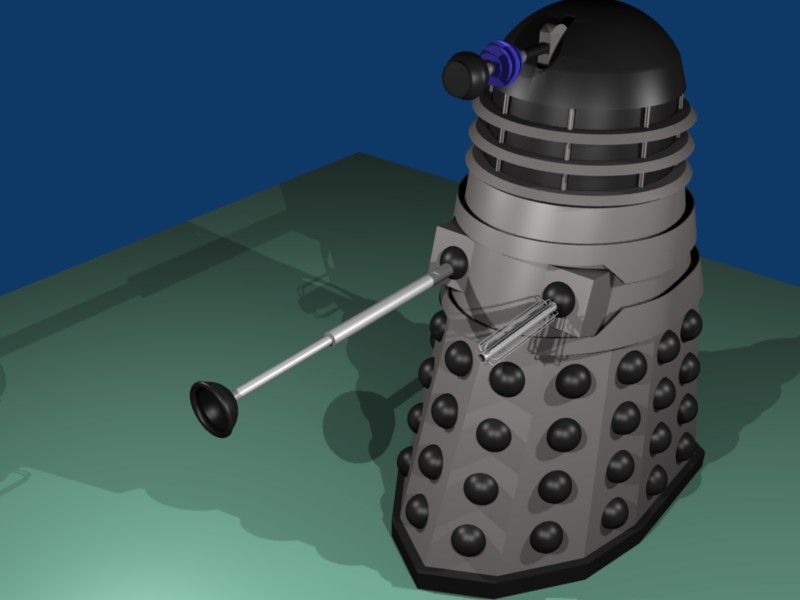
The mesh fits over the top of the upper belt on the shoulders in the second image. Please be gentle with me I’m still very new to Blender. Google sketchup was was my previous experience up until I changed my operating system to linux. Prior to that drawing with 2D cad for radio control aircraft plans. Being 42 seems to be having a bearing on it for me as well, I keep forgetting things
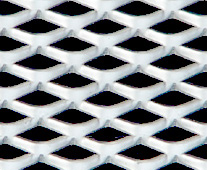
it would help to have more detail of the mesh. it seems from this link that the collar piece is made from alternating strips of mesh and metal plate. which of the options shown are you aiming at?
Yep thats the one. Now oddly enough, out of the blue, one of our CGI artists popped up and did a quick how to for creating a mesh. I have tried and my problem has now changed
within the model of the dalek I’m doing if I try to do the mesh the ‘holes’ won’t go see through. The mesh looks like it has been laid on top of the original form. Also despite only selecting the part I want to apply the mesh effect to other parts are being effected in a similar fashion.
Just to make sure I wasn’t doing it wrong I deleted everything except the band and saved it under it’s own heading. On it’s own I can successfully apply the mesh effect. So I am doing something wrong I guess in the context of the whole model.
The band was in a seperate layer to work on when it was part of the complete model file but as mentioned above other parts were effected despite the fact they weren’t selected.
Did you create a new material for the mesh object. It sounds like you have a common material used for many objects. Changing the material settings will then effect all the other meshes that use the same material. To create a new material you can press the number to the right of the material name and select single user.
Indeed you are correct. The form I am using for what will be the mesh was duplicated, cropped and scaled from the main shoulder piece so it has the same material properties. I shall give it a try thanks.
That helped thanks. The rest was caused by Ray shadow being turned on, caused shadow problems from the mesh. The other was having the A slider at full. That is the alpha colour needed turning down/off with the slider. Thanks for your input guys appreciate it.
I am loving Richard’s method. It was simple, saved a lot of time, and looked brilliant. I think if you were going to go with any method it should be that way, hands down. Good luck with the rest of your project. It’s looking decent so far. Especially for a beginner.
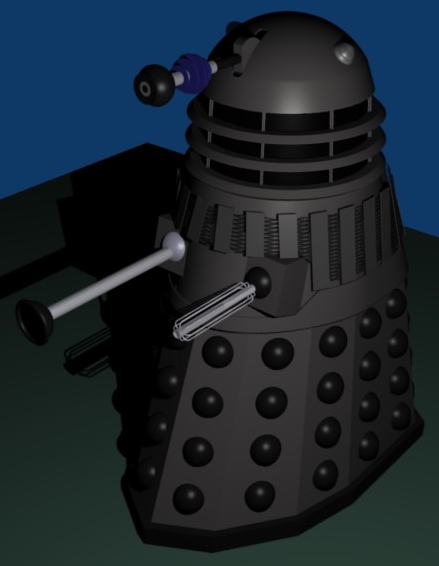
It’s working fairly well now. The method I have used adds a little more to Richards method. I have a base texture which is a very simple form of the sample mesh above. Then a second sample which is more like the sample above is ‘stacked’ on the first texture and the ‘nor’ button is used as well on the new texture. this adds a bit of ‘body’ to the mesh.
I am just trying to get the shadow cast by the mesh to look like it is created by the mesh rather than a solid form. Other than that it looks pretty good. It’s not a patch on the CGI guys on the dalek forum but it’s fun.
Cheers! Oh yes there is a pretty big movement. Still a niche sort of thing but we are out there . The ‘projectdalek forum’ is home to - Scale model builders, Full size prop builders, and specifically on topic CGI dalek builders. We have a 200 plus page ‘comic’ strip on the go at the moment all done in CGI by a very talented artist, also a new strip just started in the style of Ron Turner by yet another talented artist. Various packages are used by the Virtual Dalek guys including Blender of course.
I have also succesfully created the ‘dome lights’ for my model Using an image of the original wipacs to draw over in blender. Drew only half of it then I used spin and transparency. Not a patch on the guys above but I’m happy
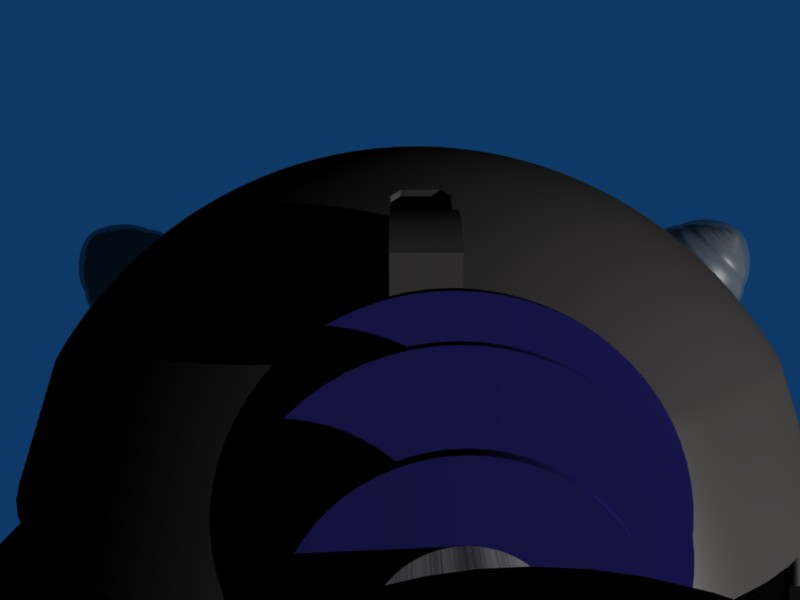
Here ya go. The model is a bit ‘clean’ as against the real world props. They were painted in a very slapdash and visible manner and at this point in their life were looking very tatty. I believe I can do something to ‘roughen’ the surfaces slightly to lessen the pristine look?
Other details missing at this point are the rivets that held the slats to the mesh, bolt heads around the lower belt, riveted joining plate in the middle of the belt at the front and an oval plate that sat between the blaster and arm.
I will deal with these eventually. Oh as well as putting bulbs in the dome light as well
I could. But thats a bit off at the moment. Some of the parenting hasn’t worked properly. I can rotate the dome and the dome lights and the eye-stalk follow any rotation fine. If I try to adjust the elevation of the eye-stalk the dome also moves with it. FAIL But i will get there!