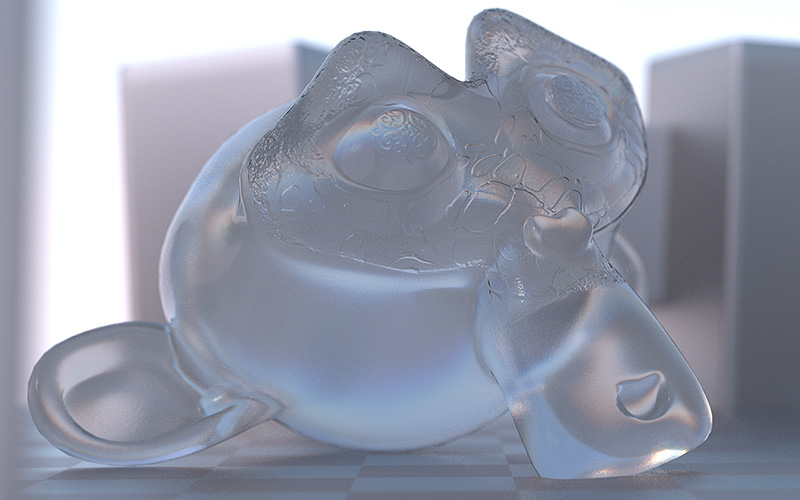
I made a sample scene to use Cycles Shaders and sky texture.
The scene includes Uber material,Sky material,
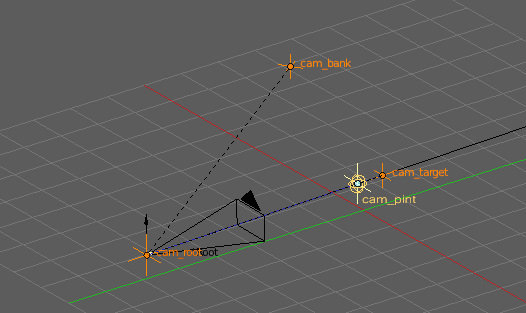
set upped Suzanne with textures and Camera rig.
http://www.ekakiya.jp/tip/cycles_material/eka_cycles_materialset.zip
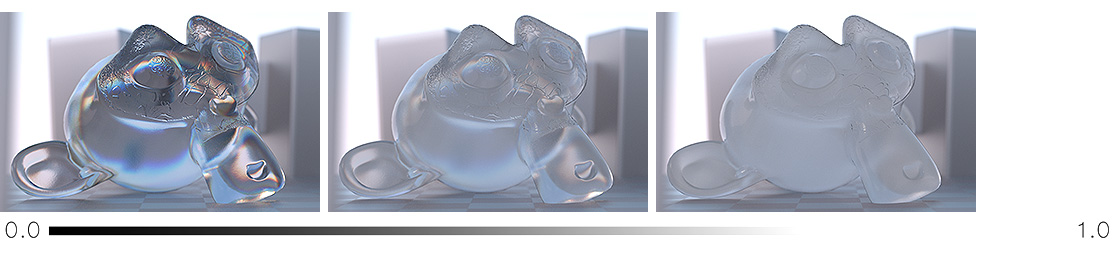
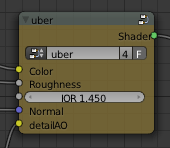
The Uber material has a Diffuse and two Glow shaders mixed under Fresunel.
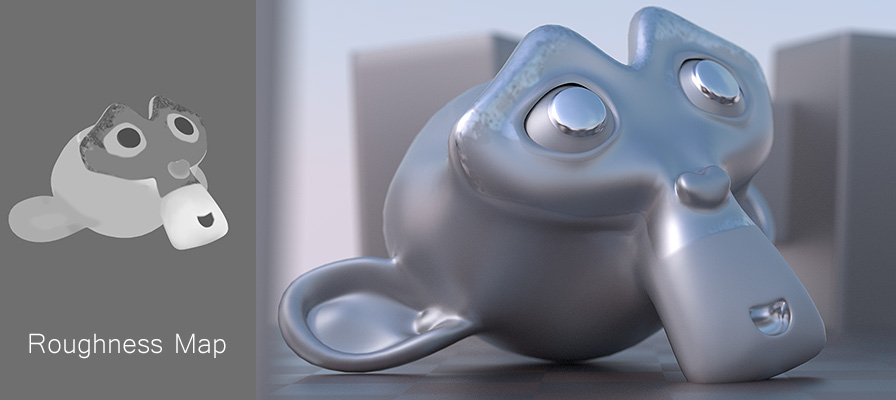
The mixng is automatically controlled with one Roughness parameter.
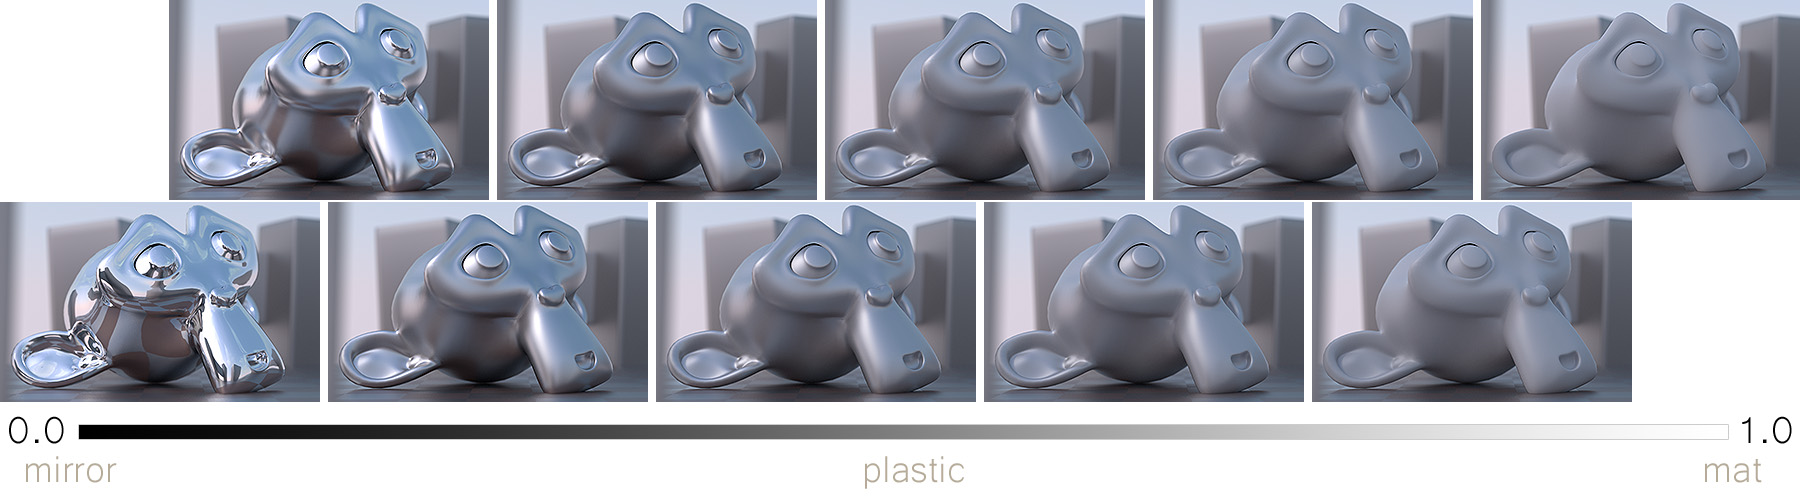
Roughness map works like this.
With Displacement map.
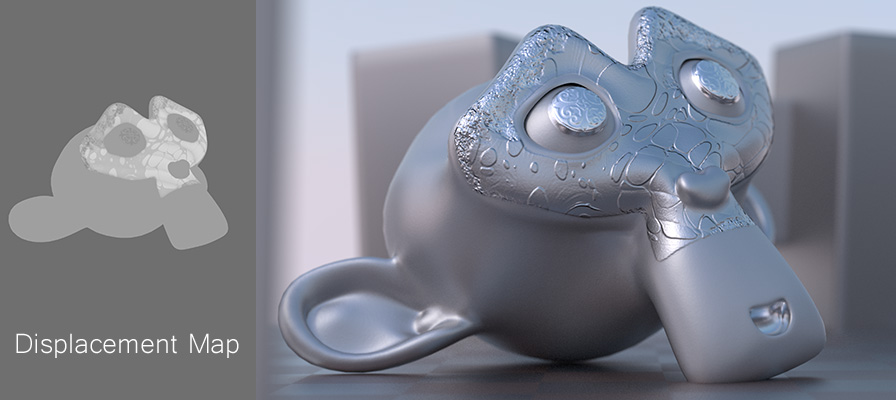
Curently,Displacement map is used only as bump map.
It adds direction but no height.
So you can add detail ambient occlusion map,optionally.
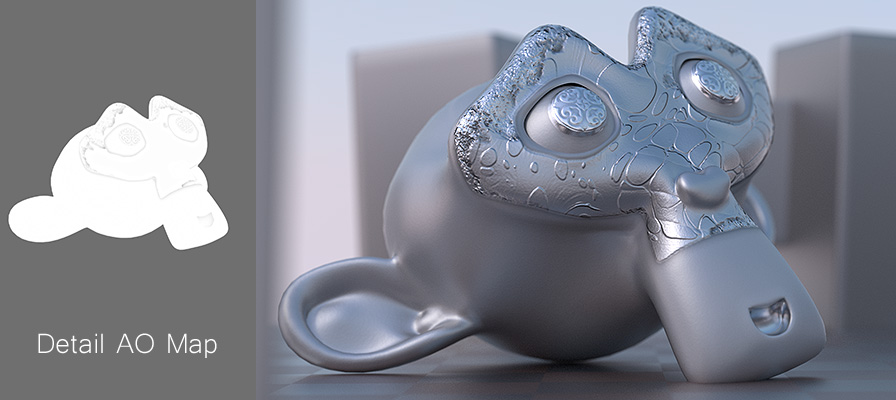
And Color map.

Color map effects falls with lower roughness,but detailAO doesn’t.

So remove detail shadings from color map and multiply them to detailAO.
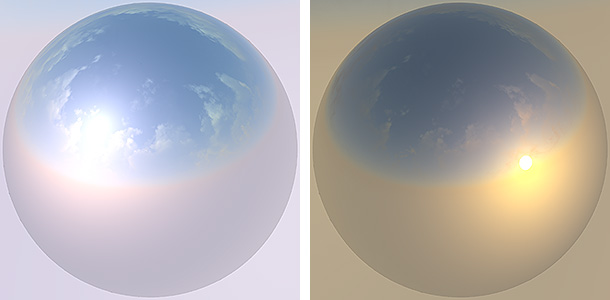
The Sky material blends two sky textures by Cloud mask map.
And the Sun(emitted sphere) object adds crisp highlight.
The Sun object tracks sky texture’s direction,but drivers has a bug that didn’t detect
updating sun_direction value.
So you must select object"sun_vector_target",open driver’s graph, then click on/off "Show Debug Info"check box to update value.