This script allows an OBJ sequence to be imported as a shape animation. The imported result is one object with animated shape keys. This script automates the process used to make animations like this one by Ian McGlasham:
There is a tutorial on how to make an animation like the one above here.
Initial setup is as follows:
- Select “File” - “Import” - “Wavefront.obj” from the “file” menu and navigate to the directory which holds the OBJ sequence
- Select the first OBJ file in the sequence and click “Import OBJ”.
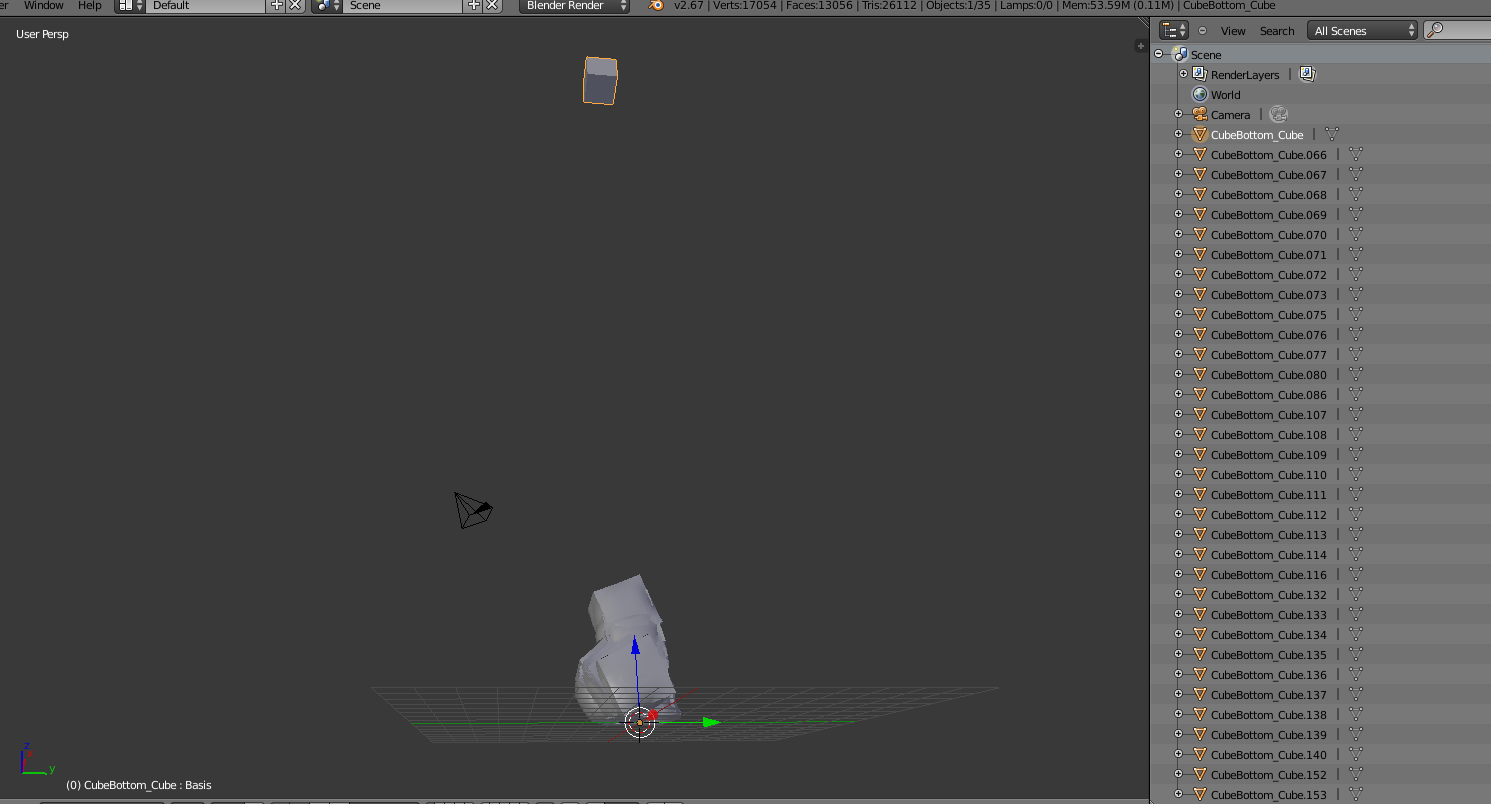
- Select the newly imported object in the 3D view or the outliner
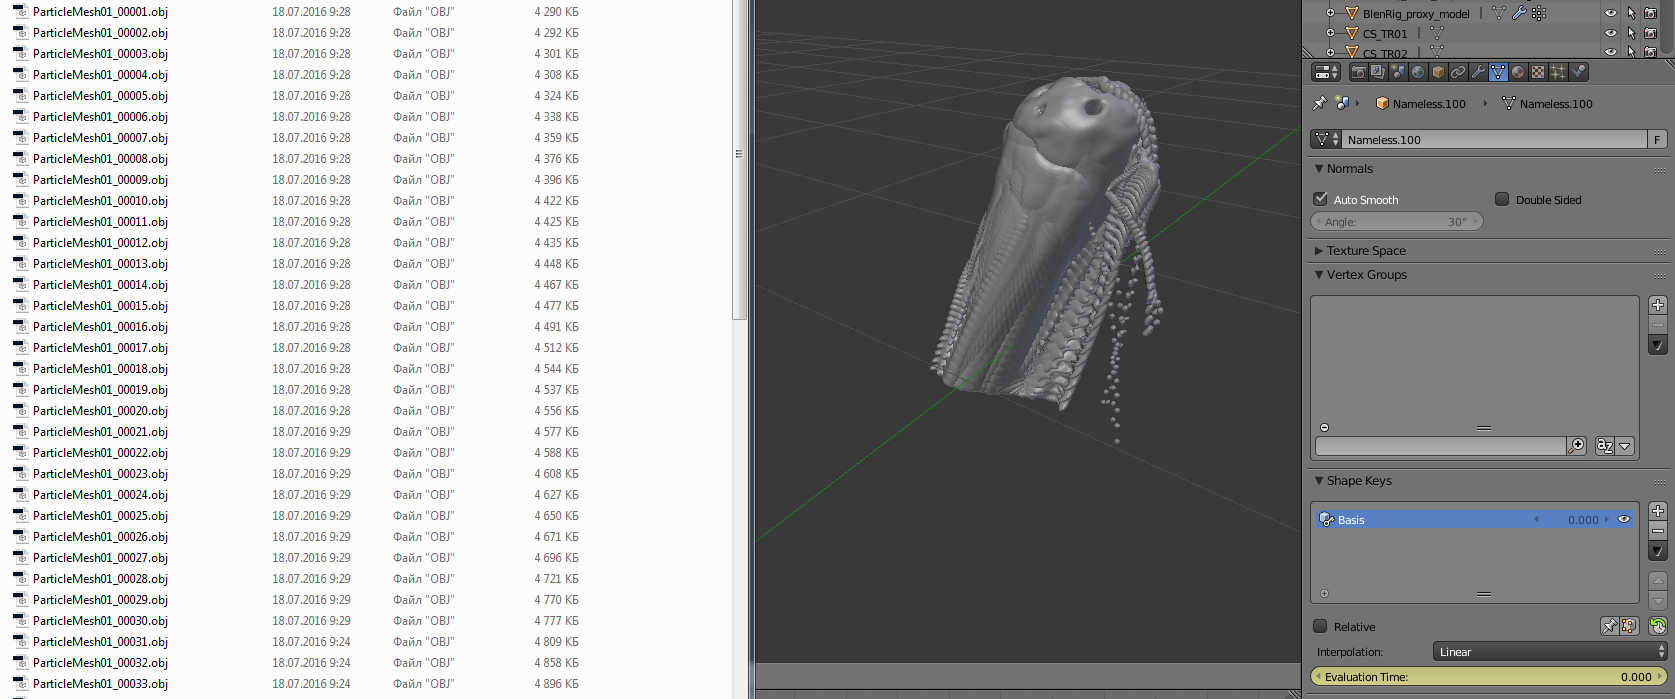
- Select the “Object Data” tab in the main properties panel
- In the “Shape keys” section, click the “Add shape key to object” button (+)
- Uncheck the “Relative” Checkbox and set the interpolation dropdown menu to “Linear”
- Change the current frame in the timeline to “0” and set a keyframe for “Evaluation time” (as “0”)
- Change the current frame on the timeline to “1000”
- Enter “10000” as evaluation time. (it seems to go in steps of 10 strangely!), then set a keyframe for “Evaluation time”
- Change to the graph editor window, then select the curve for “Evaluation time”
- Select “Key” - “Interpolation Mode” - “Linear” from the graph editor menu.
- Change back to the 3D view.
Once you done that, you use the script to import the sequence:
- Select “File” - “Import” - “OBJ as Shapekey” from the “file” menu and navigate to the directory which holds the OBJ sequence.
- Select the rest of the sequence(all except for the first obj file in the sequence) and click “Import OBJ as Shape Keys”.
- Wait as it loads the sequence…
io_obj_as_shapekey.zip (1.67 KB)
io_obj_as_shapekey_macosx.zip (1.68 KB)