You’ll probably need to add a sun lamp. In the pic below I had to add a sun lamp to get the sharp shadow, but used an HDR image to provide ambient light.
@marcoG_ita: Thanks, didn’t realize that one. Helped me a lot, since I have had same problems. Btw, I also added desaturation if I’m “gamma’ing” too high, and setup camera/glossy/transmission light path mixing so that this “special map” didn’t influence those parts. Too high gamma requires extremely low strength, ending up in noise hell though (noisy as hell even at 5000 samples, lol - yes, MIS is on for world). For that reason, I’m probably still going to stick with Steve S method of only using HDRI’s for ambience and reflections.
So what makes a better quality HDR? Larger image size? More exposures? Or overall Exposure Value range?
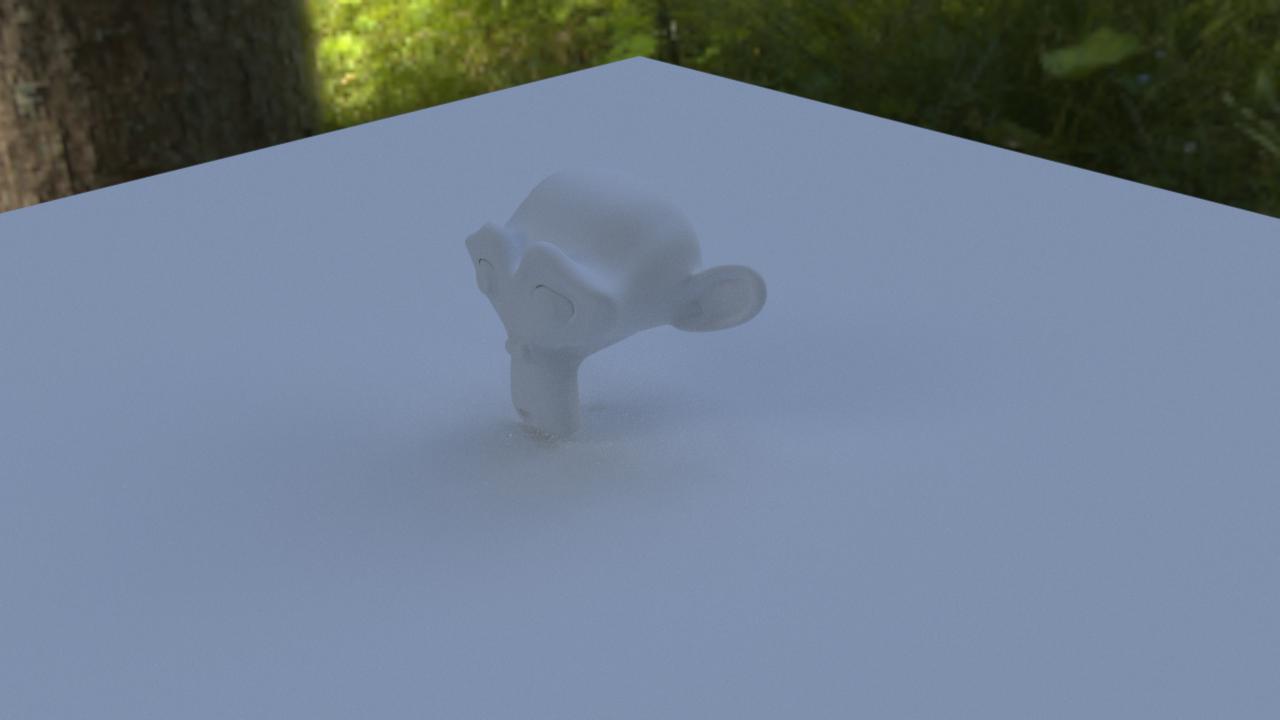
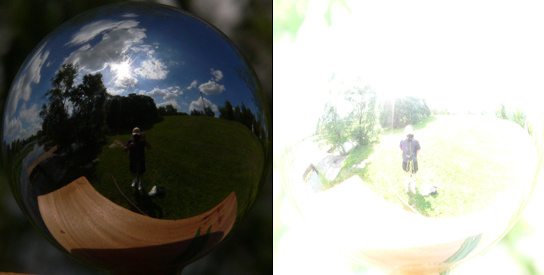
I made a light probe of my own using 8 exposures, but I’m not getting very distinct shadows even when using the tips mentioned above. Here’s the darkest and brightest images from the probe. I can’t get much brighter, but should I be going darker?
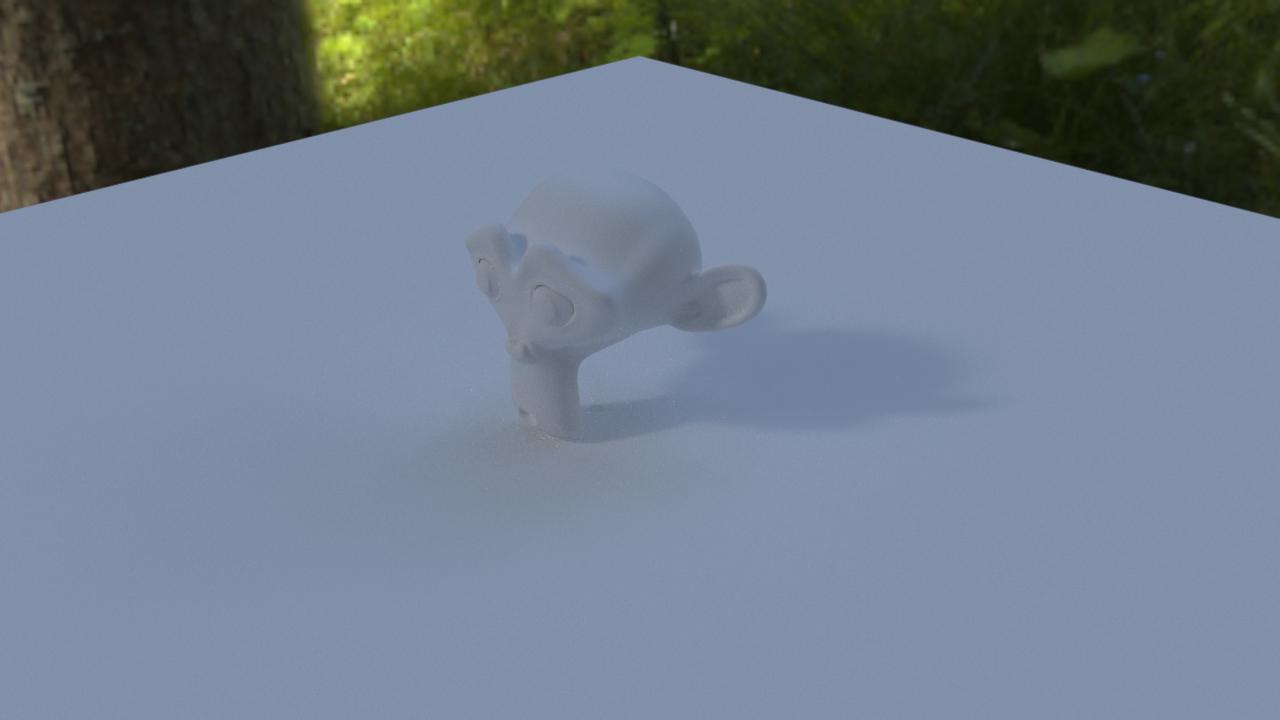
Here’s a render using this probe and the tips mentioned above…
@CarlG - glad it helped. Yes going over too much will get your sun become a supernova But it depends on your hdr. If it is good quality and has a well contrasted sun point, it will produce usable sharp shadows. If you note the first post those shadows are not so sharp either, from vray. It’s not the best map for sharp shadows, the brightest point is not that small.
Steve, my suggestion was relative to Alain blend file. If you provide yours or post node setup we’ll see what’s going on.
Otherwise you could open the HDRi in Photoshop, edit in 32bit mode, and paint a bright area on the sun. Ill try an example and post it.
Edit: Yep it works fine. I opened the HDR, found the sun area, changed the paintbrush until it said +20 stops, and did a small dot on the sun (or where you want the light)
What version of PS are you using? I’m on CS2 and it wouldn’t let me edit in 32-bit mode.
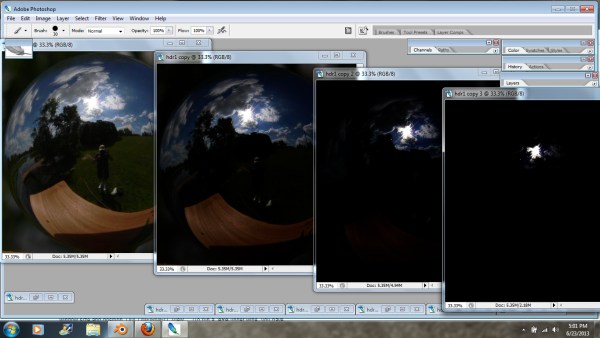
What I did was to go back to my original eight JPEG exposures. I took the darkest one, duplicated it a few times, opened up Levels and darkened the Midtone slider on the duplicates. Then I reassembled them all in HDRShop into a new HDR image.
The image at far left was originally the darkest one that I shot.
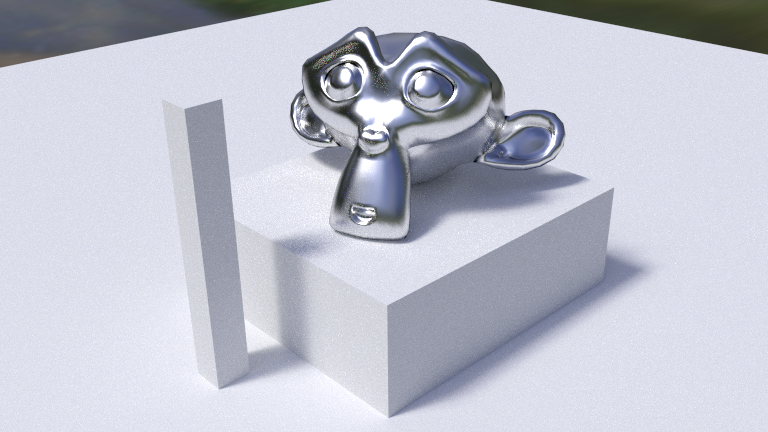
The resulting render. Works pretty well but I had to crank up the Strength setting to about 60.
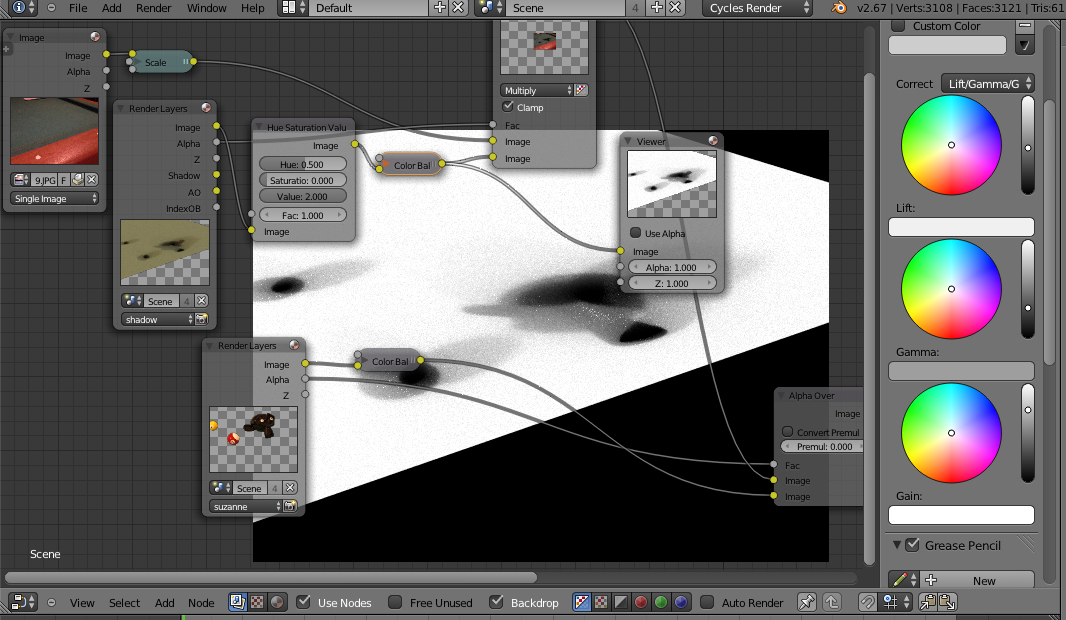
Catching cast shadows is pretty easy if there’s a lamp or mesh light lighting the scene. But it’s apparently more difficult if the scene is lit entirely by IBL. I can catch the AO pass, but using the Shadow output on the Render Layer node just results in a solid black plane.
So I came up with a simple, if crude, cheat. Use the Image output from the ground plane and send it through a Hue/Saturation/Value. Set saturation to zero, turning the image to grayscale. Then turn up the Value all the way to 2.0 to lighten plane. Then send this through a Color Balance node and turn up the Gain slider to lighten the plane even more until it’s white, or nearly so. You may need to turn down the Gamma a bit to darken the shadows.
Then just use Mix:Multiply to merge the shadows with the background. I don’t know how well this will work with a complex scene, but for a simple ground plane it works pretty well.
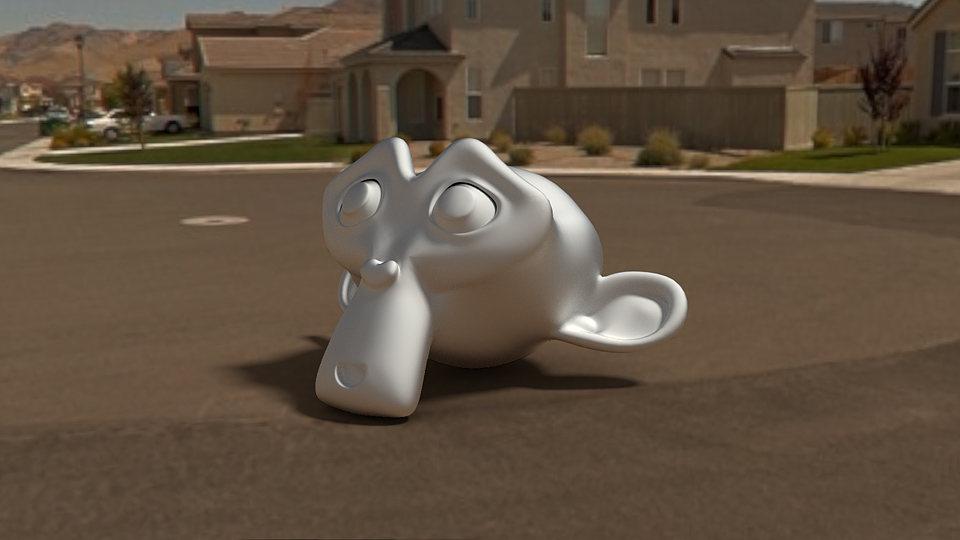
The balls are by dzerbs and were downloaded from BlendSwap.
hi, the shadow is affected by the main light source or shadow is the acceptor of main light source. However, HDRI is commonly used to do the ambient light. I know someone who work for foxrenderfarm(http://www.foxrenderfarm.com/) is good at this.
@elbrujodelatribu - already did the trick in my post actually, for camera ray i used the vanilla texture, didn’t show it though, i thought it was basic, also it should be used carefully, because it display the “not-gammaed” hdr but light and shadows produced are pretty different and high contrasted.


 But it depends on your hdr. If it is good quality and has a well contrasted sun point, it will produce usable sharp shadows. If you note the first post those shadows are not so sharp either, from vray. It’s not the best map for sharp shadows, the brightest point is not that small.