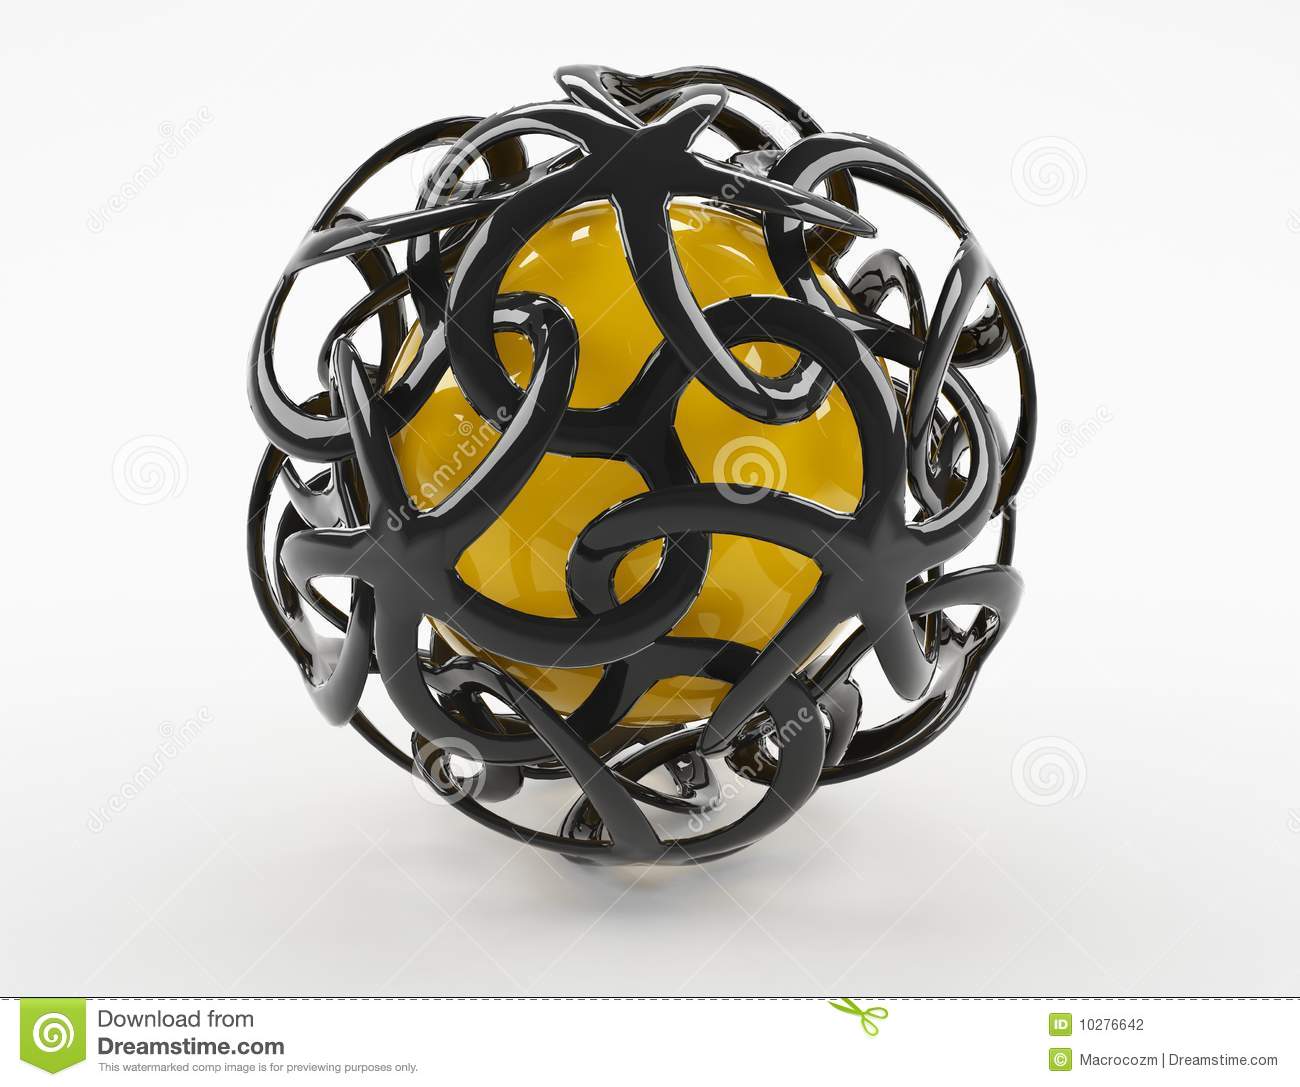
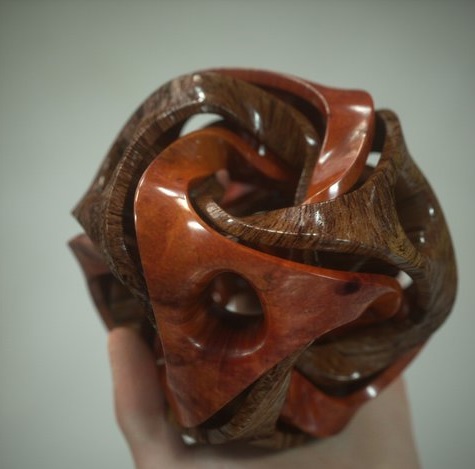
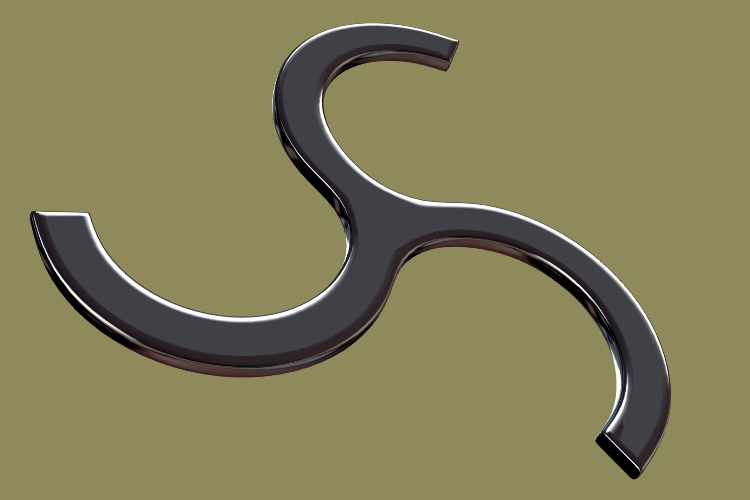
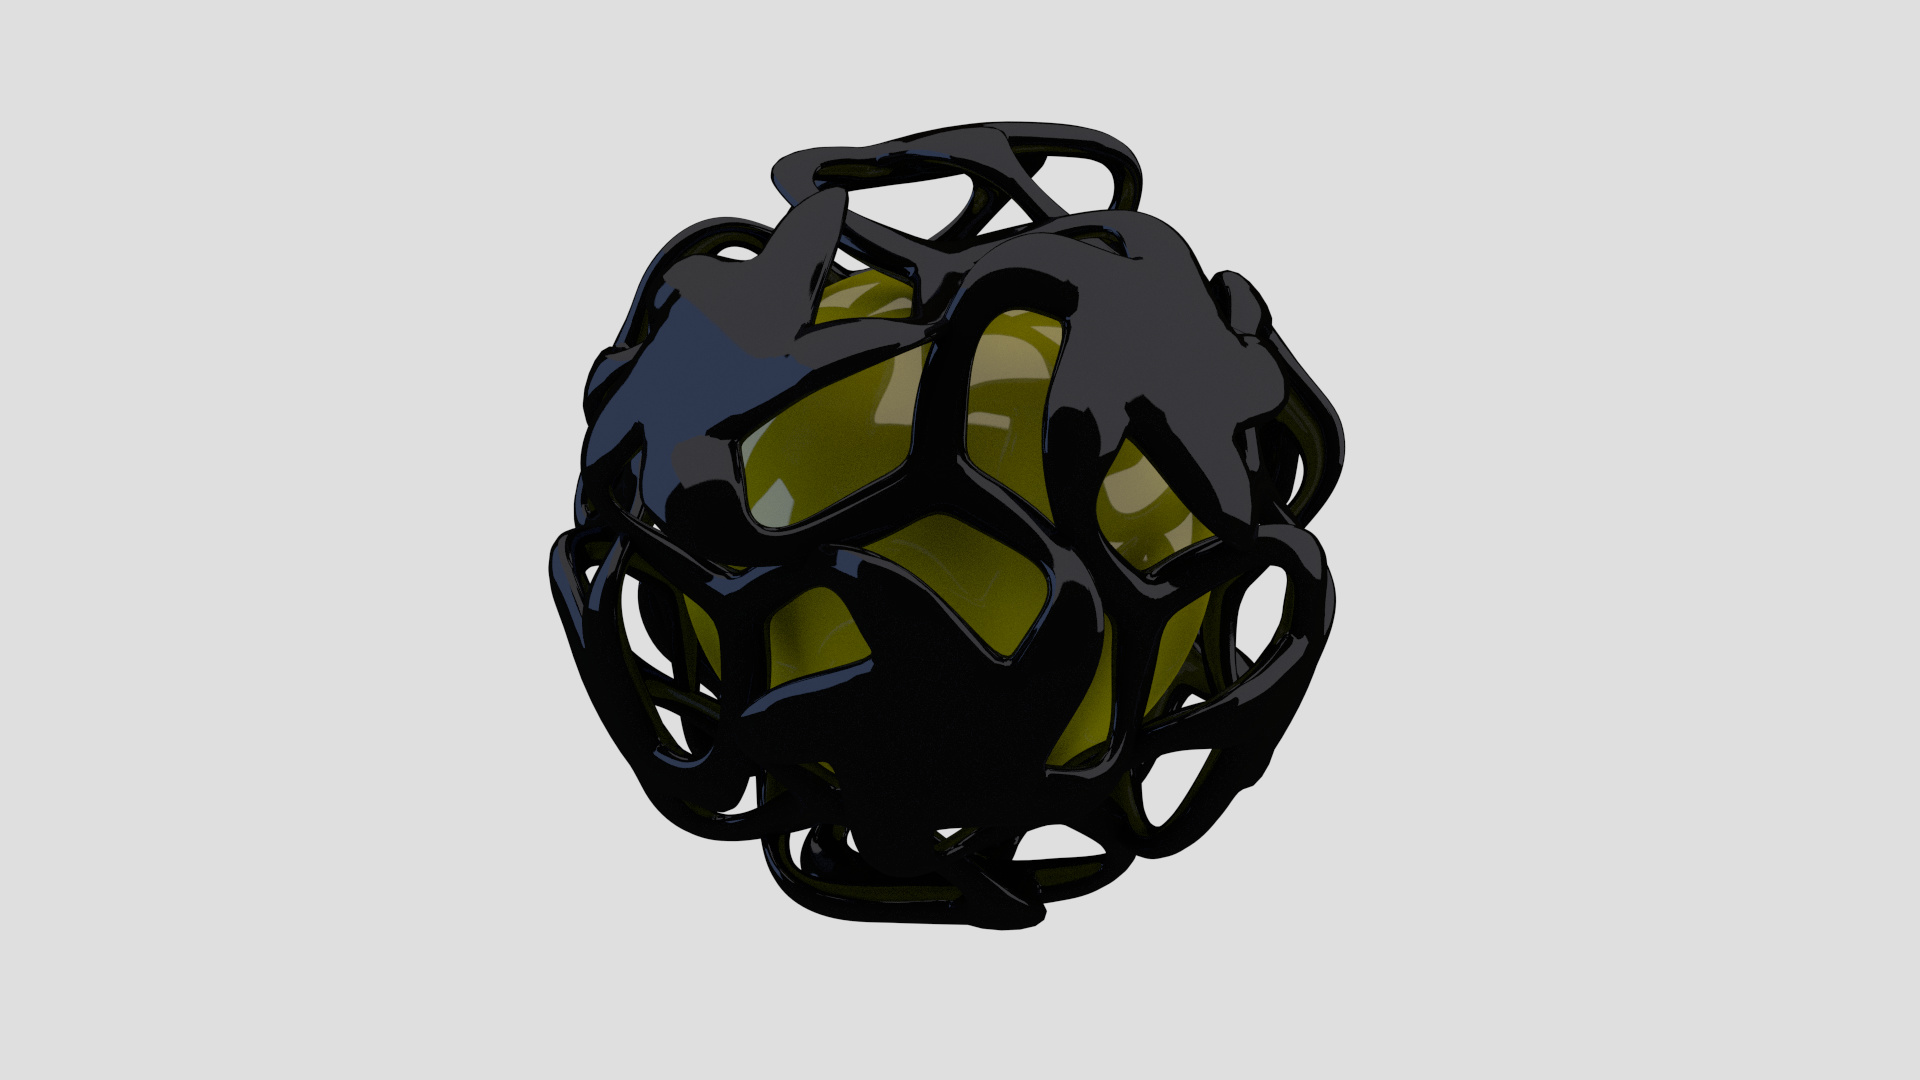
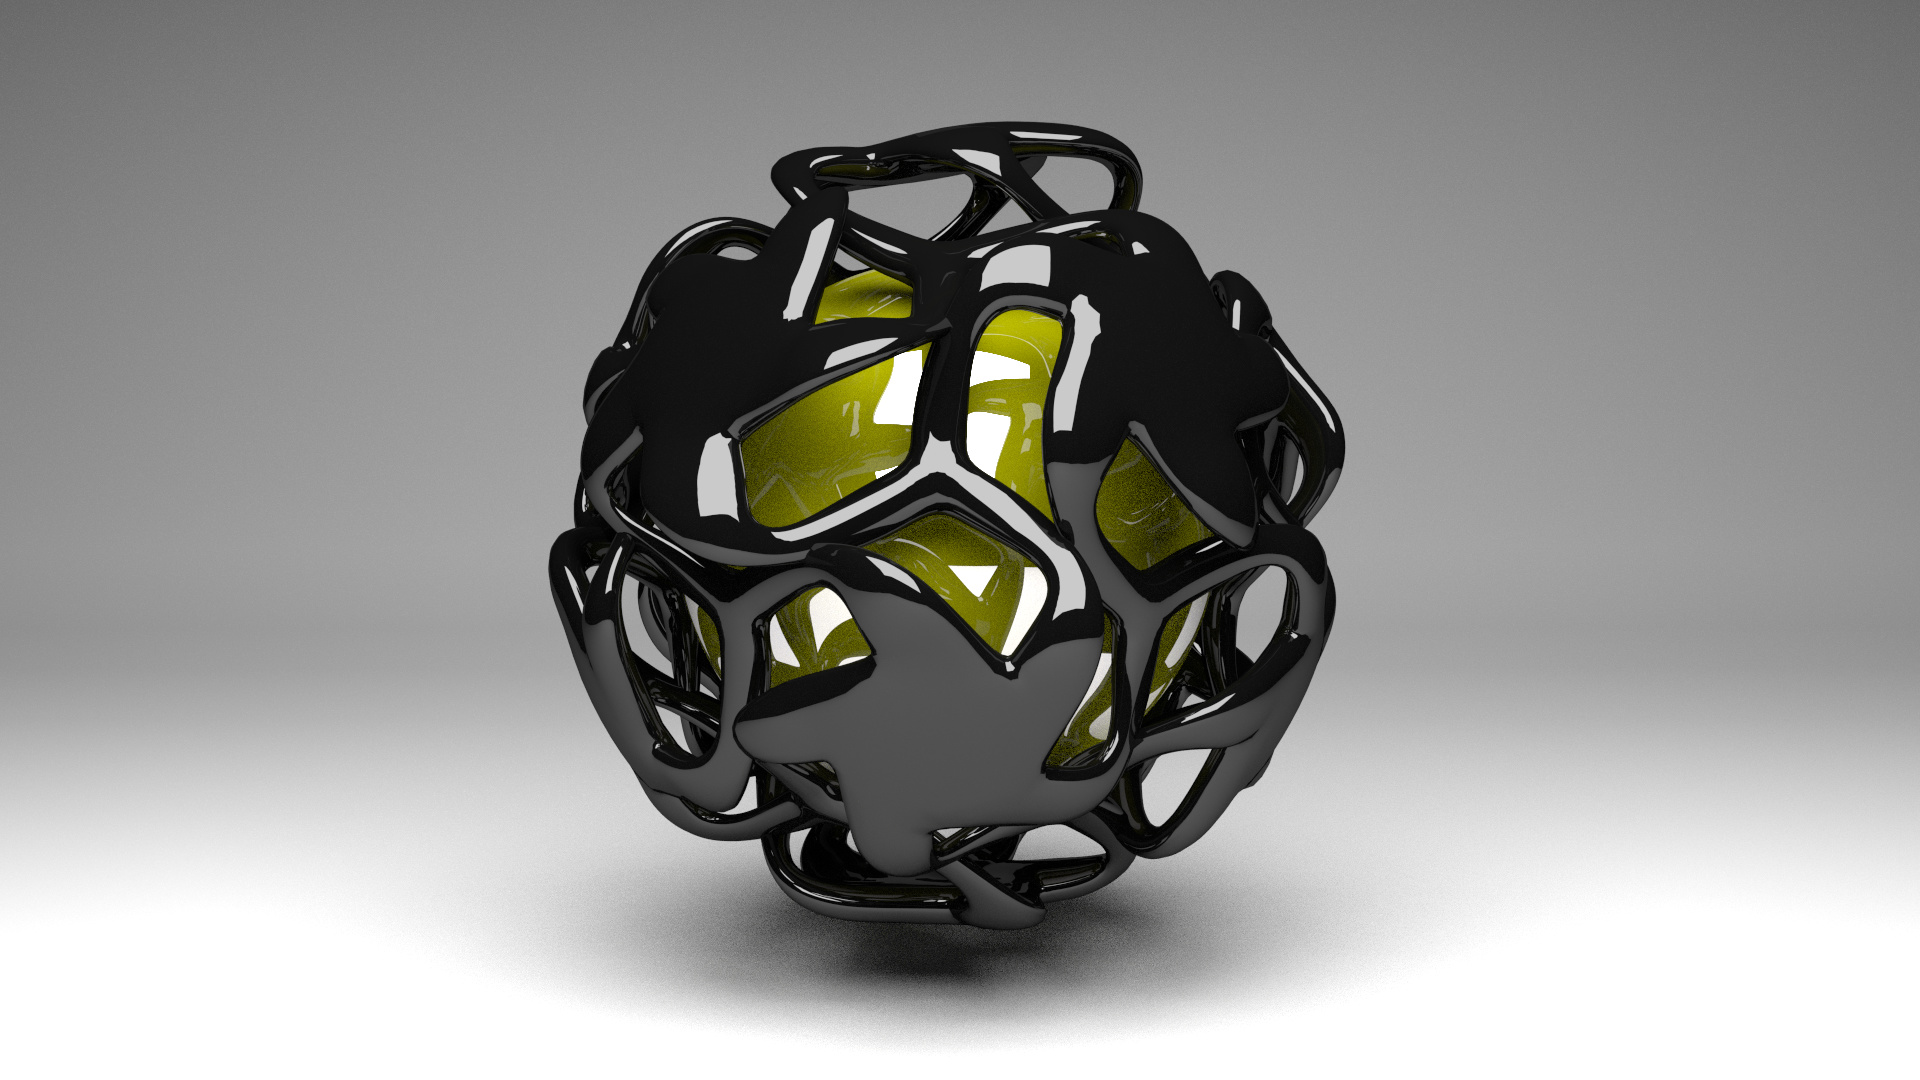
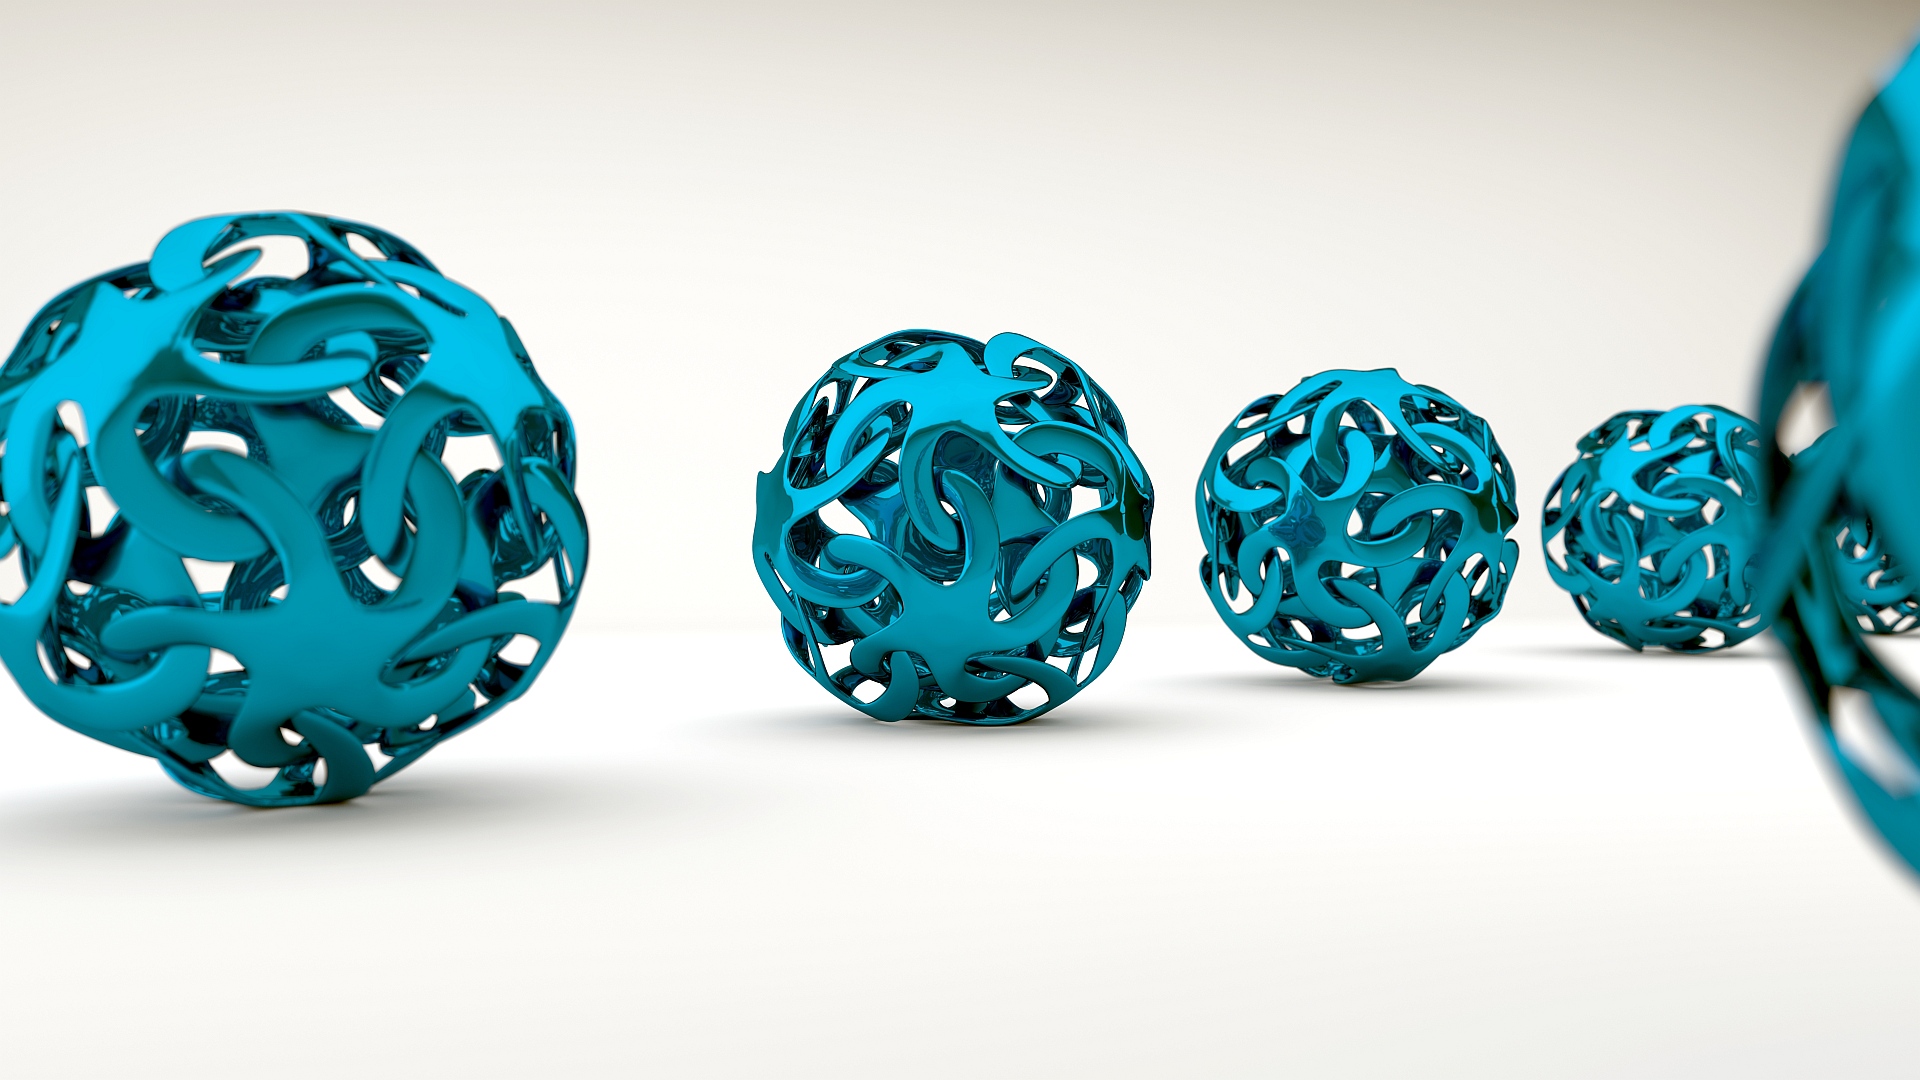
after some unlucky tryings of modeling a twisted loop shape according to the images below i decided to pick up some help from here. So, does anyone have any idea, trick or concept to modell shapes like this
Until now, i have no idea how to do this. I think i it starts with a truncated isocahedron (first image) or a cube (right image), combined with loop tools, but i did not manage it.
What i am searching for is a basic idea not only for this figure shown, but also for various baseshapes e.g. cubes, tetrahedrons and so on.
I found some similar tutorials for “Wings 3D” by david brinnen, but all of them uses a “Doo Sabin Subdivision” which does not exist in Blender yet.
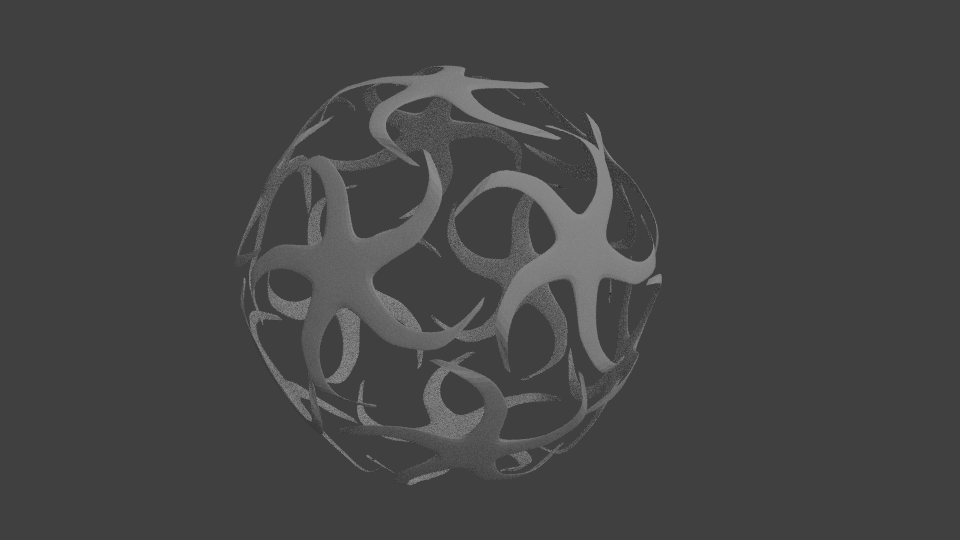
Well for the first one, create an Icosphere with the minimum divisions (this will give you 12 verts which from counting seems to be what is in the pic above). Then create a pentagon (from a circle with five verts). Extrude the pentagon. Now select the pentagon, then select the icosphere > ctrl + P to parent it, then select dupliverts (google this for more info). Select rotation on the dupliverts with z up and start modeling your pentagon. Below is what I came up with in 30 minutes of tinkering, but more is needed and them apply dupliverts, and finish connecting the arms. (I will continue later, but maybe this will get you started.)
Duplivert it to a dodecahedron and then bend the arms into position, then extend them until they’re ready to be joined. Instead of dupliverting it right away I would duplicate five and position and scale and bend them until they are just right. If they are duplicates they should all use the same mesh so you only have to do one but be sure to do it in edit mode when making any changes.
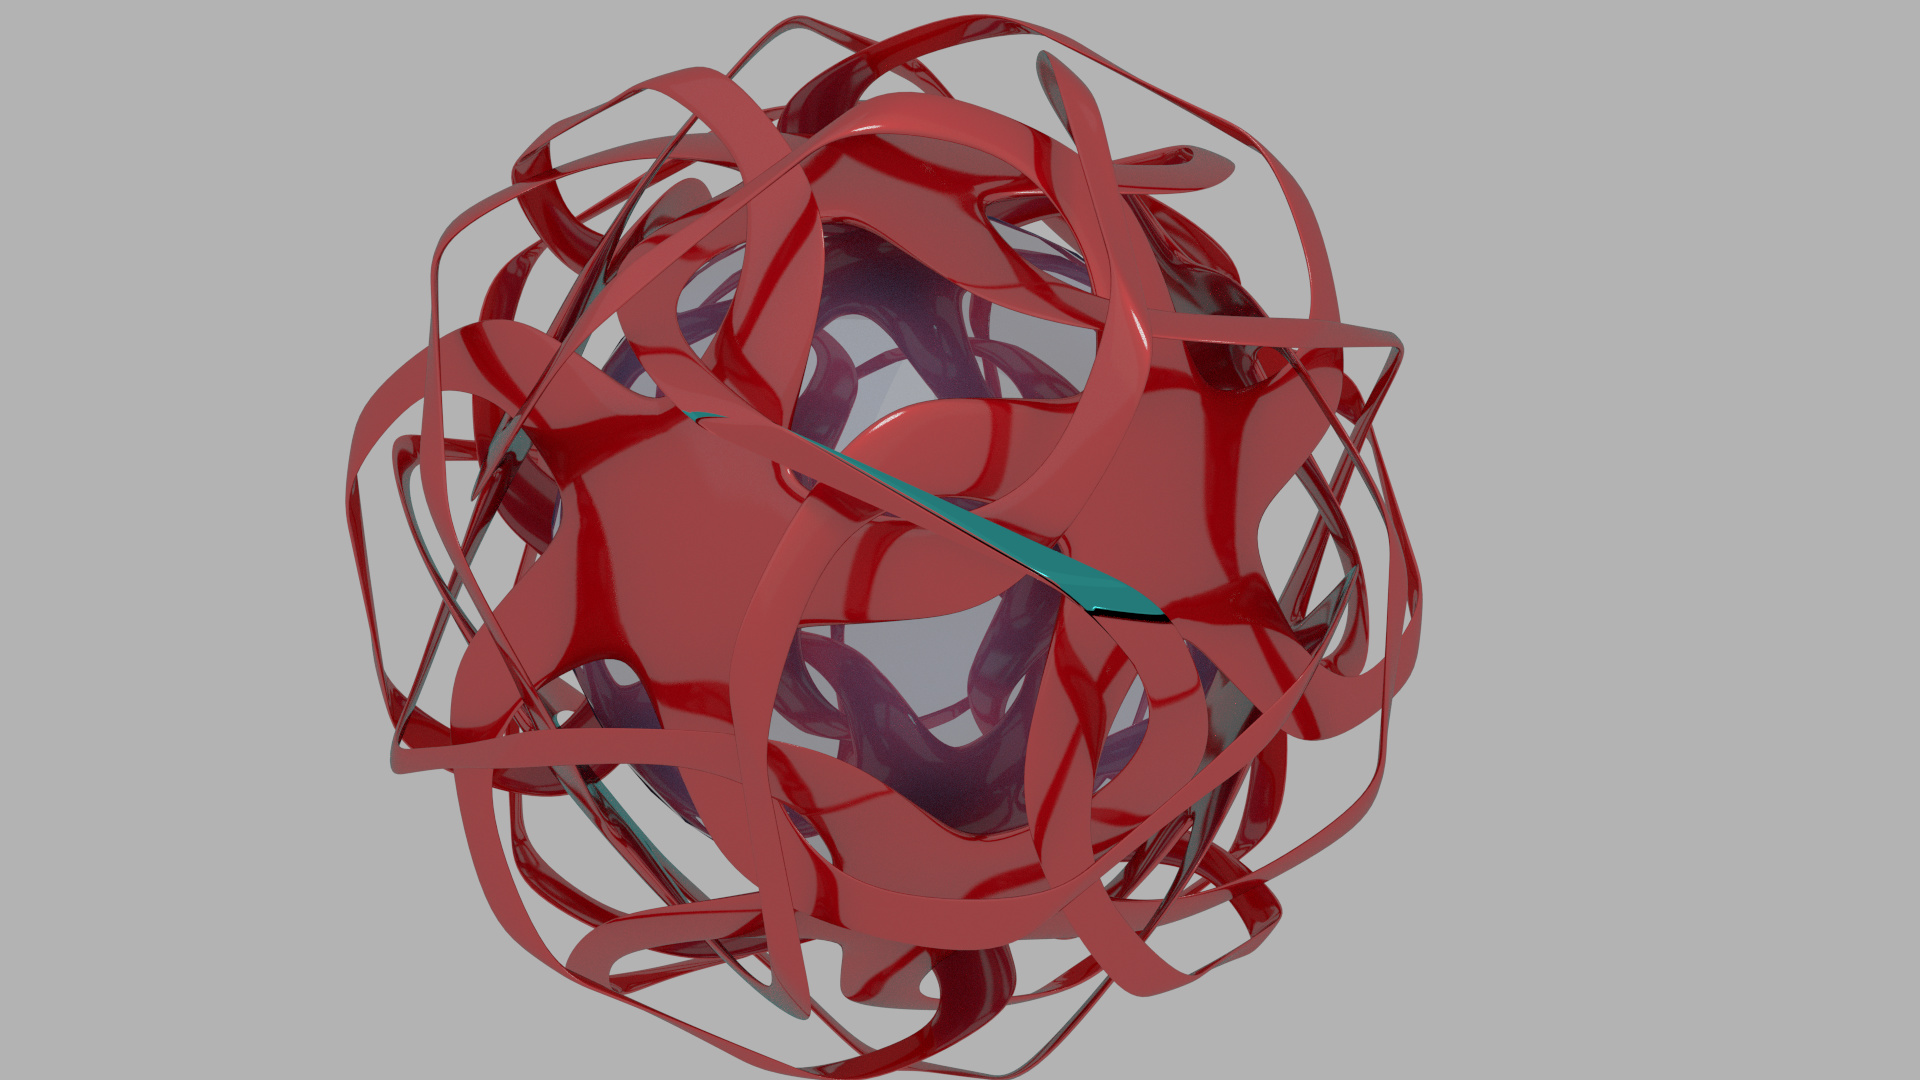
thank you a lot for your ideas and help. Steve S, The Topmod Tutorial helped a lot. Once you know how to do it, it is very simple an can be done is vew minutes. The way is as follows:
a) Insert a regular solid via Add -> mesh -> solids
b) extrude one type of faces , e.g. the hexagons (Select similar -> perimeter)
c) this is important: Create one single spiral arm, copy i to check if it crosses without touching the other spiral arm
d) if step c is done, just copy the arm around the face from step b
e) use transform orientation to copy the shape to every face from step b (mind that rotation and scale are applied prior to this
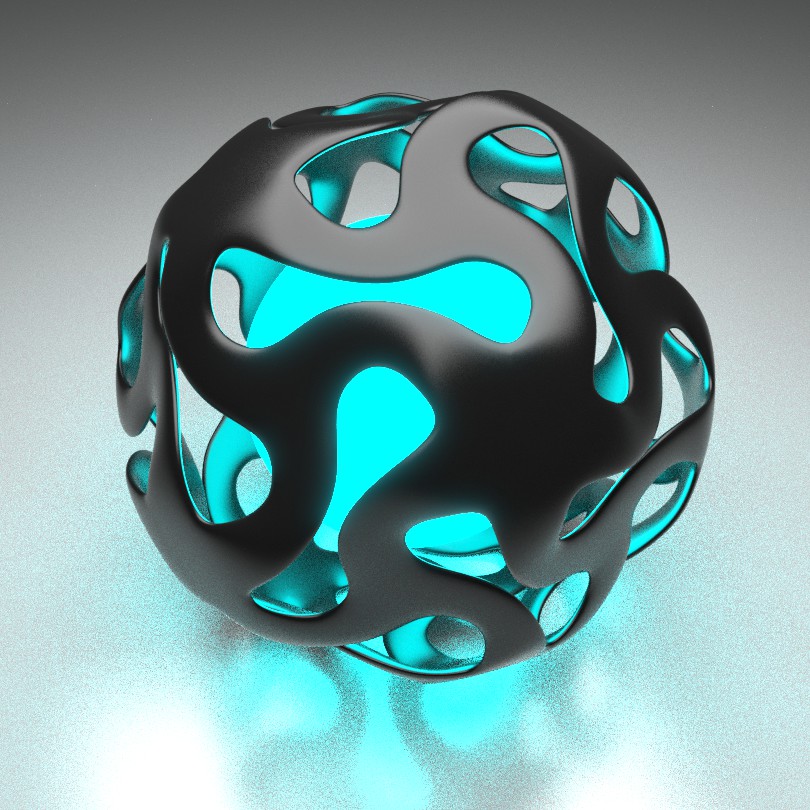
f) subdivision surface, smooth etc.
g) render and enjoy!
Sorry for my bad english attached you will find a blend file with every step as a single model on a different layer, so you can go trough this step by step.