In the past day I have taught some fundamentals of Blender to my girlfriend. Since she wanted to create a scene with an ice cube, as her third lesson, we tried it.
The result we obtained was sufficient for her to learn Blender and Blender Render. But it was not enough for me. So, after I watched a Blender Guru tutorial I improved it adding some more details and trying to augment realism.
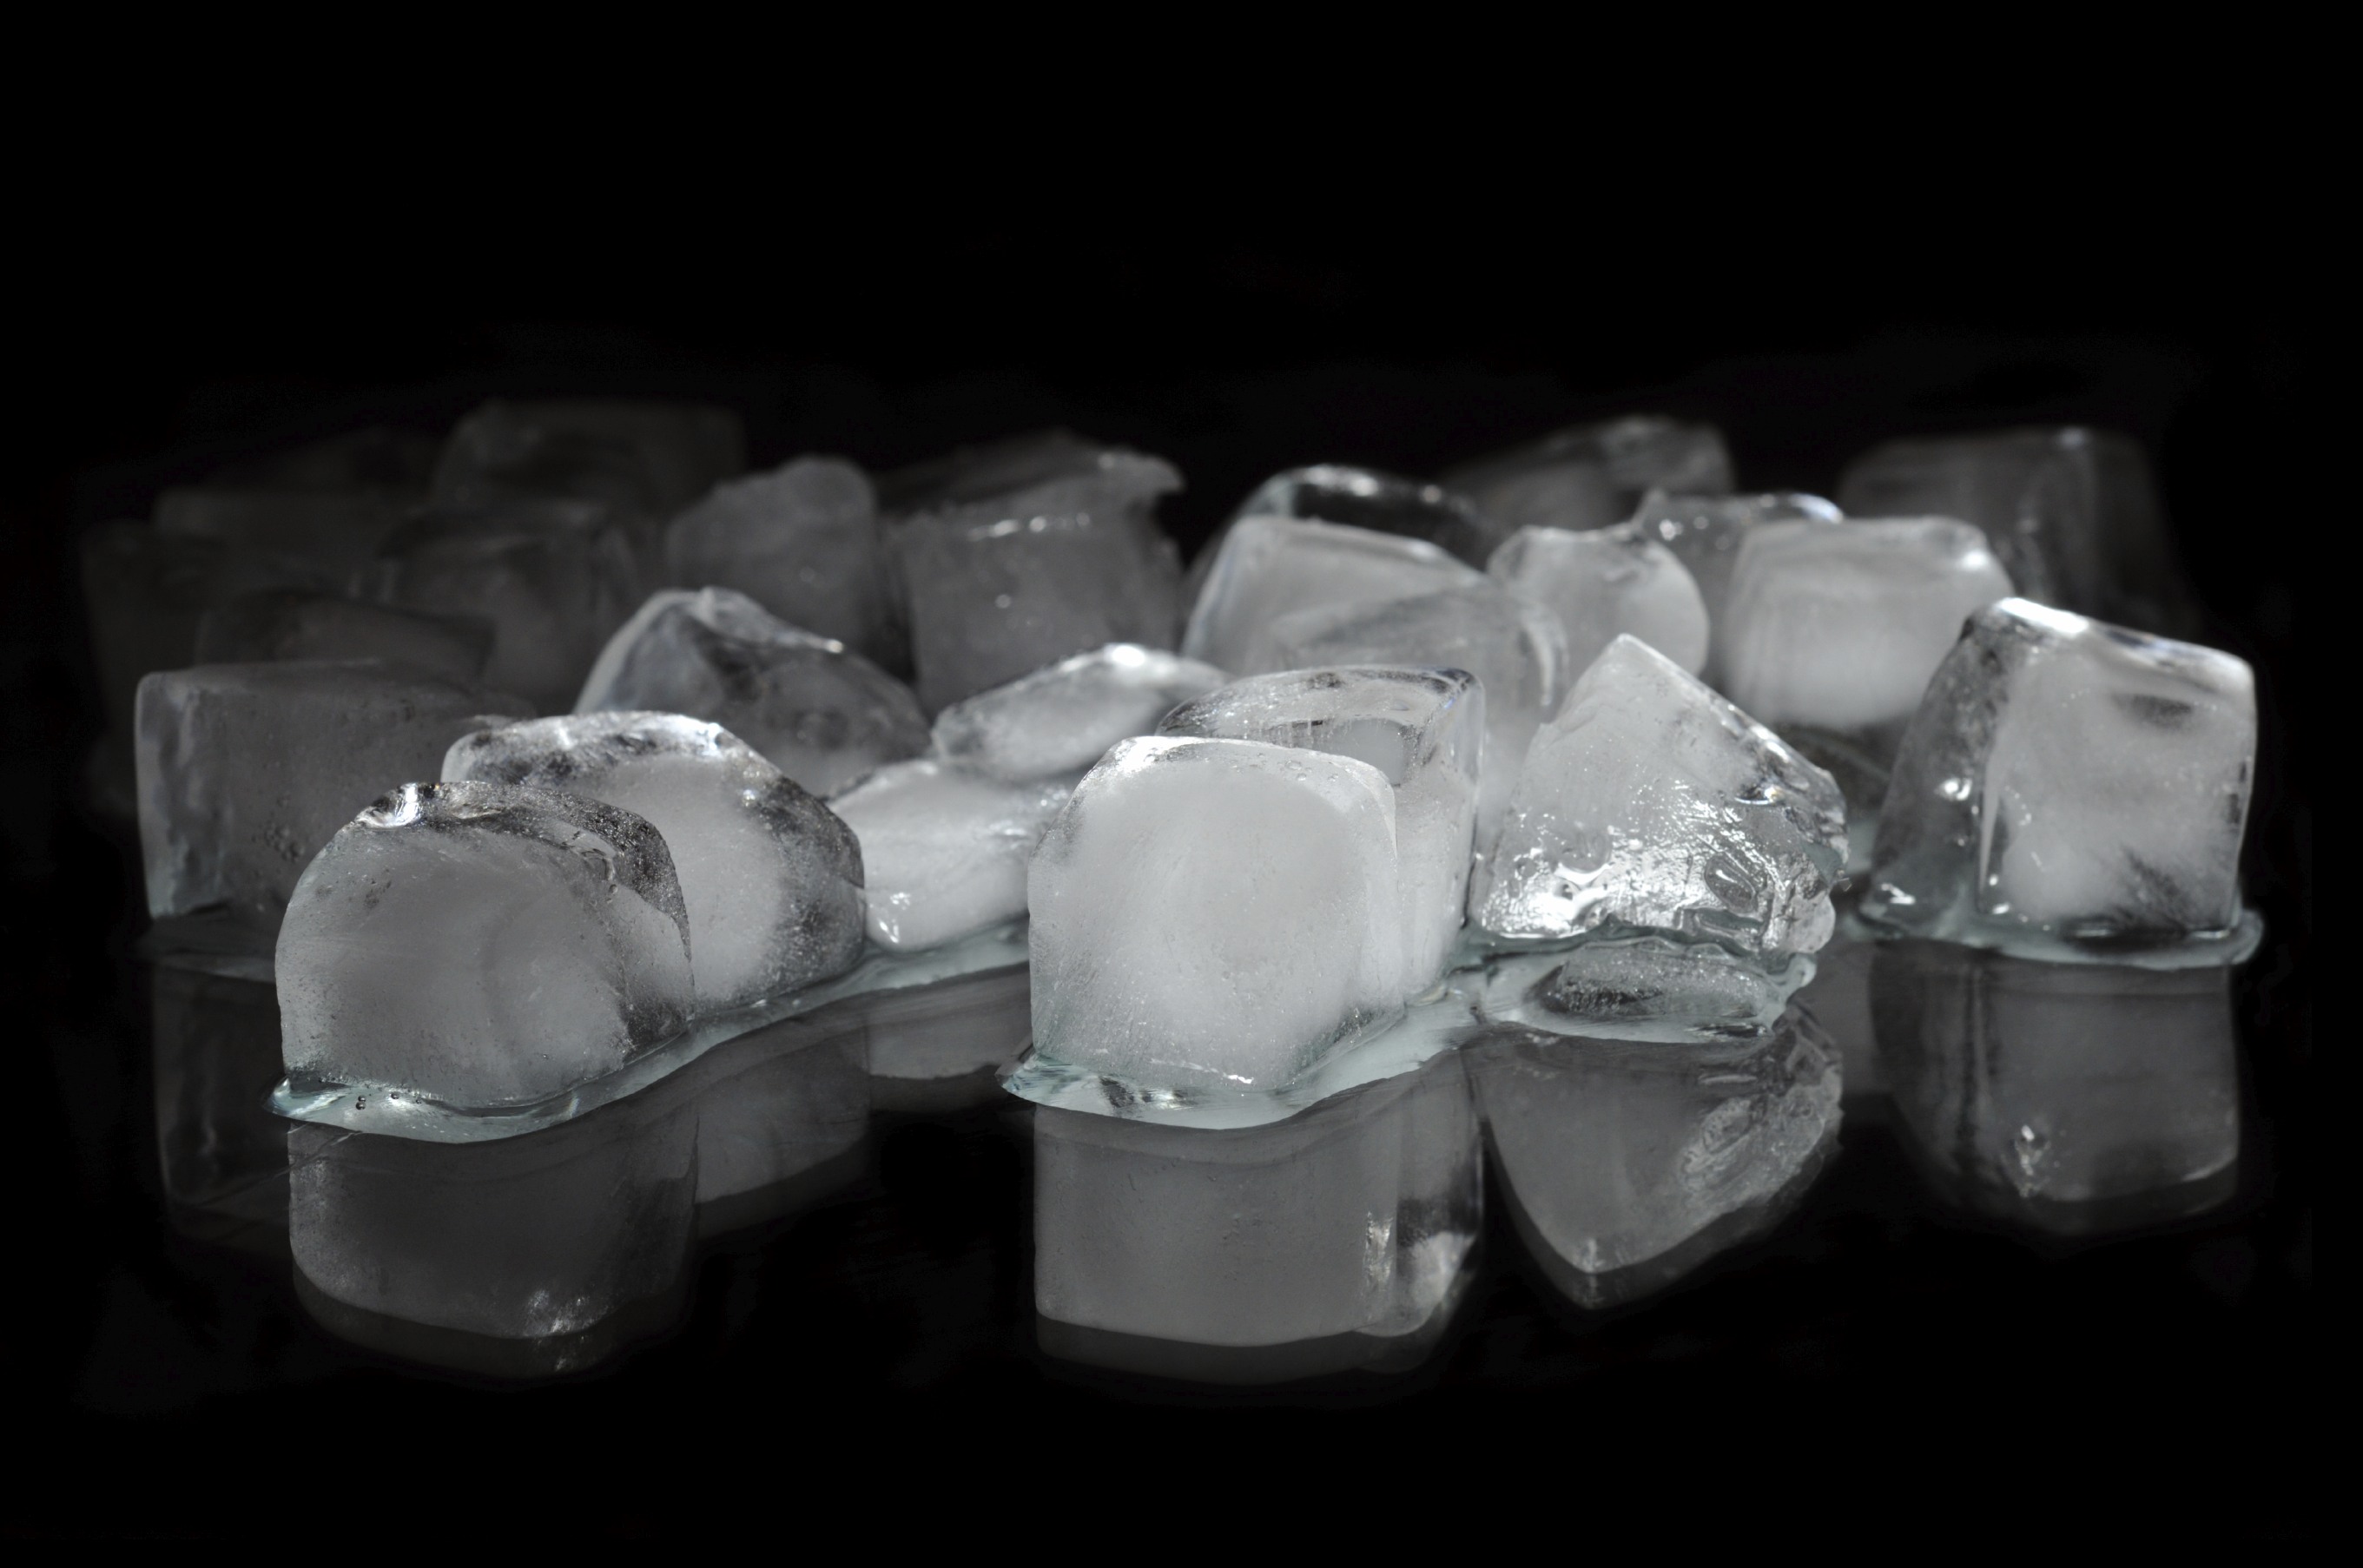
I used a real photo as a reference to study how light behaves when encounters ice material.
After some experiments I found out that, even if a transparent material with a IOR value set to (about) 1.321 is enough to give the ice its basic material, it is not enough to achieve a fully realistic result.
First of all, the surface of ice cubes is covered with “micro” scratches. Actually they are very hard to see, but they are responsible of how light is reflected and make the surface to appear not perfectly transparent. To obtain this scratches effect a good normal map is enough.
The most difficult part to render is the “core” of the ice cube that looks like a white grainy cloud.
Actually ice is not fully transparent. Like snow flakes, ice absorbs some light and scatters out most of it, appearing almost white. A third, minimal part pass through its volume until it’s fully absorbed. (At least this is what I understood reading some text about it.)
The fully transparent area, starting just a little bit under the surface, is actually melting ice and so, its molecular structure is closer to water, therefore almost transparent with an IOR very similar to water or glass.
To simulate the core of ice cubes I tried two different approaches. The first one is a modification of the Blender Guru’s tutorial.
Instead of use a simple plane and emit little bubbles particles from its surface faces, I modeled another volume inside each ice cube and set it to emit lots of bubbles with random size from its volume.
The second approach is similar. But, instead of use particles directly, I used them to apply a volumetric material with a point density texture.
Finally I thought that both should be used. The first one, with a very low emission quantity, to simulate bubbles of air, inside the ice cube. The second one to simulate the actual core.
(I encountered some problems to work with the point density, thought…)
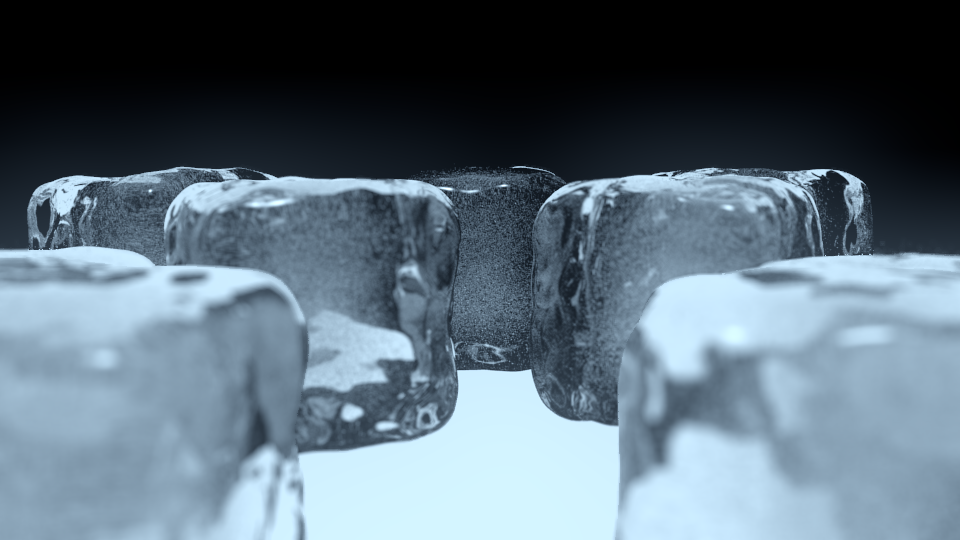
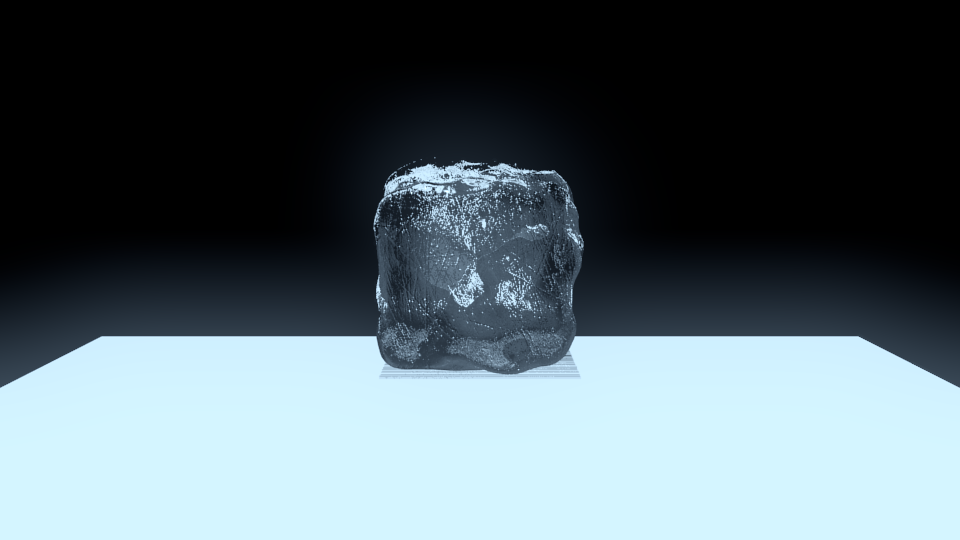
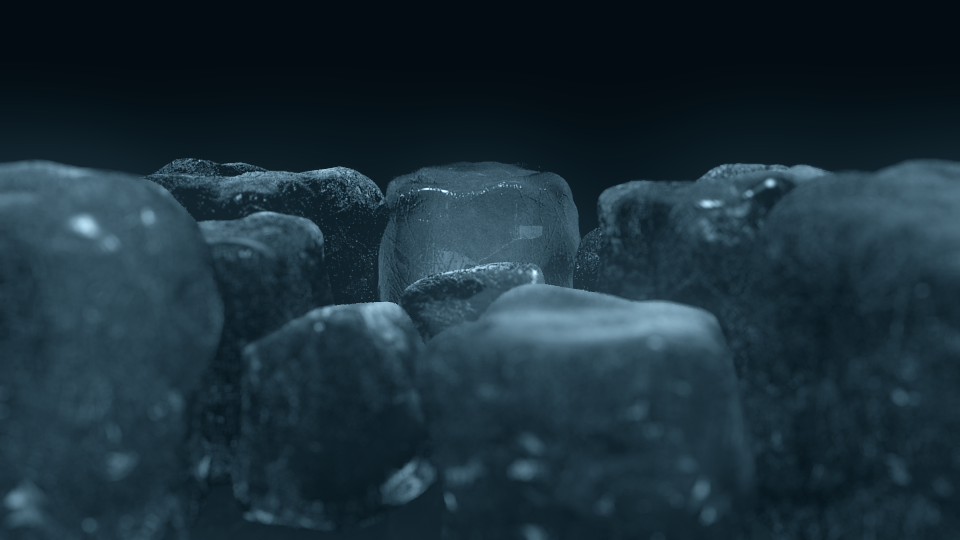
Render times are very long. 9+ minutes for multiple ice cubes with particle bubbles and 2+ minutes for single ice cube with point density based volumetric material.
Particles bubbles version.
Point density version.
