I like how Blender Internal’s viewport lighting really shows geometry well. (Of course that’s it’s job)
Sometimes I do an OpenGL render and it shows the shape better that what I’ve made using the materials and lighting.
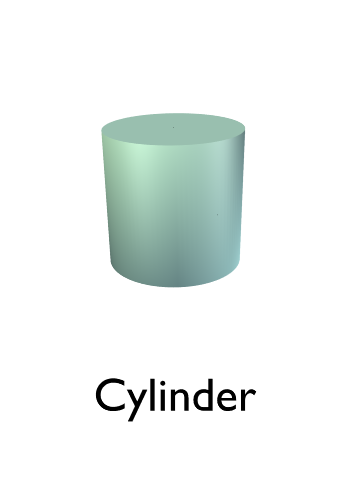
Cycles is more realistic, but this is for situations where I am making diagrams or something needing simple shading.
However OpenGL renders can’t be used in the compositor or with Freestyle, and also sometimes objects in your scene that wouldn’t normally render like Empties get in the way.
Does anyone (maybe someone familiar with Blender’s code) know what the lamp and material settings are for the viewport?
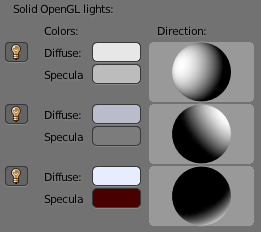
I’m pretty sure it’s a 3-point lighting setup using sun lamps of unknown strengths. But beyond that I don’t know.
I’ve tried to recreate it using the Preferences > System settings as a reference:
And so that less people will think I’m crazy, here’s the comparison.
Blender Internal (Has Freestyle lines, but crappy lighting so far):
And here’s the OpenGL render (automatic sexy lighting that defines form, but no Freestyle):
This is why I want the Blender Internal OpenGL style lighting, so I can mix the best of both of these without needing to composite.
Not that compositing is so terrible, but it makes for extra steps in the workflow.
And I think being able to render with the viewport’s lighting setup would be handy for various things.
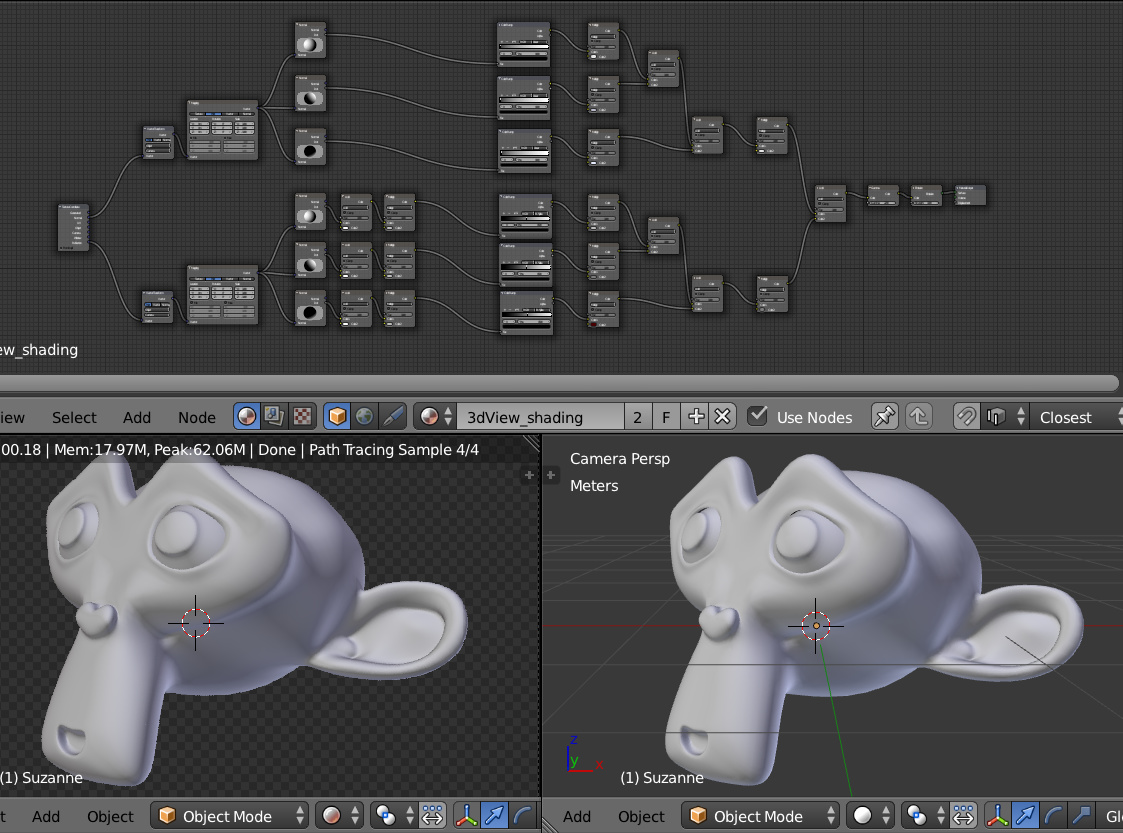
I have played a bit with this and managed to create cycles shadeless material that looks almost exactly the same as BI 3d view shading.
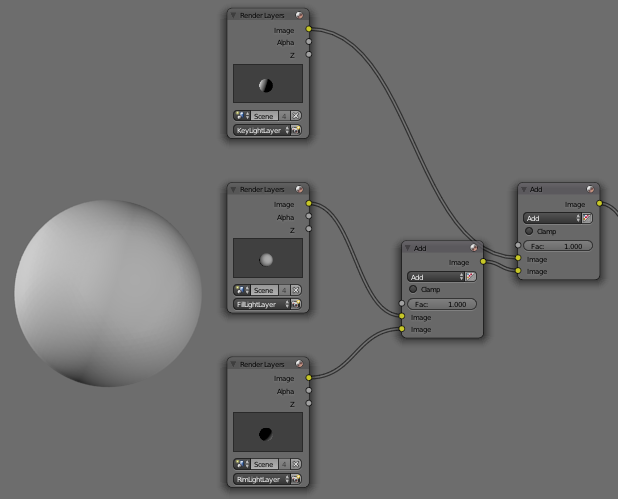
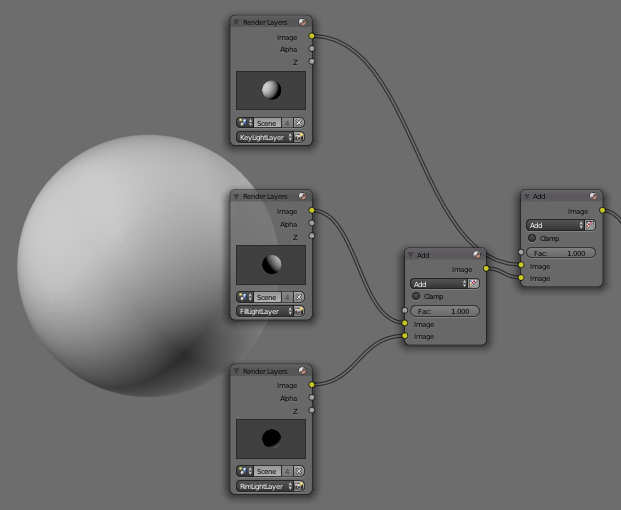
Here’s the screenshot where at the top you see cycles material node setup and at the bottom left: rendered view of this, bottom right: 3d view shading.
I also attach the blend file so that you can see what it’s made of.
In the render layer settings I have assigned material override to the material that I created, so everything in the scene will be rendered using this material.
Please note that NO LAMPS are needed. It bases on normals only. Exactly the same as viewport shading.
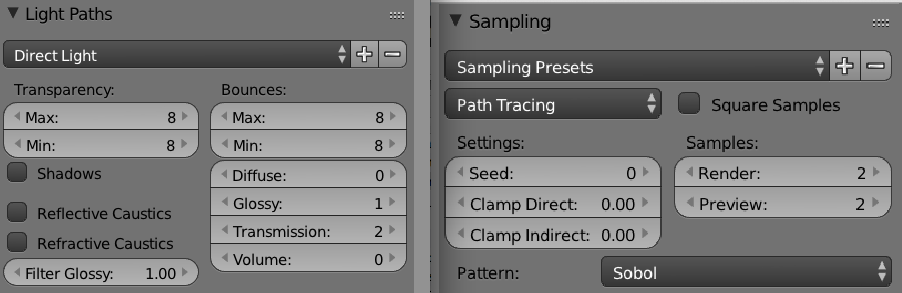
Don’t worry about using cycles. Render times using this material are like fractions of a second. Below you’ll see sampling and light paths setup that I use for rendering this material.
In fact in the “Light Paths” you can as well set everything to ZERO.:
One little tip:
How did I make the angles of all the “Normal” nodes exactly the same as used in user prefs?
Open user preferences, hover the mouse over the ball representing the angle and Ctrl-C.
Then hover the mouse over the “Normal” node and Ctrl-V.
Tadaaaaa
I did exactly the same with the colors.
Thank you Bartek! You made my day!
I was really expecting everyone to laugh off my question like “ha! Why would you want that??” and I almost didn’t ask…
but you instantly posted this AMAZING answer, with a .blend and everything!
And this was really clever of you:
It never occurred to me that the BI viewport shader is accomplished using normals only, but that makes perfect sense.
Your answer is much appreciated.
I really enjoy your tutorials by the way. Keep on being awesome.
YEEEESSSSS!!! I was wondering about the same thing as you, Quantum, for ages. And just today I thought: Well, now I am going to ask if anybody has already thought of that. Thank god I just searched the forum before posting a thread myself. And your file and setup, Bartek, are EXACETLY what I was looking for. I just checked the results with one of my models and it works like a breeze! So thank you soooo much, this helps me a lot! :yes:
Akh ! Of course they can, just like any other image. Point your image sequence node to the folder where you store your rendered frames instead of using a render layers node.