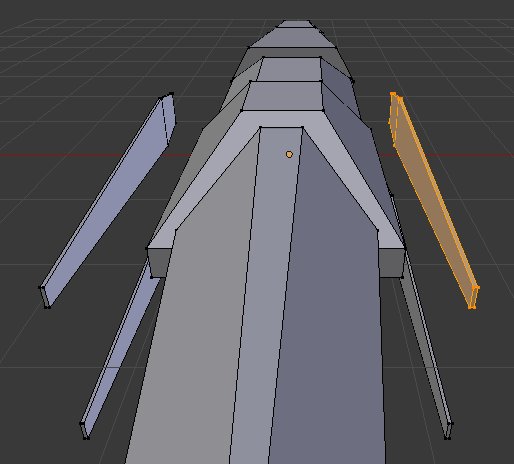
Separate the “wing” (select it, Mesh -> Vertices -> Separate -> Selection).
Snap the wing’s origin to one of it’s bigger faces (in edit mode select face, Mesh -> Snap -> Cursor to Selected; in object mode Object -> Transform -> Origin to 3D Cursor).
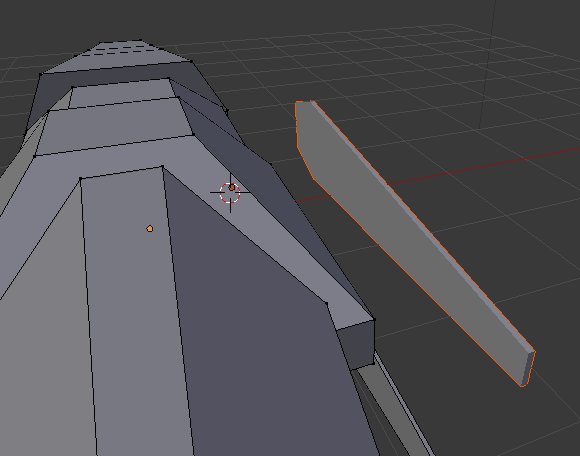
In edit mode rotate the wing around Y 90 degrees (so it’s kind of “laying on the ground”: we need the object’s Z axis to be perpendicular to the wing).
Switch snapping mode to Face, enable ‘Align rotation with the snapping target’
Move the wing on top of that inclined surface with snapping on (either enable the magnet icon or hold Ctrl while moving).
It’s probably best to leave the wing its’ own object for now, so you can preserve its’ local transformation and benefit from, e.g. vertex snapping to position it exactly where you want it. You can always join it back to the main shape later if needed.
Yes. Sorry if it wasn’t clear. After separating, the wing is now its’ own object (that’s why I was saying that it might be better to leave it that way in the end of my previous post). You’ll need to leave edit mode on the main shape, select just the wing and go from there.
The method I described will allow you to achieve that. What’s more is that you can make the wings linked duplicates (duplicating them with Alt+D as opposed to Shift+D): this will allow you to position them using face and vertex snapping, move and rotate them independently, but be able to edit just one mesh and they all will receive those changes.
That’s what I’ve done in the example .blend I’m attaching. Note that each wing has its’ local orientation matching the inclination of the surface it’s on. This allows to easily move and rotate them on that surface.
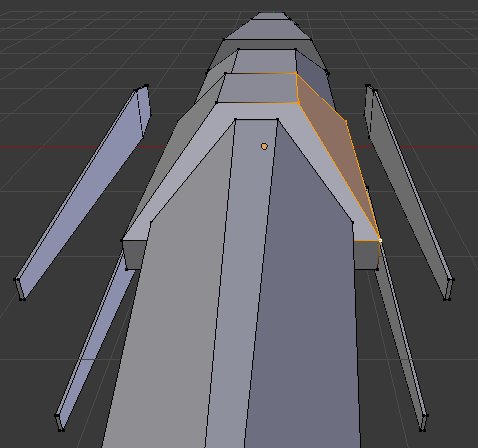
Ok, I believe I understand what your saying now. I’ve followed your instructions more closely and have come to this point:
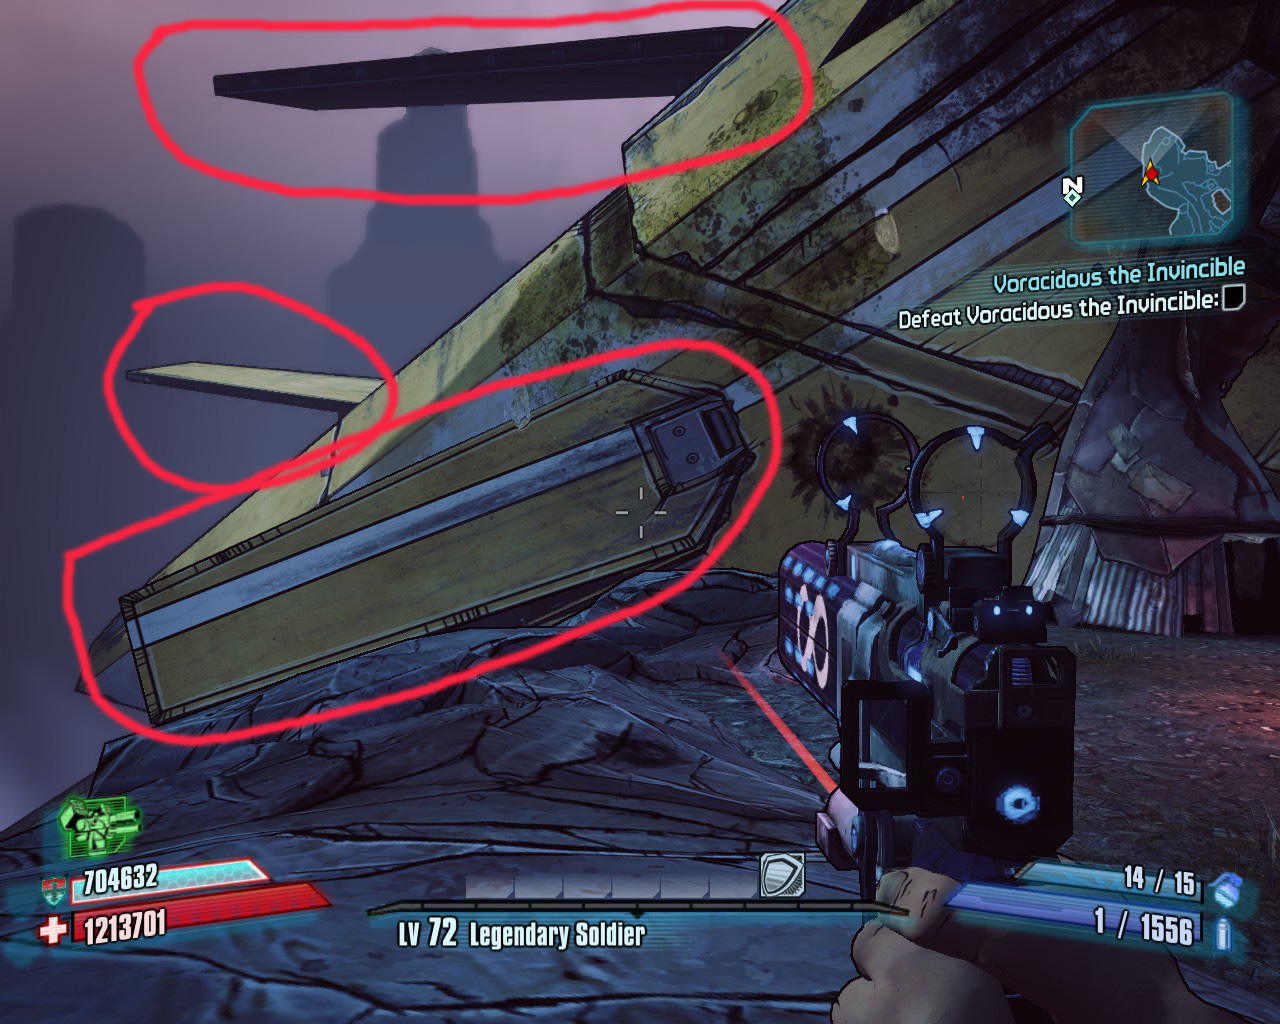
Using the Alt+D method how would I get the other 3 wing copies to get to symmetrical positions on opposing sides of the model? Since it now hugs the model surface I can’t guarantee preciseness in where they end up.
Also, how do I make the angle of the wing match the surface it rests on? I tried using R+X+ 45, but doing so caused the wing to leave the surface of the face.
I figured it out. I didn’t realize that the 3D cursor governed how the model would rotate. I got the results I was looking for, thank you for all your help.