Hey everyone, this is my first time here. I am having an issue with blender when joining two objects together. For some reason when I join two objects together it deletes the UV on one of the objects and I am uncertain why it is doing this so I was wondering if someone here can figure it out for me please. Here is a picture of the problem I am having, I added a new player head to the default body of this a character. The head works fine but the body is missing its UV.
Thanks.
Here is the .blend file too before I joined the two together.
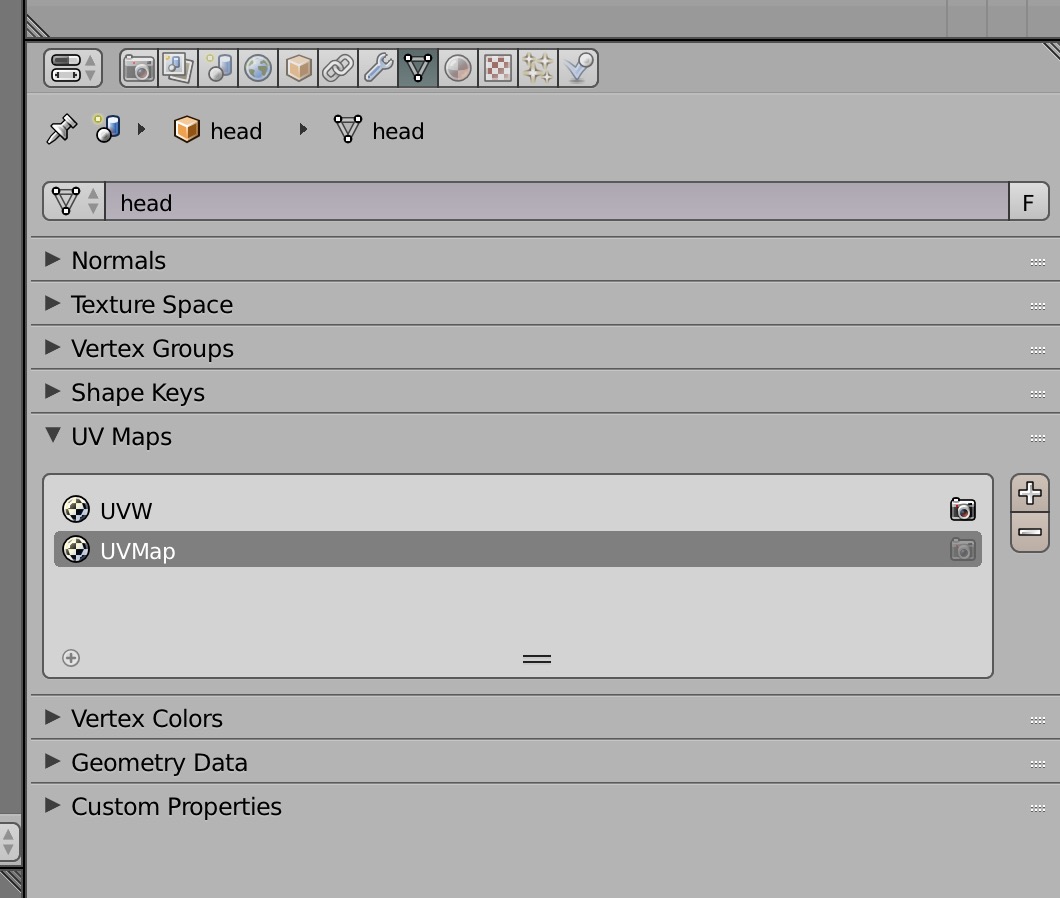
Because each object has a different name for their UV map, when joined you will maintain those two UV maps. Select the map you want to show.
If they had the same name then you would just have one which combines both maps into one
Hey!, Thanks for the fast reply and for explaining that a bit to me. Can you elaborate a little for me please?
So when I combine the two objects (which have seperate uvs already) I will maintain “those two uv maps” which uv maps are you reffering to? and “select the map you want to show” that has me abit lost to be honest sorry. as for if they had the same name and would turn into one, are you saying thats what I did? please forgive me for my lack of knowledge, I sure am trying! Thanks!
Also is that my blend file you got open there? did you find out what I did wrong?
heres a link to my post about this on facepunch forums which will have any info you need to retrace my steps. and of course if you have anymore questions fire away! http://facepunch.com/showthread.php?t=1481470
I did that but still have the same result, followed it exactly too. As soon as I join the two together and go the the uv editor the body is missing it’s uv, but on the bottom left corner I think its there but really compressed.
Should select the uv map if you want to see it. So in edit mode with the UV/image editor open, select head mesh and select the map uvw_head or whatever you have named it, the same with the body select the part you want and make sure that the uvmap_body is selected in the object data panel.
I fixed it!
All I did was give each UV the same name in edit mode, so I named them both UVW, then in the uv/image editor, I went to the materials tab and verified each material from the objects were listed, furthermore I clicked each material and clicked the select button beneath them for each one. This selected both the polygons and the uv and also listed each UV onto the UV/image editor screen, which did not work correctly when both objects had seperate UV names, so certainly giving each UV the same name fixed this.
PS: for anyone who has this problem and was trying to connect a head onto a prerigged body for source engine, make sure you drag the head onto the reference skeleton with automatic weights with the body before you join. Failure to do this step will result in the head not being connecting to the character rigging which creates clipping and other bugs.