Initially, I shot a puddle and thought I would just composite the reflections of the zombies over top of the water, but that ended up looking unnatural. I realized this was because the reflection, while important, is not all we see; when a subject obscures the reflection of the sky on the surface of the puddle, we’re also seeing through the water straight to the pavement. Therefore, it becomes necessary to shoot not one but two background plates: one image as the camera normally sees it, and one image where all reflections on the puddle are blocked.
I chose to do this by holding a large black foamcore board and recording video of me moving it around in front of the puddle, in order to get the reflection of the black board to show up everywhere my subject’s reflection would be hitting. I then brought this video into After Effects and masked out various frames in order to create one large area of “non-reflection”. You could try using a polarizing filter, but it might not remove as much reflection as this technique. It’s worth experimenting with, though.
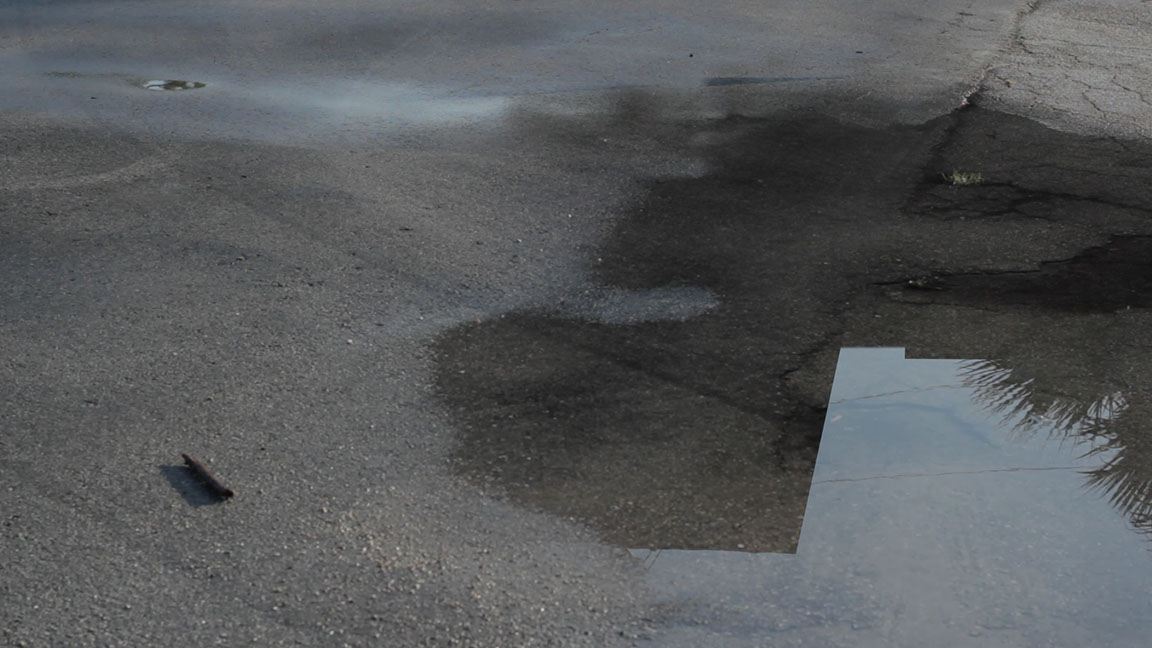
Normal Puddle Image:
“Unreflection” Image:
Now we have the building blocks for out scene, one normal puddle image and one “reflectionless” puddle image. This will give you all the information you need for compositing your various zombie passes. However, we still have another challenge, and that is to create a convincing CG puddle. Not only do we need to define where the puddle begins and ends, but also how reflective it is. The middle of the puddle will be a completely sharp reflection, but on the edges of the puddle, things need to become less reflective and less specular. My method isn’t completely realistic, but I believe it’s close enough for VFX purposes.
In Photoshop, I placed my two puddle images on separate layers, with the “reflectionless” image on top, and set it’s blend mode to “difference”. Then I painted out the telephone poles in the normal image, added a black and white filter on top over everything, and finally some curves adjustments to create a contrast that looked good for my Blender shaders. It took a little trial and error to find a result I liked.
Once I had a black and white mask I was happy with, I applied it to my puddle plane in Blender (using “project from view” UV mapping), and then set up my nodes. Here is the final material setup:
Compositing in After Effect was straight forward, since I had also shot reference video of myself walking in front of the puddle. I feel this technique allowed for much better results than would have been possible if I’d tried painting a puddle mask by hand, and in much less time. Unfortunately, if your shot requires a moving camera, you’ll have to come up with a more robust solution.
Phew! If you’ve read this far, you’re a trooper. If you have any questions about how I did something, just ask and I’ll be happy to answer them in detail! The full “Minecraft & Atom Zombie Smasher” movie will be out early next year, but first I’m finishing up some other projects. The next one will be another GTA video, and I have high hopes for it. Thanks for reading, and stay tuned to Classy Dog!