Original post :
While my other project rendering is on its way I wanted to offer me few hours of training.
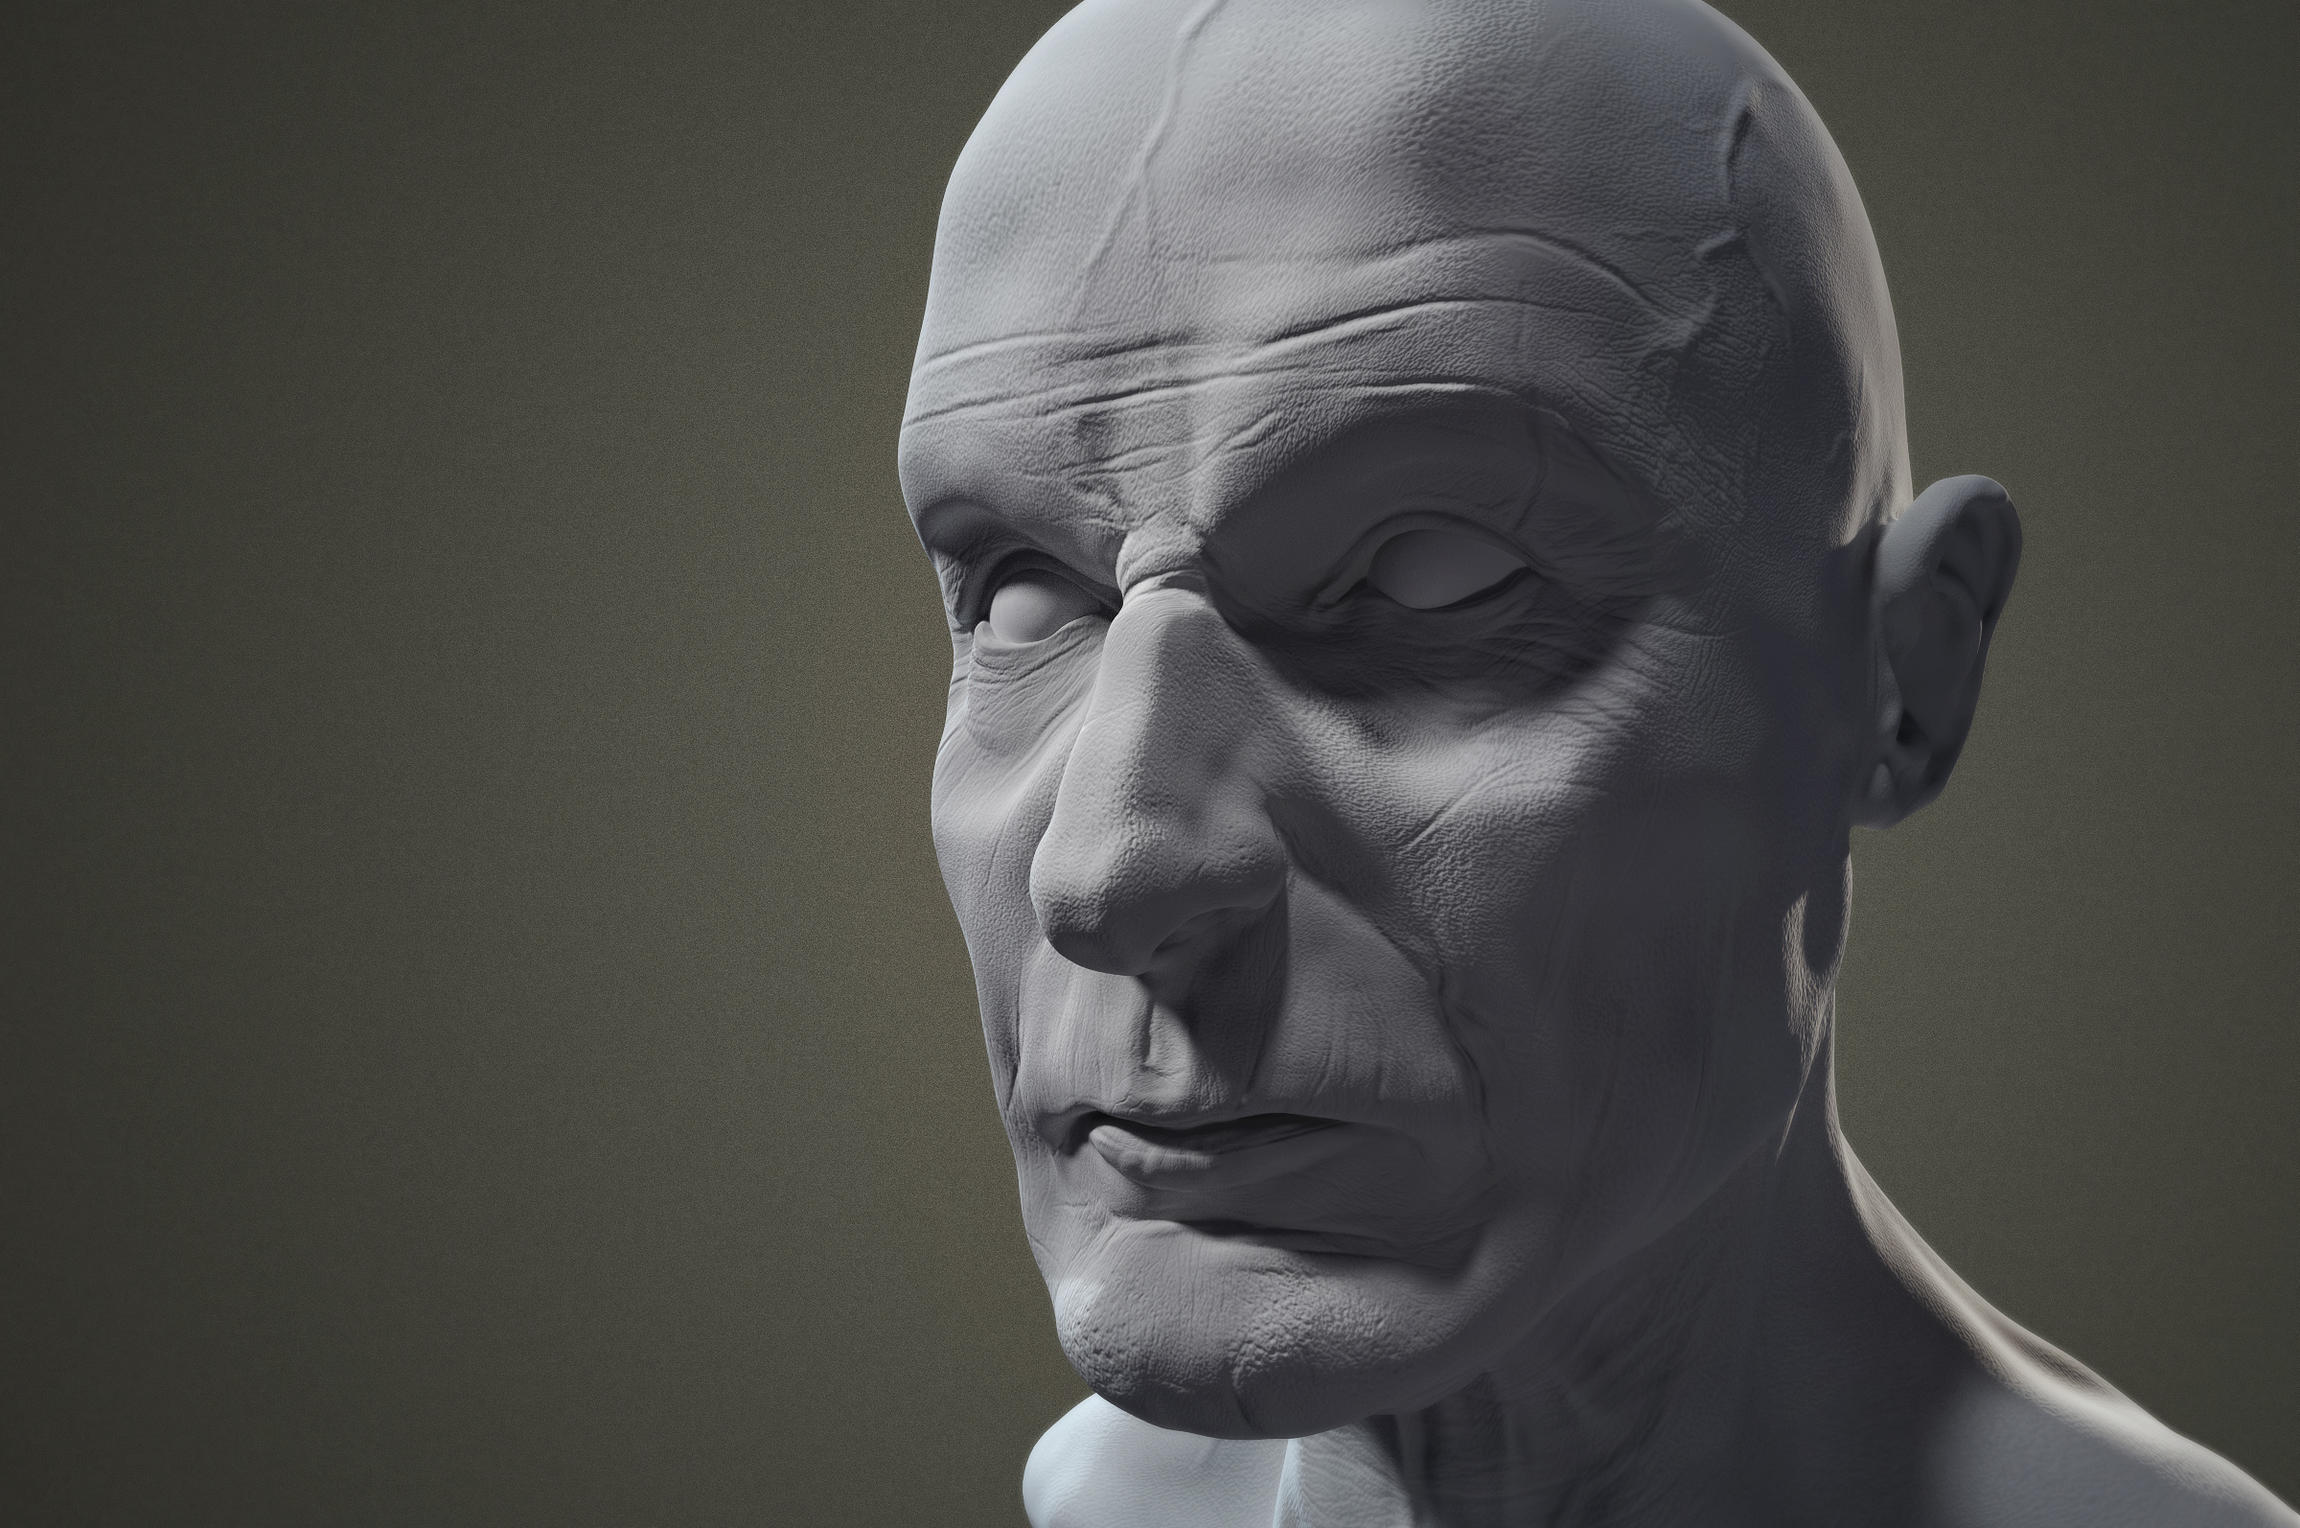
I’ve never made any attempt to realistic portrait sculpting wich is way more difficult than making Orcs and demons :o
I will prepare a serie of 2 movie character portrait with an attempt of realistic rendering for the incoming few weeks before I get back onto a new course dev.
Please try to gess who’s this and I’ll appreciate any critics and advises as I really don’t feel confortable with this exercise yet…
Update :
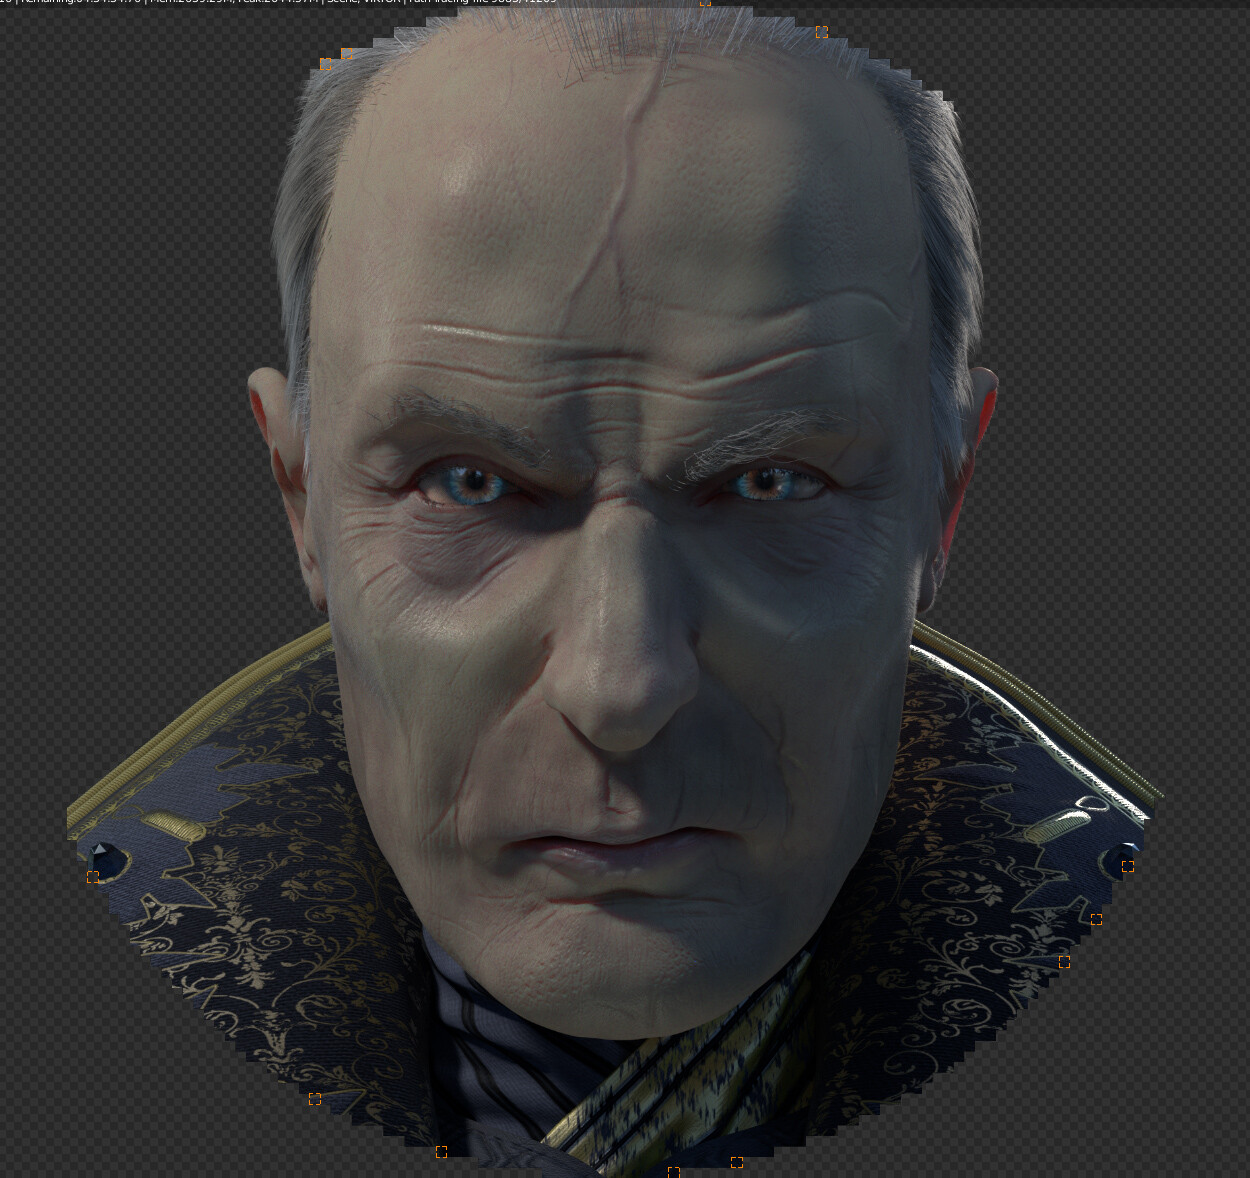
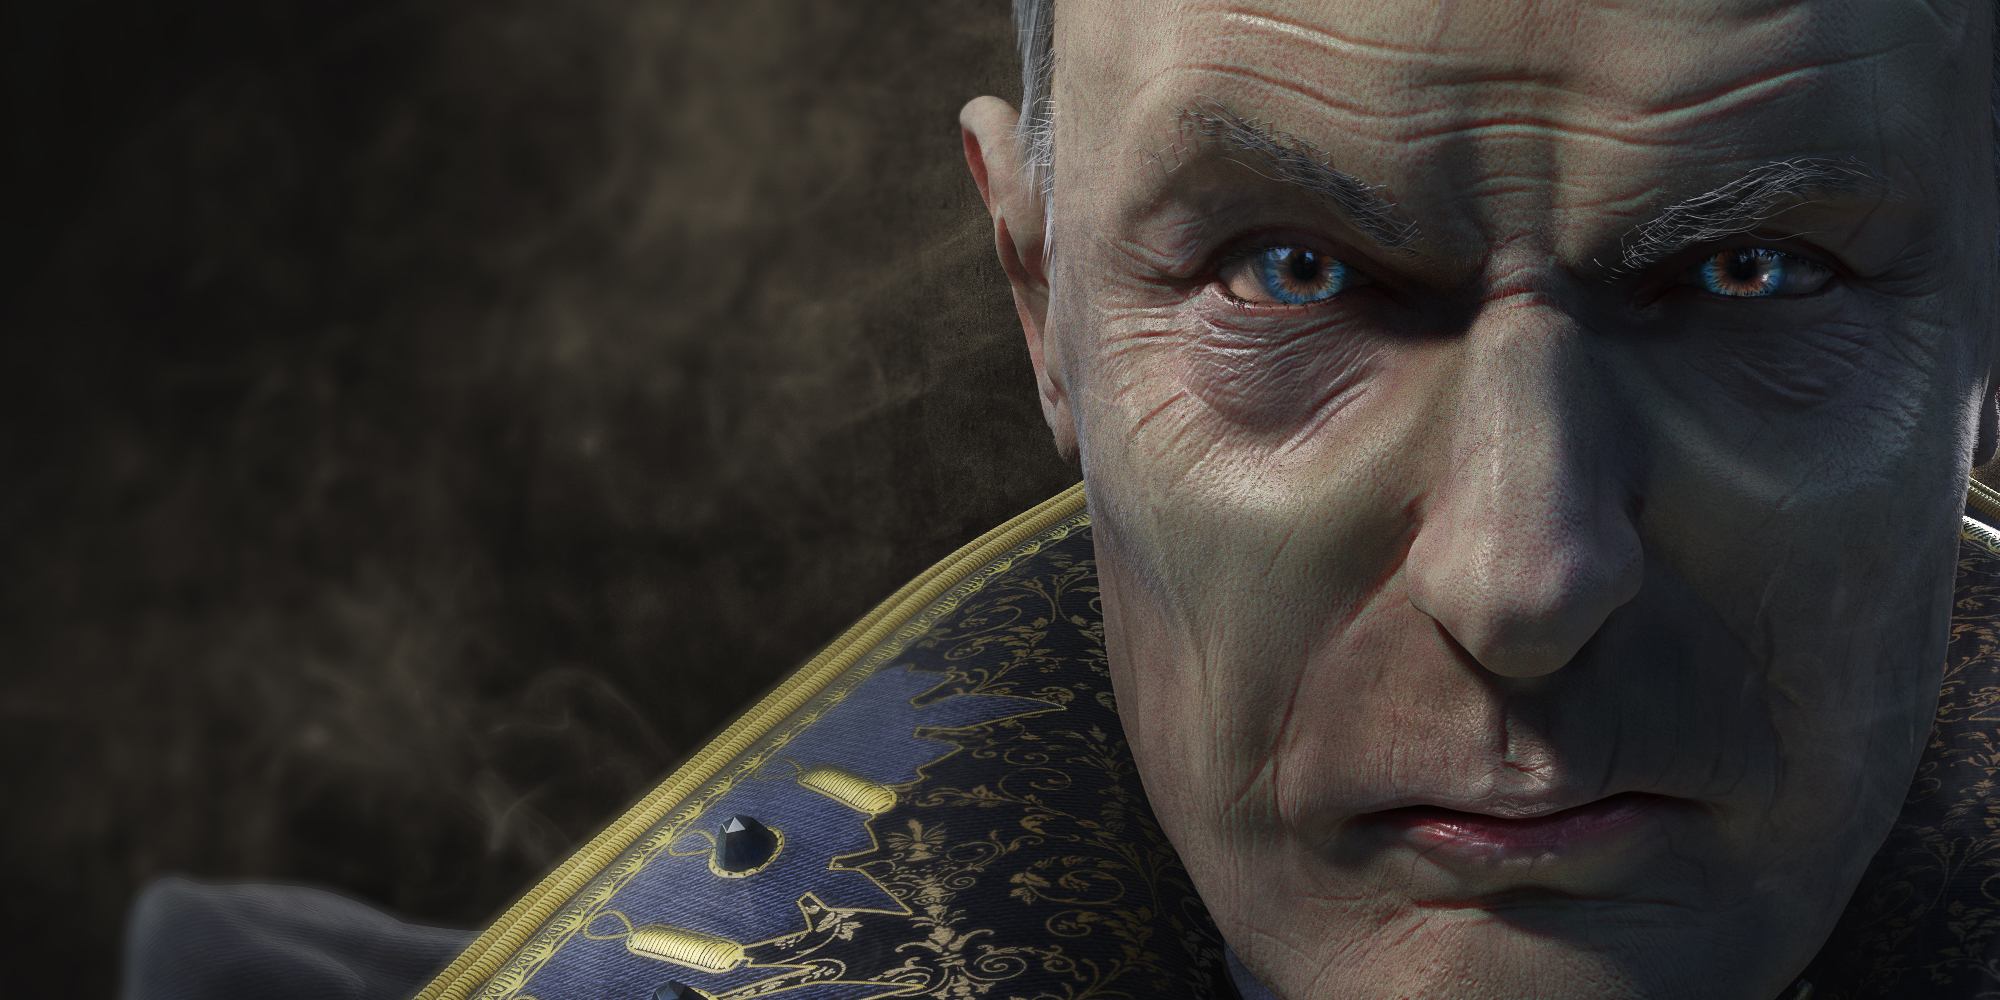
Just finished first post production. Doesn’t really look like Viktor but I’m happy for a very first realistic portrait.
[ATTACH=CONFIG]407276[/ATTACH]
HEre are the full playlist videos including a little tutorial on how to output specular pass :
The sculpt is looking great. You did a good job on the anatomy and the wrinkles. I can’t tell who that is, but that’s for sure only due to my lack of knowledge.
Hi Minoribus, Thanks for your kind word.
I found that the Eye/eyebrow region was a bit too big but I’ll fix this on the retopo character.
I’m recording the whole thing for a making of/timelapse video.
Someone gessed whom it was in less than a minute on the CommunityCookie forum and so did my girlfriend at first site so I got confident I’m not that far from the model :o
See, that’s what I said I never heard of Bill Nighy. But I googled him and the likeness is spot on - the face distortion from the small viewport lens is quite visible. I wonder how he would look with a more appropriate longer lens?
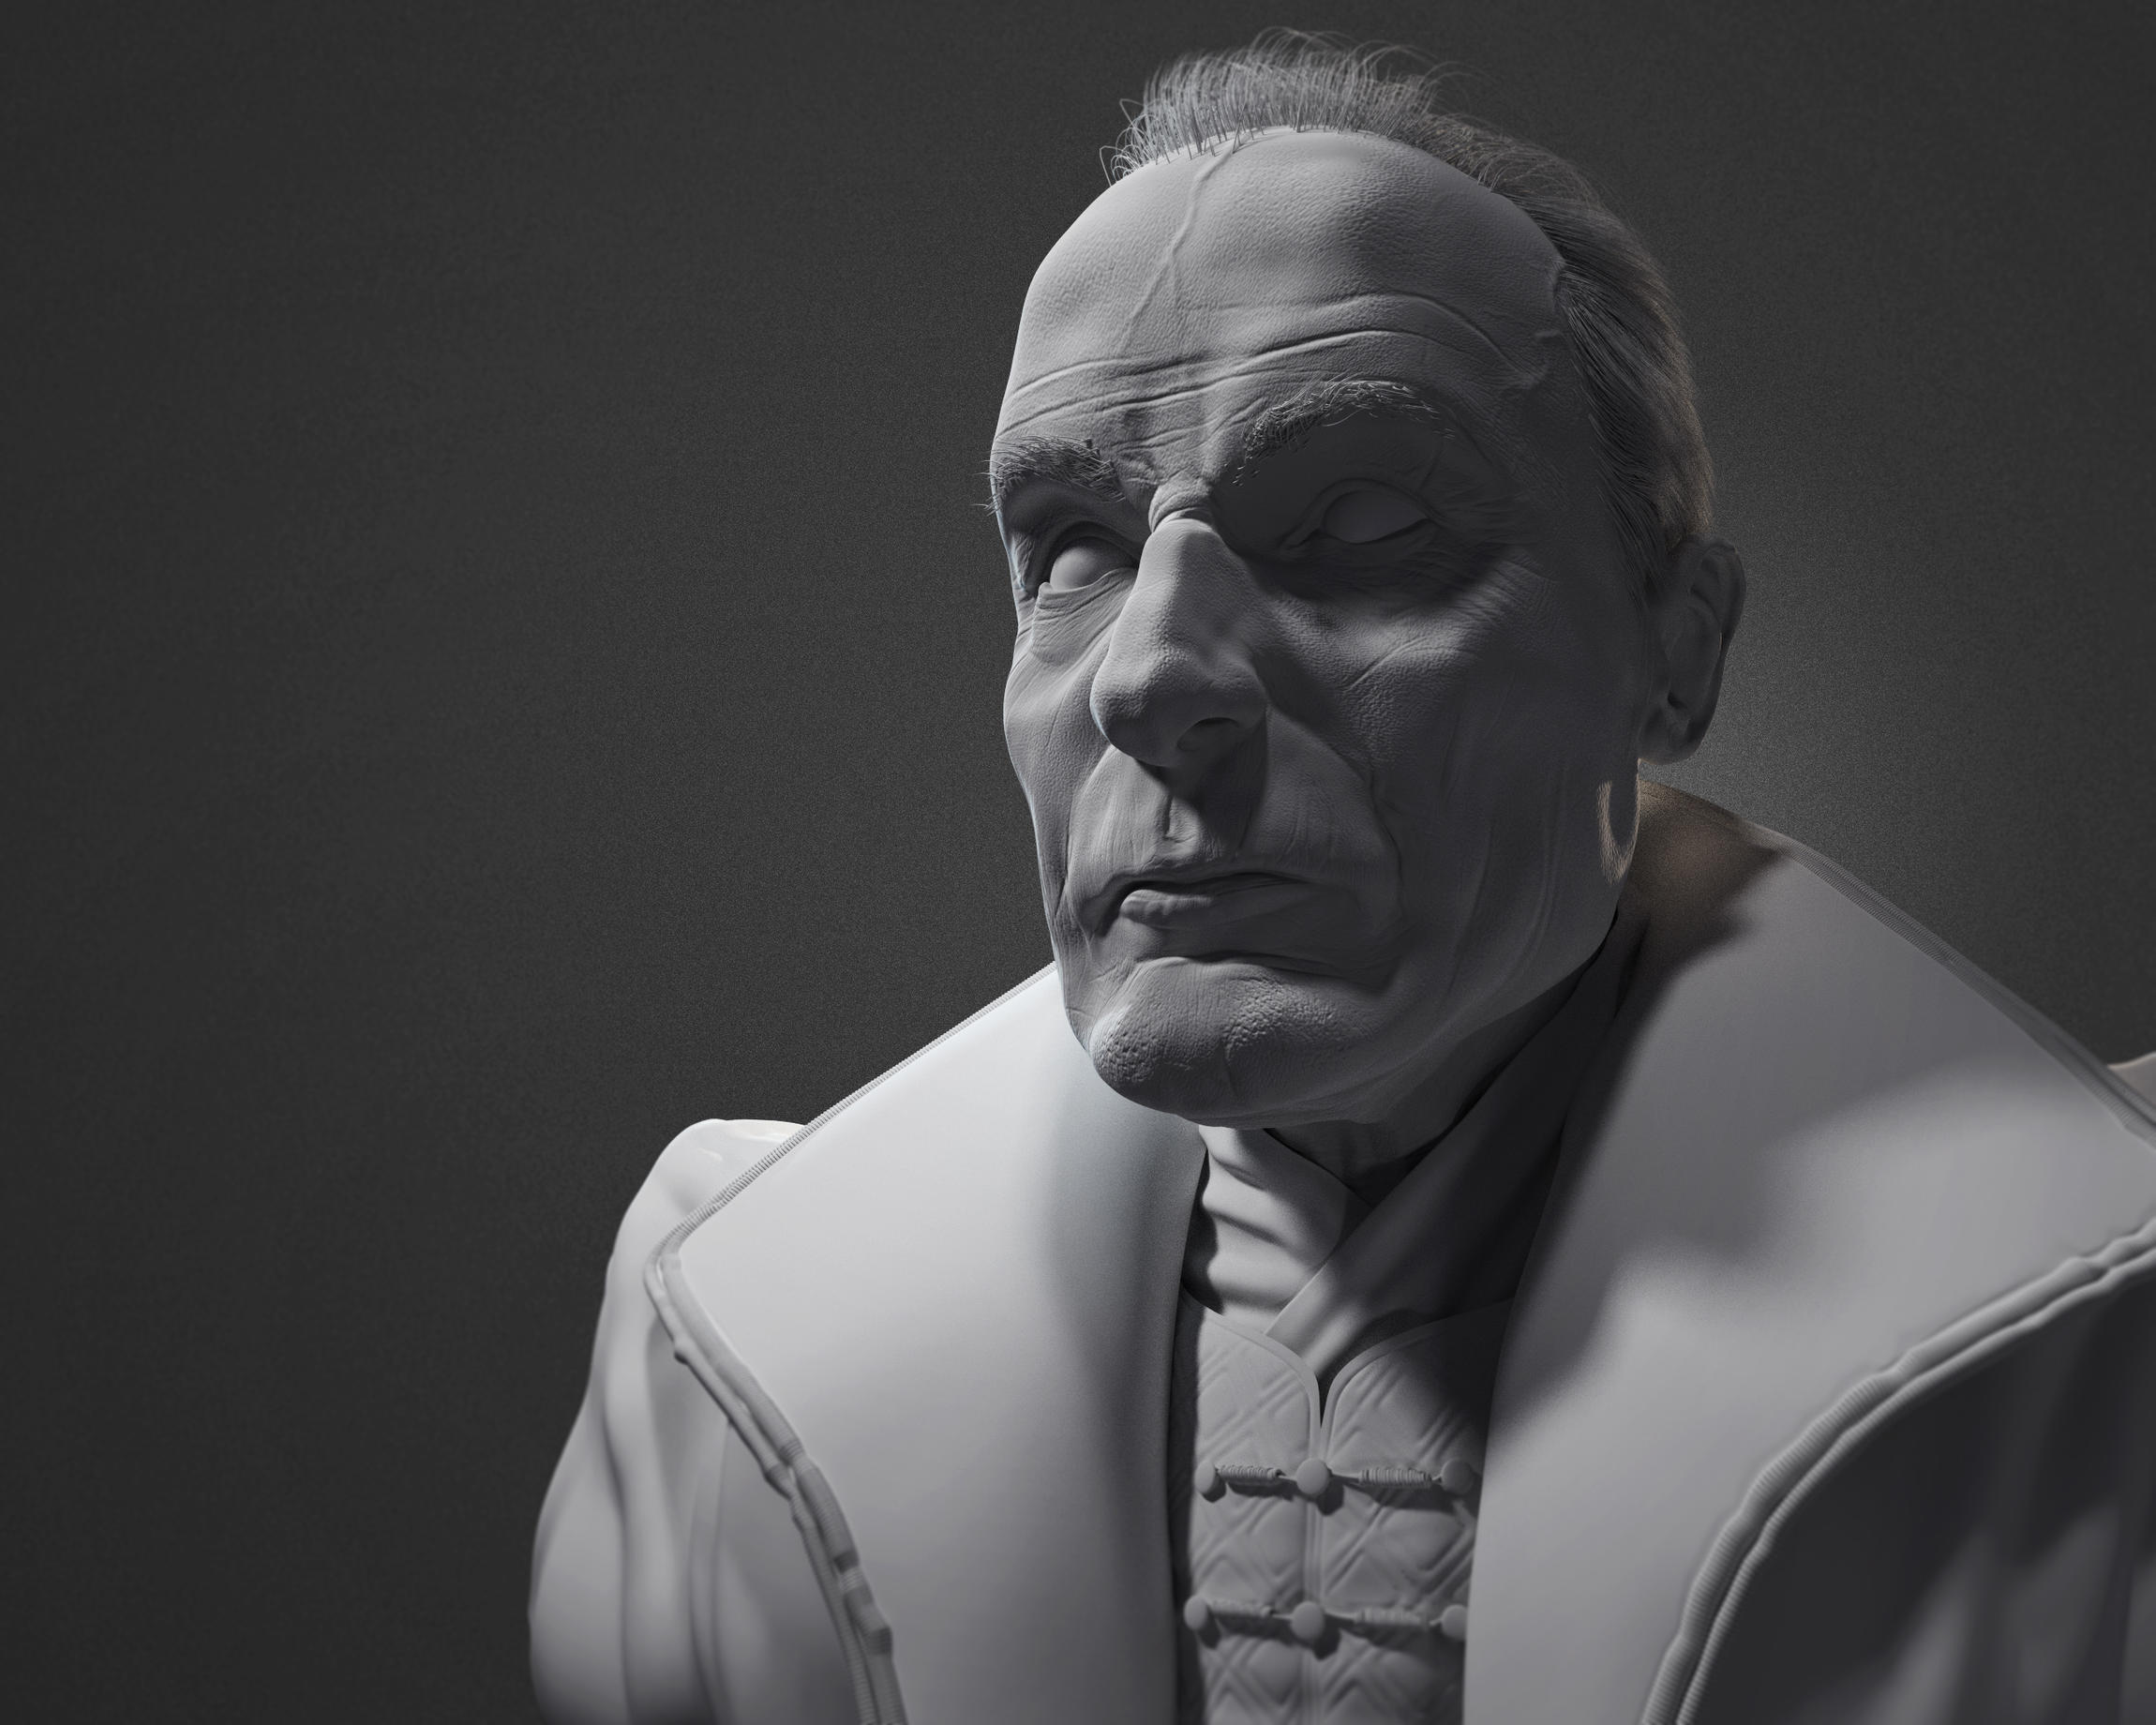
I’ve finished the retopo, UVS and skin sculpting.
All maps are baked.
I know need to paint and shade it and also work on hair systems and clothing.
This clay render is highly contrasted on purpose and the bumpiness is also strong.
I’ve experienced that SSS really reduced bumpiness effect so if you want nice skin effect you need a pretty strong base bumpiness… still WIP anyway.
The face proportion was corrected and beterly fit the model.
This seems to be a good workflow with the reference charts. Until now I used single images in the viewport. But using a collage looks like a good idea. I’ve never used zBrush so far. But I’m looking with envy at their noisemaker fill tool. Having something like that in Blender would be fantastic. The normal map that you baked appears to be very crisp and the nice clay render in #7 shows, that it is working very well.
The noise maker can be achieve exactly the same way in blender.
it’s just different skin textures used as sculpt mask with drag option wich are all available in blender.
i could have done this in blender too, but Zbrush offer way better performances when you go over million of pollys.
I’m not experienced with Zbrush that much and kinda do the same thing I usually do in blender.
but Zbrush is waaaay more powerfull for concepting and high detail sculpting for sure.
so I believe it is pretty important in a workflow.
The noise maker can be achieve exactly the same way in blender.
it’s just different skin textures used as sculpt mask with drag option wich are all available in blender.
Thanks for that, pieriko. I have to try this at some time.
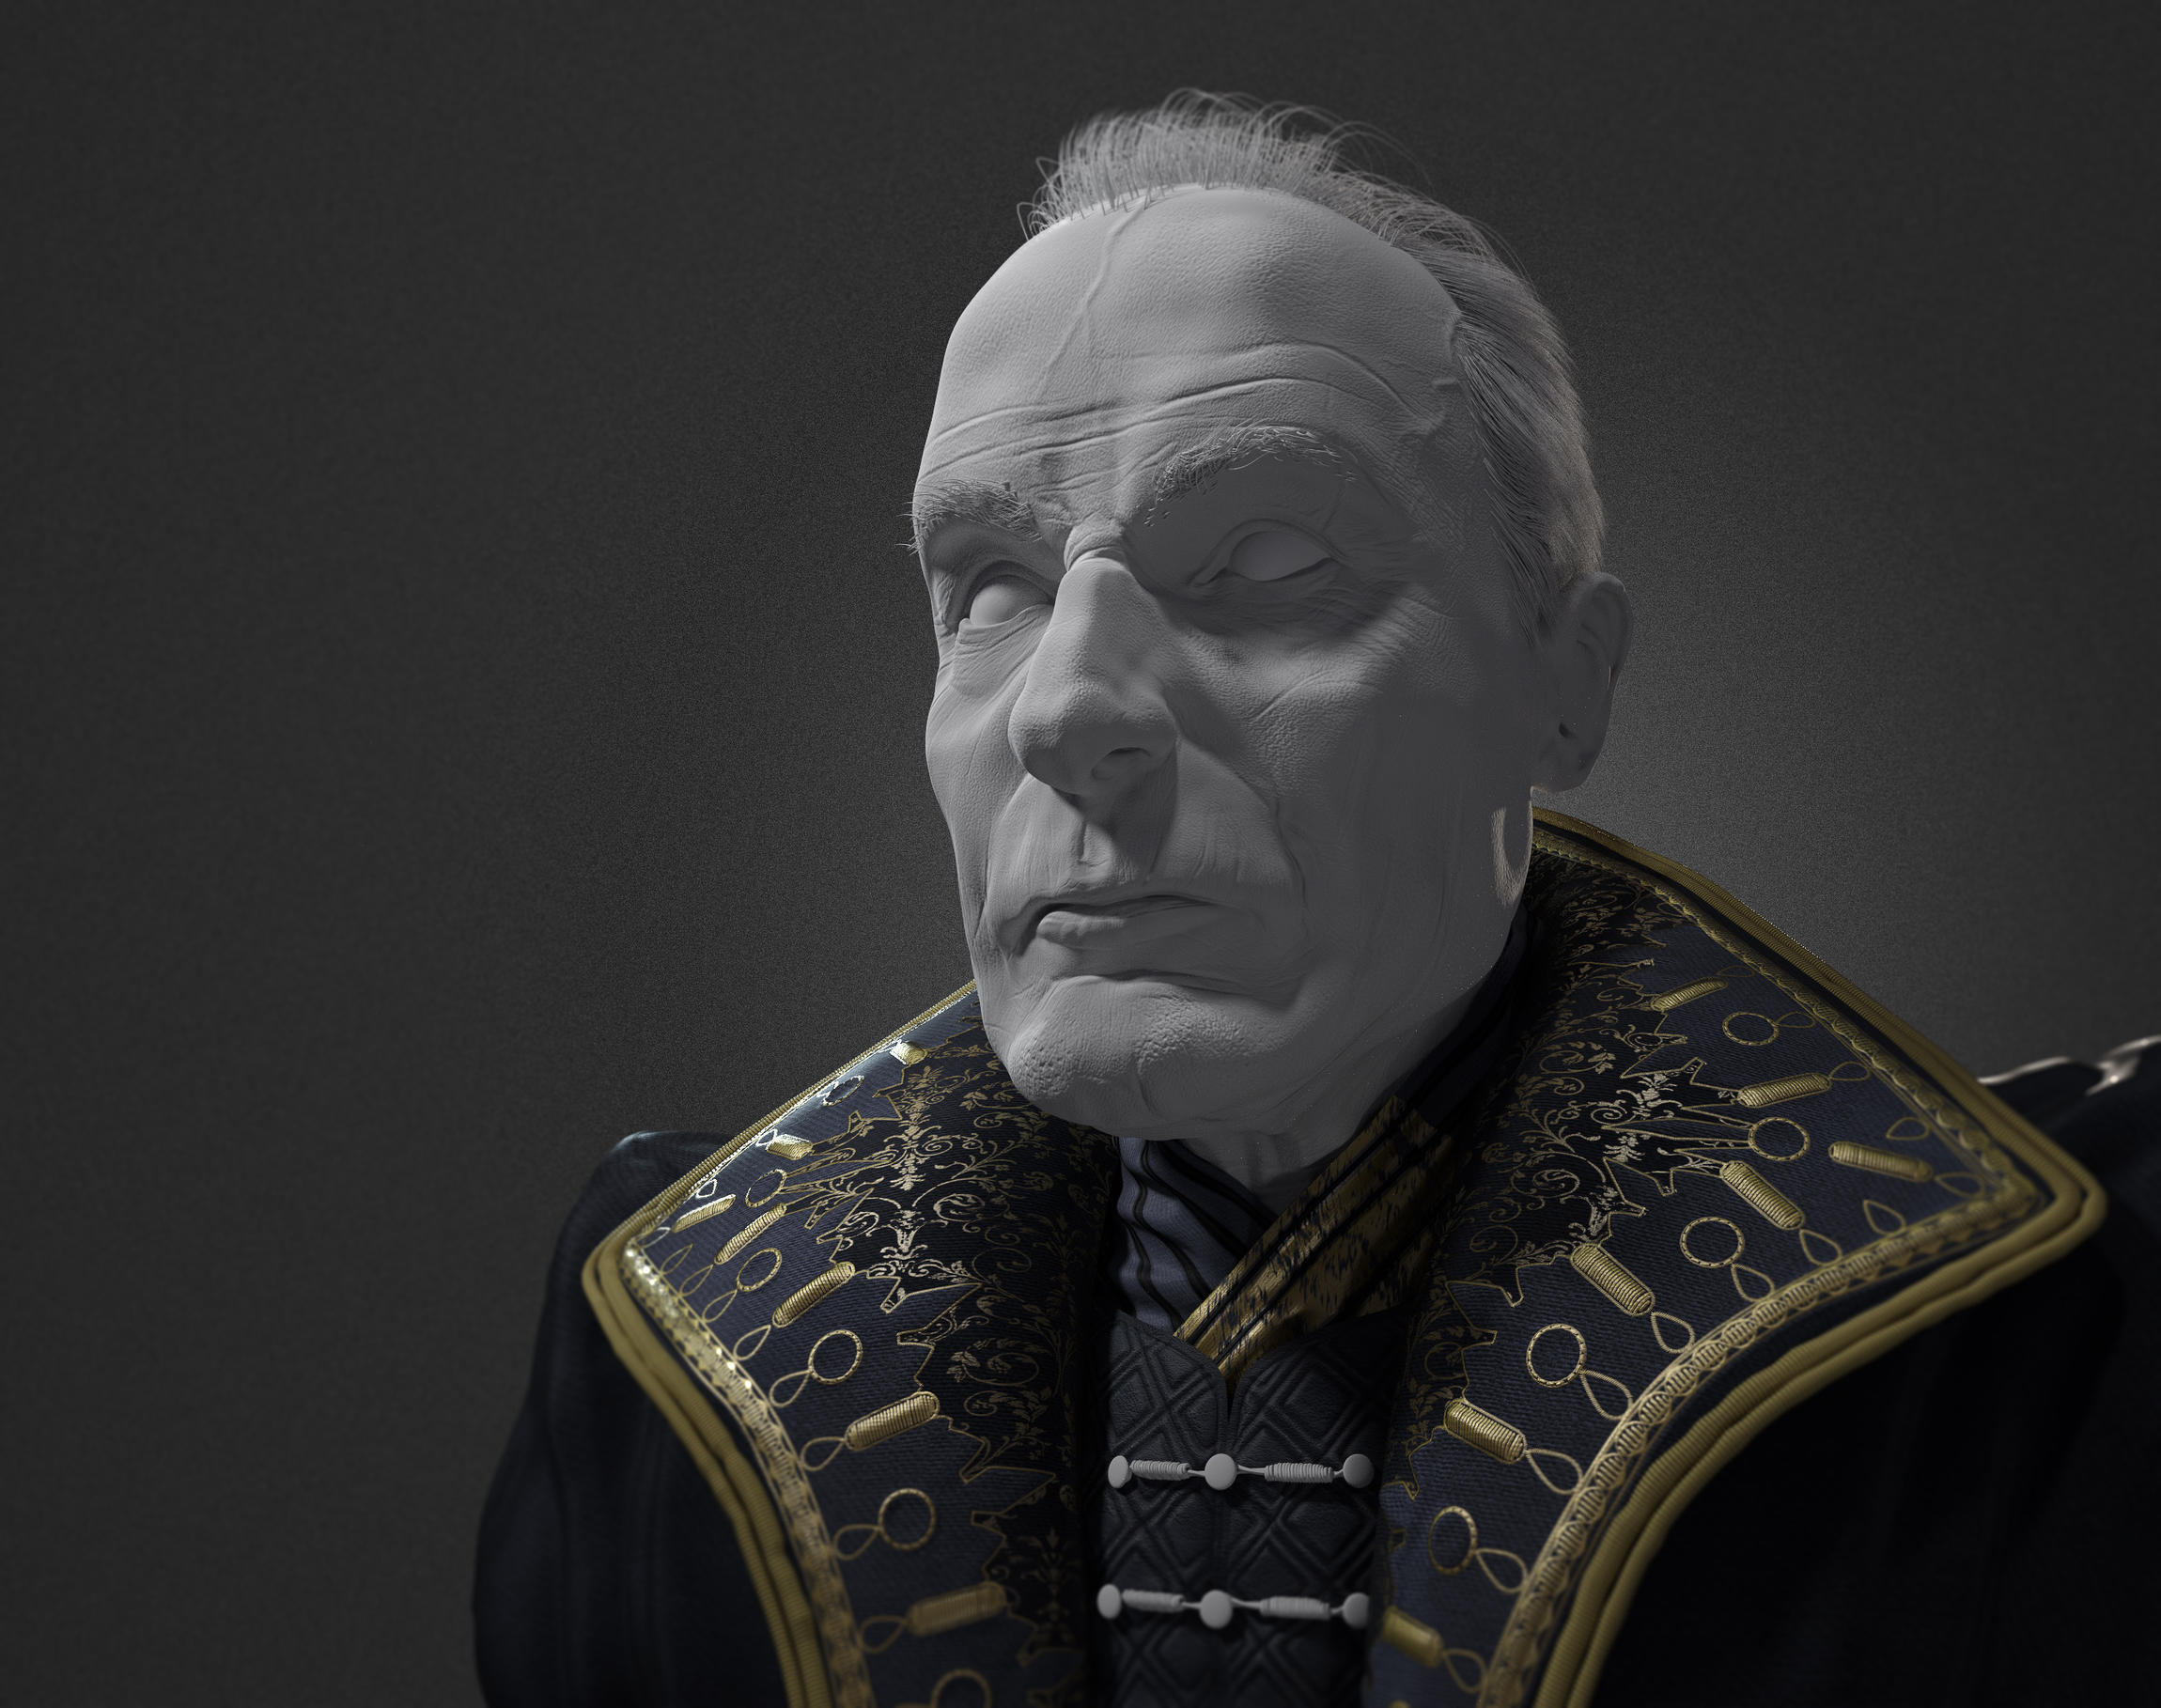
The clothing an the whole clay render in your latest update looks great. Just nitpicking a bit: I wonder where this little yellow spot on his collar behind his head is coming from. Did you use a yellowish back light?
I met big difficulties on the clothes to get to a descent result.
I should have used micro mesh insert in Zbrush and sculpt these but I don’t know how to
So I’ve played with maps and ID mask, adding bumpiness, displacement and I think that works pretty nicely.
I’ve headed to something more colourfull than the original character wich is in all shade of greys…
I need to add jewellries and stuff, but I’m nearly done with the cloth for sure.
If you know any tricks to make them less plastic like and more fluffy, your comments are welcome
The corresponding timelapse will be soon available.
In the meantime, I’ve met a problem I’ve never tried to solve and open a topic on Cgcookie communty and we end up with a pretty descent solution to ourput specular passes from your render.
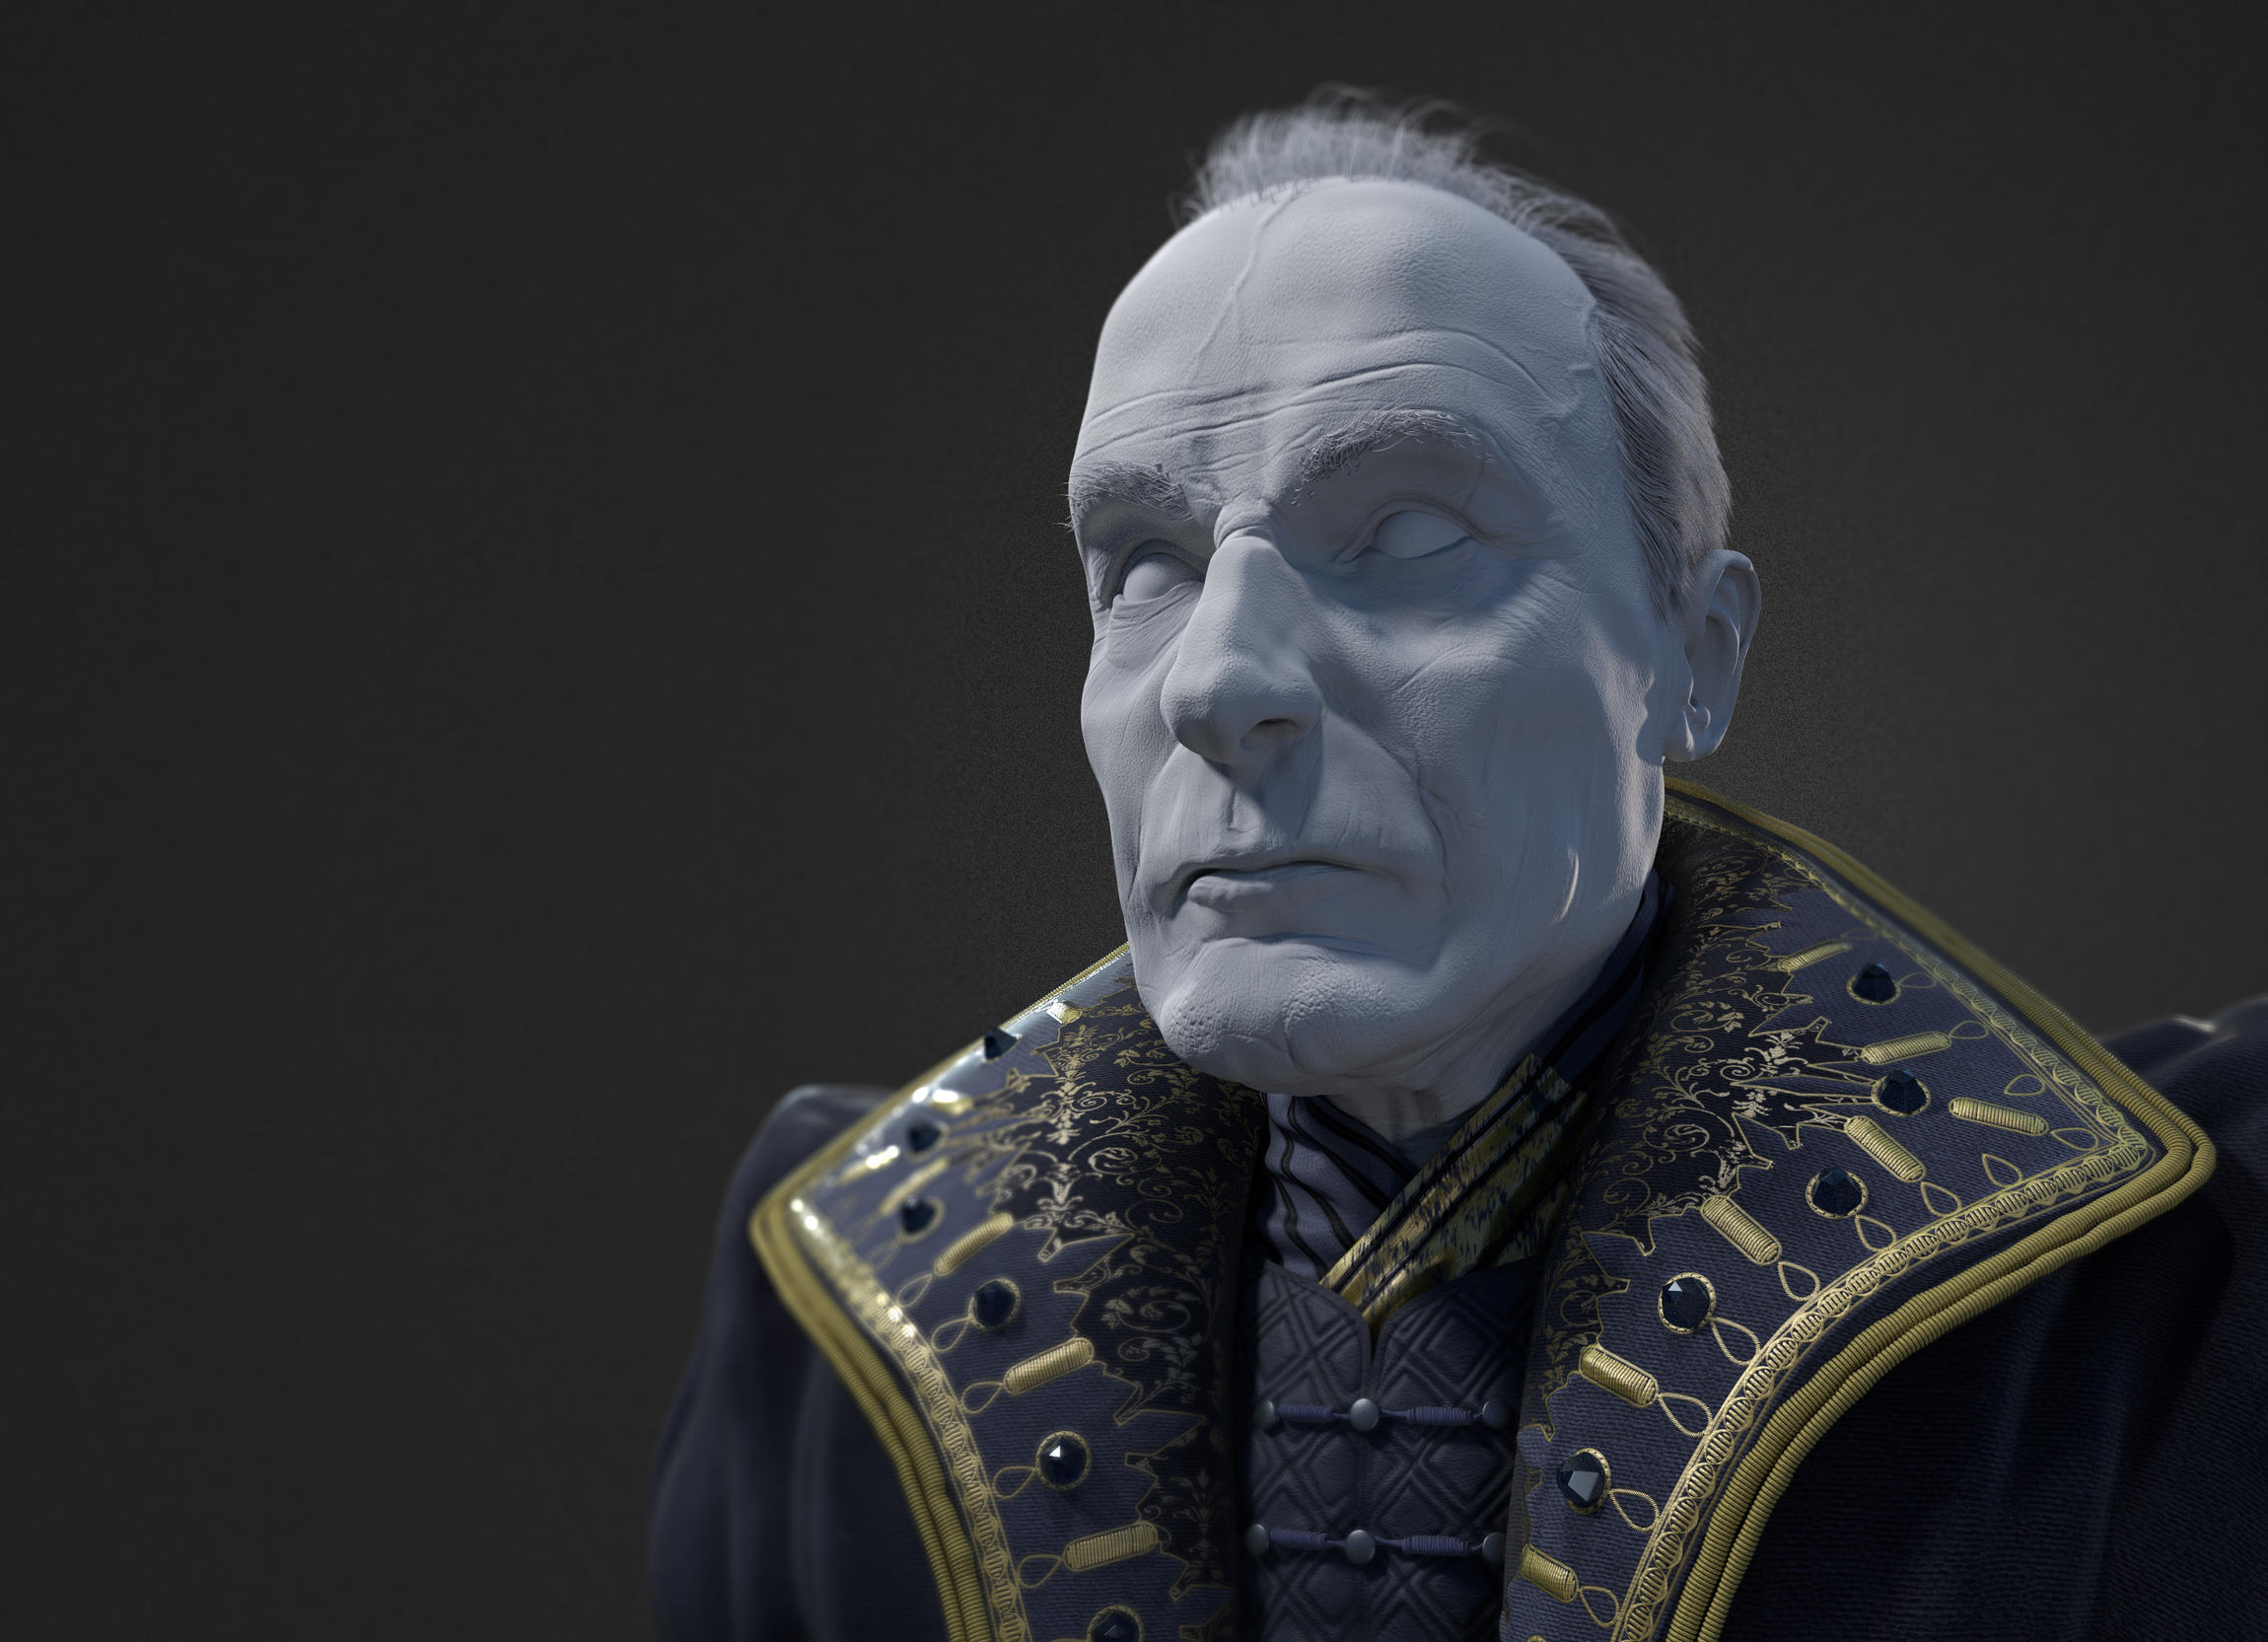
It is looking good from this angle (and from the other angles also) - but I think his skin is too gray. Is that because you are recreating a special look?
Yes, He’s a Vampire, kinda lake of O² in his blood
I’ve made him a little warmer on the final render stage and I will work on tones during postproduction but it will probably look even colder, I don’t know yet.
The eyes have a slightly emissive shader in the iris to mimik the original character

 I never heard of Bill Nighy. But I googled him and the likeness is spot on - the face distortion from the small viewport lens is quite visible. I wonder how he would look with a more appropriate longer lens?