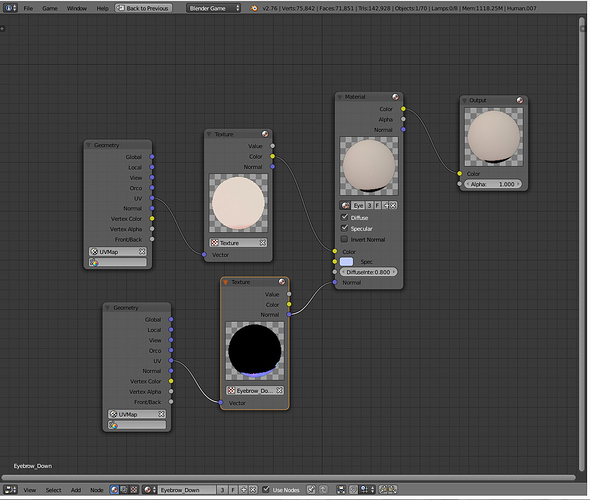
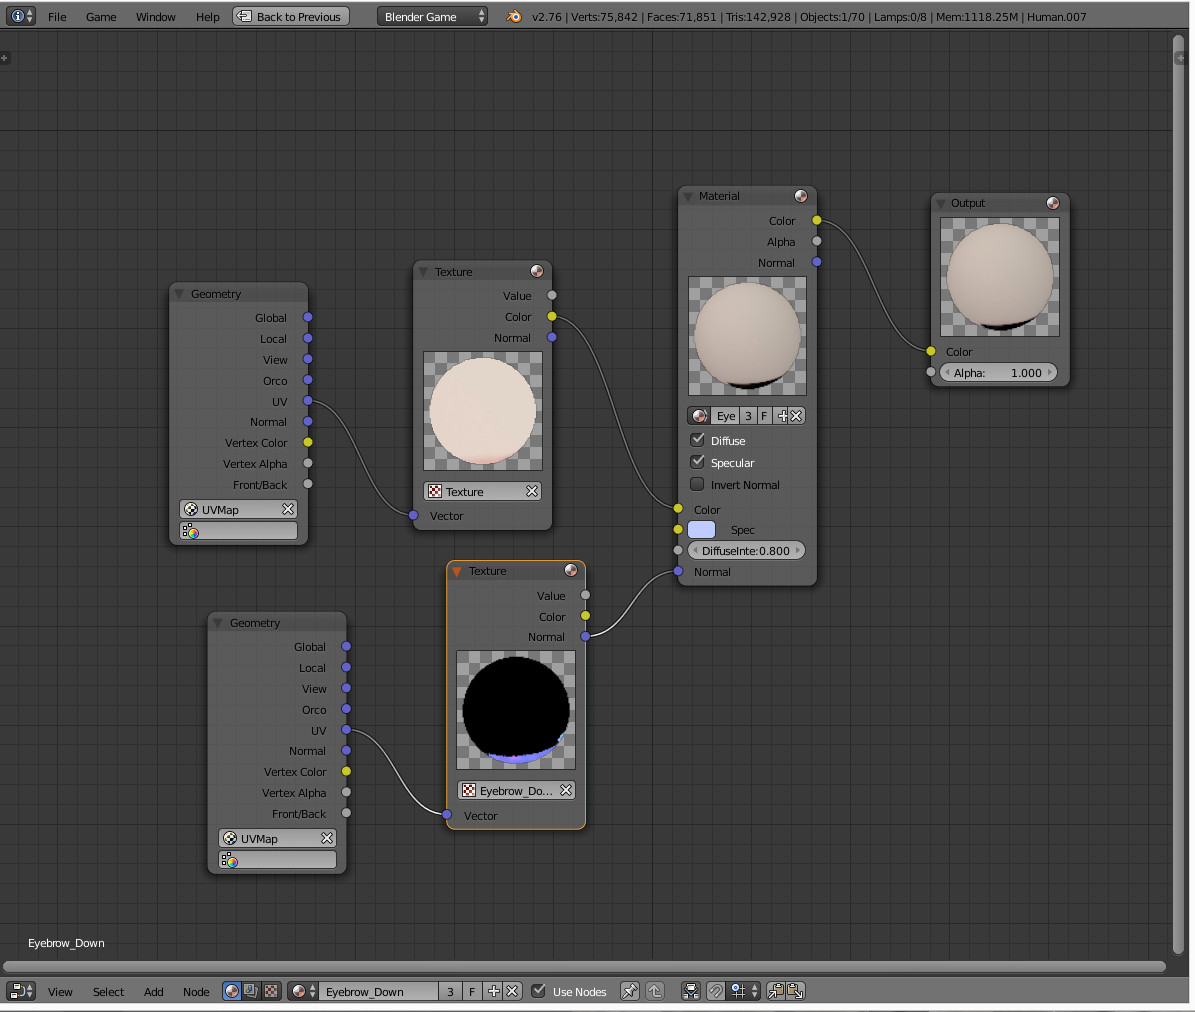
I’m trying to setup a material with all textures being input within the node system but I cant get the normal map to work. The diffuse works fine, but the normal map comes out flat and dark.
bump
Can nobody answer this?
You can get pretty close to a typical normal map effect by trying to modify the normal map data with a few more nodes, but getting it to render in a way that’s fully accurate is a difficult task unless you have a strong knowledge in the way BI handles vector and normal data.
I know because I have tried myself, the BGE uses the BI node system and it’s just not possible to do it in a straightforward way.
Well I have several normal maps that I would like to mix dynamically using the lamp data node as the factor, and you are saying the only easy way to mix those maps in is using multiple materials, each with it’s own normal map?
Can you share the modified way you talk about or give me a link with something to read so I could try it out? I can’t believe there wouldn’t be an easy way to do this. This seems so basic…
If all you’re doing is mixing materials together using a mask, then it would be far more practical (if not clunkier) to just use more than one material.
When the BGE’s GLSL renderer was developed late in the 2.4x series, the intent was simply to copy the material system used with the old Internal engine (with no enhancements of its own). That meant the BGE’s node system isn’t a ‘true’ one by modern standards and is mainly seen as a fancier way to blend materials together.
Well, my only reason for not wanting to go with the mixing materials option was because I heard that the more materials you had in a scene, the worse the performance got. And I might need 6 or so materials for this, which would all be on several objects in the scene at one time.
If you keep each material simple it shouldnt be any worse than having one big complex material. That said, using nodes is never that fast and you can get quite a drain with complex node setups. Is what you’re doing necessary to your game? Would the result be much worse without normal maps? Sometimes you have to make a trade off between performance and aesthetics.
I think he is trying to make wrinkle maps, for actors faces **
though I could be mistaken*
Yes indeed BPR I am trying to make wrinkle maps. Perhaps I should have stated that earlier. I pretty much have them working good with materials, but they don’t have a good control system. I’ve been told that the only good way to implement this is with some kind of glsl vertex shader. I think I could do it with python through.
With animated textures, especially on rigged characters I tend to use object color as a UV scroll. That way I would lay out the wrinkles on a strip (like 1024x256 pixels) and then grade them along the strip in 8 tiles, like first tile is not very wrinkled and the last one is very wrinkled. Finally I’d use object color as a driver to move the x axis uv coordinates along the strip as needed. If I had multiple areas to control I’d use different channels of the object color, red=left eye blue=right eye green=mouth.
For normalmap to tangent space converter look in binaries parallax node setup. He has a group for this task there.
Interesting approach, but How would you drive multiple expressions at a time, like forehead_left up and right_side_smile?? As far as I know you can only use one object color for that and it only works if it’s attached to the object that has that object color animation. So you will only be able to drive 1 expression, unless somethings wrong with 2.76b
The cube should turn white when you press space bar, but it does nothing since you’re using different object:
Attachments
Object_Color_Fail.blend (490 KB)
To use object color as a driver you need two materials in the nodes. One set to shadeless with object color enabled and the other one for shading with object color diabled. When you change the object color it only affects your driver material. Take the color from that and use a separate RGB node to provide three inputs. Now you have three handles to drive modifications of your node setup in real time.
I use this when I want per object control. When I want per scene control I use color input from a lamp.
Hello.
Was facing the same problem many years ago - wrinkling cloth when bending.
Normal mapping with node - not mine. I can’t remember where I got this.
normalmapping.blend (186 KB)
Enjoy!
mziskandar - Thanks! I will test this to see if it’s better on performance or not.
Smoking_mirror - I’m sorry, I’m having a hard time understanding you.
Have you tried changing the colour space to Linear?
This doesn’t seem to be available from within the node editor itself (except in Cycles mode), you can access it through the textures sub panel of the properties panel when you have the node selected in the node panel. Look for Image -> color space.
This setting defaults to sRGB because most image based textures have a baked in gamma correction.
I can’t get this to work with my material. I copy/paste the “normal map” node into my node system and connect my geometry and texture nodes and nothing happens. It’s like it’s not even there. Does anyone know what’s with the cycles custom property on the material? It won’t let me delete it.
kayoslll - Yes I changed it but it doesn’t do anything. I’m not sure what it would accomplish.
Bumping this thread, because there’s been a new commit that adds the Normal Map node from Cycles to the Blender Internal and GLSL material systems (so it should work in the BGE).
https://lists.blender.org/pipermail/bf-blender-cvs/2016-April/085820.html
In short, no more complex and difficult workarounds, period (so this discussion may now be obsolete).
excellent news 
Awesome. We won’t need to make a long node group just to convert texture to tangent space:)