Hello everybody! After 3 weeks using Blender for first time, here is my “progress”. It’s a bit embarrassing due to the high quality of the works that people post in this forum, but you know, in fact it’s unvaluable the opinion the of rest of the people in order to make a better learning curve and fix wrong things…
The main problem with that model is the insane mesh density: 5.397.770 verts, prohibitive to export for games and hard to work with, most of all with my comp specs (core duo 2.4, 4gb RAM, AMD HD5850 that doesn’t allow me cycles gpu, so only cpu).
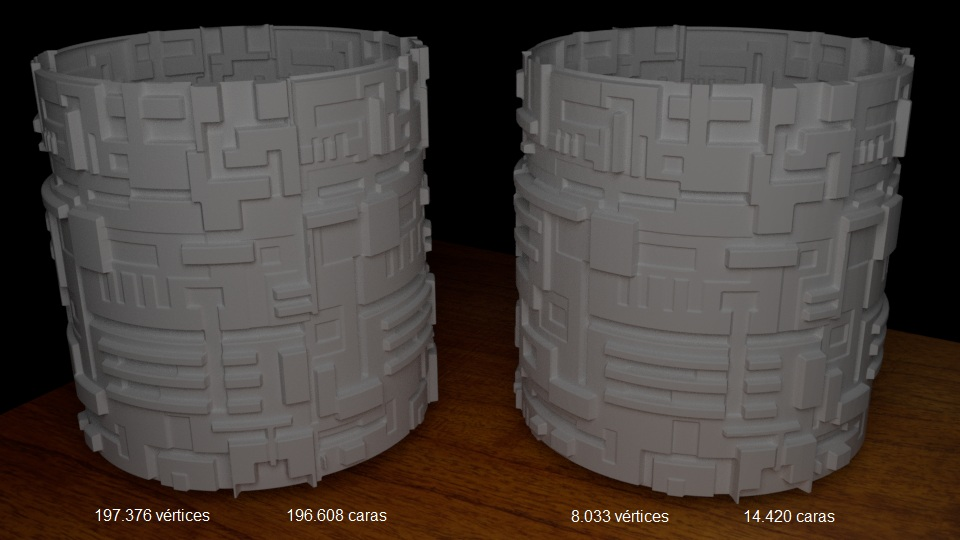
So next step was decimation:
From 5.397.770 verts to 974.683. Not bad, but still a monstrosity. The thing is that decimation deformed meshes having impact too on textures and reflections, but on the other hand it added a sort of damaged style and homogenized gamma on all components in some way.
I guess the problem is a bad modelling from the start, not low-poly oriented, and making too many unnecessary subdivissions, but I couldn’t get enough bumping effect for the displace texture with less. I really need to learn the right steps order, and when to add complexity.
I made a single testing right after and it seems it works way better starting with low poly, then subdivission, displace, and decimate, here’s the comparation:
(vertices = verts, caras = faces. Wrote it in spanish xD)
Definitely better, but I still find it heavier in order to add more meshes and exporting it, and I still needed a 6 level of subdivission modifier to get the displacement. I guess the next step to solve this is learning retopology, beside of the huge amount of other basic things I have to learn yet, like lightning most of all, but as I said it’s hard to make real time testings with my comp specs xD
Waiting for your opinions and your suggestions for a better learning curve, I have the feeling I’m trying to touch so many things, in a messy order.
Thanks in advance!
New version with an alternative method: applied the displacement texture right in the material with math multiply instead of modifier. The result is not exactly the same, not so strong and can only be watched in render, but it goes from 974k verts to 20k.
Also deleted the most problematic parts: sphere and circle at the front side of the main cylinder, now it’s time to add some details there, maybe positioning lights and the union of cylinder with those 2 tubes.
The final version looks better. Maybe you can try to model some parts instead of using displacement. Is boring and slower but you can decrease a lot the number of polygons in the scene.
I’d add as well, when adding detail, do not think it all has to be one single mesh, unless you are going for super close up, all the details can be separate bits within the one object. After all, it isn’t often in real life you have that sort of detail unless it is bolted or welded on.
Thanks for the suggestions, taking them into account for future models.
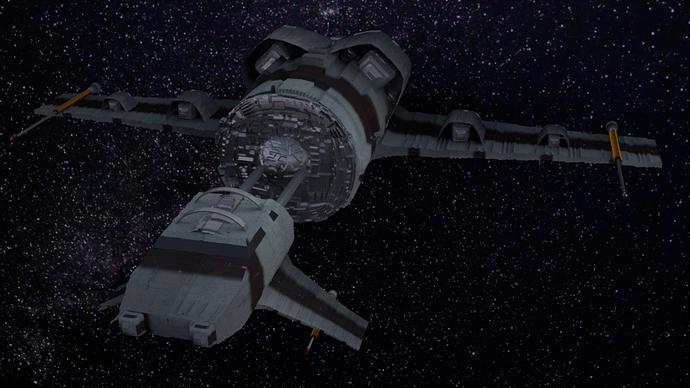
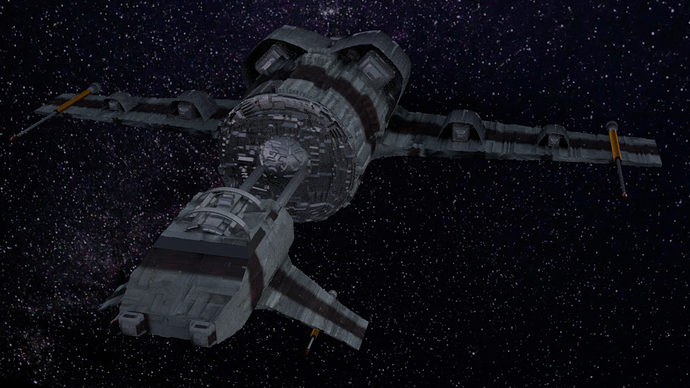
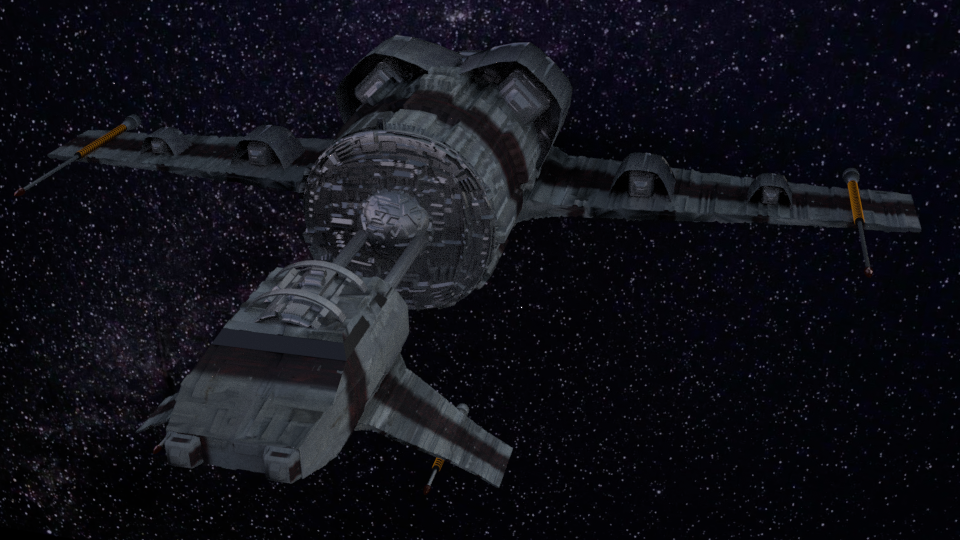
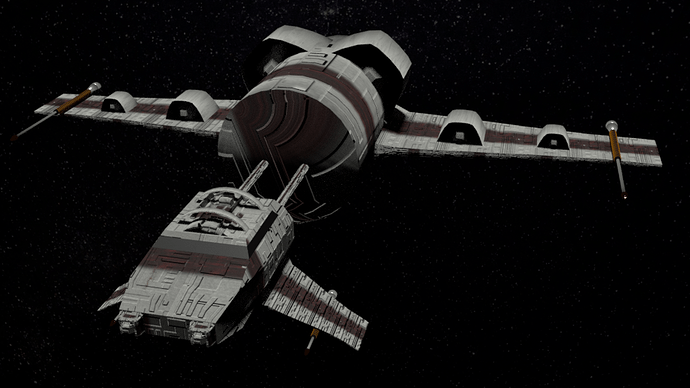
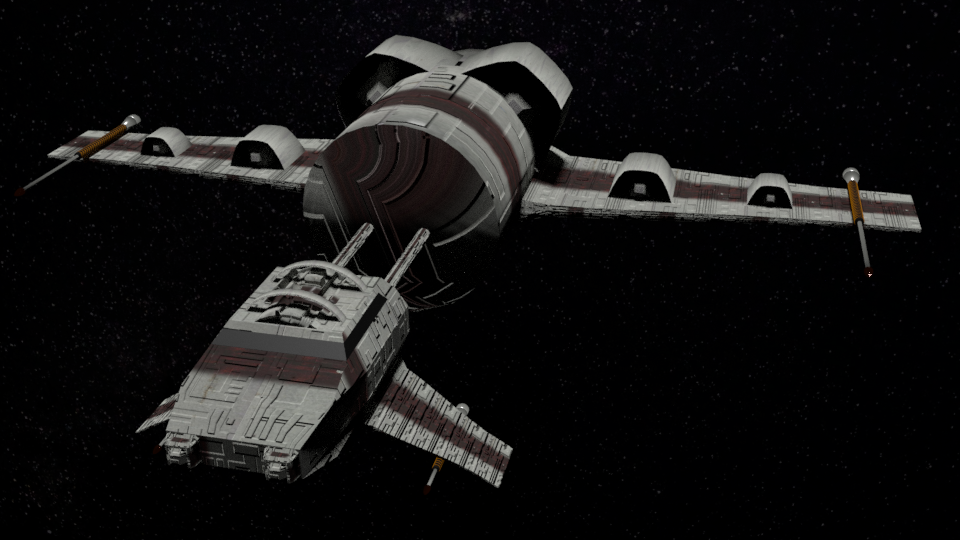
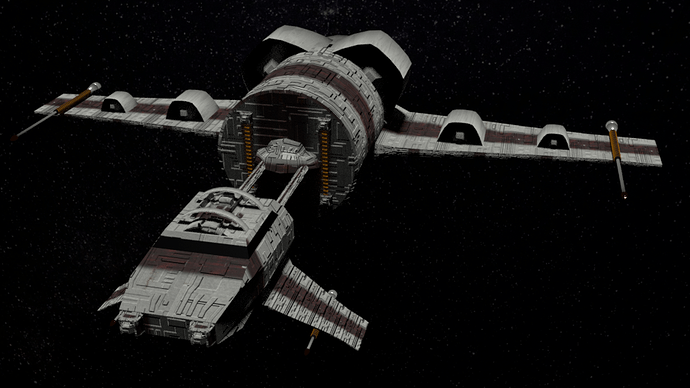
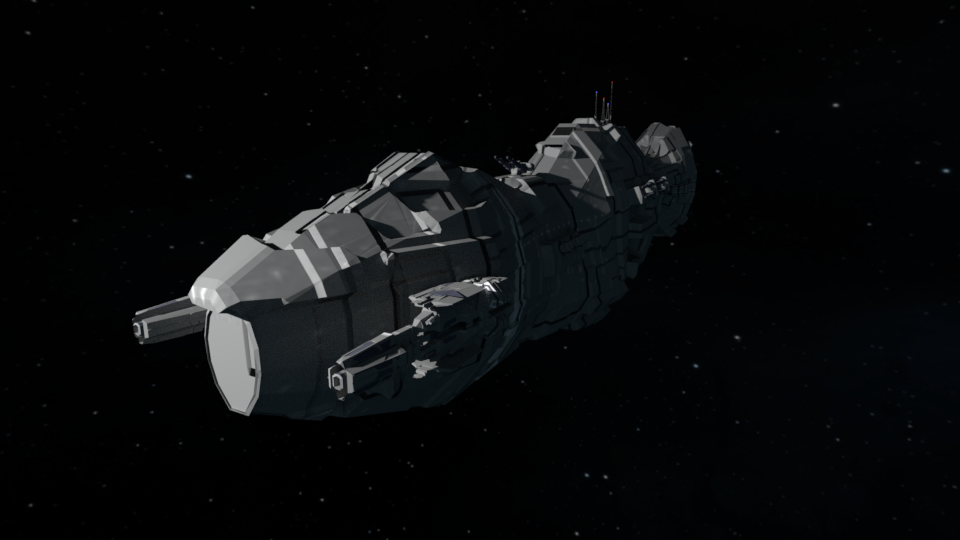
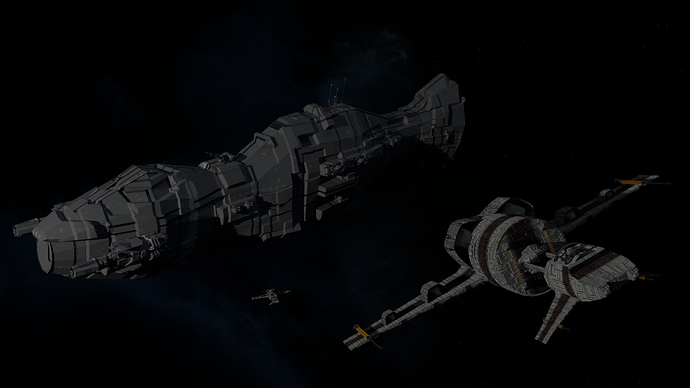
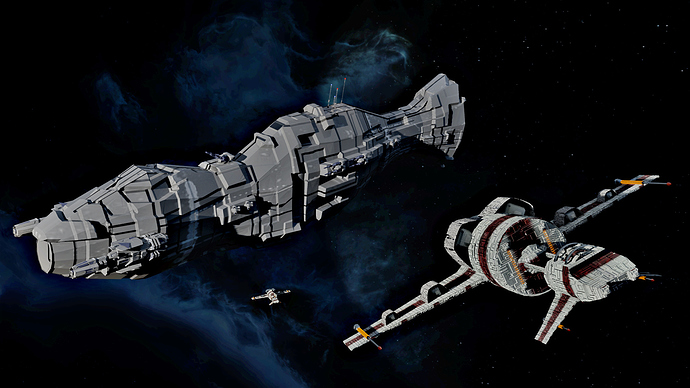
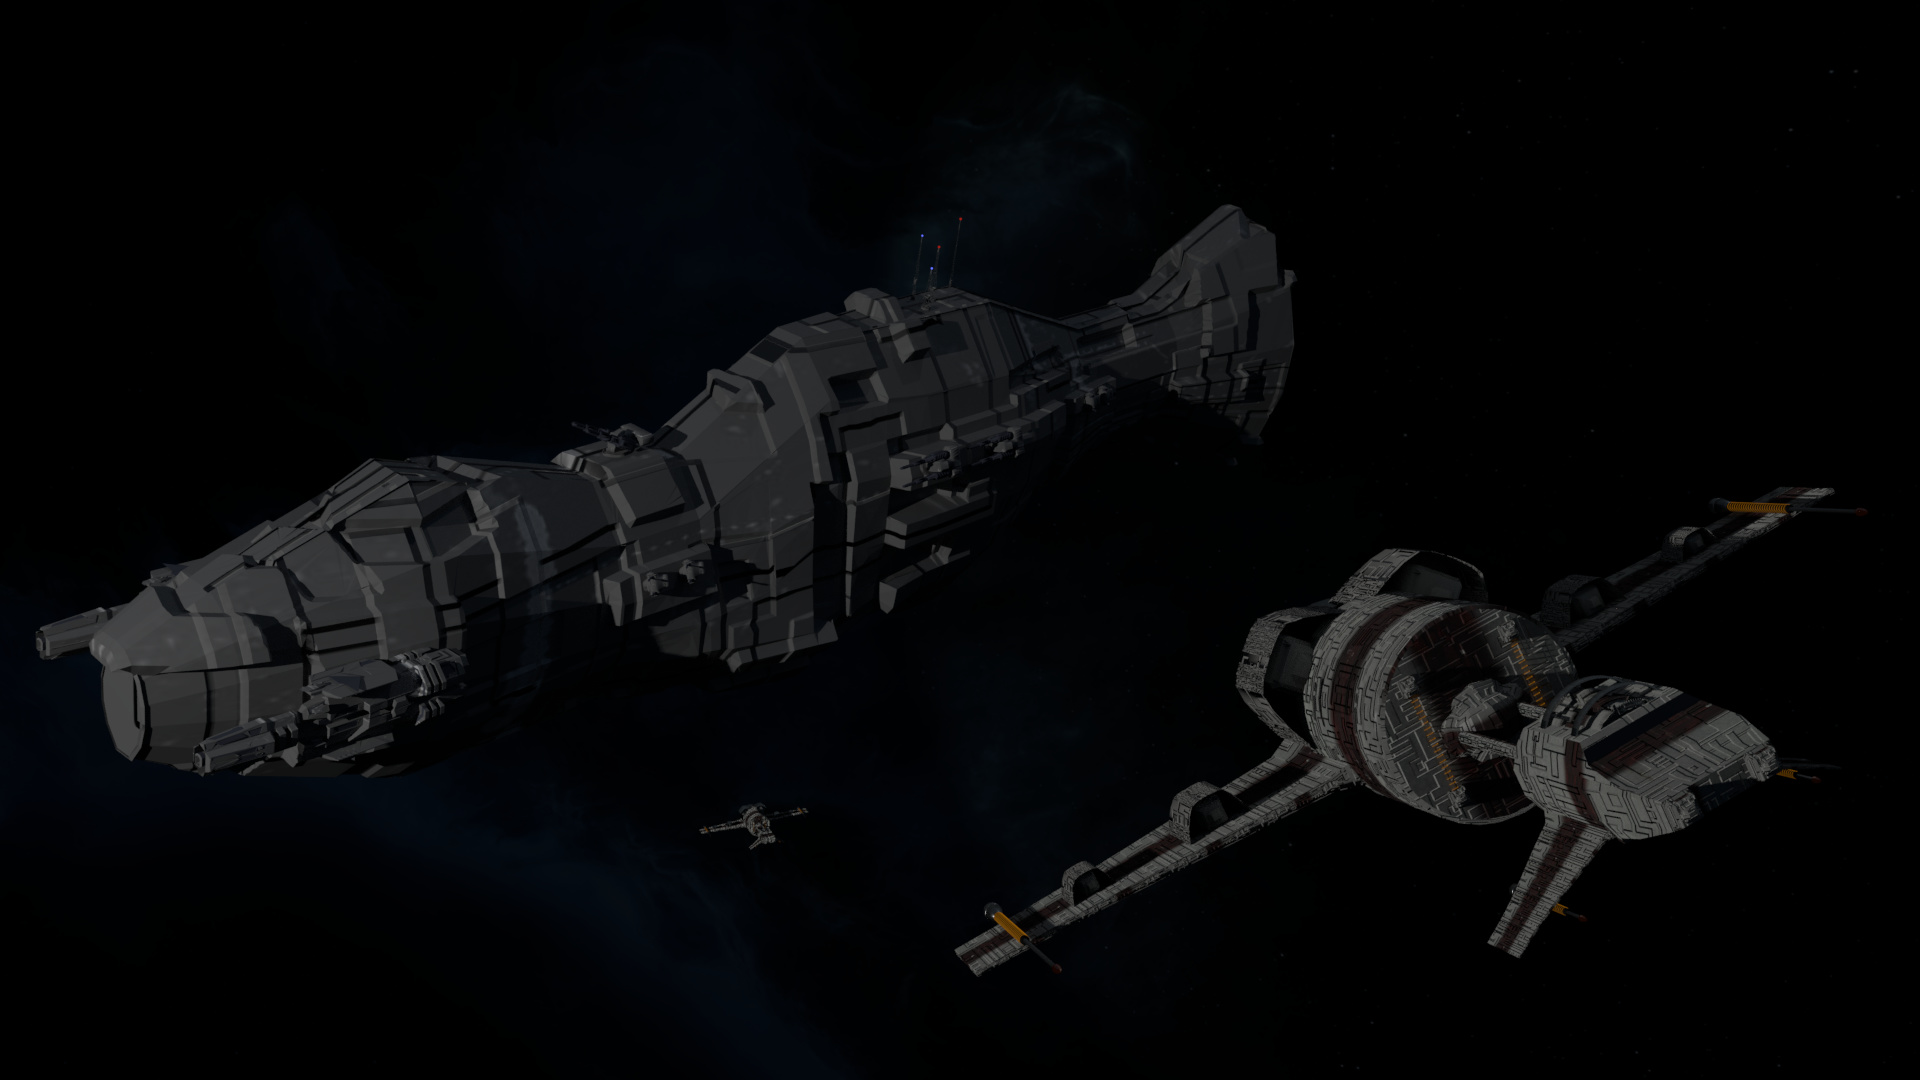
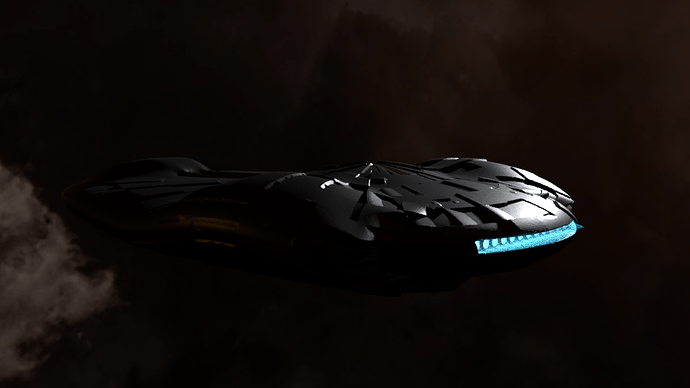
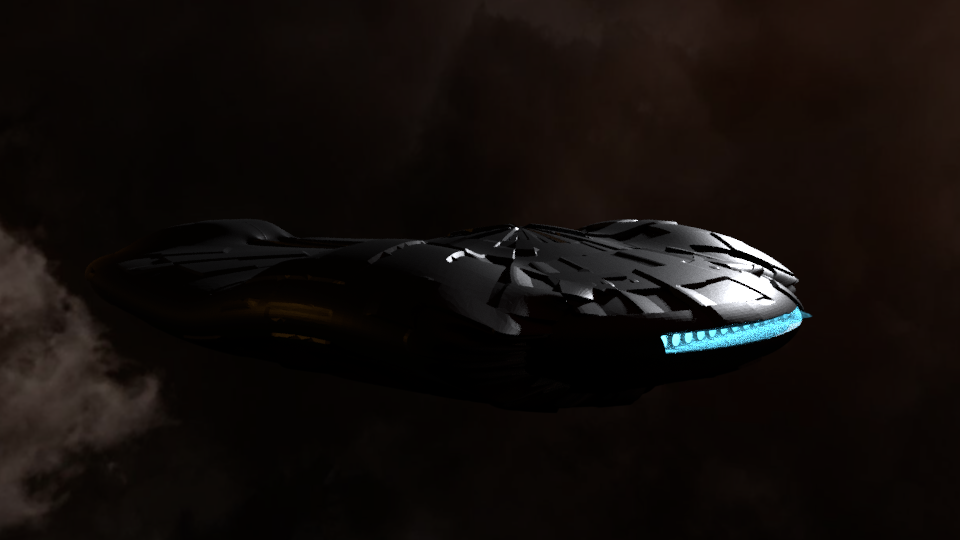
In the meanwhile, family grew up! It’s turn for capital ships, here’s my combat frigate:
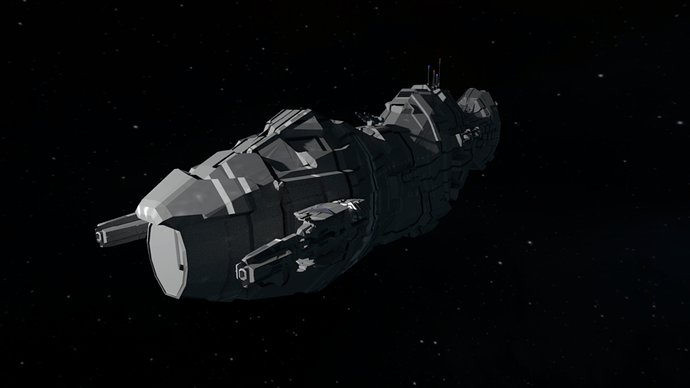
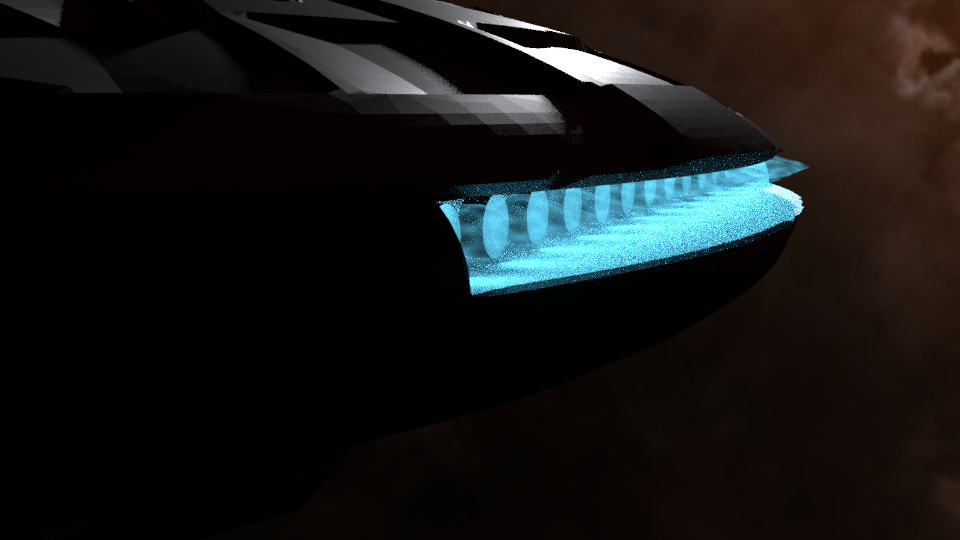
Detail of turbines. I tried to simulate the turbine emission without any composition, just directly working on the material itself. In the end I was able to do it somehow mixing a transparent with a voronoi (as emission). Again low render, insanely high noise:
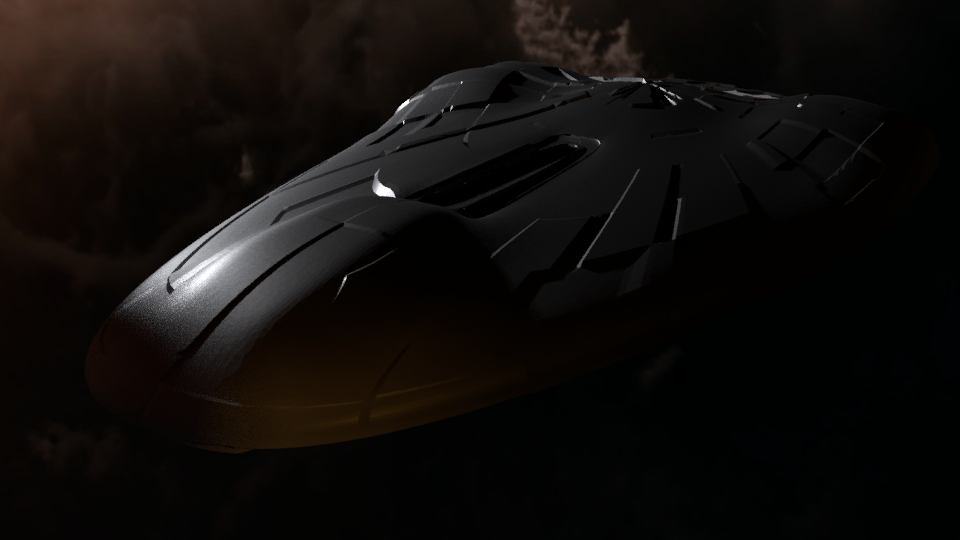
I like the design, but I’m doing again a lot of mistakes. High subsurface to deforms, some crazy booleans, then decimating maybe too much, resulting in lots of artifacts and a crazy final mesh :no:
Please, say something! It seems like I am my only critic! xD
I know Birk, sadly applying smooth completely erodes the displacement : ( So no close views for this one, or at least none from any perspective catching faceted parts or the undesirable mentioned artifacts.
However to avoid these problems and the high densed mesh I changed the work method to pure manual modelling as you suggested (thanks for the tip!); it’s just hard to leave behind the displacement modifier, so fast and so beauty results… but yes, the payment is a high poly and a hard mesh to work with. The other way… it might be slower as you said, but not boring: at least that way you feel YOU are directly creating the design, instead of an algorythm : )
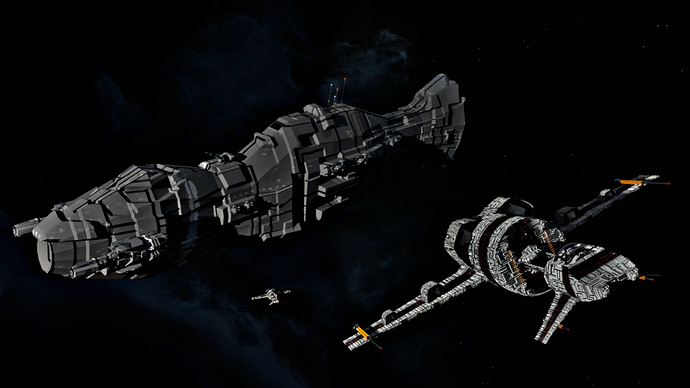
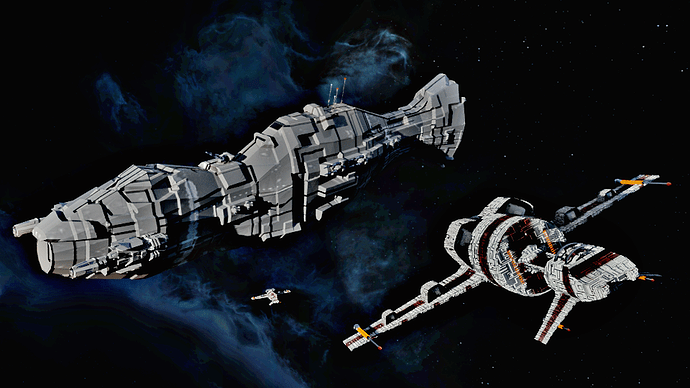
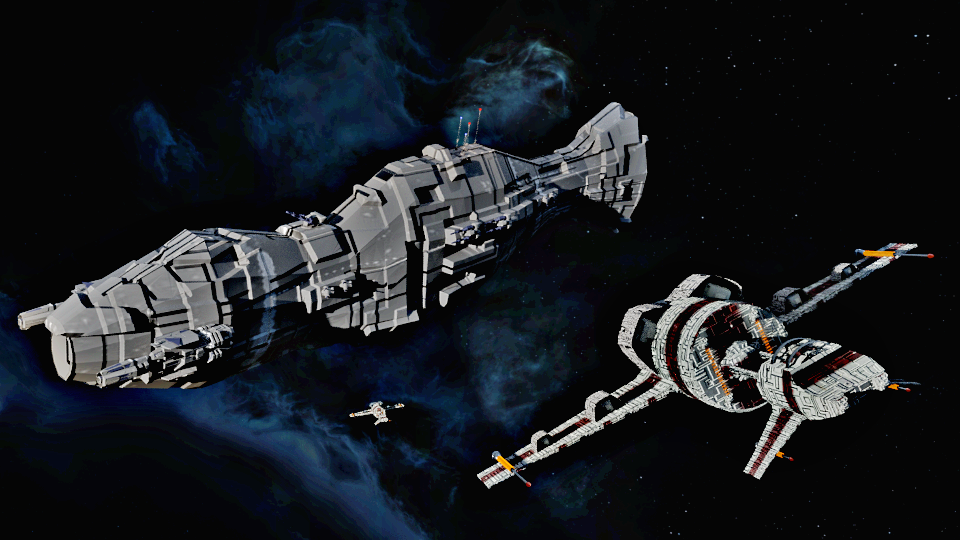
Thanks, Cent! First backgrounds are just images as planes, last one is a HDRI: not to worry with any camera changing, and couldn’t resist the lighting it provided, fitted so well with that ship… : )
I set up my new house.
I cried on my dead tree.
I fished at a lake with one fish
and climbed a little mountain.
In one wonderful day, I conquered my tiny big planet.