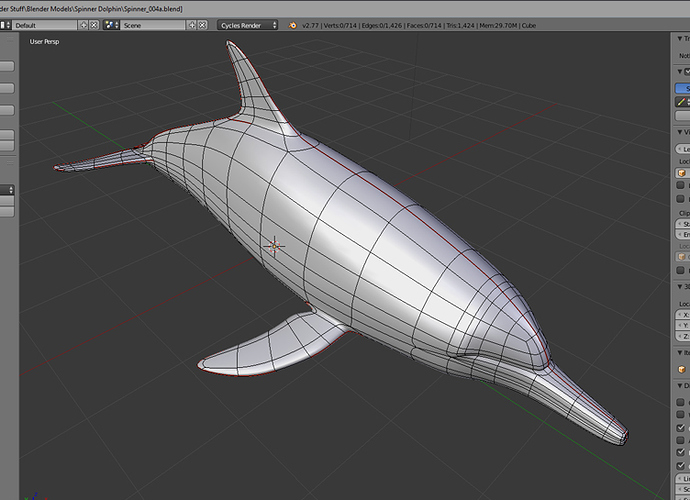
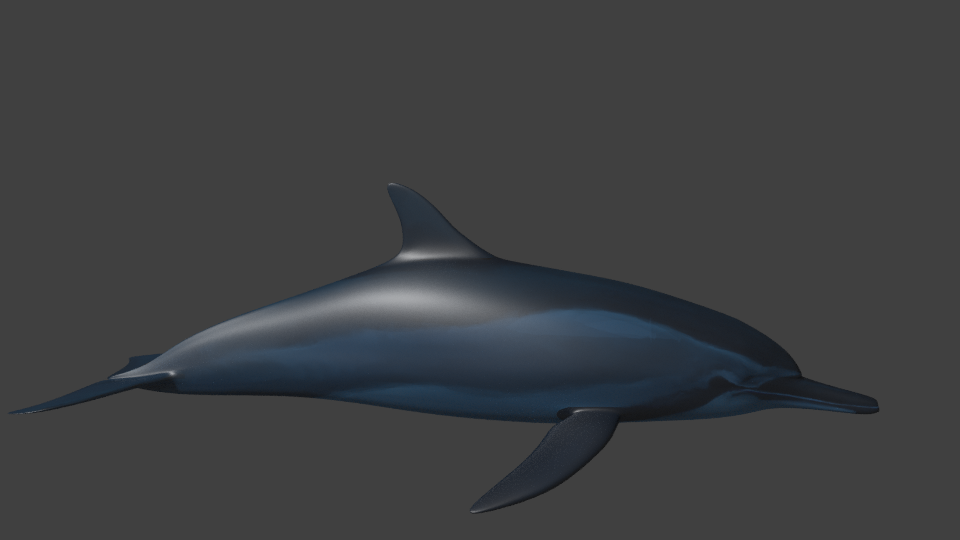
I have a low poly model of a dolphin that I made and am trying to texture paint. Just learning it.
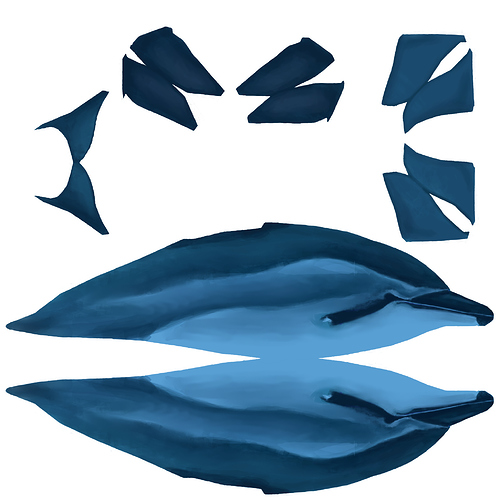
I have made my UV Unwrap. That was fine. I painted it crudely in Photoshop. I made sure to have my paint go beyond the UV islands.
Initially I separated parts of the object with edge split. The fins from the body and the tail.
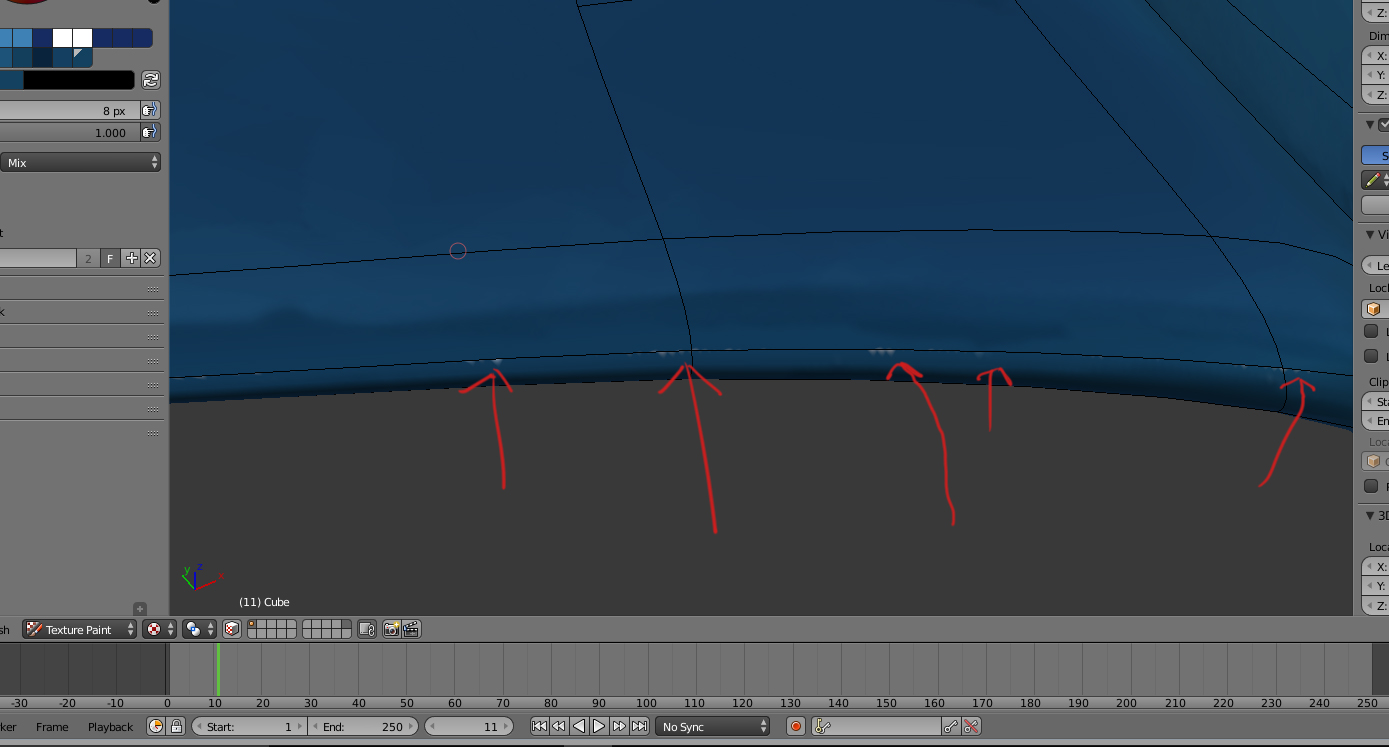
Along areas of the marked seams I have teeny little spots that I cannot seem to paint. They remain white in the Texture Paint mode. I have painted directly onto the model in ortho and perspective. I also painted the islands in the UV Image Editor window also. Nothing seems to work. I also joined the fins and the body parts back together and Removed Doubles to eliminate duplicate vertices. Nothing works. I have a subdivision modifier applied at the 2 level. The white spots only appear when the subdivision is activated.
I have a screenshot showing some of the spots.
Is there a way to eliminate this problem? Or a good tutorial that shows a fairly good organic model being painted and textured?
thanks for the link eppo. a bit too advanced for me. I am pretty much a beginner with with everything but basic modeling in Blender. So I need a slower step by step tutorial. But I will keep this guy in mind if I ever reach a level where i can follow the quick time-lapse approach he uses.
I do not even know where to find the texture bleed value.
Ok, that clears picture a bit.
So you have UV unwrapped your mesh; when you unwrap there is an option on T-pane Unwrap options - Margin. If you have used Smart UV Project, on popup window there’s also an Island Margin parameter. Basically this is a safety margin which allows texture to stretch and still have approximately correct color pixels for these stretching parts. If value is minimal neighbouring pixels might take over.
“white spots only appear when the subdivision is activated” - this is when mesh gets distorted a bit compared to ‘edgy’ initial version.
When you unwrap there’s a checkbox to take into account Subsurf modifier - T-pane, bottom, options. Have you checked this?
Next is if you have unwrap parts/faces/islands overlapping somewhere; all this we do not see here, you do not show, to be correct.
T-pane is the Transform Panel? I did not use Smart UV Project. As far as margins go I have too much space actually around my islands. I could not locate the checkbox for taking into account the Subsurf Modifier when I unwrapped.
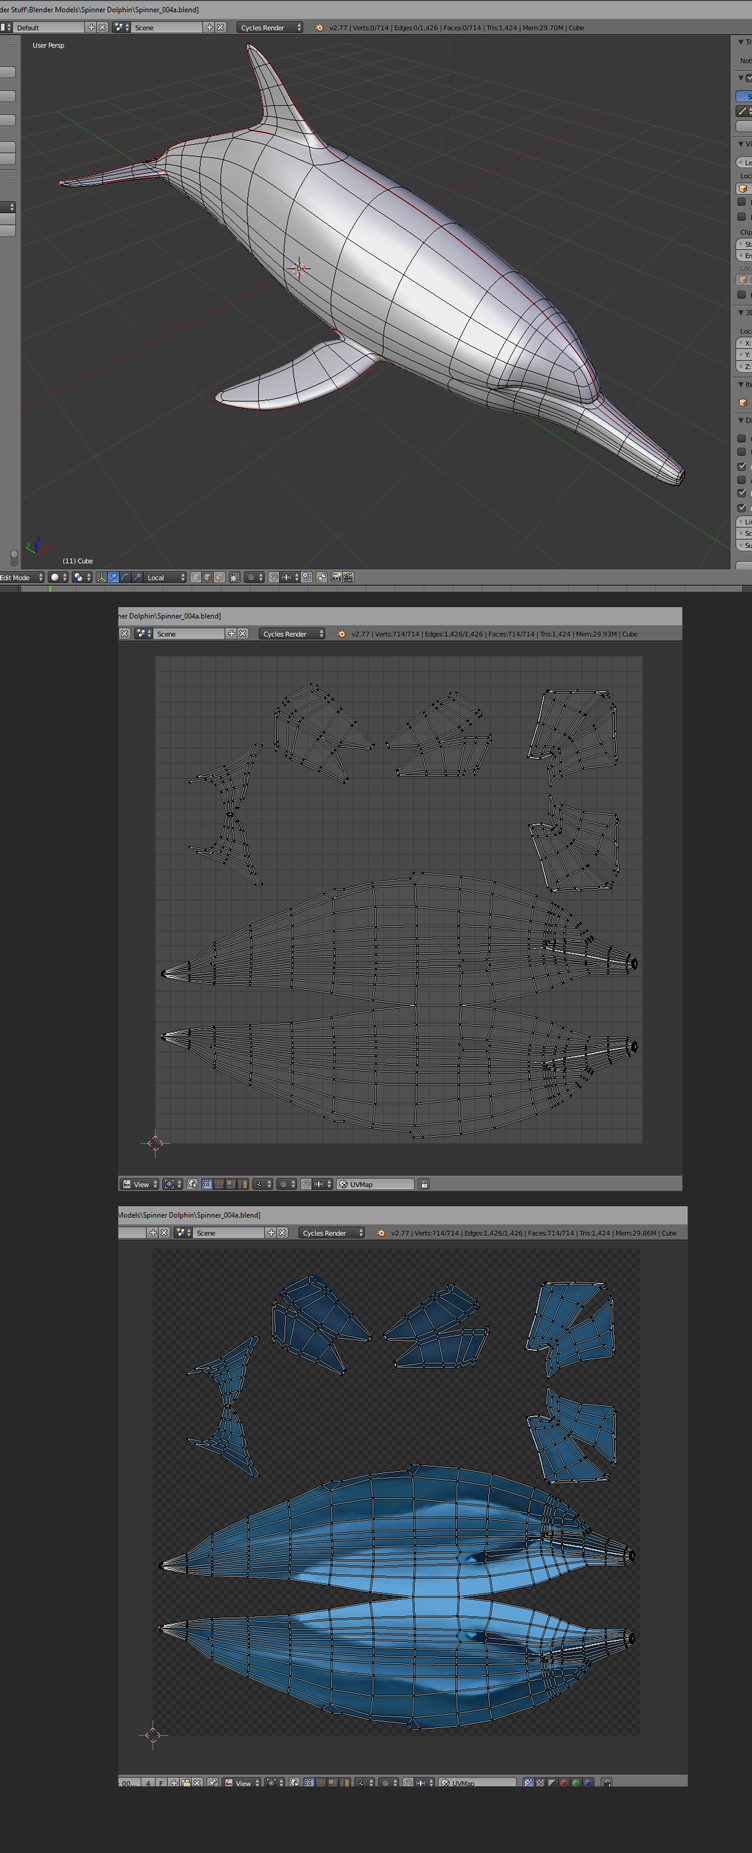
Here is the uv window and my model showing the seams. Some of the red does not show through the edge lines but you can see the uv islands in the uv window.
Thanks for your patience and perseverance in plodding through this with me. I do not want to take more of your time. I am checking out some more tutorials on Blender Cookie for unwrapping and texturing and also hoping to find a good tutorial on hand-painting in Cycles Render in 2.77 or some version close to that.
I could not get to pastal.org When I googled it it took me to a Time-Warner search page…wierd. On an aside…why do I get two images when I insert only one?
Make a copy of your object and apply the subsurf modifier on the copy you will get a UV map with full detail. You should then be able to paint it correctly with the 3d painting tools.
What do you mean that all the island seem to be over the image? Also, when I just reopened Blender and looked at the model I could see no more open white spots. I have no idea why. Hmmm. Even though that is good news, the fact that it wasn’t like that when I had it opened earlier makes me think there is a glitch somewhere.
Nice render Rick.
Emil, thanks for the reply. Not sure I could follow what you suggested. After making a copy do I then discard or delete the original object?
Sorry…pretty noobish here. I will do a bit more practicing. I am not trying to achieve great renders. I am an easel painter and want to create these models so I can create my compositions here, in Blender rather than sketching them over and over from my imagination. In this case there will be about three or four main dolphins diving just under the ocean surface. So I can even live with the bleeding white spots if I have to. I will need to practice lighting scenes also.
Thank you all for your help on this. Very grateful for your time.
I did added some glossy on your nodes set up
and you should like make a copy of your file with new name then apply the subsurf modifier
it should work better and faster
Keep the original if you still need it. I personally prefer to keep my models as simple as possible because they are easier to deal with (model/skin/animate).
The texture image will be shared so any changes you do on the highpoly model will also be on the “low”-poly.
You should also take a look at the options tab -> project paint -> Bleed. Set it to 10 px or something. It will spread the paint a bit outside the UV borders.
“Transform Panel”? You mean one with “Tools” tab on the UI leftmost area (by default, but i guess it might be switched to the right) which you show or hide by hitting “T” on the keyboard? This might be it…
Anyways, as confusing as it might be if one does not use proper terminology, which i confess i use incorrectly, the vertical panel you show or hide using T-key, it has an area at the bottom part which can be hidden (and would show only a little tab with + icon); this is where you find Options after you do certain actions, operations.
Right after you U - uv unwrap this UI area contains fiddly things like dropdown “Method”, checkboxes Fill Holes, Correct Aspect and UseSubsurfModifier, then slider Margin. This all again, is hidden, until you manage to click on small triangle icon near the Unwrap.
So, one more time: small tab and “+” icon, small triangle icon near Unwrap.
Alternatively - hit F6 key after you U unwrap which will show black popup window with above mentioned fiddly bits. http://www.pasteall.org/pic/show.php?id=102523
Nice animal model, btw.
Edit: Texture paint and Cycles do not play quite well. I’d suggest painting using Blender internal renderer and then using resulting image in Cycles.
Thanks Eppo for the follow up and explanation. I am learning fast here. Yes, I am getting feedback about people not liking painting in Cycles and recommending Blender render for that instead.
Thanks again for all your help. And that link to your example was tastefully done…with drop shadows and transparency. Wow. Professional.