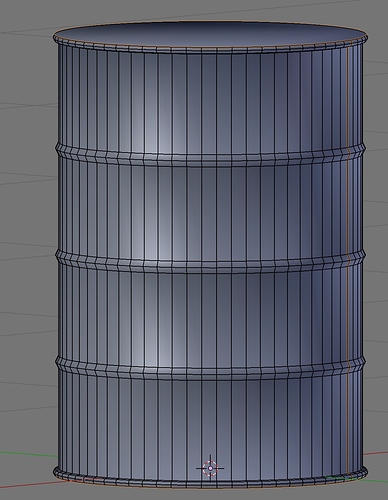
I have made a barrel in Blender however when I go to Unwrap the cylinder the UV map is distorted and the rectangle appears curved around the sides.
Anyone knows what is going on?
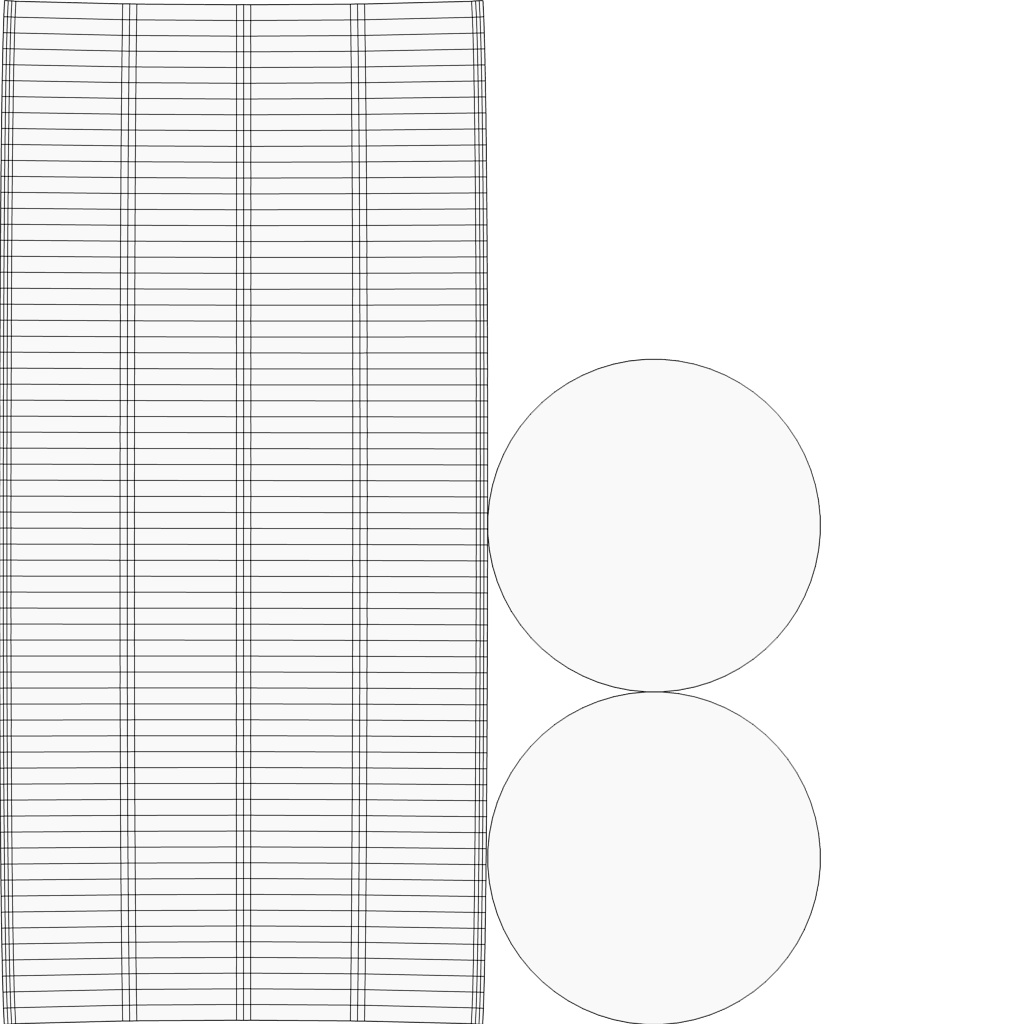
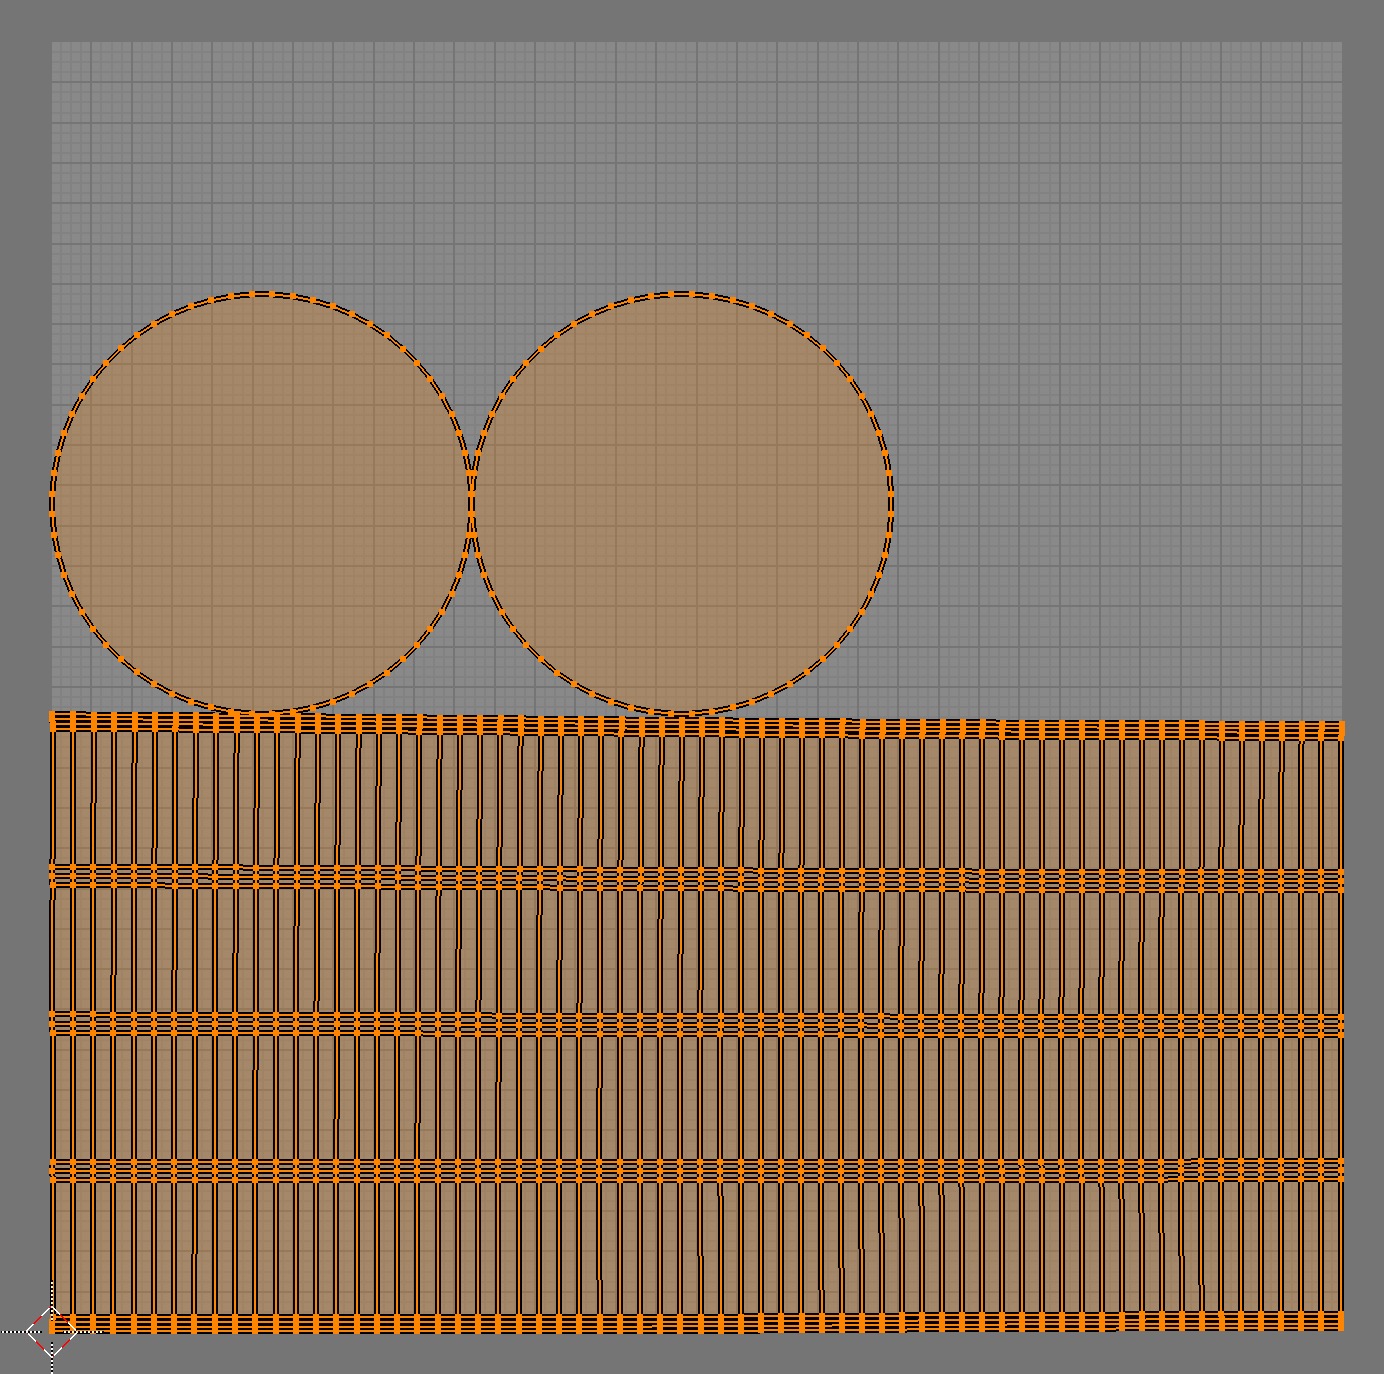
Here is the UV map.
Barrell-EXPLOSIVE.blend (572 KB) Blend file
I have made a barrel in Blender however when I go to Unwrap the cylinder the UV map is distorted and the rectangle appears curved around the sides.
Anyone knows what is going on?
Here is the UV map.Barrell-EXPLOSIVE.blend (572 KB) Blend file
The object is not a straight sided cylinder so you’d expect some distortion.
When you unwrap use the ‘conformal’ unwrap option instead of the default ‘angle based’ in unwrap options to get a better result.
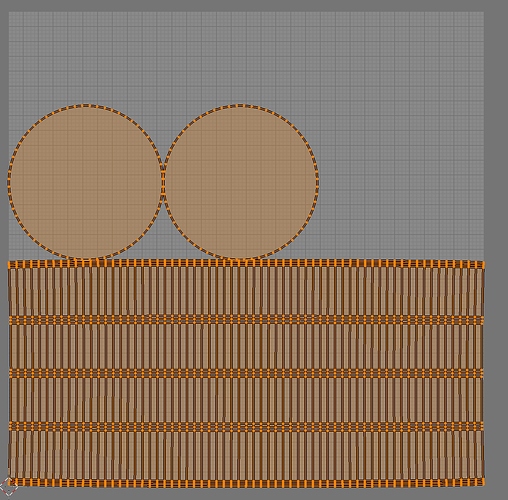
Angle based unwrap method
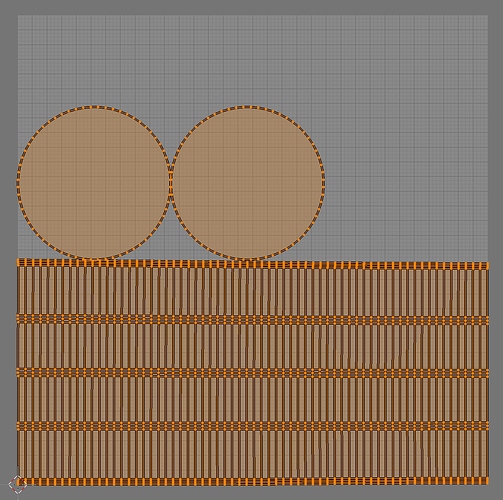
Conformal unwrap method
How is it not a straight sided cylinder???
It what way is this a straight sided cylinder. Can you not see the lips raised ridged you have added at the top, bottom and the three others down the side ?
Yes, but how does that cause distortion, it is not interfering with the rectangle of the cylinder, that should still be a rectangle.
If i add a texture will it be fine???
Hello,
If you have read my previous thread you will know about the distorted UV of a barrel I modelled. This has been troublesome to deal with and I would like to know if I align the UV to make it a square if I put a texture on this then put it in blender will the texture be distorted due to me changing the proportions of the UV map in Blender???
Sorry if that was a bit complicated 
Thanks.
You can visualize the distortion in the UV editor: hit N and check stretch.
dark blue: awsome
a little bit of bright blue is not that bad, if you can’t do it otherwise
green, yellow: death
Think about the geometry of the situation for a moment. (Ignoring the end-caps for a moment …) There are three places along the surface of the drum where the sides stick-out, albeit slightly. And this means that the distance-traveled to go “up and over” that slight curved ridge … is slightly longer, than if the ridge were not there. (The “slightly longer,” of course, is two sides of a triangle, whose hypotenuse is parallel to the drum surface. The sum of the length of the opposite-sides of any triangle is always greater than the length of the hypotenuse.)
The easiest way to handle a drum, or any irregular object, is to do what they do in real life: “spray-paint the thing.” (In Blender, that corresponds to “texture painting.”) Auto-unwrap the drum, then “spray” a texture taken from a flat image onto it. If you want to add grunge and graffiti, consider “spraying” each of these things separately.
“Unwrapping” really doesn’t matter when you’re using texture-painting, and you deal with the effects of any distortion by your sheer artistry as a painter. 
Try making the sides of the object with a single flat sheet of paper. You can’t as you need to stretch parts of it.
I am currently making the texture in photoshop. So do you think I should texture paint it in Blender???
Actually, I think I heard you could do that in Photoshop now. But the UV maps it makes are terrible. So do you know how I can import a custom UV map into Photoshop Extended?
Go ahead and create a texture swatch (my term …) in Photoshop. Consider each one of these to be a source … possibly one of several sources … of texture-image data.
Then, using Blender, “use it as a paint-palette.” This process will leverage Blender to create the actual image-texture bitmap that Blender will use, in conjunction with an object’s UV-map, to texture the object.
The essential concept of “texture painting” is that you use a “spray-gun” (my term …) to suck pixels from a source bitmap (that you have created in Photoshop …), and “spray” them onto an object, very much like you could do if it were physically there.
The sprayed pixels “land on” a separate bitmap that will become the source of the object’s final texture.
Conceptually, as you move your “brush” across the Blender screen, you pick-up pixels from a designated area on the bitmap that you’ve currently designated as the source-map of your brush. Blender now calculates a projection from the 3D-viewport plane to the object, then uses the (probably, auto-generated … why not?) UV-map to compute locations on the target-bitmap.
(In other words, it is using the UV-mapping in reverse …)
Blender updates the pixels accordingly, merging with whatever is already there. The workflow is, basically, exactly like real-world spray-painting, “but without the splatter and the paint thinner.” 
Obviously, this technique is a very powerful way to achieve realistic textures, because it more-or-less mimics what you might do in real life. But Blender, being a computer(!) program, enables you to carry this real-world notion very far. You can, for example, create several such painted maps … a grungy surface in one, graffiti in another … and superimpose them and blend them as separate textures. This workflow puts the outcome where (I think …) it properly and most-expediently belongs: in your (human …) “the-artist’s sovereign hands.”