I like it, but I didn’t thought of wetness, when I saw your image. My first connotation was heat, heat, heat. I’m not sure about the wall. It would separate the tiles from the background. Instead I thought of possibilities to blend the tiles more into the background and I can imagine some dry bushes.
I didn’t think of heat, but I can see what you mean, minoribus. It does make more sense that it would be an illusion caused by heat and changes of refraction in the air, rather than a wet surface in the middle of the day in a desert.
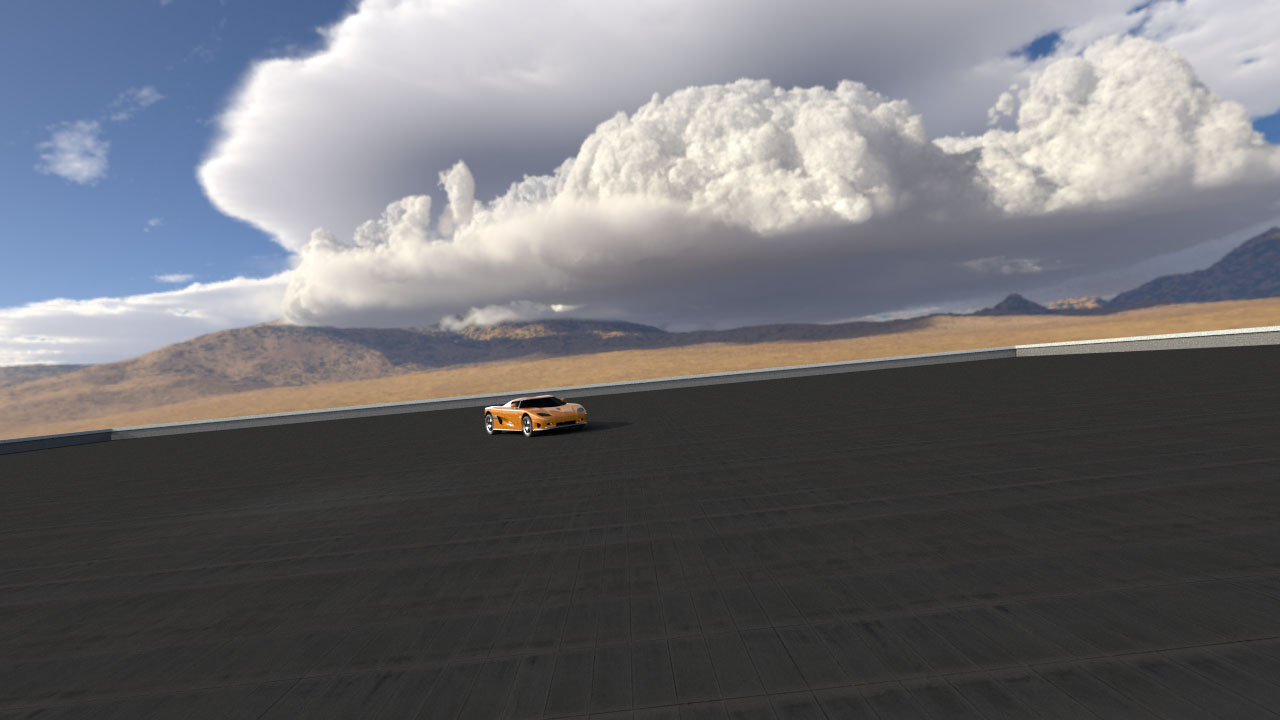
In the interest of rendering times, I decided to remove the glossiness from the ground and just go with a diffuse shader. I’ll also create a texture with a little more variety, and just scale the ground plane up a lot to make it blend in with the background, as you mentioned. I also have a few tweaks to make to the cars; for one, you can see straight through the gaps in the front and back bumpers. The wheels also extend a lot more than I would like them to on impacts, as you can see in this test below:
I’m still working on the scene right now, trying to reduce the fireflies, and I’ve found that changing the multiple importance sample from 1024 (the value I usually use) to 2048 has a drastic impact! Instead of taking 4096 samples to get rid of fireflies, I can get the same result with just 512.
It is looking very good already and I like the way the cars respond to the impact. The ground plane is also blending better with the background now. I wonder if it is possible to have more variation in how the cars are coming in. A variation in time and a variation in the start point or perhaps two or more start points could be interesting. Just thinking loud …
It does seem to integrate better with the desert background losing the wetness look. I’m sure you probably miss the reflections off the ground plane, but it makes it more realistic.
I can see why Minoribus mentioned variation. Starting at about 6 sec, it does get very uniform as you watch them still in the air as they are falling. You might find a simple camera angle change might help with that. I know in reality they are identical cars, but maybe changing the mass weight of some of them would also help lessen the uniformity of the fall.
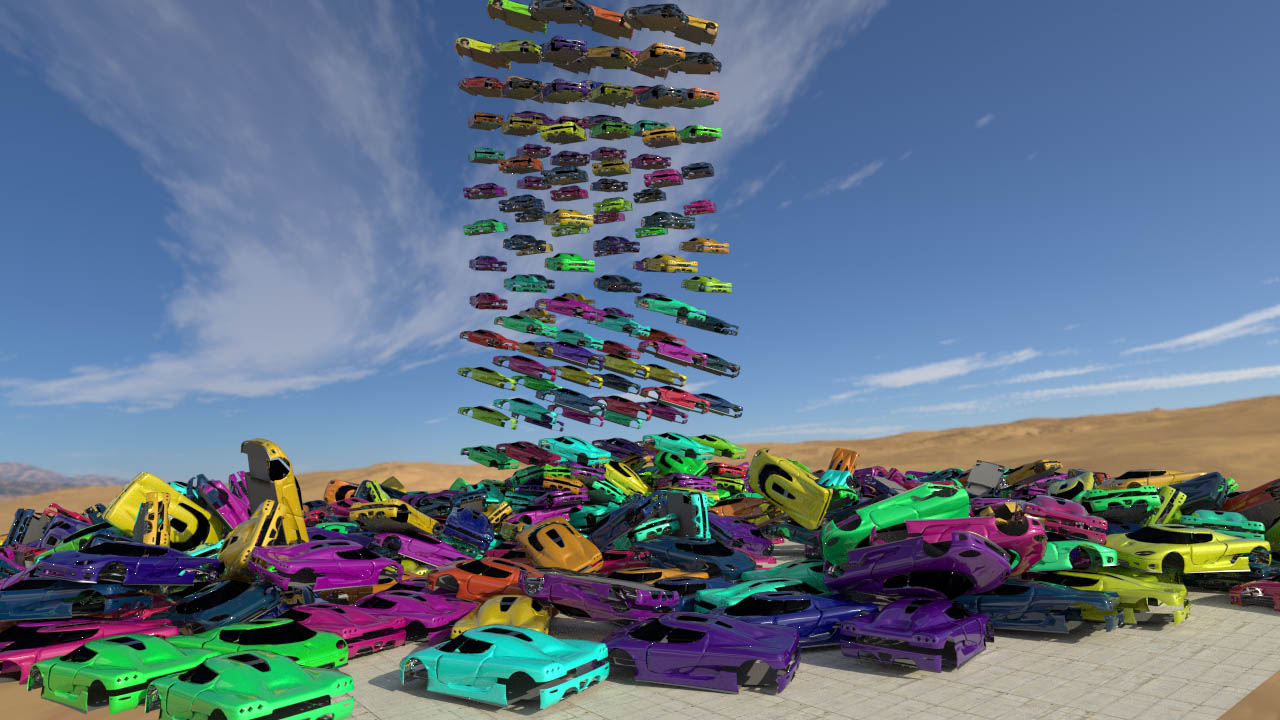
You are both correct, some variation on the cars would be good. I think this can be achieved by rotating the cars on all three axis (instead of just the Z-axis as I’ve been doing lately), as well as moving them slightly off-center in their columns. I still want to maintain this basic column arrangement, so it’s like cars are pouring down.
Here is a test I did last night before going to bed; I duplicated the car into a line of 10, with 35 degree Z rotation intervals, then duplicated those until I had 1,000. I broke them up into three groups: 100 cars, 400 cars, and 500 cars.
Keep in mind, it took around 2 hours to render these 500 frames, and it’s only the preview render!
I do like the stacking effect seen initially, but I agree that after that stack falls, some variation would be good.
I also need to tweak the settings and the scene a little; there are a good number of cars going straight through the ground, especially as we get further into the animation and the cars start falling faster.
Here are some stills I rendered once all 1,000 cars were fallen (I realized too late that all my duplicated wheels had rendering visibility turned off).
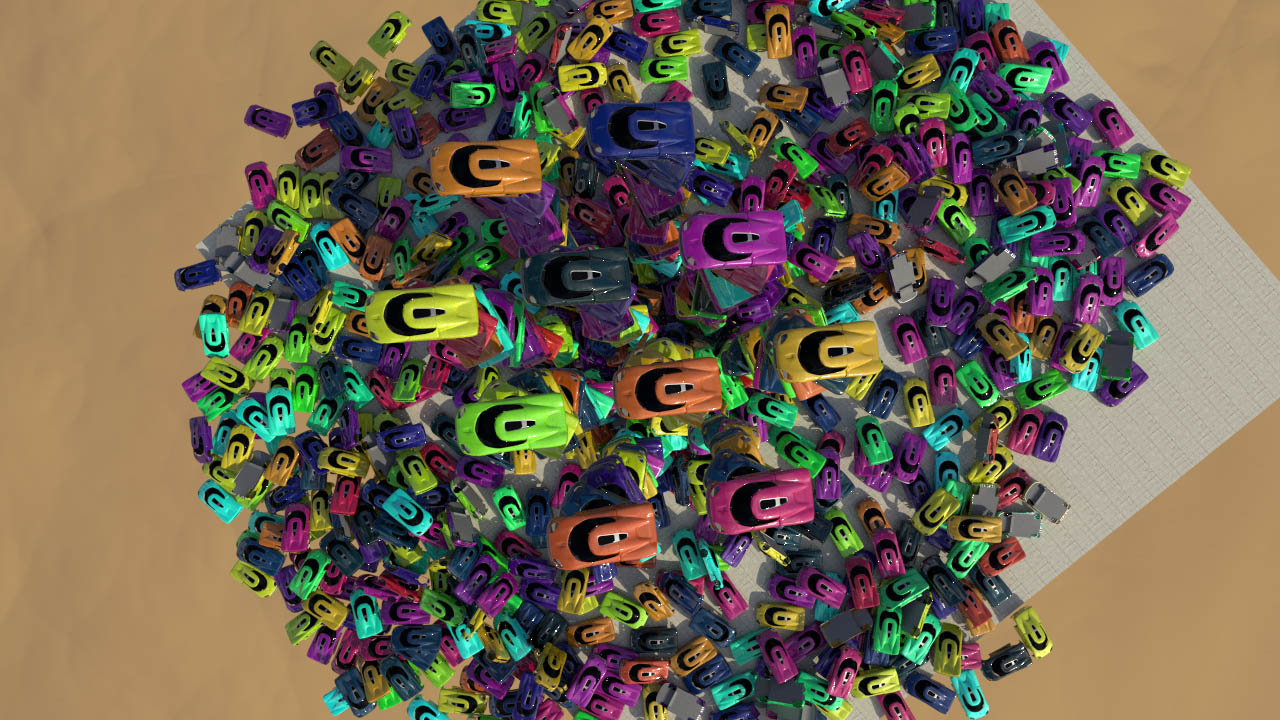
I’ve changed the floor material, as well as added some walls.
Since I rendered these shots, I’ve also filled in the gaps in the bumpers of the car. Additionally, I’ve created a new low poly model of the car that I’ll be able to swap out with the mid-poly version once the number of cars substantially increases on screen.
I’ve started using Blender 2.71 to render. It’s a bit faster than what I’d been using (mostly 2.67). The layout is a little different, but not too strange to get used to.
I’ve created a new low poly model of the car that I’ll be able to swap out with the mid-poly version once the number of cars substantially increases on screen.
I’m curious James… how do you actually do the swap? Are you talking about this occurring somehow during the animation?
Sorry harley, I may not have explained my setup earlier. Basically, I have my rigid body car setup on layer 1. Then I have a mid-poly version of the car on layer 2, and a low-poly version on layer 3. Both cars on layers 2 and 3 are parented to the rigid body on layer 1, this way their animation will automatically update when the simulation runs.
When I need to duplicate 100 cars, I make sure the rigid body car, the mid-poly and low-poly cars are all selected, and then I Alt+D to begin duplicating.
Of course once I reach a certain number (probably around 100 cars) I’ll stop duplicating the mid-poly model and only duplicate the low-poly with the rigid body car. Since I’m able to turn layers off and on, transitioning between the two versions only takes a few clicks. Also, since the rigid body sim is on a separate layer, I just make sure to hide it at render time.
I’ve rendered the various versions of the car below:
Low-Poly
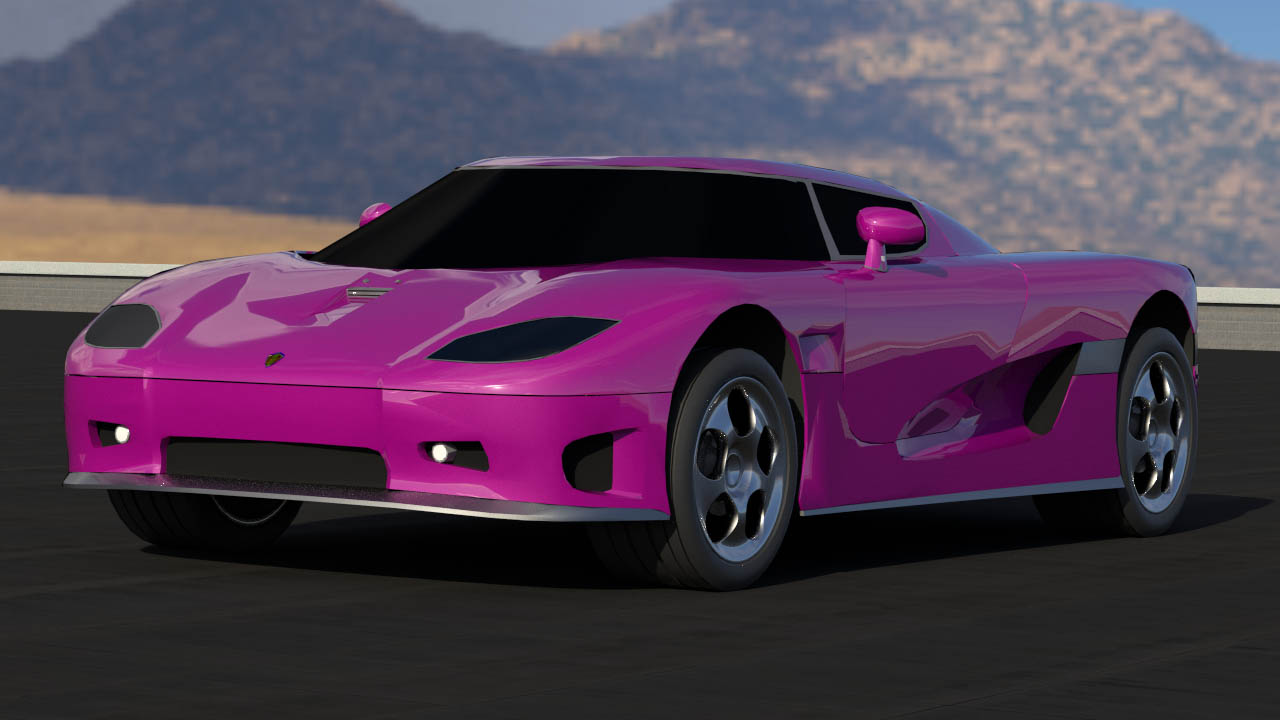
Mid-Poly
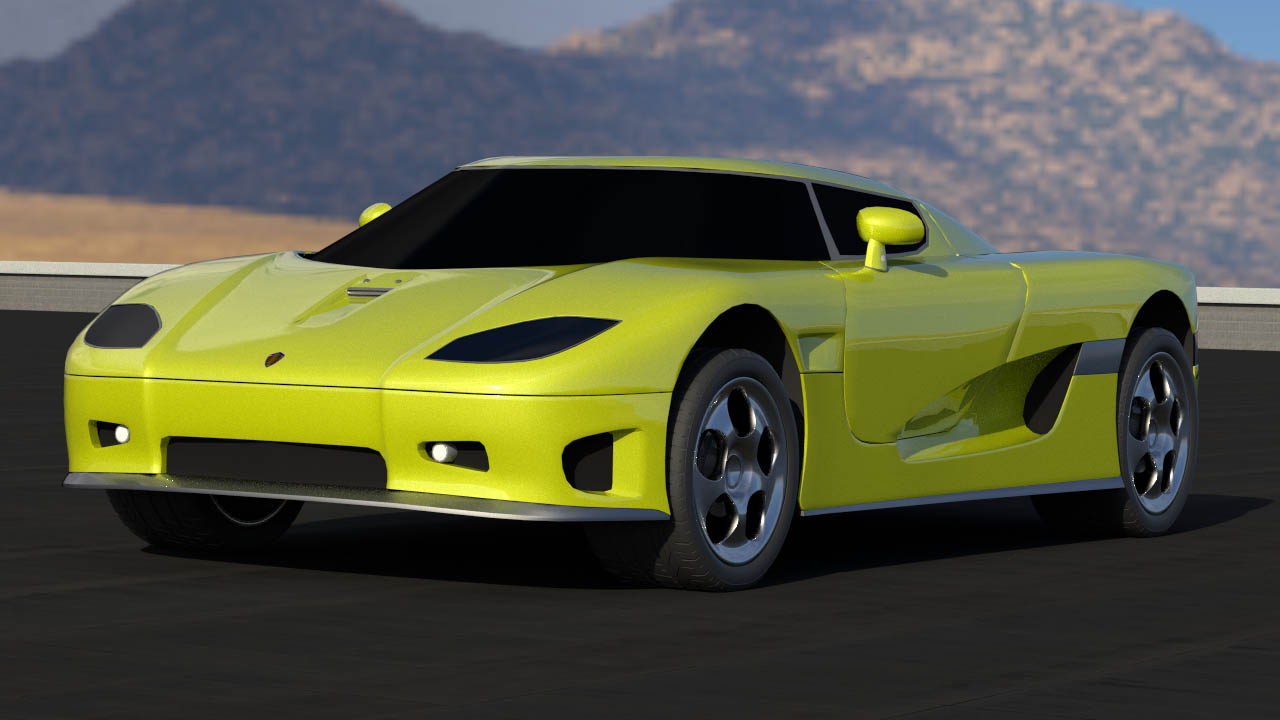
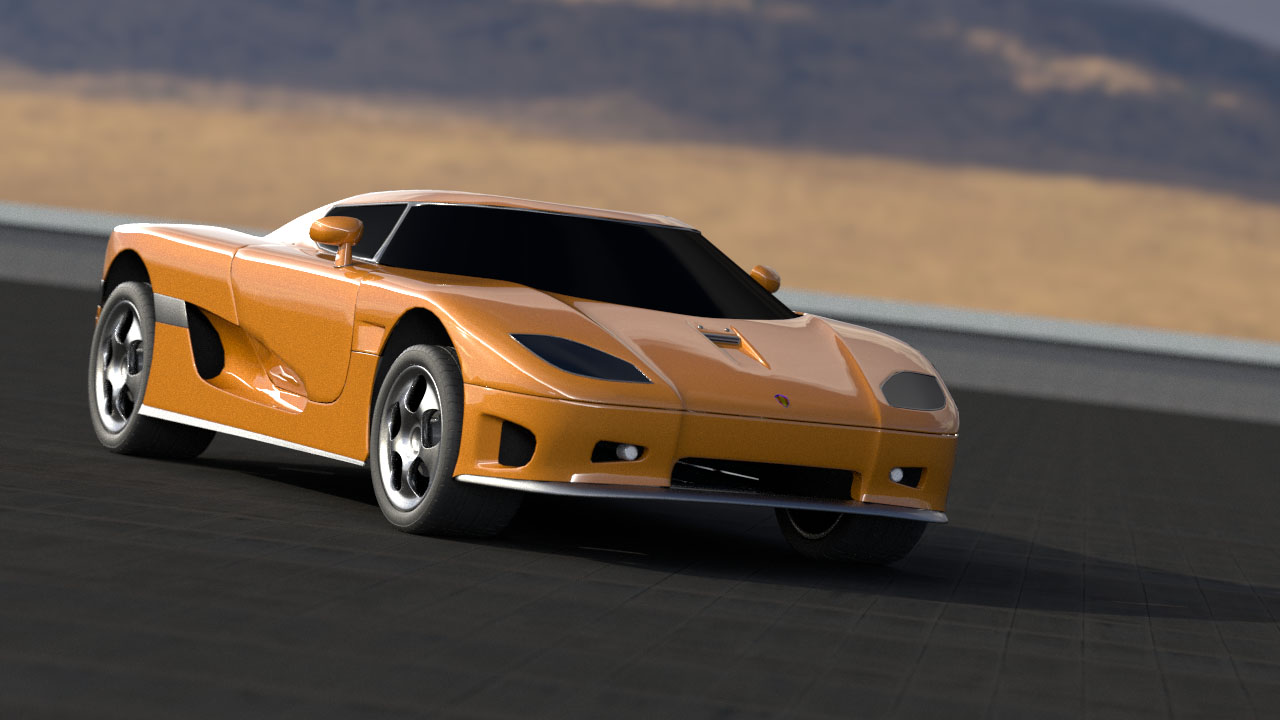
High-Poly
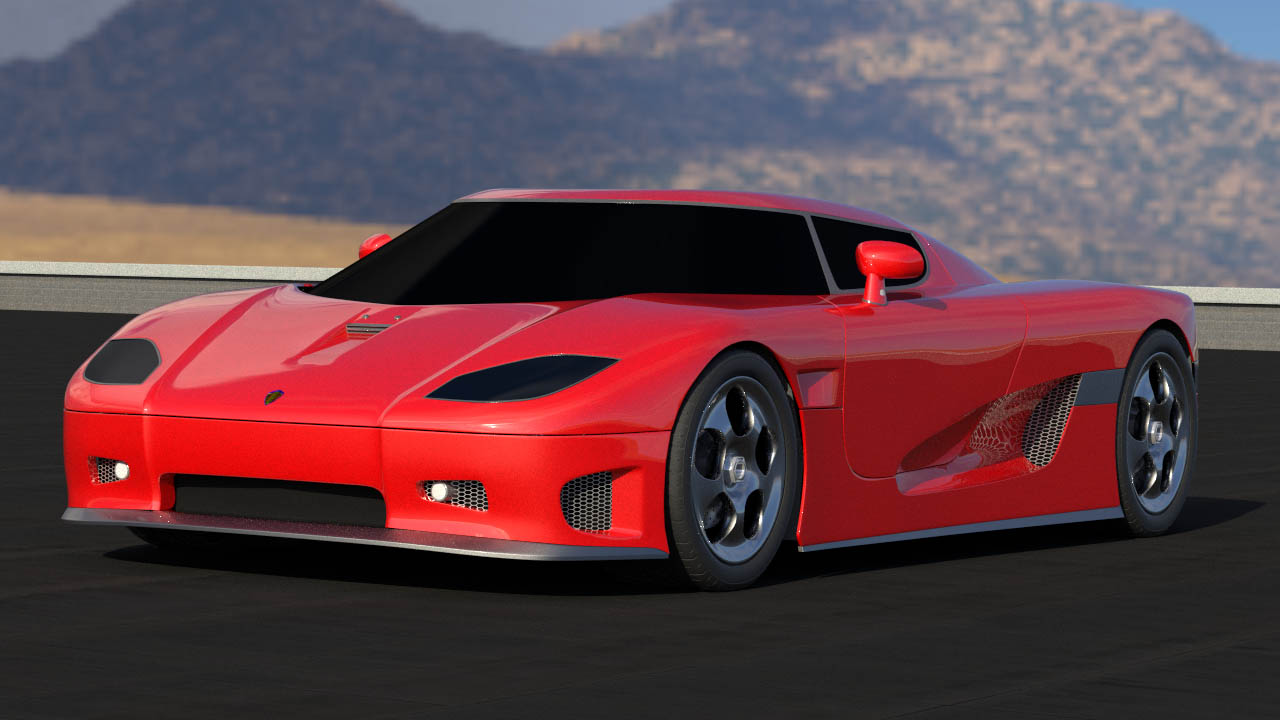
You’ll notice the high-poly has a lower stance, that’s because the other versions are positioned with the wheels hanging down, as they will be during free-fall. The high-poly version will only be seen at the beginning of the animation, when it’s the only car on screen.
It took some time until I understood what you are doing with the three different poly versions of the car. But that has nothing to do with your explanation. It’s only me. The idea is smart. It’s like a home made level of detail.
I don’t know how final your lighting is? I like the lighting in #46, and especially for the second shot. It is very pleasing to the curves of the car.
Thanks for clarifying that James. Truthfully the low poly and mid poly look pretty good, besides the missing chrome grills and a bit more pronounced reflections, it’s hard for my old eyes to distinguish between them that much.
How big of vert count difference is there between them?
minoribus - I wish Blender had some kind of proxy support, where I could select a mesh to be swapped with another mesh at render time. I think Vray has this ability, of rendering with proxies. It would make large scenes easier to manage, especially with low RAM.
I’m also very pleased with the lighting in post #46. Surprisingly, the HDRI map required no tweaking, not even in intensity!
harley - Yes, the chrome grill/mesh in some areas is noticeably missing, but I’m hoping people won’t notice too much once cars start falling. The decimate modifier was very helpful to me, as was the Edge Split modifier. Splitting the edges was a big help in keeping the round bits smooth and the sharp edges sharp while using smooth shading. Otherwise there would be many more nasty dark spots, especially on the low-poly car.
The sizes are as follows:
Original High Poly car: ~ 580,000 faces
Mid-Poly car: ~31,000 faces for the body, 86,000 for the wheels
Low-Poly car: ~9,700 faces for the body, 22,000 for the wheels
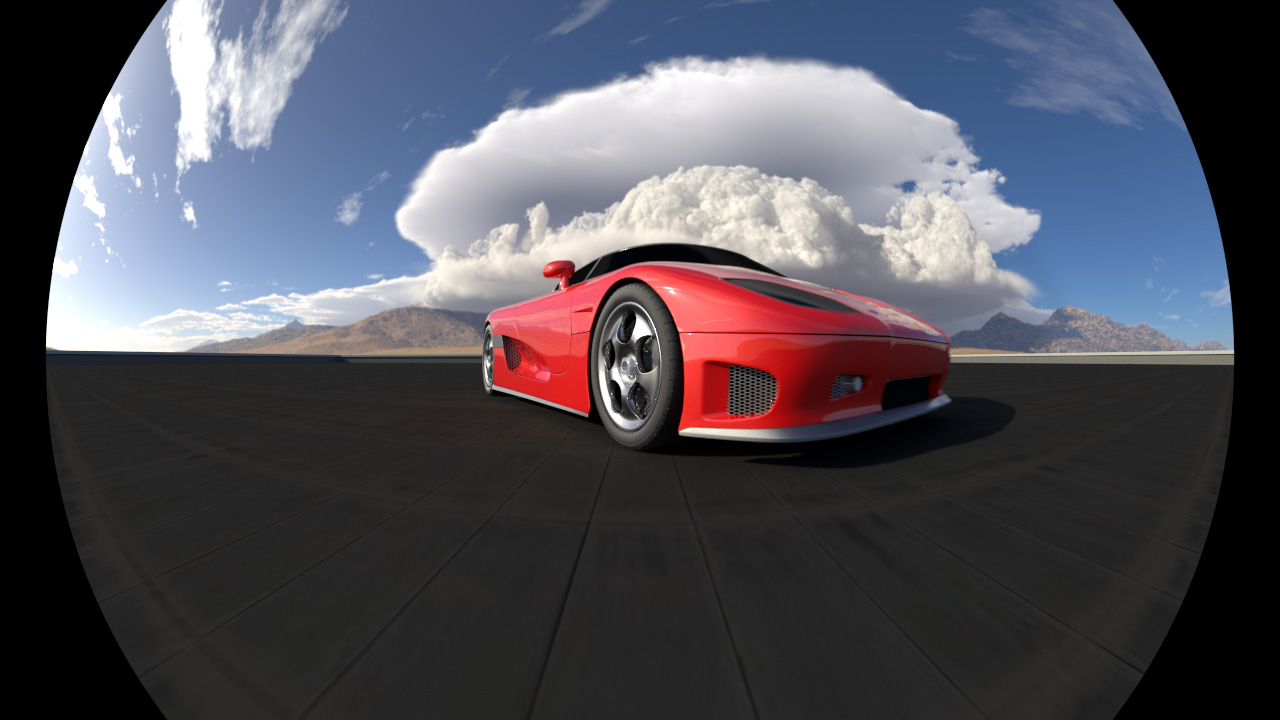
I’ve rendered out my intro animation for the car in preview mode, to check timing of shots, and everything looks good. So far I have 8 shots, which add up to about 25 seconds, so this will keep me busy rendering for a good while. For now, here’s a preview; I was playing with the panoramic camera, but I liked the fisheye effect so much, I decided to use it in the video:

I’ve just finished rendering all 100 frames of the fisheye shot. Overall, I’m really happy with how it looks, the exposure is great, the colors are great. I like it so much I don’t think I’m even going to do any color grading to the entire sequence. That said, there is one glaring problem- there is some kind of error occurring, seemingly randomly, that ruins the animation. To me it looks like it’s related to the motion blur, but I don’t understand why.
Here’s a frame from the animation:
And the animation itself:
For some reason YouTube has cut the last second or two off the video, so instead of 4 seconds long it’s only about 2, but you can still see the glitchy error. Has anyone had this happen to them before? Is it due to using motion blur with a panoramic camera? I’ll see if I can render any of the glitched frames correctly tomorrow (if it is truly random, I may be able to).
Also, I notice that my wheel wells and undercarriage, separate meshes from the rest of the car, are missing from the render, despite being on layers that are enabled to render. I think it might be because they’re parented to the rigid body cars, which are on layers that are hidden? They show up correctly when I render in the viewport, but of course what you see in your viewport is not always the same as what you see in your renders. Often that is a convenience, but tonight it’s just another pain in the arse!
I’ve managed to clean up the fisheye shot- I went back and rendered the glitched frames individually (19 out of 100 had errors, so about 20%). Interestingly, the error never occurs when rendering individual frames- only when rendering animations. I’ve also found that it’s not limited to the panoramic camera; the same error occurred when rendering from a normal camera (luckily it was on the first frame, so I caught it right away and didn’t waste extra time). I’ve since decided to disable motion blur completely, since it’s already taking an average of 4-5 minutes to render each frame, and I don’t want to waste time re-rendering.
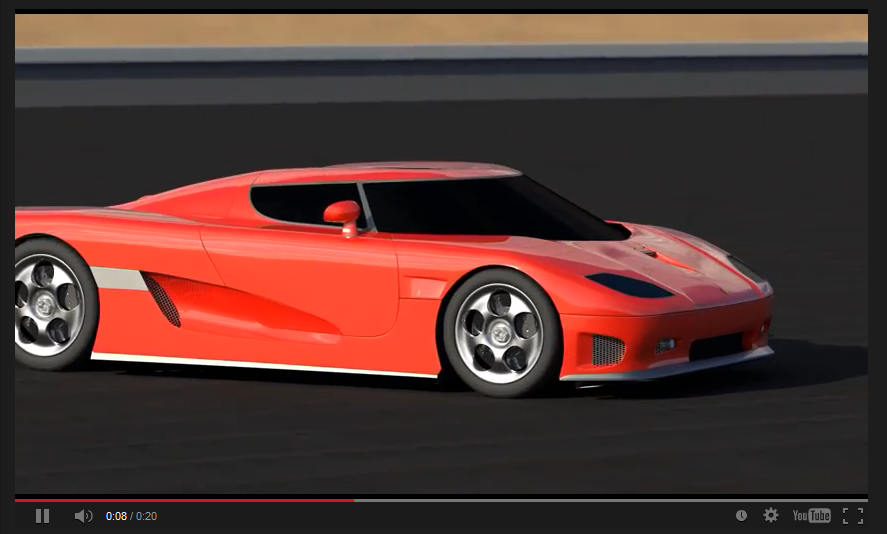
Here is a preview of the shots I’ve rendered so far:
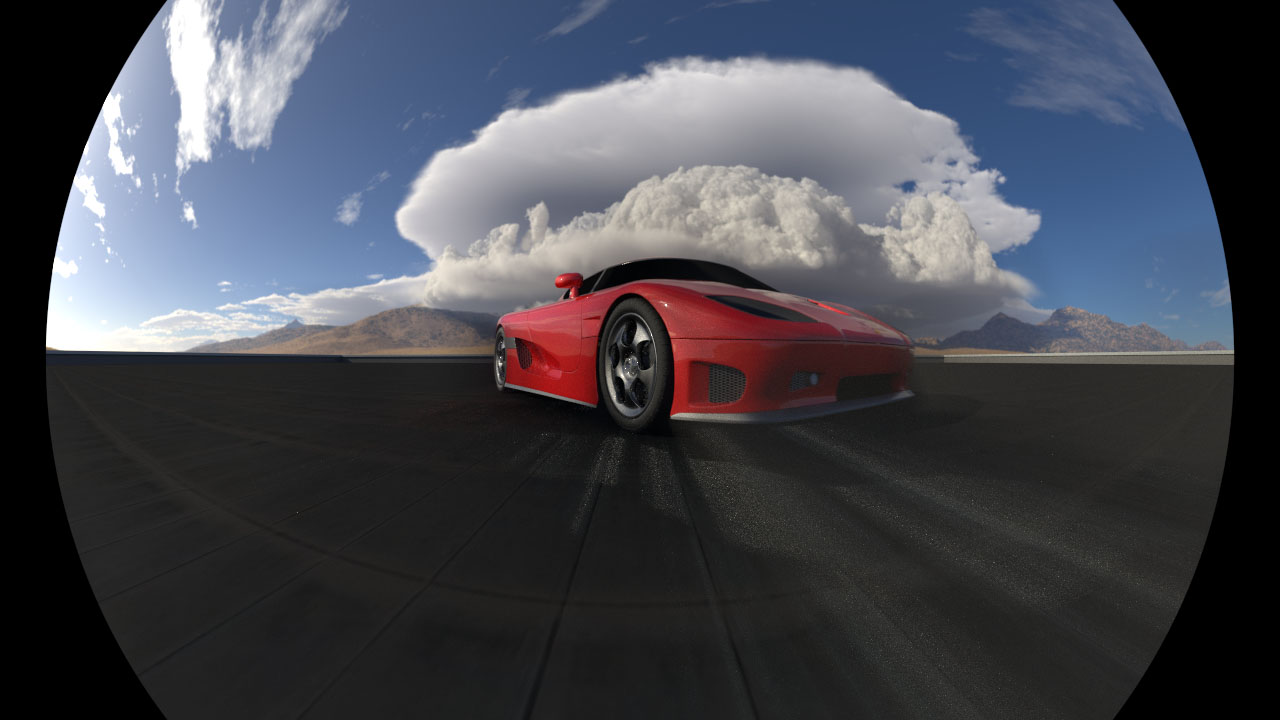
I was wondering, do the colors in the video look different from the colors in the still shots? Here is one for reference:
On my desktop, the reds in the video looked a bit muted, but now that it’s on YouTube I can’t tell. I’m sure if there is a difference, it has to do with the h.264 compression.
I’m going to continue rendering, hopefully completing this intro animation by Wednesday or so. I really wish I had a few more GPUs!
James the car definitely looks different color on my monitor vs. your still image. The YT video red car seems like it has more orange in it.
It’s really concerning about what you are saying is happening with motion blur… that’s unacceptable in my opinion. I really think you should do a bug report.
I felt the car also looked a bit orange in the video. I’ll see if there is anything I can do to correct that- I’d hate for my videos to not look the way I want them to after all this work.
I’m not sure if it really is a bug or just something exclusive to my scene/computer, but as soon as I finish rendering these shots, I’ll see if I can recreate the error in another, simpler scene. Thanks for suggesting that, harley!
I agree with Harleynut. The colors are different. And I also would say that there is more orange in the video colors. I like the fisheye effect, but I think that the distortion is too strong in the last setting as the screenshot shows.
You’re right, the car looks very orange in that particular shot. I’ll try rendering from Premiere instead of After Effects and see if there is any difference. I’ve never noticed such a strong shift in color when exporting video before.
And I agree that the distortion is strong; I don’t see many panoramic camera renders in Blender (whether for still images or animations), so I think that is part of the appeal for me. Also, I’ve already spent about 6 hours rendering this shot, so it’s staying in! ha ha. But there will be other, more normal shots in the sequence, so hopefully that will help compensate for this extreme distortion shot.
He James, one other thing I think you should do is filter the random setting for the color, this I think is possible using color nodes [or maybe even math nodes], since the color of the cars are a bit strange… to Hue-ie if you know what I mean.
Cheers Pal,
Jim
James, I have something here for you:
I had some fun with the object node
Here is how you can set custom colors for the “random” value:
#Node Setup
#Example
Hope this helps pal,
Cheers,
Jim Morren
That is very cool, thank you Journeyman! I agree, the random color setup I’ve been using hasn’t exactly been what I’m looking for. Thanks to your help, I’ll be able to setup exactly the color variation I’m looking for. I’ll be sure to try this out as soon as I get back home tomorrow!
Thanks again!