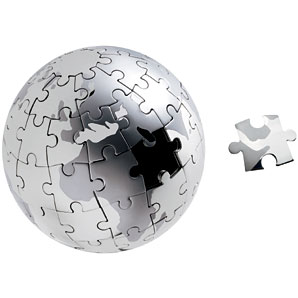
Looking at your reduced-piece-globe (having 3 pieces on the lines of longitude, and then “caps” on the poles) it occurs to me that might be better for some cases than the 5 pieces on the longitude plus “caps”. There have been criticisms that the current logo does not scale down well, and maybe smaller resolutions it could use fewer pieces but still be recognizable? By a similar token, large resolutions might wish to use even more pieces.
The logo was done to try and present a balanced picture that was appropriate for all the languages and wouldn’t need to be redone, conveying an “international” effort. Interestingly, each character is supposed to represent the first letter of how wikipedia is written in that language (although apparently they didn’t get it quite right):
This points to why it might be nice to make it possible to modify the characters without without going through the steps of rebuilding the ball. If I’m correct in understanding the modeling approach here, the letters would have to embedded into the pieces prior to the point where they are curved and couldn’t change after the fact (right?)
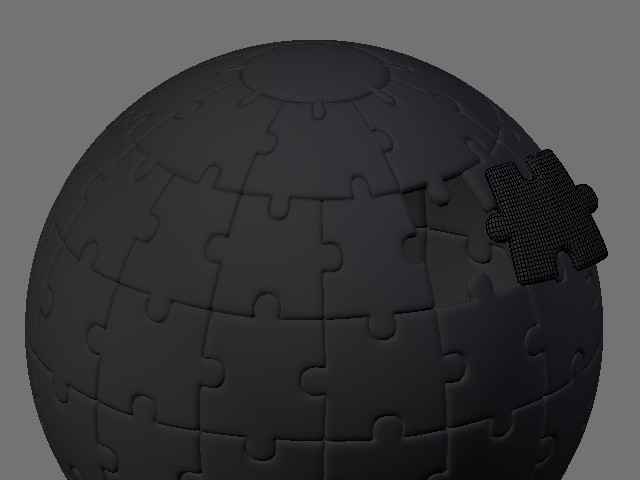
Either way, I’ve noticed that building the model for real with five pieces on the vertical axis may run out of letters on the backside. They don’t have letters on all the pieces in their model, but that looks like a bug (I think those pieces should have letters, even if their prominence is reduced by lighting/shading choices):
Thinking ridiculously far ahead, there are some interesting rendering possibilities that might be worth facilitating with how the letters might be done on the pieces…as indentations or extrusions. Perhaps like a selectric typewriter print ball:
Re: the letter texturing, that’s easy. And one you can do yourself to help out. They’re just mapped textures. Only if you cut them into the geometry would they be hard to replace. This way, quite easy.
Just get a nice clean fully installed Unicode system going, and fix the inaccuracies you referenced on that link… just type (or paste) the characters, one character per image, in Photoshop or Gimp, antialiased against transparency, in a large-ish image size (1024x1024 at least) and save them in any format that stores alpha. They can them be mapped on the puzzle piece materials, as image textures.
What’s better, when you get to that point in making the .blend file, the textures can be setup on a relative path; changing one will change it when you render, without re-editing the material or .blend file at all.
I feel like the letters should be part of the geometry in order to get the more interesting effects (such as the selectric typewriter ball).
I’d like to see the default ball have the letters slightly indented and given different reflective properties from the material that the ball itself is made out of. I’m thinking that the ball would be a glossy plastic-white while the letters themselves would be a less reflective black.
But your point about textures being a relatively easy option is a good one!
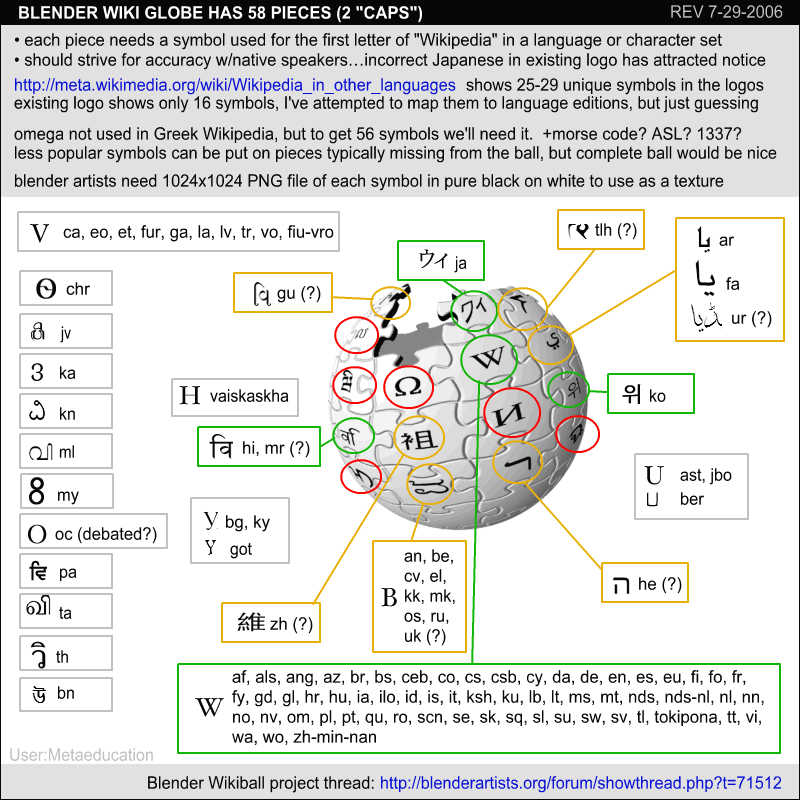
I’ll do some research to get enough symbols lined up in vector (and raster) format that could cover an entire wikipedia globe which had 58 pieces. It might involve going a little bit overboard and into Klingon and Morse Code…but I’m sure there are enough ways to write W:
I feel like the letters should be part of the geometry in order to get the more interesting effects (such as the selectric typewriter ball).
I’d like to see the default ball have the letters slightly indented and given different reflective properties from the material that the ball itself is made out of. I’m thinking that the ball would be a glossy plastic-white while the letters themselves would be a less reflective black.
I think these effects could all be accomplished with textures. The second case is easy with bump maps and stencil textures. The selectric typewriter ball might require displacement mapping and a fairly high vertex density.
There is a lot of difference in modeling for static models vs. animation.
In order to get this animated one thing I had to do was reorient the axis of every piece, 60 of them arghhh.
I need to find out how to change draw options from python, like ‘show axis’ and other things so I can batch them, it’s crazy to have to select every piece individually and turn on a setting like that. EDIT I found it, CTRL-C copy draw type, works for the axis as well, wish I knew that earlier.
Also I see I can copy the modifiers of active to all selected
Anywhooo, I did some experimenting and so far it looks like if this model should be animation-ready, it might have to be textured long before creating hierarchies or vertex groups, because the model can be textured when it is one piece, then when it is seperated, the individual pieces keep their mapping, but I can’t join all the parts now.
I am still experimenting though with duplicating the mesh pieces, deleting everything else in the scene, joining them into one mesh, texturing, seperating, them replacing each piece that is animated with the corrasponding textured piece, or at least it’s texture coords, etc.
Another alternative approach that might be fun is to use lattices. Here’s a quick test I whipped up quickly.
It’s not all that accurate, but I think with more tweaking it would be ok. The advantage of this is that it’s non-destructive. The objects are all linked data, and in their base forms, are lying flat. So I can go and edit the pieces that are flat on the floor nice and easily and everything gets updated across the sphere. I can move the pieces around and they follow the contours of the lattices. That’s how I made this brain, I modelled the two sides from reference, then bent them into shape with lattices.
Anyway, Hazard has some excellent stuff going on already, I thought I’d just throw this in as food for thought.
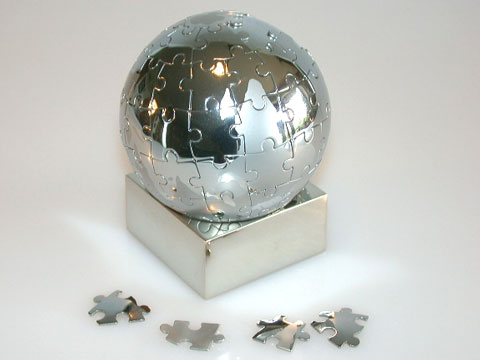
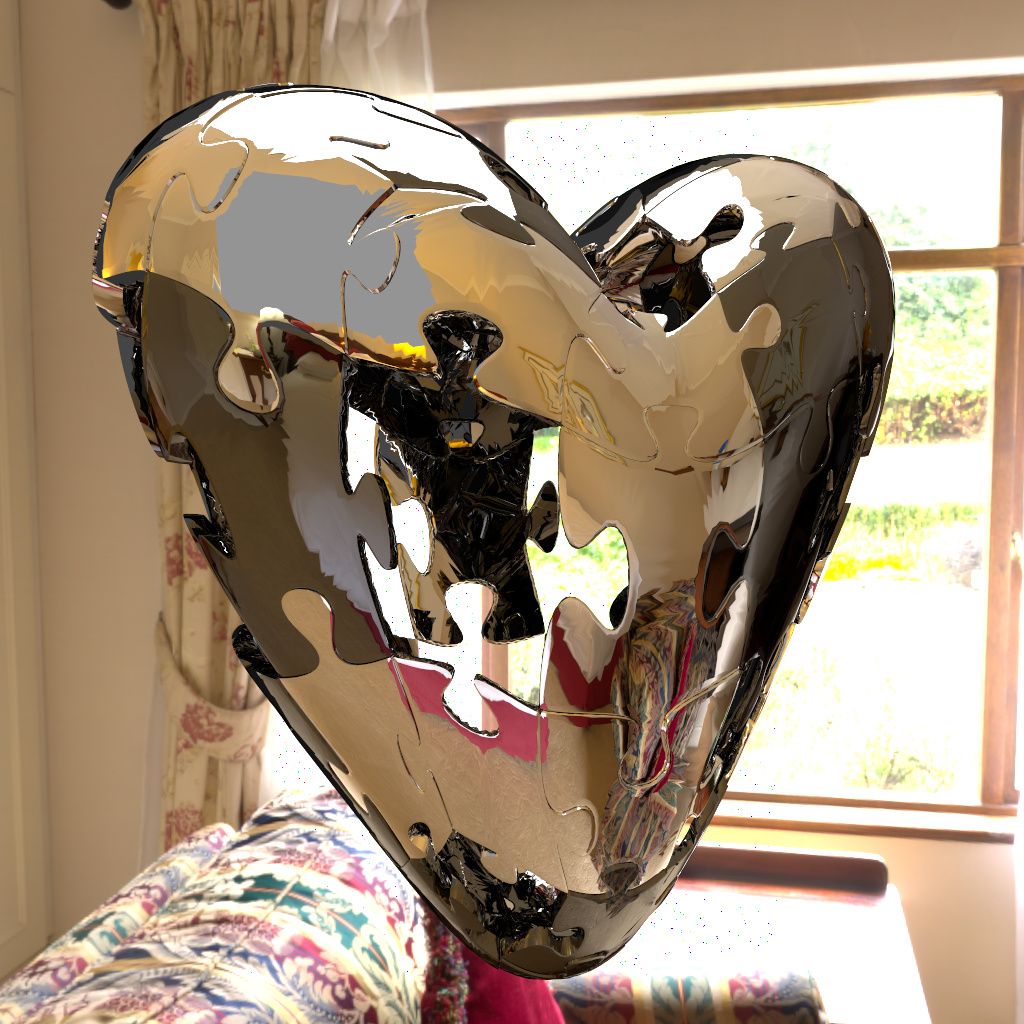
To this end, has anyone actually held the 72-piece chrome magnetic one? This is a real-world object, so checking out the taper of the rows and those lovely end caps should give you some great ideas… lattice deforming or to sphere.
I have a question though, do people prefer a web based flash tutorial that you have to click buttons to progress through, or just a fast running video with captions where you just pause the video where you want, and can easily go back if you need?( I personally prefer a fast moving video, I hate tut’s that go on and on and on… )
p.s. I won’t do voice for two reasons, I hate the sound of my recorded voice and you can’t pause audio and still hear what is said, it’s like turning off the video
There you will find a .blend file with the outline I use to start the tutorial, and the video in DivX 6.1 format.
The video is the entire process starting with the outline in the .blend file, to the complete puzzle ball shown in the picture below. Approx. 31 minutes from start to finish.
( I did not include texturing in this video)
It is rather high speed as far as a tutorial goes, more of a demo with captions, it is made with the intention of watching a section and pausing to read the captions, it also assumes a pretty good familiarity with Blender.
p.s. this is my first attempt at such a thing and C&C is very very welcome!
Wow Hazard…that looks amazing! It would be nice if there were some way to make your video play on youtube so people could stream it without DivX/etc. I think the screen would be possible to make out, but it would need voice instead of captions. Still, this is great, it documents the whole process and it could be transcribed or done differently by someone else.
As for C&C: Can’t argue with the quality of the result, appearance-wise! Though I’d be personally interested to know if there’s any way to exploit a bit more of the symmetry during the construction process. If the ball were captured a little more like an “equation” as opposed to manipulating it as a flattened mesh, it might allow more changes down the line and be less likely to have glitches/gaps. Perhaps blender has tools for this (other than by writing a script to generate it)…but maybe I’m just wishing for something that exists only in various pricey CAM programs.
I’ve spent some time researching how to get those 58 (56?) 1024x1024 PNG textures for the pieces. Looks like a bit of a task just to pick the symbols, I was surprised that there’s only 25-29 unique characters starting the logo in the language editions I found:
I think it’s possible to get a bit creative and go to heiroglyphics & such to fill every piece. But it would be nice if the “real” languages were all properly represented. I’ve attached a first cut of my findings, and maybe it’ll be possible to generate some momentum on hammering out that list…
Idea on another possible constraint for the model: perhaps the “tabs” and “notches” should wind up all being about the same size. In this approach, they get very skinny by the time you reach the top. Maybe before the pieces get curved the notches and tabs on the top/bottom pieces need to take up a greater portion of the piece edge…to anticipate the shrinking?..?
About the tabs I do agree, in my video I did stretch the notches and tabs of the piece that makes the top and bottom row connected to the caps.
This was more illustrative to show the method I used to create this type of model to give others some ideas on how to model something similar since this seemed to be a tricky item for many.
Being such, people can take from the video the basic method and adapt it to create whatever they want.
As for other methods of veiwing and distributing this video, I can encode it into WMV or whatever you need and you are free to add voiceover if you like. Let me know, I will not permanently host a large file like this but will make it available for someone to take and improve upon, just give me proper credit I guess