so i posted this as a response to another thread,
but i’m gonna make another thread for this so that everyone can read
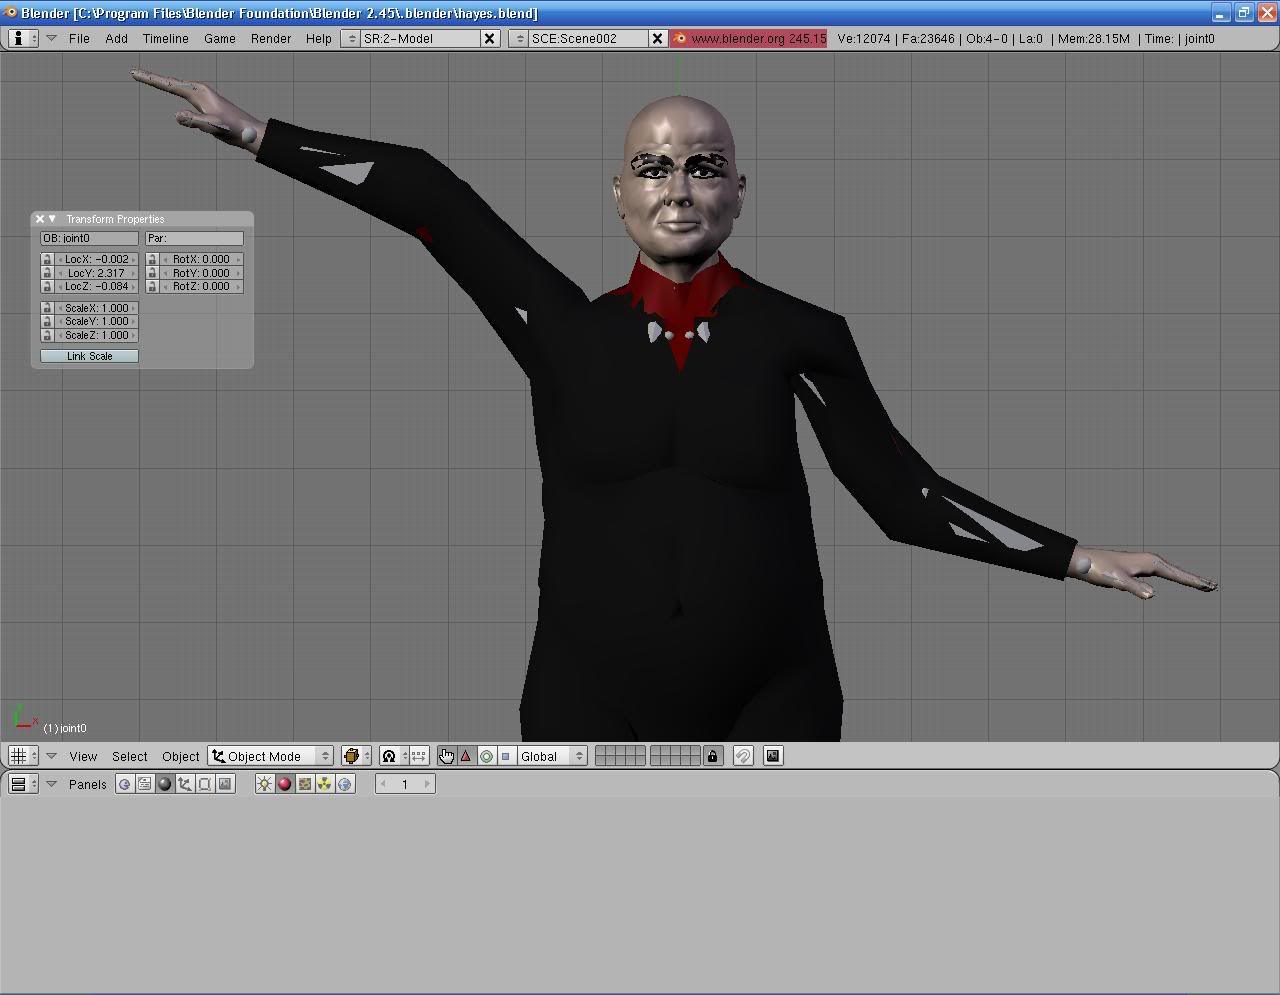
this is a tutorial that basically explains how to get your mesh rigged, with a facial rig,
and get clothes as well in blender.
you will need both:
blender 2.45
and
blender 2.46RC1 or later for this
2.45 for textures/renders
2.46RC1 for rigging
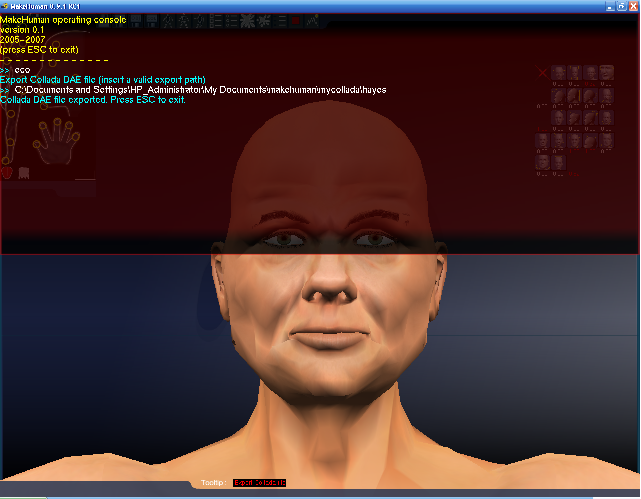
import using the colliada
remember were you saved it from in MH
here are some quick pointers with blender after importing
the textures, located in C:\Program Files\MakeHuman 0.9.1 RC1\data\rib_data extures_data, have to be added manually, and make sure you hit UV so that they go on nicely, and when makeing the eye brows and eyelashes, make sure you make the material with the alpha set to 0
and with the tracable and shadow buff off, with the spec and hard set to 0, or 1 with the hard. and then click z-transparency
however
blender 2.46 has a bug were the alpha function with textures is messed up so when you set a texture to affect alpha, for the eyelashes, and eye brows the alpha doesn’t show up as much, so for renders use 2.45
as far as riging
download 2.46 rc1 cause thats the lastest version of blender,
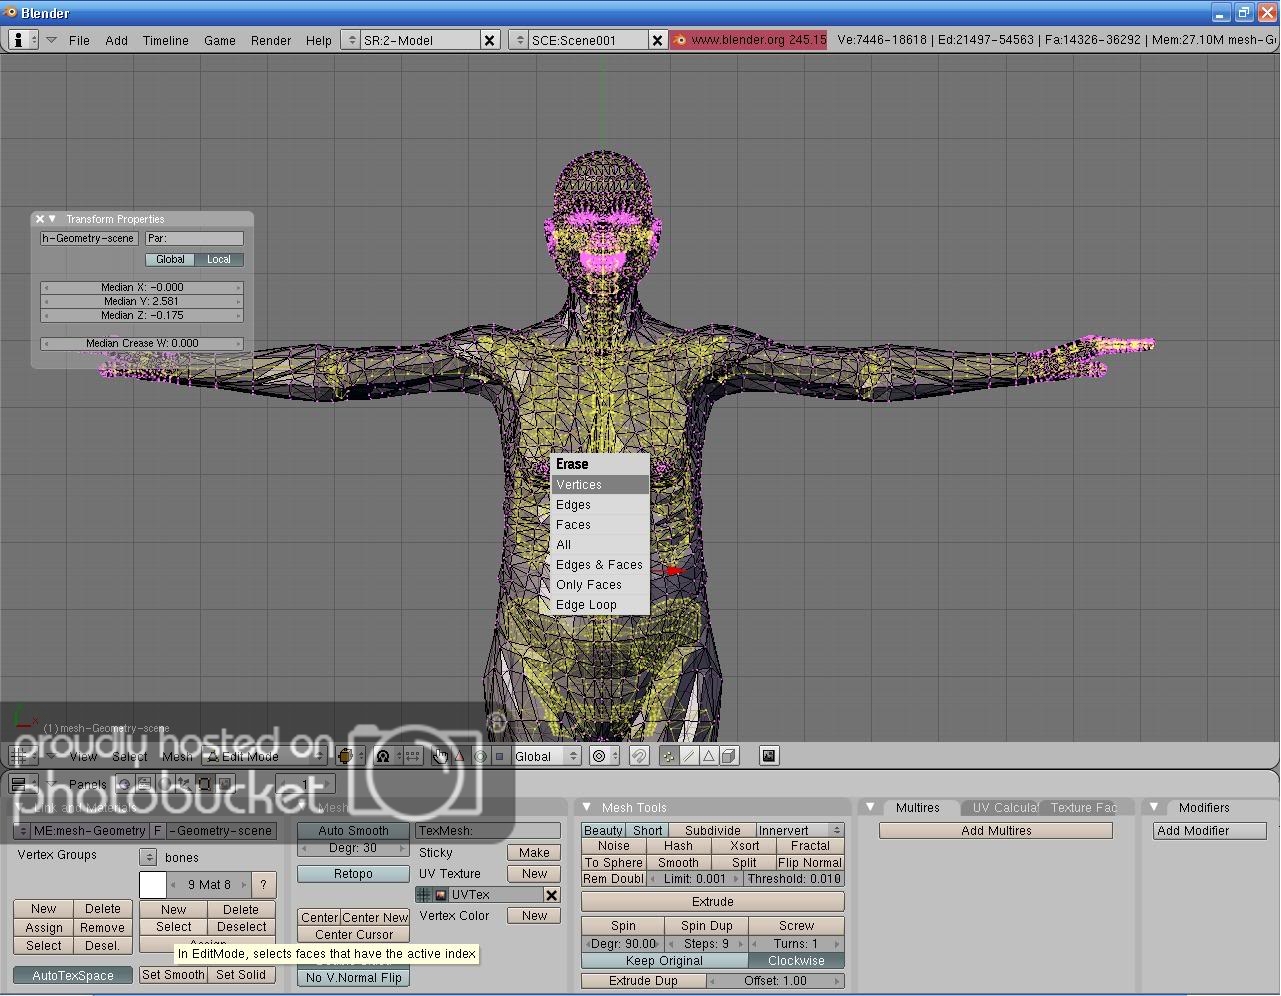
and use that for riging the mesh, but first in edit mode
select all verts listed under the bones material, and delete them.
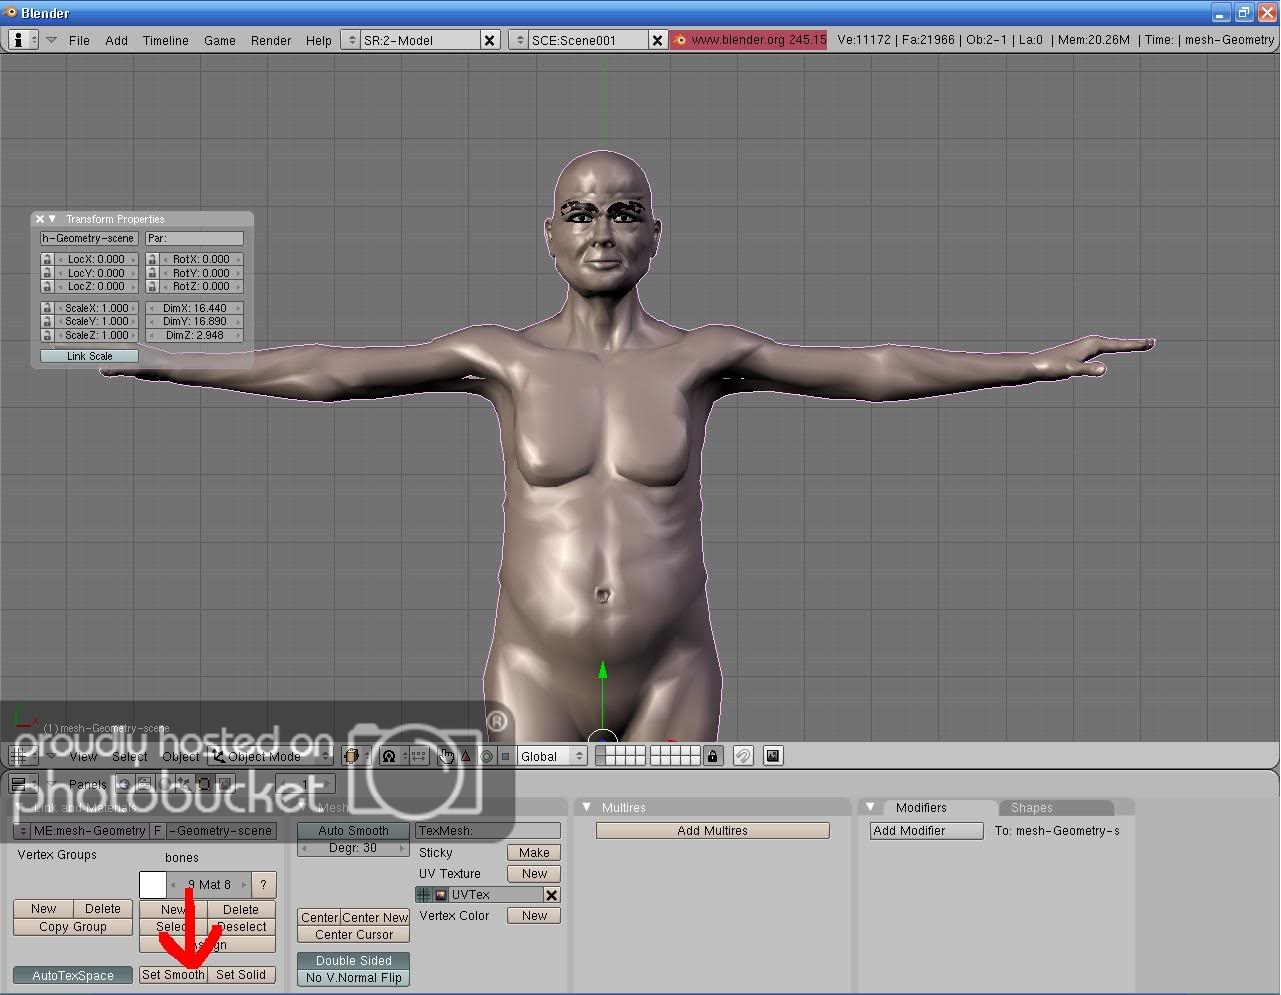
next in object mode
hit set smooth
next
select the body, and the armature
hit crl + p for parenting
make parent to : armarature => create from bone heat
this will rig your mesh perfectly.

if you get any errors like failled to find solution, try importing the mesh again
and if it still doesn’t work check to see if the armature is fully inside, of the mesh or mostly inside
for clothes this part i got from when it was posted @ blenderartists a while ago:
make a copy of the main mesh shift + d
then go with it to another layer
in edit mode
select and delete all the verts (and materials) with every material except for the body
then edit where you want the clothes to start and end, making the skin into a shirt or pants by getting rid of the feet/hands, legs for shirt, torso/arms for pants
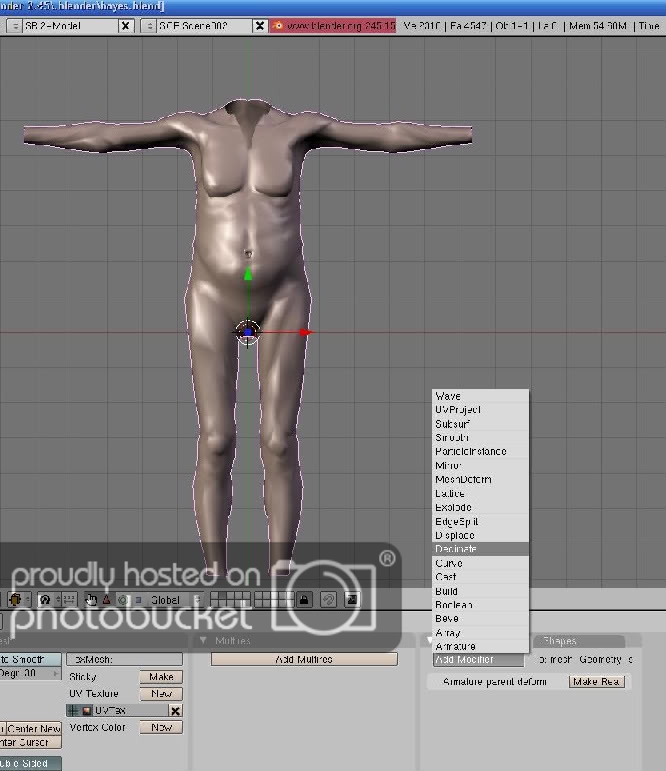
next exit out of edit mode, go to modifiers
select decimate, set it at .25 hit apply
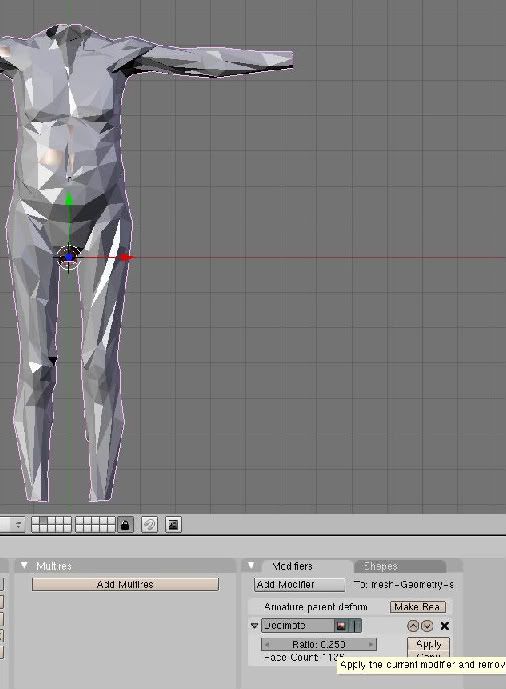
set smooth
in the materials replace the body with a new material
make sure it doesn’t have textures,
and change the color for the clothes
have both layers with character and clothes open,
select clothes, and then go into sculpt mode,
select inflate, and inflate the clothes until they fit out side of the characters skin, instead of parts in the character.
then repeat the rigging steps with the clothes
and thats a fully rigged and clothed character with the exception of the mouth
for hair, ask nicely for someone with hair made using textures to give you the hair and then add it to the mesh and it will look not as well as if its done with strands, but
i’ve never really been able to get strands to work properly.
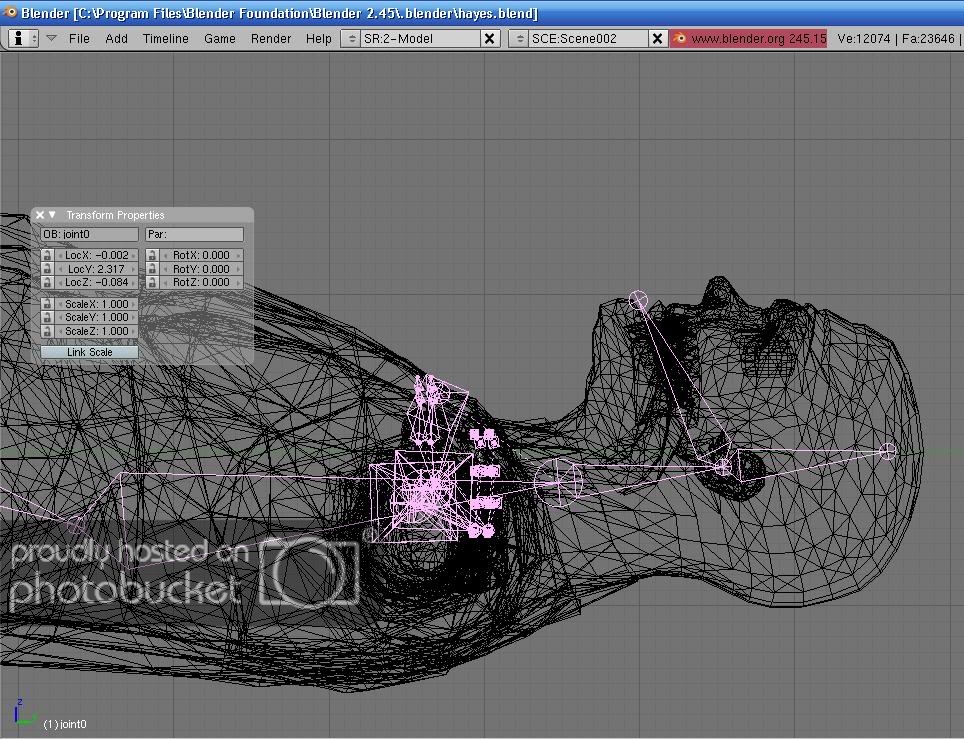
a quick explination of how to rig the mouth
you will need blender 2.46 RC1 or above for this
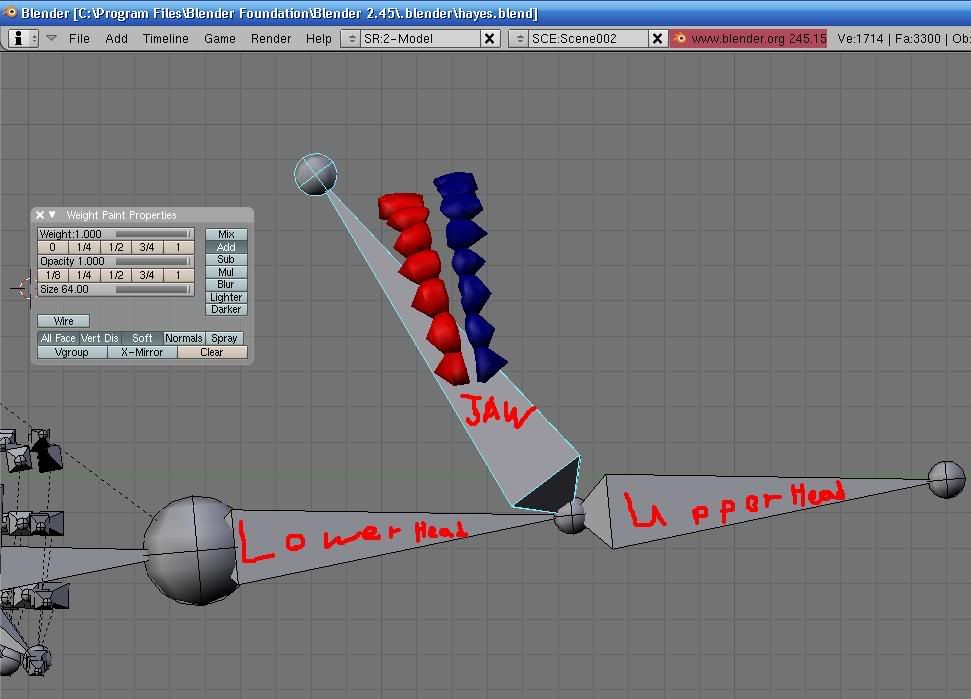
first take the rig that was imported from MH
then in edit mode, select the node that is between the top head arm, and the lower head arm,
extrude it [e] and drag the new arm to reach to the chin of your character.
next
select the body mesh, hit shift-s, which makes a copy of the mesh that you can edit,
you want to do this twice.
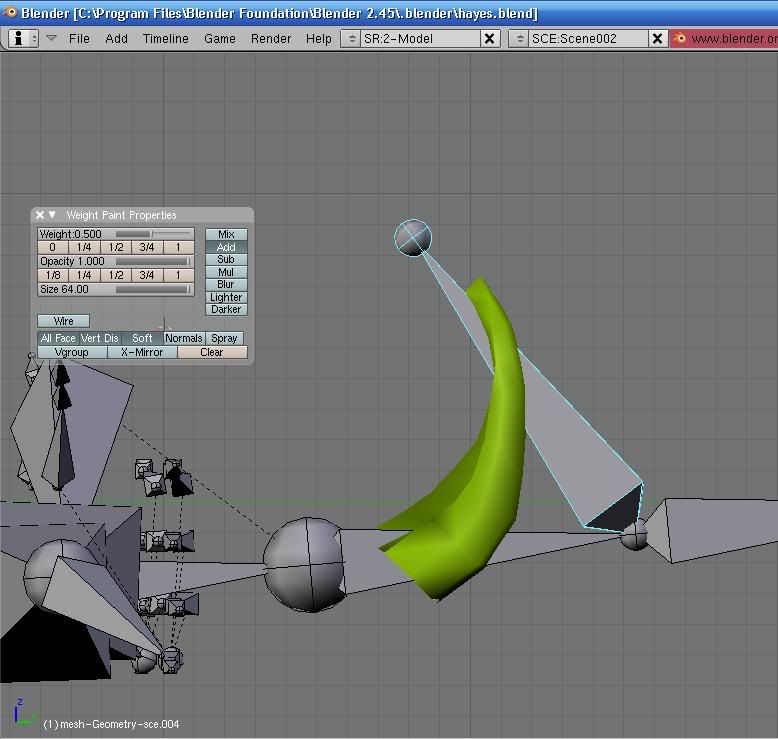
for the original mesh, in edit mode, go into the edit menu, and select the verts in the materials in the teeth and tounge, and delete them.
for the other two copies, one is going to be the teeth, and the other is going to be the tounge. move them to different layers
now
select the modified armature,
go into pose mode
if your properties menu is not open, open it by pressing N
then select the new arm
going to rot x,
set at 10
you’ll notice that the arm should be in an open jawed position
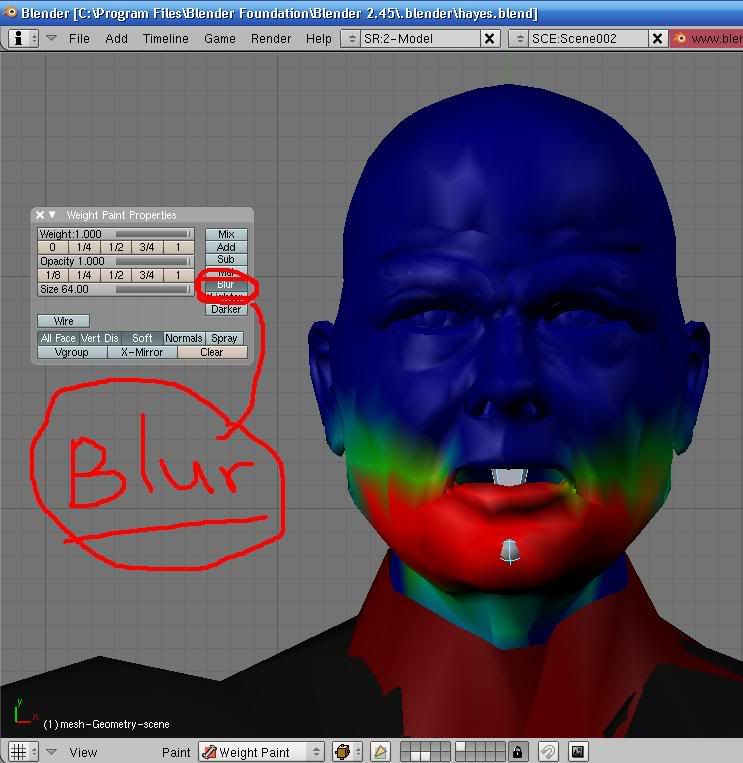
select the body mesh, and go into weight paint mode.
make sure you have the jaw bone selected for the paint
(it should be all blue when you first start)
hit n which will bring up a properties menu, and drag the brush size and opasity to the highest possible state
paint the the chin up to the lower lip completely red
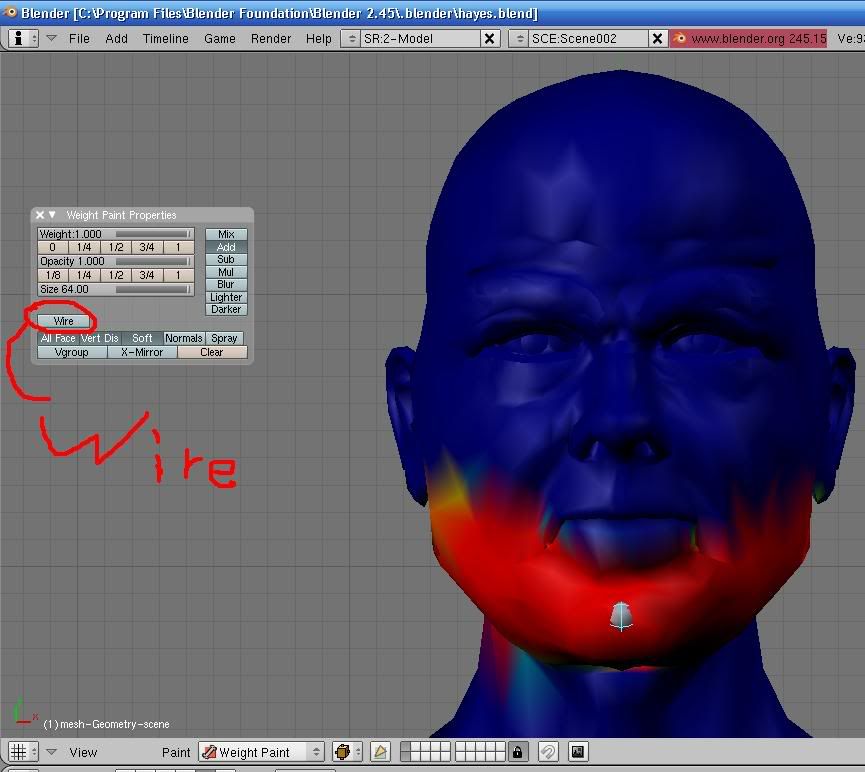
then hit wire in the properties menu,
and then click the button that looks like a yellow triangle on a green plane, next to the layers menu,
this is a new feature with 2.46 that allows you to select a face and weight paint just that face.
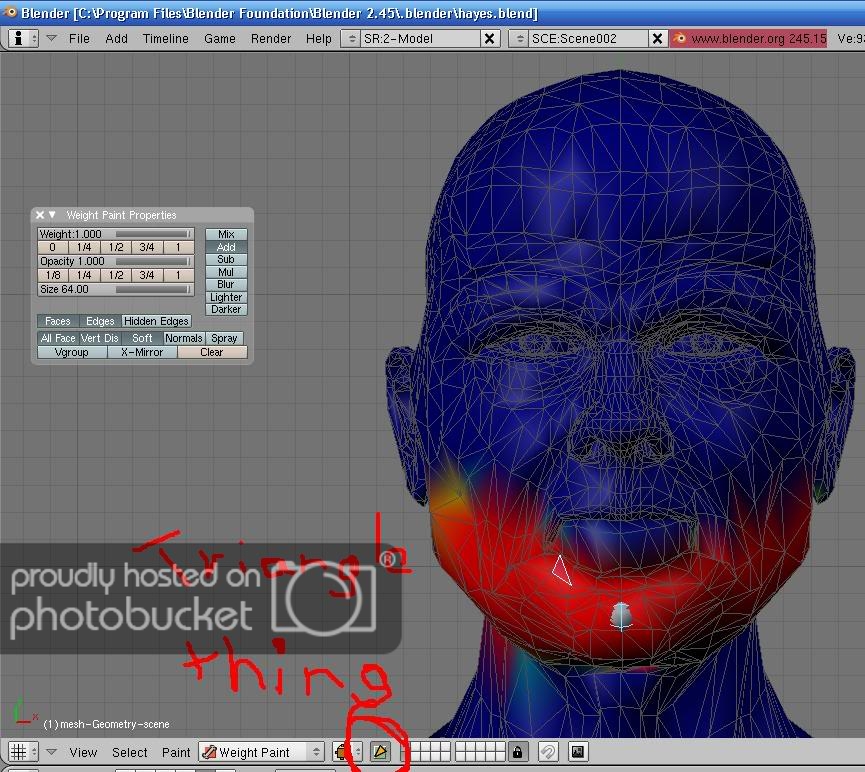
so now you want to paint the lower lip, face by face, which actually doesn’t take that long
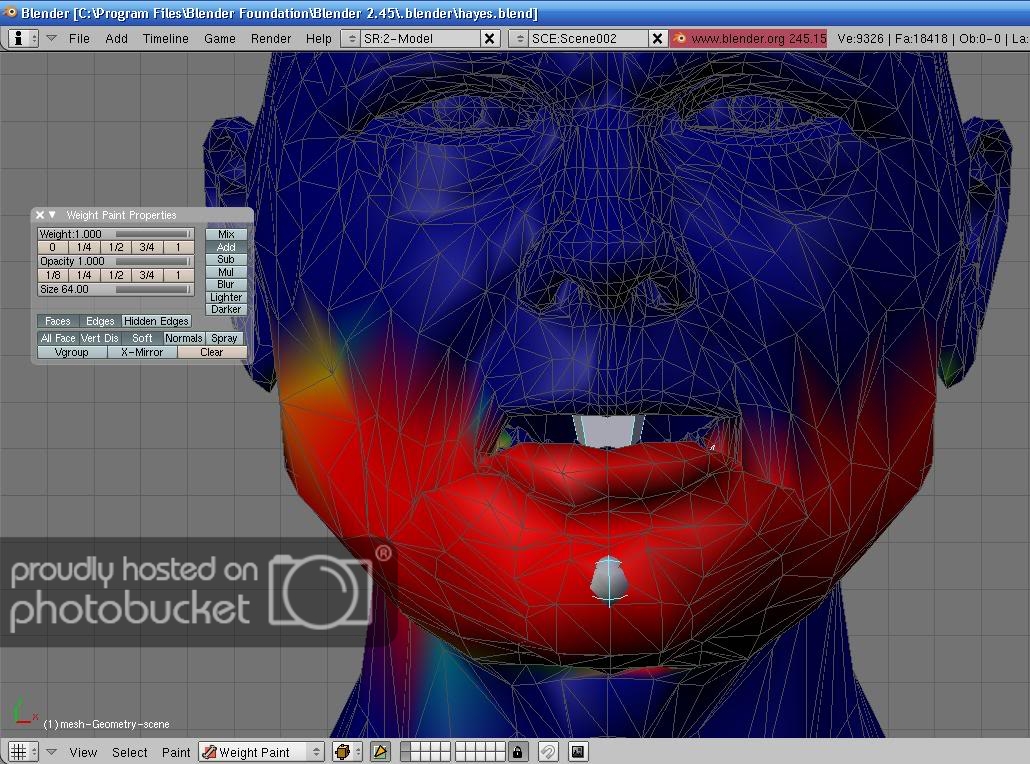
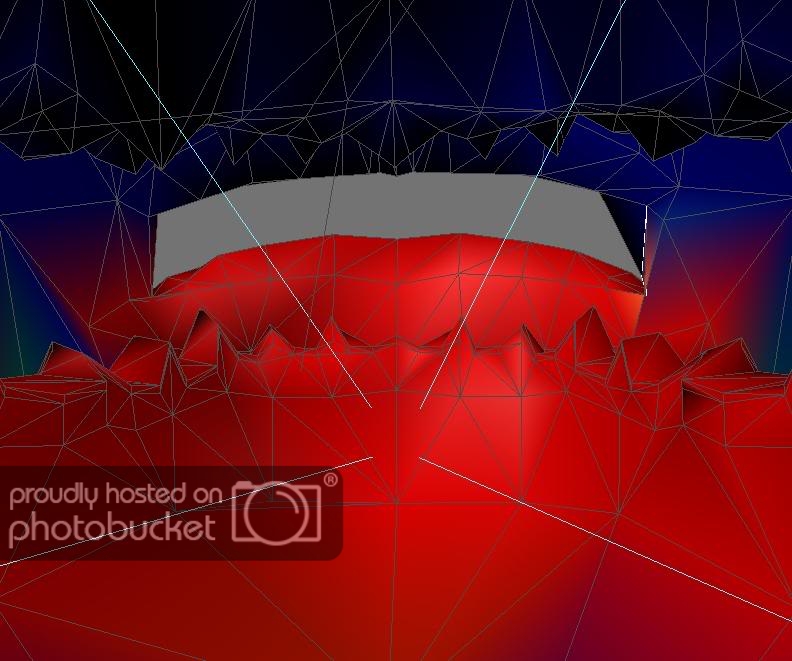
next you want to get inside of the mouth and make sure the lower jaw, but not the top, and insides are painted
you can do this by hitting 5 on the key pad, and swinging the view into the mouth,
now you can use a combination of painting by face or every thing, and make sure the inside is fully painted.
makesure you unclick the yellow triangle, and then the wire button
and go into object
if you look at the mouth,
it looks a lil bit strange, and disfigured
which brings us to the next new feature of the weight painting in 2.46 RC1
blurring weight paint.
go back into weight paint mode
and skim the areas where red meets blue
and it should blur it from red to yellow to green to blue
just make sure you dont over use it.
for the teeth,
go into weight paint mode, and have the jaw bone selected
go to sub(for subtract) and make sure that it is not already painted for the new bone
it likes to trick you some times saying that it’s not painted when really it is
next make sure that it is fully painted to the head bones by selecting the lower head bone, and painting it all red
you’ll have to move the camera around to get every nook and cranny
and then repeat the step for the upper head bone
now for the jaw bone
simply weight paint the mesh, and make sure you do the upper parts of the lower teeth face by face(with the yellow triangle thingy), so that you get just the lower teeth.
(hint rapid fire the mouse,as in click the right and left buttons on the mouse really fast can make this work better,
cause then you are selecting each face and making it all red  )
)
forthe tounge just paint it half way, so that its green, and now when you move the jaw, the tounge should move, but not completely.
use the blur function if needed to make it all green
hope you guys find this useful

