Finished Projects:


Danny Trejo:
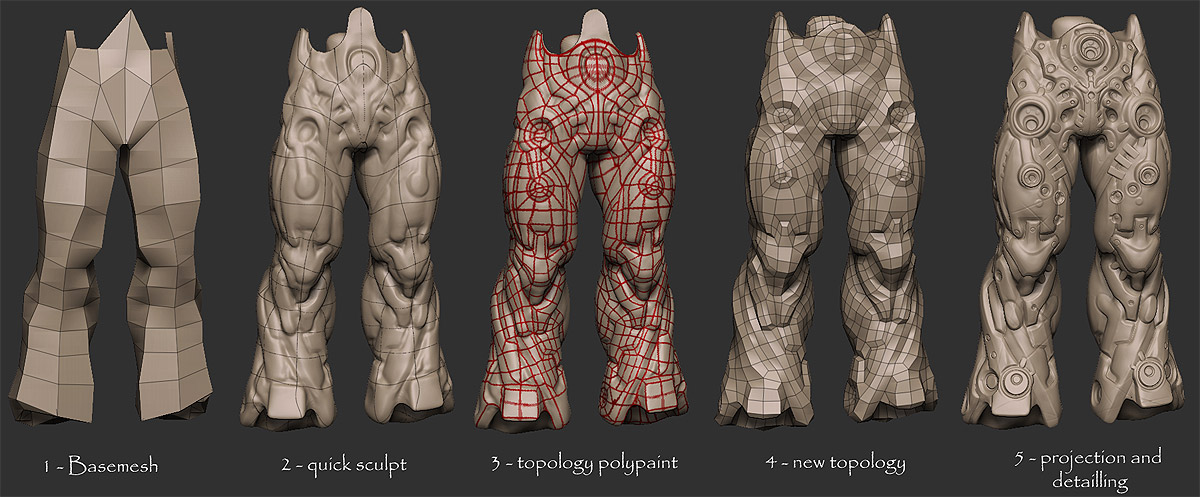
Ok, my latest experiment is toying with Cedric Seaut’s workflow shown here
I was curious if it could be pulled off with blender. I think I’ve found that it can - but the detail sculpting is pretty tedious - and the hard surfaces are tough to pull off, though I think doable. In the future I think I would split up this model into maybe hips/legs or maybe even hips/upper legs/lower legs. I pumped the resolution up to 4.5 million polys and kept feeling like I was not able to get the detail I wanted. (Any more will crash my machine.) I figure spitting the object up could increase my poly count for the normal bakes. I also learned that I probably should have used an alpha for all the circular shapes. They are a bit squiggly for my taste. Well, here are my versions:Normal baked low poly:
Here I just used Morten Mikkelson normal baker and applied my normal map to the low poly version of the mesh.
Is this Blender or Zbrush/sculptris?
100% Blender
Just playing around with hardsurfaces mixed with softsurfaces. I think it’s just less of a headache to do the hardsurface stuff with traditional poly modeling and soft with sculpt tools.

Hey! Awesome job with those hard surface legs!
Splitting the model in smaller chunks is the best way to go with Blender.
Look Ma! No seams!

This sculpt actually has 3 objects in it!
So I played tonight with how to break up objects so that you could sculpt smaller parts up to higher resolution. The obvious answer is just to obscure the seam with other objects - stuff like necklaces and bracelets. But what if you want to to a nude or topless character? I came to the solution that you need a patch over the seam. Basically, you choose a spot to split the mesh - probably a spot where there is a fairly clean edge loop without hard angles. Then you need to make 5 edge loops around that loop. Duplicate those 5 rows of polys into a new mesh. Then, delete the 3rd edgeloop and separate the remaining two pieces of the model into separate objects. You should now have 3 objects and if done in a good spot the seam should be barely noticeable. You can then sculpt to higher resolutions, bake the objects normal map and apply to a recombined object.
My 3 objects:

And finally, the final baked result on one low poly mesh of 1304 polys

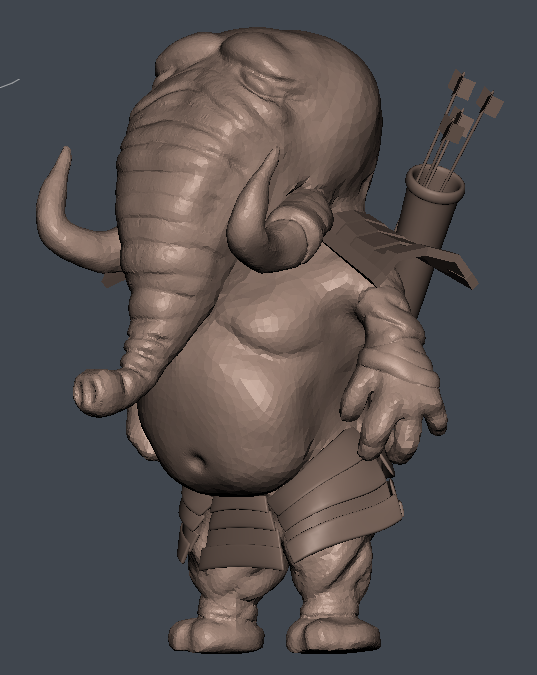
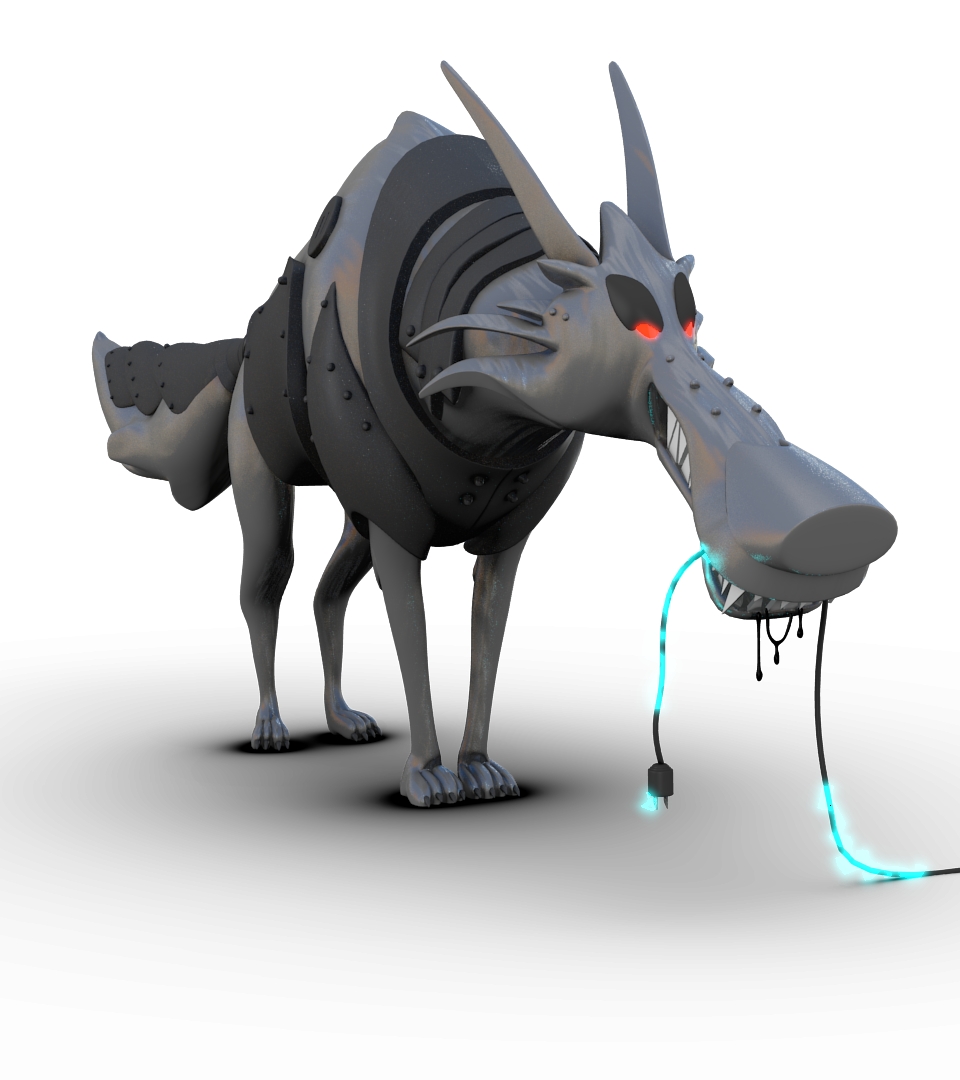
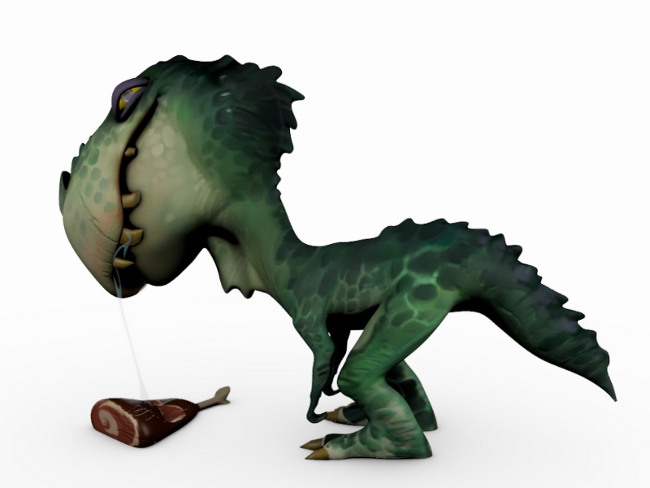
Just a quick update on my current project. Sort of a sci-fi gorrilla character

Cool Thread, and nice gorilla there!
Wow. that is pure beauty.
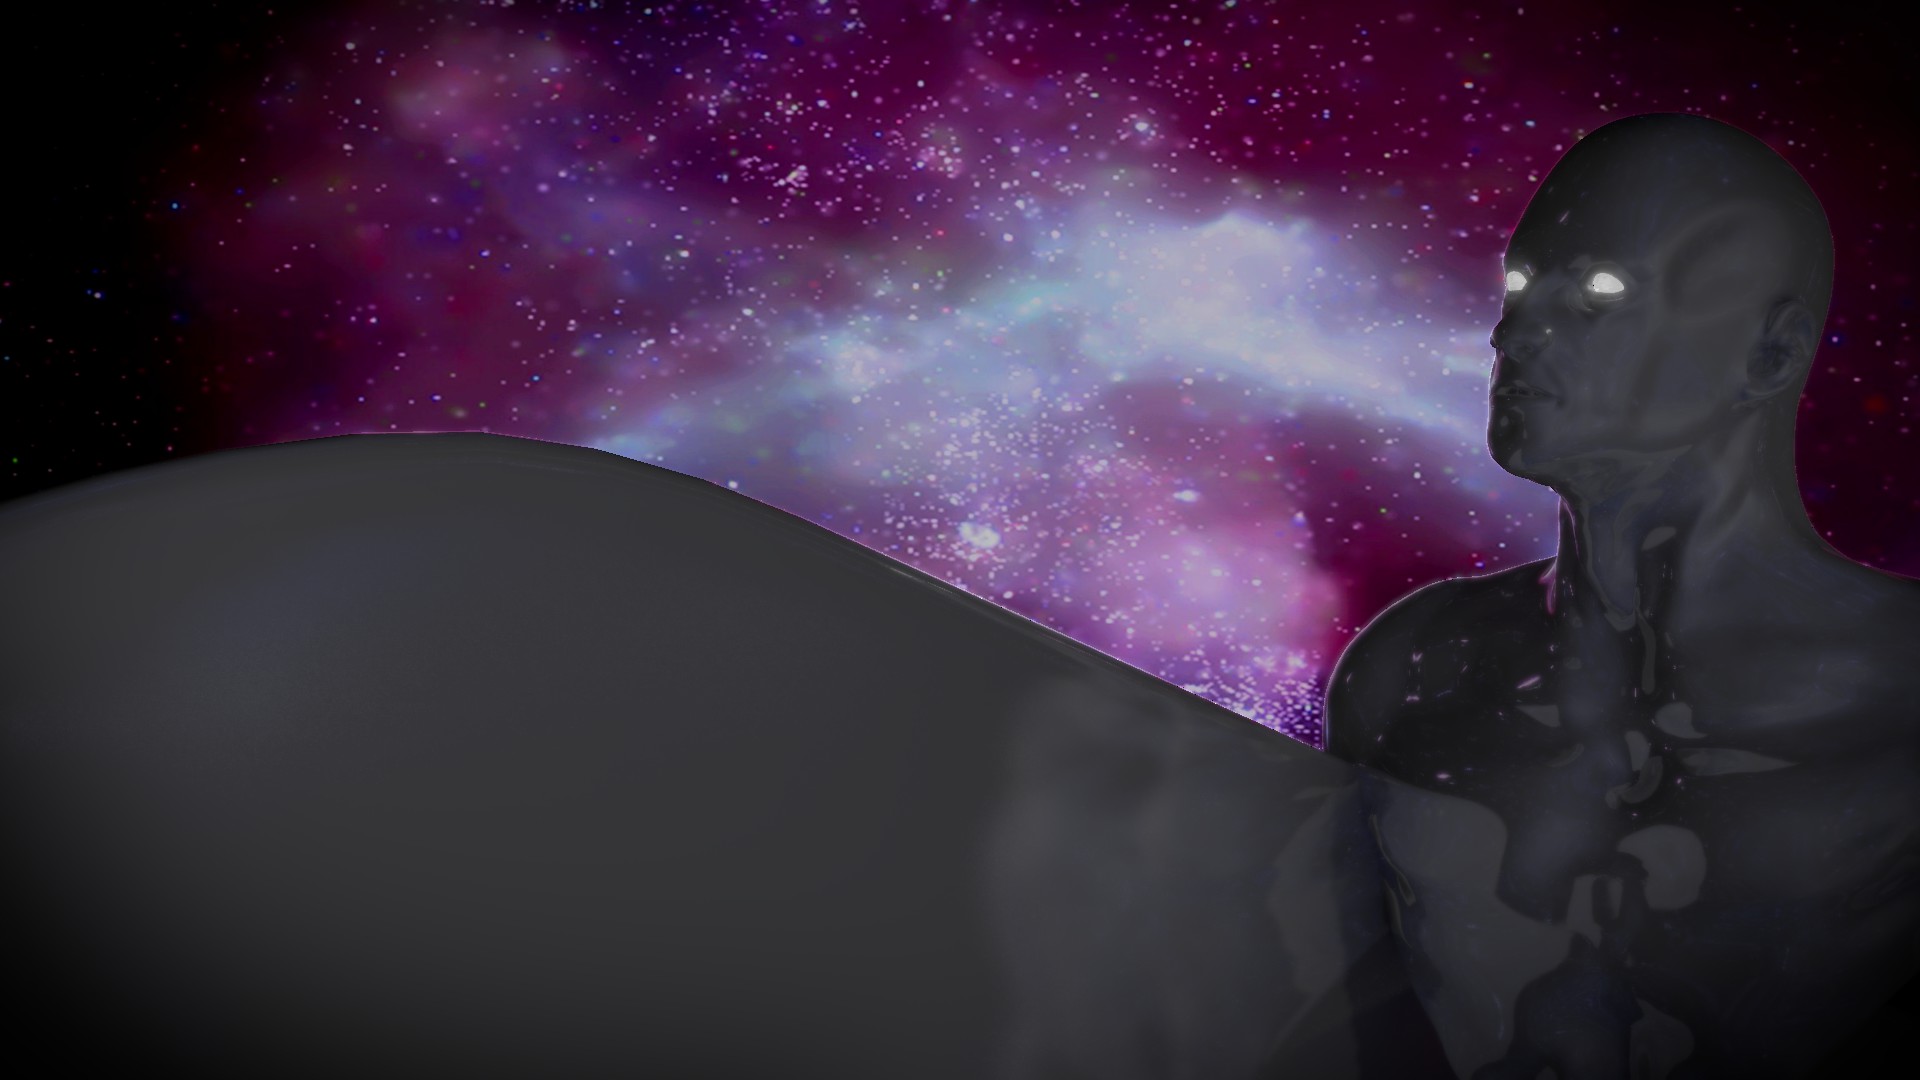
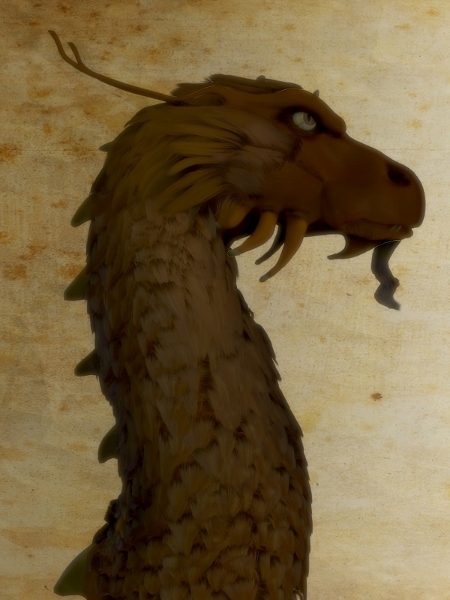
I was looking at my old sketches and I thought this guy looked like the silver surfer. So I put in a little extra leg work to make it so!

Thread re-opened
Really great job! I’m loving these
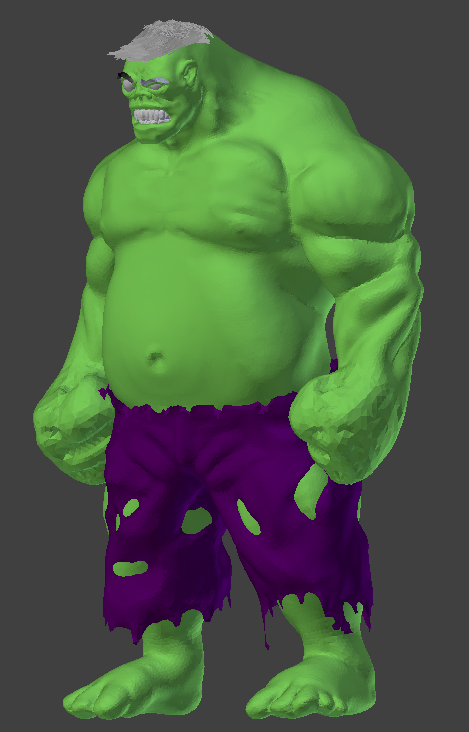
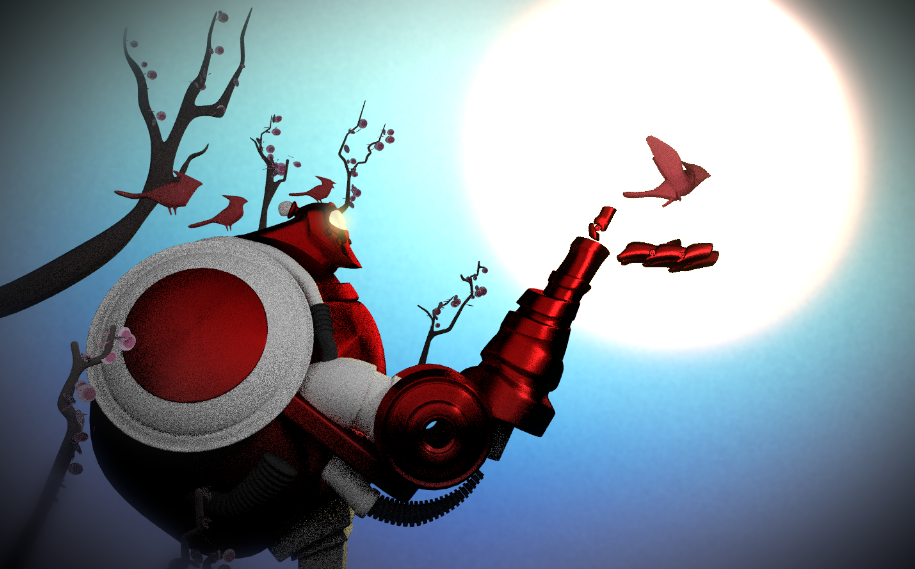
Got a new machine and can finally do sculpts past 100,000 polys - last machine chugged at about 80,000 and I could could, if I were patient, push 100,000 out of it. On the new rig I took it up to 100,000,000 quads before it was completely unusable. At 25,000,000 it was slightly slow, but usable. I’d say it was time for an upgrade! Anyway, my latest dabbles.
Hulk:
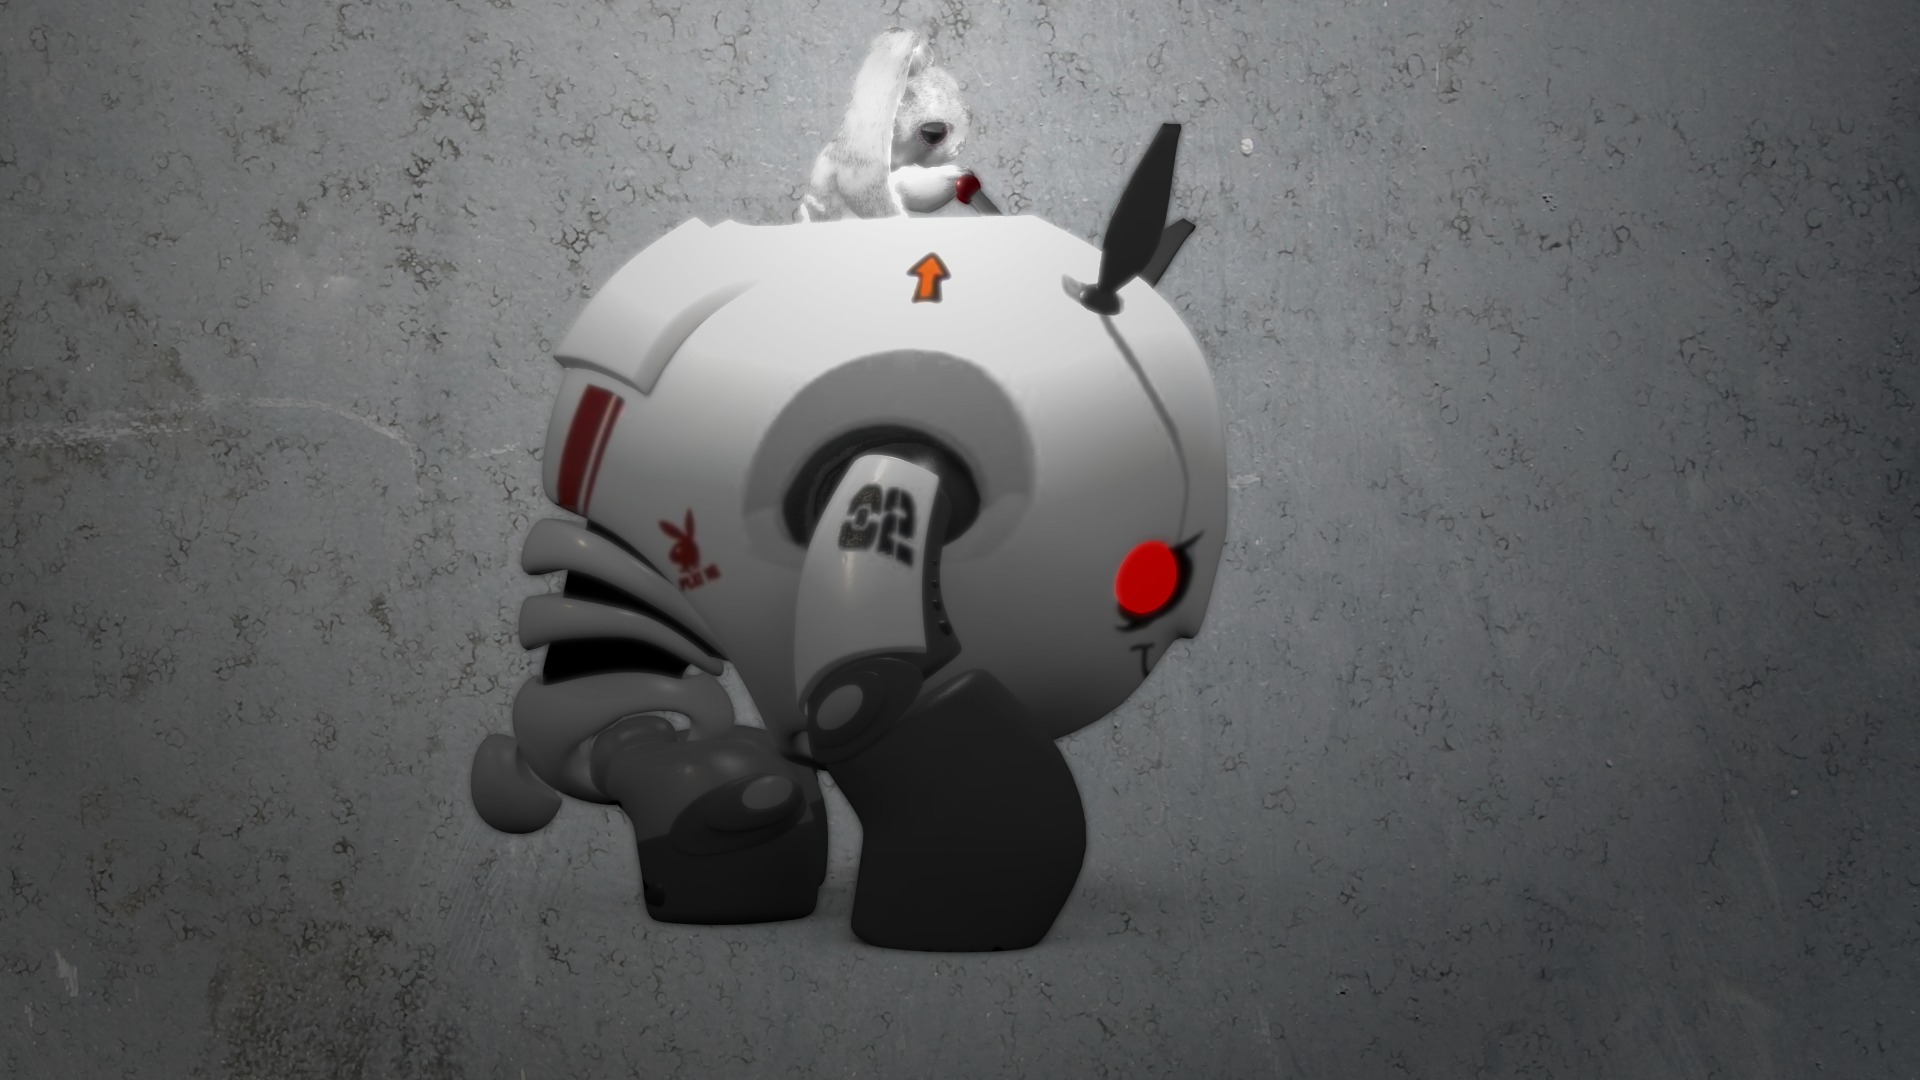
Robot:
Very interesting thread.
I love what you do in hard surfacing.
Inspiring
This workflow looks great… I need to explore the whole sculpting retopo stuff more… I’ve dabbled but not really been using it in anything much… your stuff is inspiring me to do more…
I never saw those before, they’re great piece of works, the system upgrade from 100k faces to 100 millions must have felt like a shock 
Still using the QuickPrefs addon at every single sculpt i’m making, really a very usefull one for sculpting.
Trying to learn hand painted textures. XRG’s timelapses have come in handy!
[p3d]LtkAy[/p3d]
And a shield to go with the sword:
[p3d]Awsqy[/p3d]