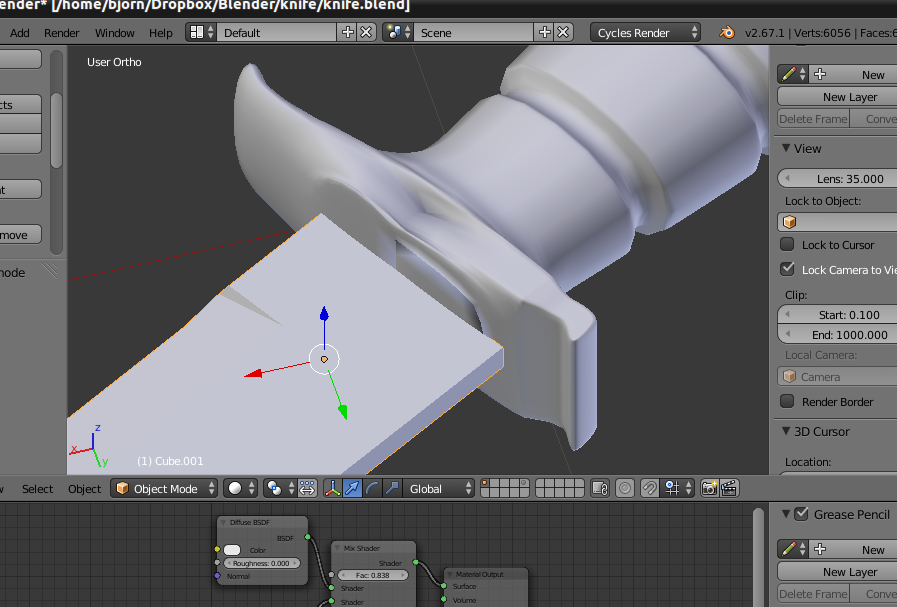
That looks like inverted normals…
in edit mode: CTRL+N that should fix it
If that didn’t you have faces in the mesh, these can be deleted safely (if they are close enough you can remove the double verts in edit mode: w->remove doubles), this can be achieved by deleting all the trouble area faces and seeing if there is any more mesh under there, then re-adding them.
Thanks for all the tips! I managed to correct it. I had a face on the inside of the mesh there. And on another place of the mesh there wasn’t any hidden faces but I deleted the faces and added them again. I think I also removed the Subdivision Surface modifier and added it again. After that it looked Ok there too.
Now I know what to look for so thanks yall!
Two most common things to do is to select all and W -> remove doubles to remove double vertices, and then ctrl+N to recalculate normals outside, in that order.
If there are problems with shading after that, the most common culprit is interior face which pretty much destroys any possibility for recalculate normals to work. It makes the mesh non-manifold and does that in the way that normals recalculation can’t decide in which way a face should point at:
Let’s imagine that two of those faces are on the surface of your object, and the third one is the interior face. All those faces should point outside after you press ctrl+N. Blender tries to make normals consistent (every face pointing at the same direction as its neighbour) and fail in that situation, because it can’t decide which of the faces is on the surface it should follow.
(You can enable face normals display in the properties panel under mesh display, in edit mode).
A non-manifold mesh is not necessarily a bad thing, if you know what you’re doing. It doesn’t always mean normals recalculation will fail either, on the contrary, that usually works for non-manifold meshes too.
There are many mesh diagnostics tools in Blender, but select menu -> non-manifold (or ctrl+alt+shift+M) is really handy for finding problems in your mesh. There is also select menu -> interior faces.
What is a manifold mesh you might ask. In short, a mesh is manifold when all of its vertices are connected with edges, and all those edges are connected exactly to two faces.