Hi, just wondering if in Blender 3D that there is a type of “pose tool” like in 3D Coat or Mudbox for high poly sculpts?
I use it constantly. Possible addons? Weight vertices to a bone would take too long even if allowed in high poly, should work I guess.
1 Like
No there’s no high poly sculpt posing tools, hopefully we’ll get some sculpt posing goodies in the future but it’s wishful thinking unfortunately.
a workarounds we tested in the dyntopo thread that you can try in sculpt mode (should work for dyntopo, regular or multires) :
-
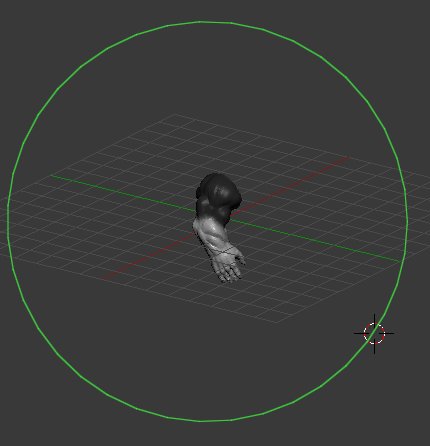
press H and box select to hide what you’re not going to pose, not only to give yourself better performance and smoother viewport but very important in avoiding masking wrong areas on the next step
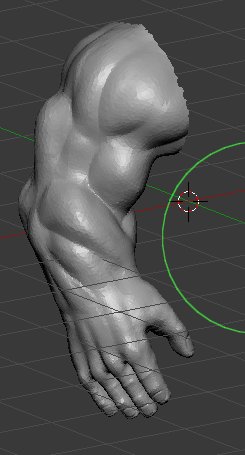
In that example i hide everything but the arm of my sculpted creature
-
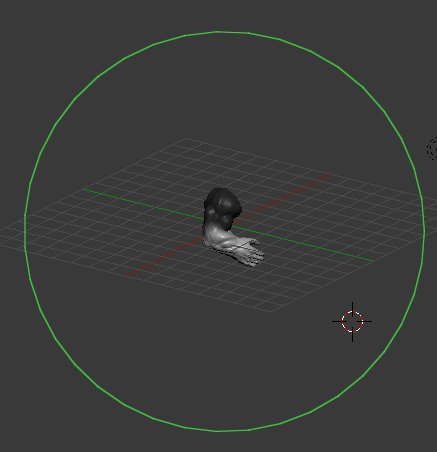
i now use the lasso mask, by holding CTRL+SHIFT and i draw the lasso
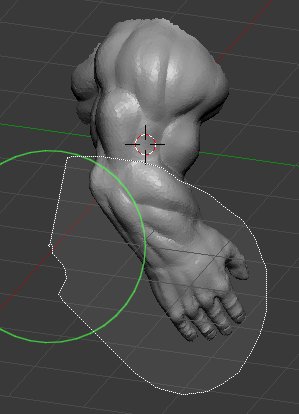
(and that’s why we hide the other part of the mesh, so it’s only the forearm that is fully masked) -
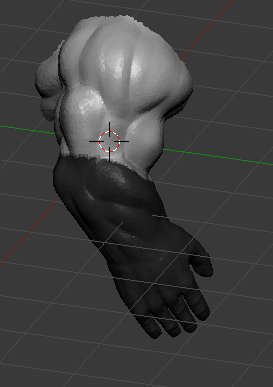
Use the Mask Brush to adjust/smooth/etc the mask manually so it fits better, then press CTRL+I to invert the mask once done
-
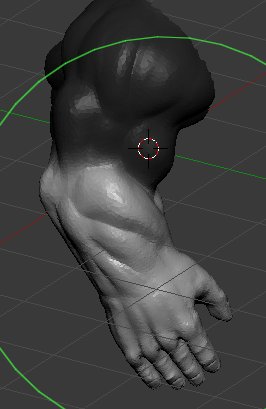
Select the Twist Brush, make sure it’s set to “View Plane” and set the brush curve to the flat shape :
-
hold F and move the mouse to set the brush size the maximum
-
zoom out and move the cursor center to the location you want to be the pivot point of your rotation
(don’t hesitate to zoom out a bit more to avoid some nasty deformation) -
press the mouse button and hold it , move the mouse away from the sculpt and start to slowly move around to make the actual rotation :

You can use the Grab brush once done to adjust, still using the same zoom out and brush shape
- you can clear the Mask with ALT+M (or Mask -> Clear Mask) and sculpt further to refine the area that was deformed by your rotation and ALT+H to unhide the whole sculpt
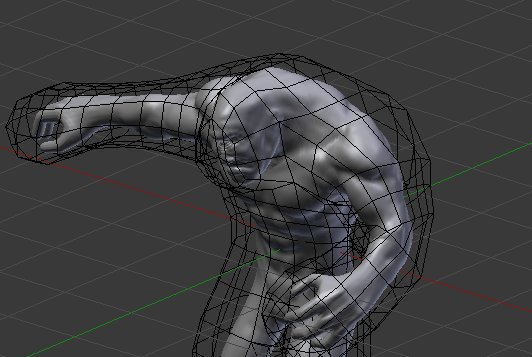
The disadvantage is that posing hands and fingers can be tedious, it works but it’s very tedious
Another solution is to make a low poly cage, assign an armature to that low poly cage for fast posing, then bind the sculpt to that low poly cage using the Mesh Deform modifier, you can pose the low poly cage and the Mesh Deform modifier will pose the sculpt accordingly.
disadvantage of this is that high poly unfortunately is not very friendly with Blender tools so it can be unstable during the binding and can crash Blender, if the long binding calculation does not crash, it could be good, but it lacks precision anyways as the cage surface must be all above the mesh you can forget about finger posing by example
another solution is to make an armature and parent it to the sculpt with CTRL+P -> Automatic Weight
Disadvantage, posing an armature bound with a high poly sculpt is extremely slow and unresponsive, and the parenting to start with can miss a lot of the weighting ( again high poly and blender tools aren’t the best combination)
1 Like
Great thx for the reply and your time explaining. It would be nice to see improvements in this area.