I’ve done modeling. I’ve almost done texturing. I’m still working on materials (I’m not really good at it yet). And now I want to add some rigging into my skill set.
In the end I want to get something like in this video. Suspension should work, wheels should rotate, cables and hoses should bend and stretch, steering, banking, etc, etc.
But this is such a vast field, so I need some advice. Where should I start from? What techniques to use? Armatures? Empties and constraints? Something else?
You should be using bones definitely. Brake apart each motion and create a rig for that movement.
Motorcycle Rig example is pretty good, but not complete; when he put his motorcycle in whee lee position, back wheel should stay on the ground, but it rotates from axle skidding on ground. Its not easy to come up fully functional rig for some thing like this.
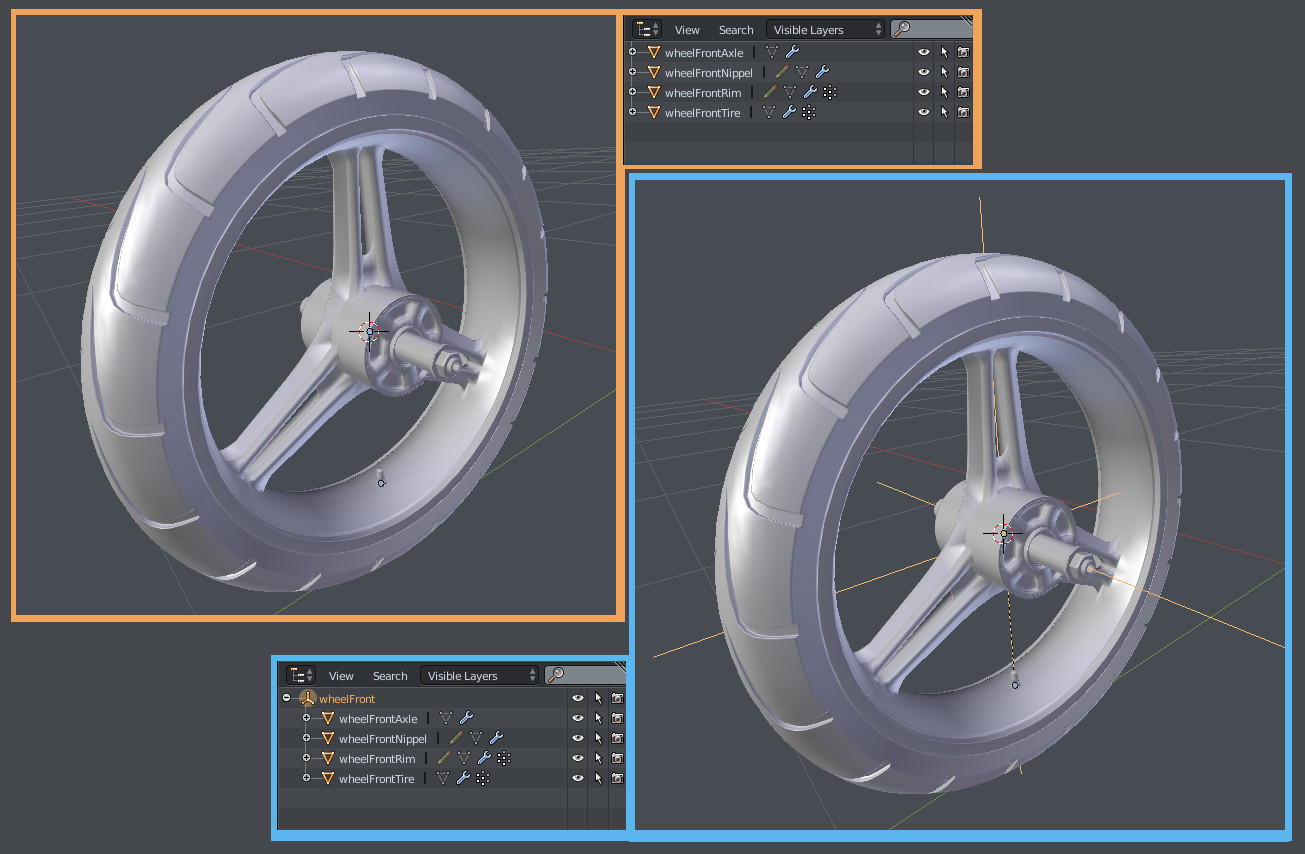
Allright, I’m starting my Rigging R&D. And for now I have a question (sort of more “organisational”, I try to form my own “pipeline”: folders structure, naming conventions, etc). My model consists of many separate objects. Let’s take front wheel as an example. Wouldn’t it be more convenient to parent all parts of it to an empty, and then parent that empty to the armature bone?
In the second case (blue) it looks more structured and organized, but it contradicts to the KISS principle, cause I must create many additional empties (in which I might be lost in the end). How would be more “professional”? How would you do?
But the second option has a few downsides. It looks great in Outliner, but it’s a little messy in 3D View. Or I must scale all those new group-empties to zero so they do not clutter my scene. And this is extra actions.
So I probably should test both variants more before choosing one, or even use them together.
or instead of empty, you can parent them directly to some bones. This way it’s easy to hide in the layers of the armature. and it should also well organized in the outliner under the armature.
I did a quick test. It doesn’t work that way. When you parent objects to bone, they (objects) become children of main Armature object, not the bone itself (in Outliner).
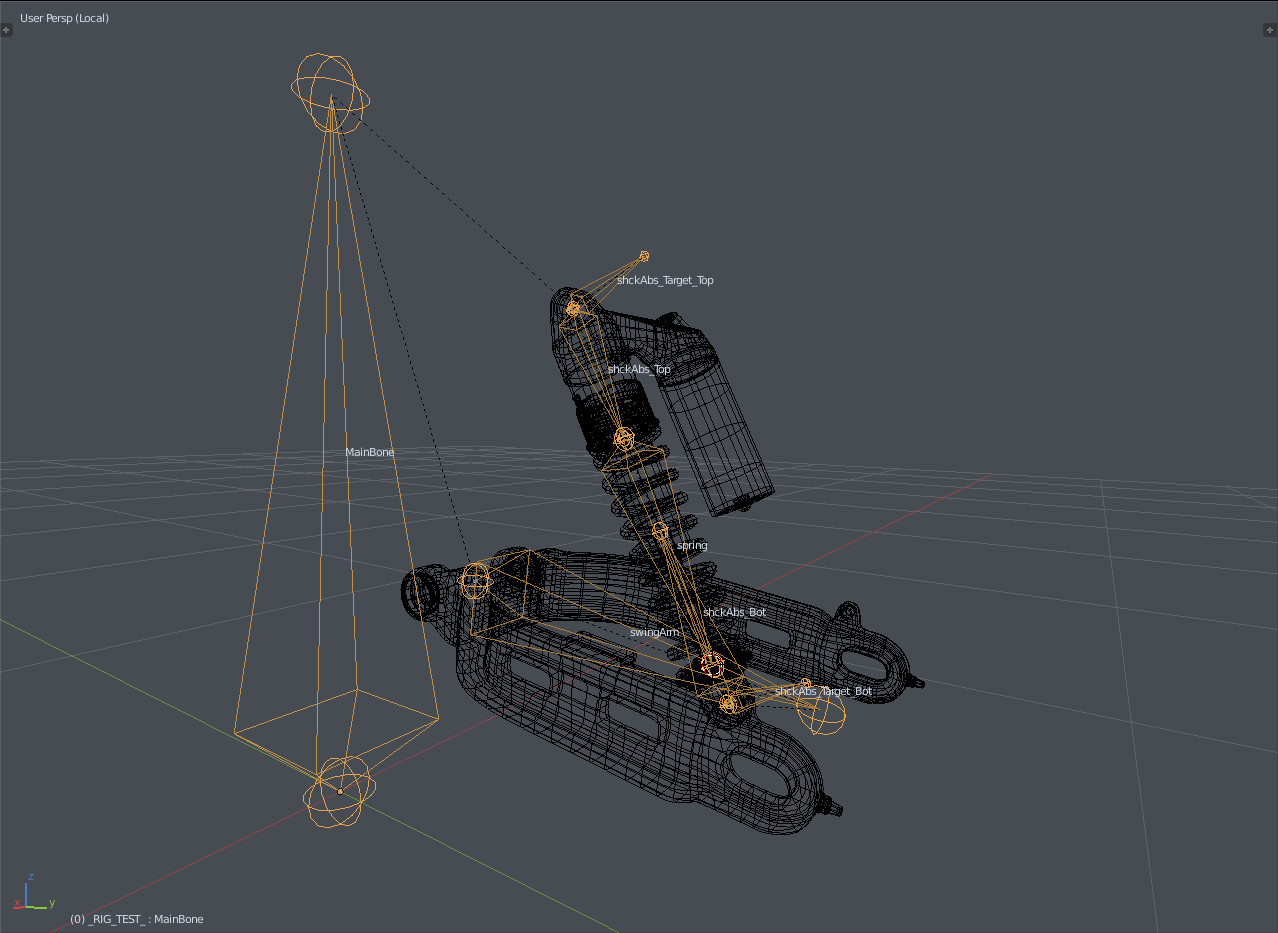
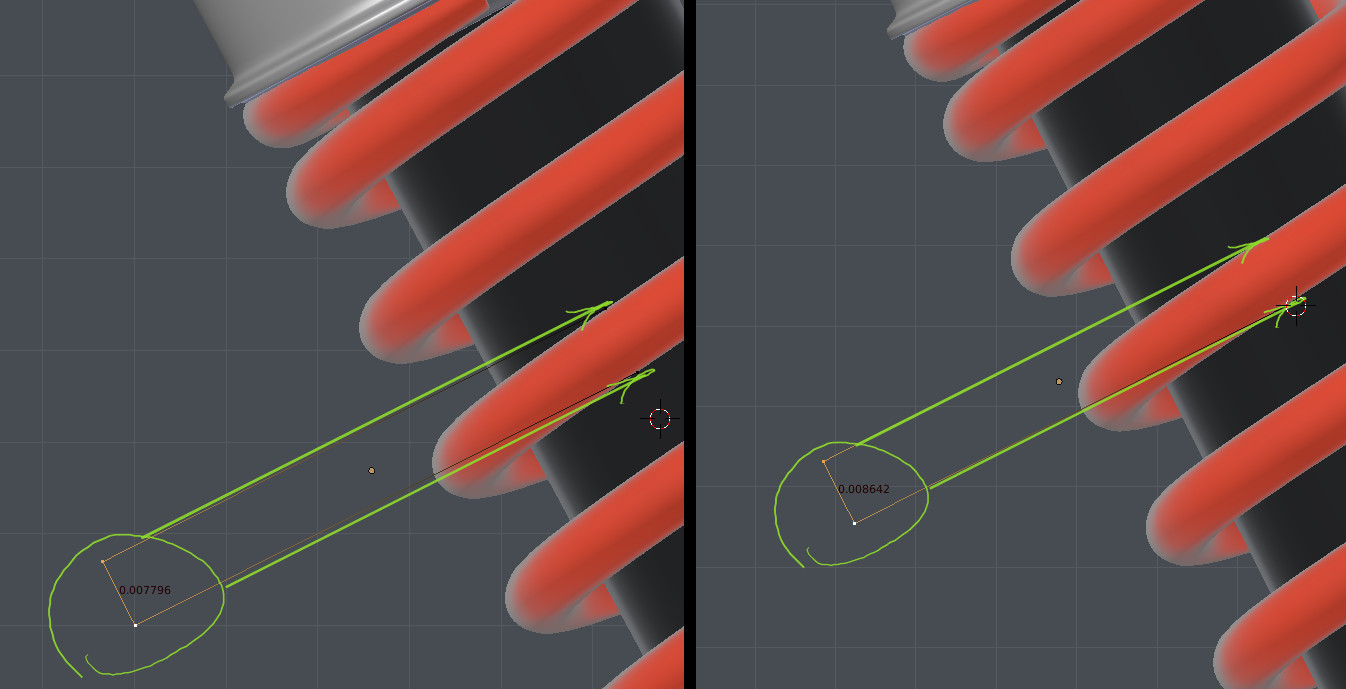
All armature hierarchy ends up with MasterBone. And when I grab this bone (in Pose mode) and then reset its location with Alt+G, top parts of the shock absorbers (with springs parented to them) rotate randomly. The same is true for animation.
I heven’t commented here before, because I thought others were doing such a sterling job!
However, I see you are struggling with your spring mechanism and rigging, so I offer this as a possible method of working:
If you look at my Airplane Undercarriage Tutorial, you can see how I did this same sort of setup. I know this is for a plane and yours is a bike, but the same principles apply. The tutorial is here:
As you will see I am not a fan of Locked Track or Transformation Constraints to rig suspension system, preferring IK chains, which are far easier to set up and far easier to control IMHO. I hope this helps you - there are several pages and you really need to look at them in order, the next page in the sequence is referenced at the bottom of each page. One point to note is that it is easier to make the spring upright, then parent the bits to an empty and then rotate the empty to get your spring/shocker at the angle you need.
Good luck!
Cheers, Clock
PS. The condition you describe where bones do not end up where you want them after you rotate one and then press escape, or ALT-G is caused by cyclic dependencies where one bone may be dependent upon another that in turn is dependent upon the first - you have to get these out of the rig. If you cannot see what I am saying, post your armature in a blend file and I will look at it.
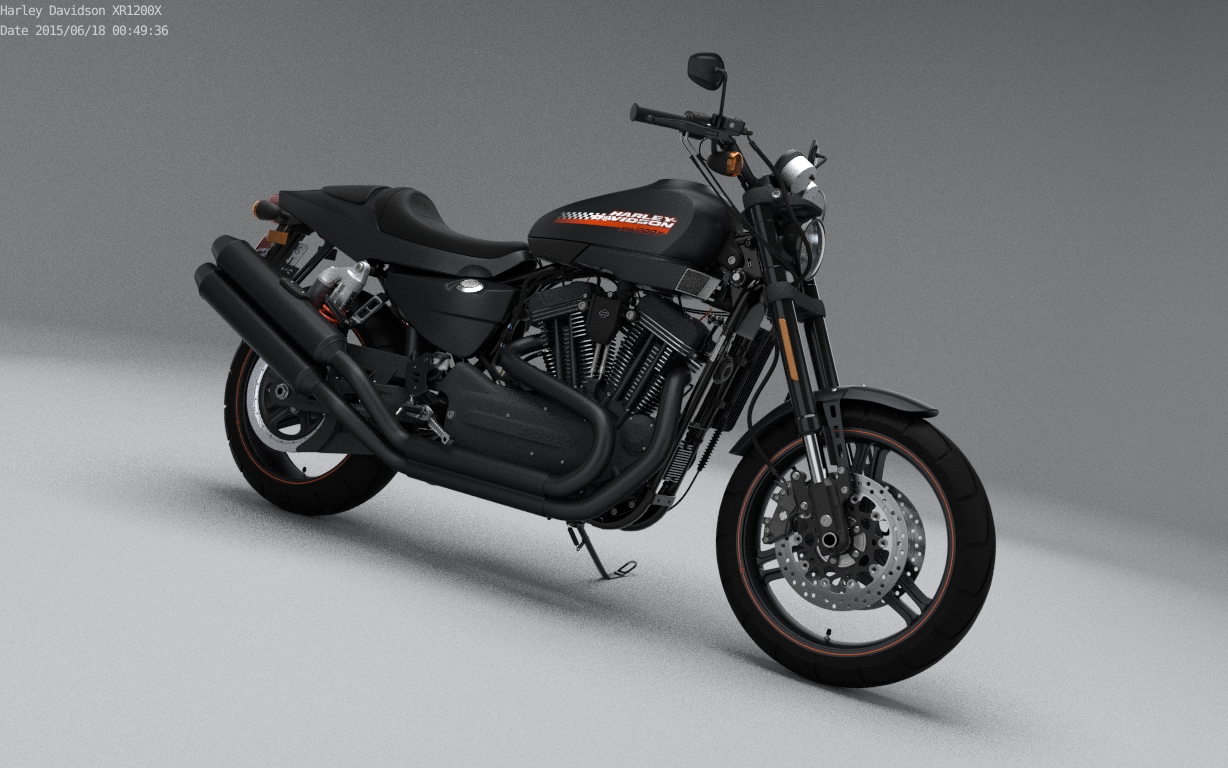
Oh I forgot - NICE BIKE! I have a 1998 CB750…
EDIT:
I forgot to say that there is a blend file with the airplane u/c mechanism in it.
That’s quite a reading! I flipped through the pages and at first glance didn’t understand anything. I put your tutorial aside for now. First I have to dive into Blender Wiki and maybe watch a couple of tuts to get an understanding how IK works. And then I’ll read your tutorial more thoroughly.
Yeah, you were right. I’ve managed to resolve this problem by separating my rig into several different rigs (two for shock absorber mechanism in addition to the main rig) and additional empty for target.
This spreads the action across many objects if you carry on down this route, here is how I would do it - just press play, then you can analyse the rig.
Clock.
Your rigging skills are just on another level than mine. I still don’t get how your rig works, but after studying it I’ve modified my own setup a bit. I added two bones as targets for Locked Track constraints, and now everything seems to work without any glitches, and I have only one rig now.
Another question. Is there a way to prevent the spring’s shape/profile squashing and stretching during its scaling by shock absorber’s working. Squashing/streching is subtle, but visible (especially if you peer), and in reality there shouldn’t be visible deformations (I guess). So… Can I do this?
It is scaling because you are scaling the overall height of the spring rather than moving the Screw Modifier’s target object. The rig I posted does what you want it to do, but I am sorry to say that I don’t know a way of stopping your rig doing this. I know mine is not a simple setup, but if you can get your head around it you will have a solution. If you PM me with your email address, we can pass blend files that way and maybe I could rig this bit of the bike for you.
But it’s not a big deal for now, I can return to it later, after I get more knowledge of rigging. Or even leave it as is, I gues it’ll be hardly noticeable in motion (during animation).