I’m tryng to rig a face. I would like to join/parent more bones together,but I’m not able to do it. I’ve already tried using the approach explained here :
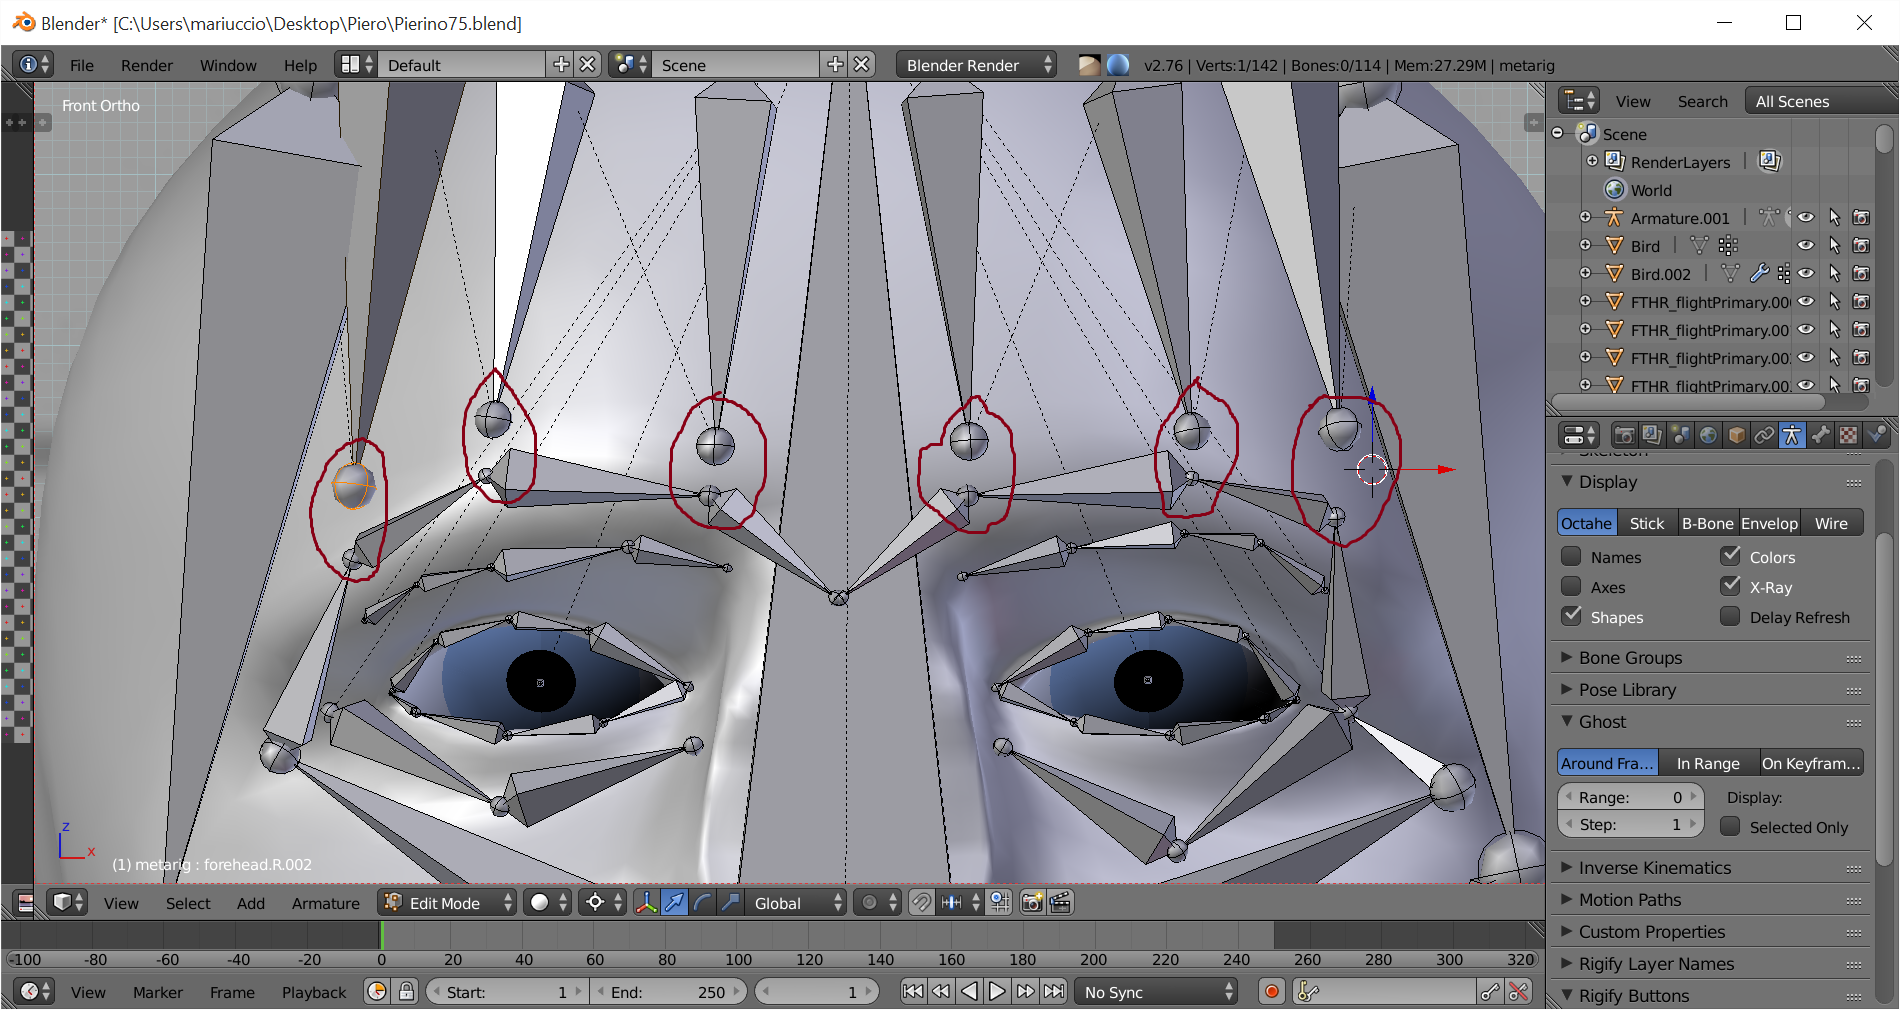
but it didn’t work for me…check the attached picture,please. In the red circles you see the bones that I want to be attach together. The armature is the one provided by the Rigify Addon PitchiPoy Version,that I found here :
http://pitchipoy.tv/?p=2026
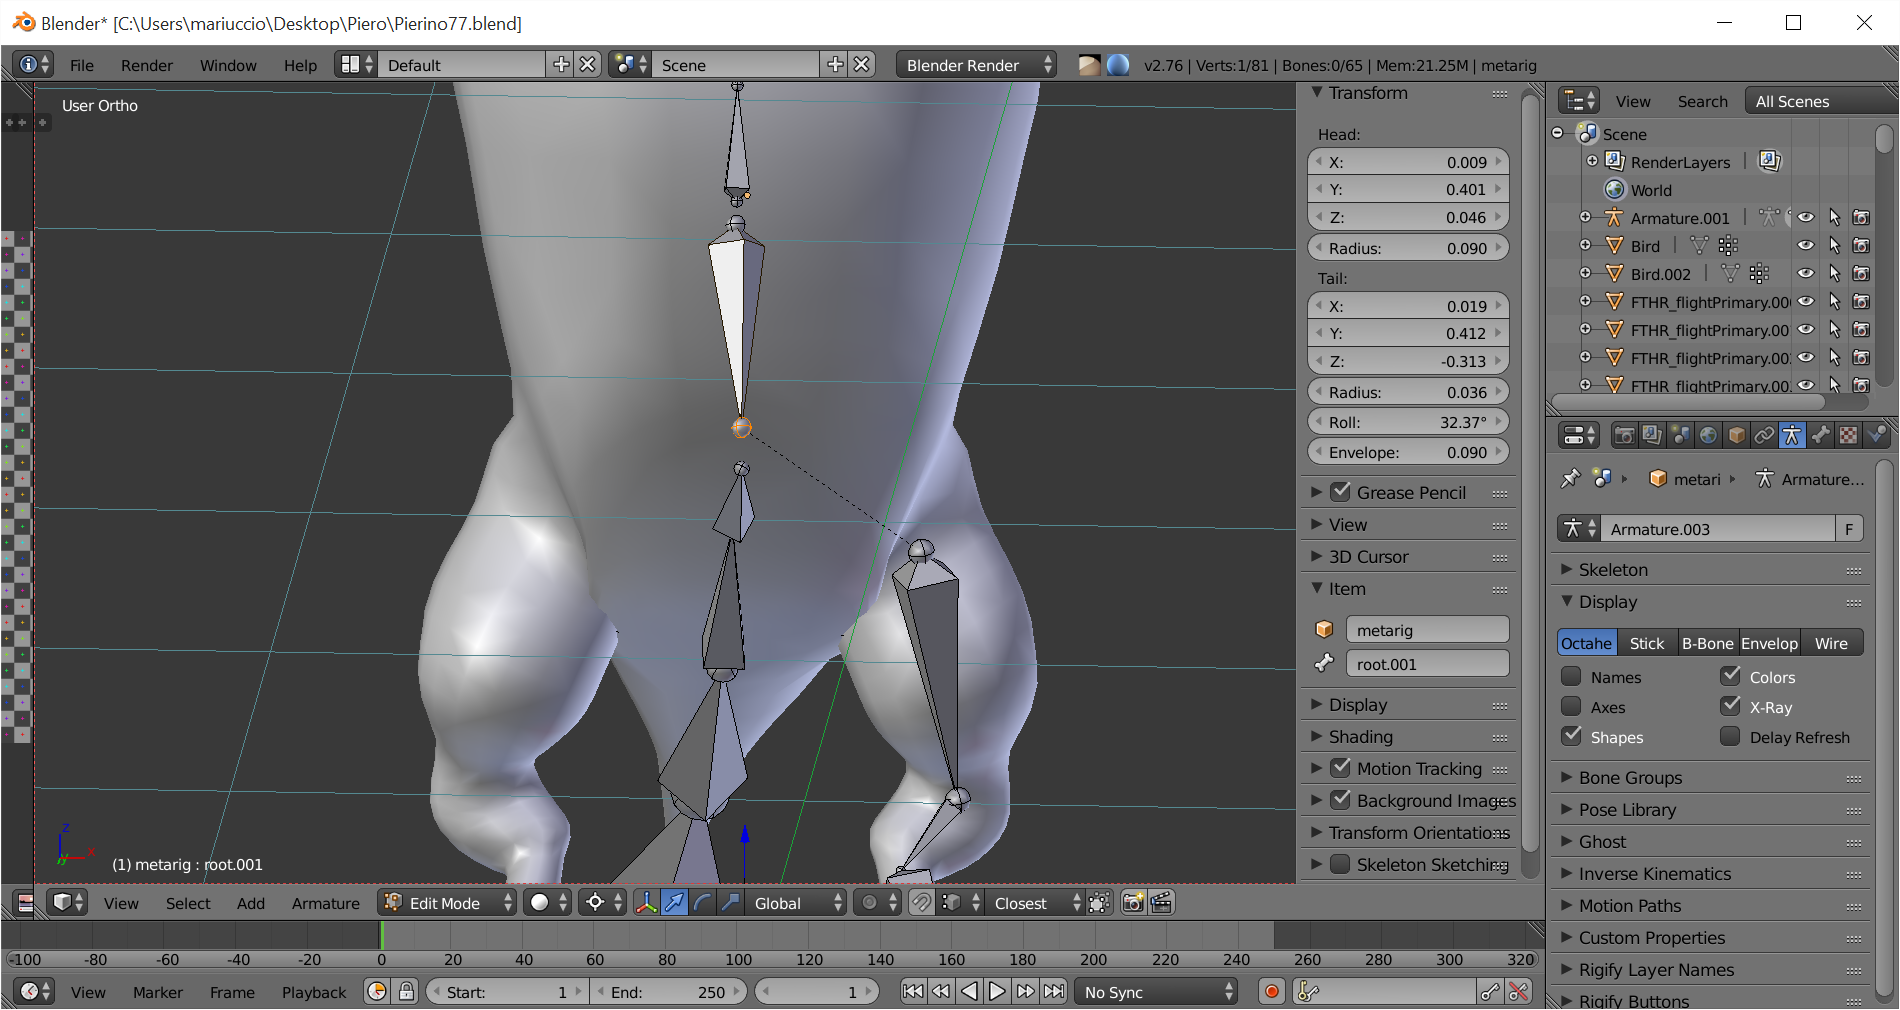
problem is that when I parent one side of the bone,the other side is disconnected from the rest of the bones and sometimes one bone is placed in the wrong place. Also,I don’t know how to connect the bone that you see on the pic below with the upper and the lower ones…
after looking at the stack exchange page …
and…
after looking at your provided screen capture…
and assuming you have already generated your rigg … if you were using a MetaRigg…
and taking into account your statement…
problem is that when I parent one side of the bone,the other side is disconnected from the rest of the bones and sometimes one bone is placed in the wrong place. Also,I don’t know how to connect the bone that you see on the pic below with the upper and the lower ones…
Please note…
all bones have two circles… one at each end… the larger one is called the ‘Base’… the smaller one is called the ‘tip’…
now when you parent one bone to another you always will be parenting the child bones… ‘Base’ to the Parent bones ‘tip’…
So in order to get a bone to be connected / parented to another bone have several methods available to you… one is parenting…
another is the ‘stretch to’ constraint…
Select your armature > Tab into pose mode > Select the bone you want to target first > Shift select the bone you want the constraint to be on > Ctrl+Shift+C brings up the constraints menu… > pick ‘stretch to’…
now the tip of your bone will stretch to the target bone…
Note also you can find this Constraint under the Bone Constraints in the Properties Panel…
if you look at the Stretch to constraint’s properties panel there will be a Head/Tail adjustment slider that you may want to use depending on where you want the tip of the bone to point to the target…
this may however not be what your wanting to do…
especially if your just moving bones around before you have ‘generated’ your Meta Rigg