Armored car (autoblinda) Ab-40

I start with new WIP (time permitting); Armored Car AB-40 (41-42-43) were Italian armoured cars in use during World War II. Most autoblinde were armed with a 20 mm Breda 35 autocannon and a coaxial 8 mm machine gun in a turret similar to the one fitted to the Fiat L6/40, and another hull mounted rear-facing 8 mm machine gun.

I hope you will like :slight_smile:

stc=1

Attachments


Today I had ten minutes to continue the wip :smiley:

Finished shape and clean the whole body of Armored car and I began modeling and rear grilles. We are still at the start of the work, but goes well almost. C&C are welcome :wink:

stc=1stc=1stc=1

It looks nice! Do you make it for game?

I do not know, I see at the end if you can make a lowpoly textured model useful to the game. For now, I create a high poly model :wink:

Wip little Update.

I had ten minutes time. Created the main rear grid (motor), hooks for the compartments motors and lights. Guys, there being few real references of this armored car, many things to do by eye

Update Wip Autoblinda.

I began modeling the doors, the gun and the rear view trapdoor. I must say that this model is very simple, so the details make the lion’s share :slight_smile:

Update WIP Autobilnda AB-40

With what little time I have available, I tried to add the headlight covers, front hooks and shovel and more! :smiley:

Update WIP Autoblinda.

Add little detail on the body. The Autoblinda begins to take shape :smiley:

Update WIP Autoblinda.

Add. more detail…

Update WIP Autoblinda.

Started detailing the turret. Just a few details and then away with the myriad of bolts and rivets !!! :smiley:


Wip Update.

Finished the Autoblida in its decisive parts. I began to fix the myriad of rivets present. never end :spin: …

Update Wip.
Add more rivets, rivets and… rivets!!! :frowning:


Update Wip.
I finally finished arranging the sea of rivets :evilgrin: I began modeling the wheels (hopefully good) although not convince me much …


Update Wip

As mentioned above, the tires do not like at all, so I completely remodeled :slight_smile: Now I think they are better …

Update Wip

Finished the wheel of AutoBlinda and put in their place … to see well now the pictures, I have to turn the wheels to differentiate heheheheh


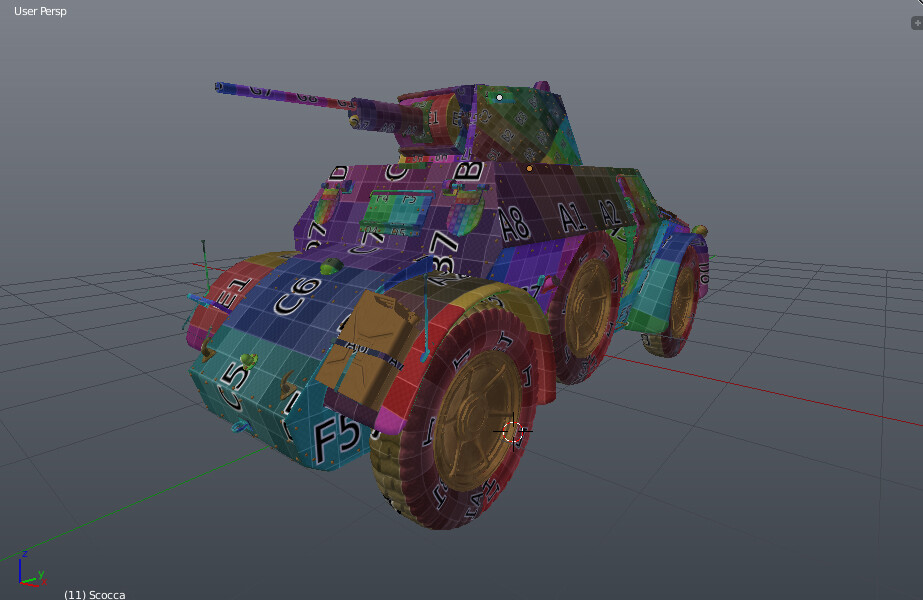
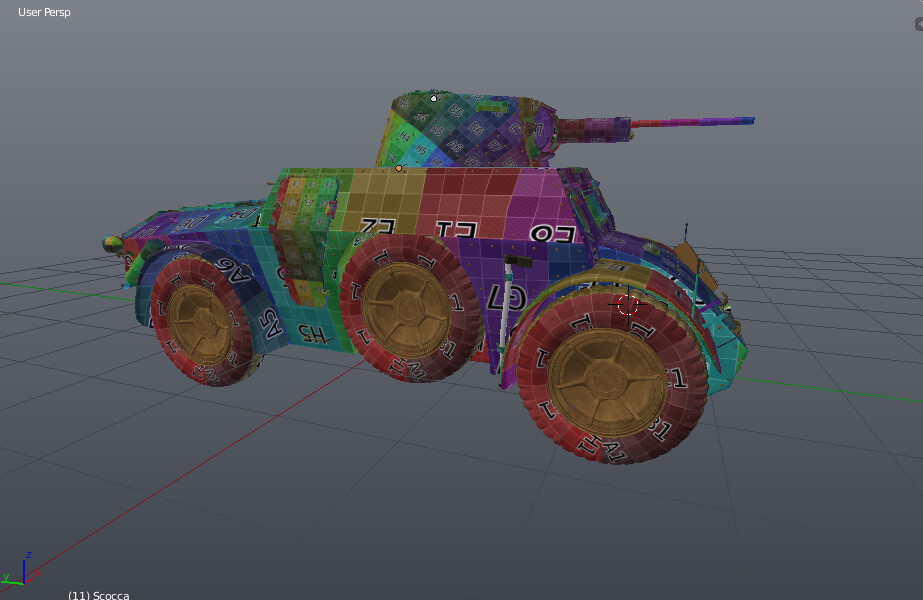
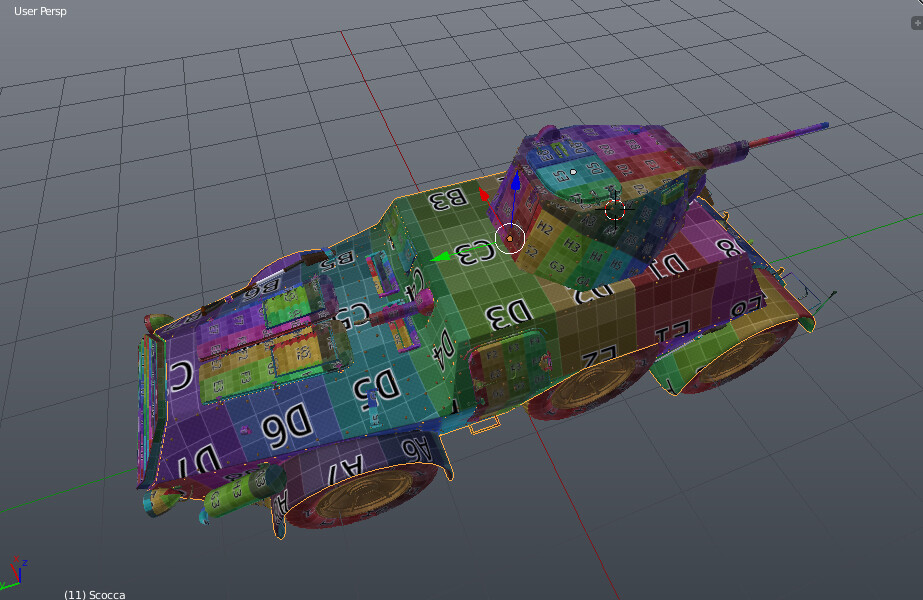
After making the first break place dell’unwrap process … is a situation that stresses me a lot !!! I began to sketch mapping which then bring everything to scale


Attachments


During exporting the model to create the texture , I see the same in 3dsmax creating a previsualization of how it should look the base …

And this is a preview in Blender with Cycles ( everything is of course adjust ) …

First step for the texture :slight_smile:


Continued texturing.

The first two images are with HDRI lighting, while the last is rendered in “study.” The latter wanted to add a sandy soil etc. but to see it so I really like. What do you think? Add ground? Any advice is welcome :slight_smile:


Meanwhile I go with the textures, I insert the model in 3D with Sketchfab :smiley: