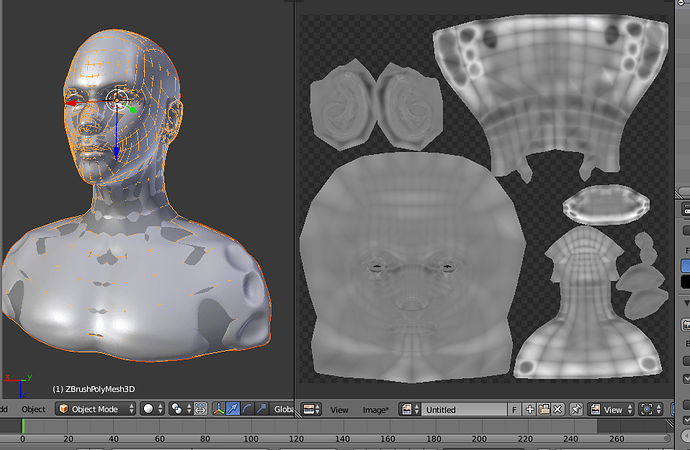
Hello I have got a pretty good sculpture that I’ve made in zbrush, I have made a low poly cage for it that I’ve imported into blender. It is unwrapped and I’ve baked out a displacement map from zbrush that I want to use to get back the detailed surface of the sculpture in zbrush.
But what I’ve found out is that the displacement modifier doesn’t give you the detailed mesh from zbrush, but inflates your model instead. You can put the displacement value on 0.01 and it’ll look fine but the surface doesn’t displace enough to get sharp corners and all that detail that was in the sculpt. If you raise the displace value higher the face starts puffing up making him look fat. Is there some way to not have the face become a fat blob and have it just displace the surface so you COMPLETELY restore the look of the sculpted mesh?
Maybe thats not what the displacement modifier is supposed to do, but it’s always what I imagined people did when they create phorotrealistic renders of faces. Instead of retopologizing a 20 000 polygon face, they retopo a 3000 polygon face then subdivide the mesh and use a displacement map to get back the detail.
Am I wrong in thinking this, because from what I’m seeing in blender, the modifier doesn’t seem to be doing that very well. Also if I put the subsurf modifier on simple, to not have the face become distorted but only react to the displacement map, the hard squares of the low poly cage aren’t displaced, so you get a chekckered pattern all over the face.
Any tips or suggestions are appreciated, I can’t find any tutorials on this online.