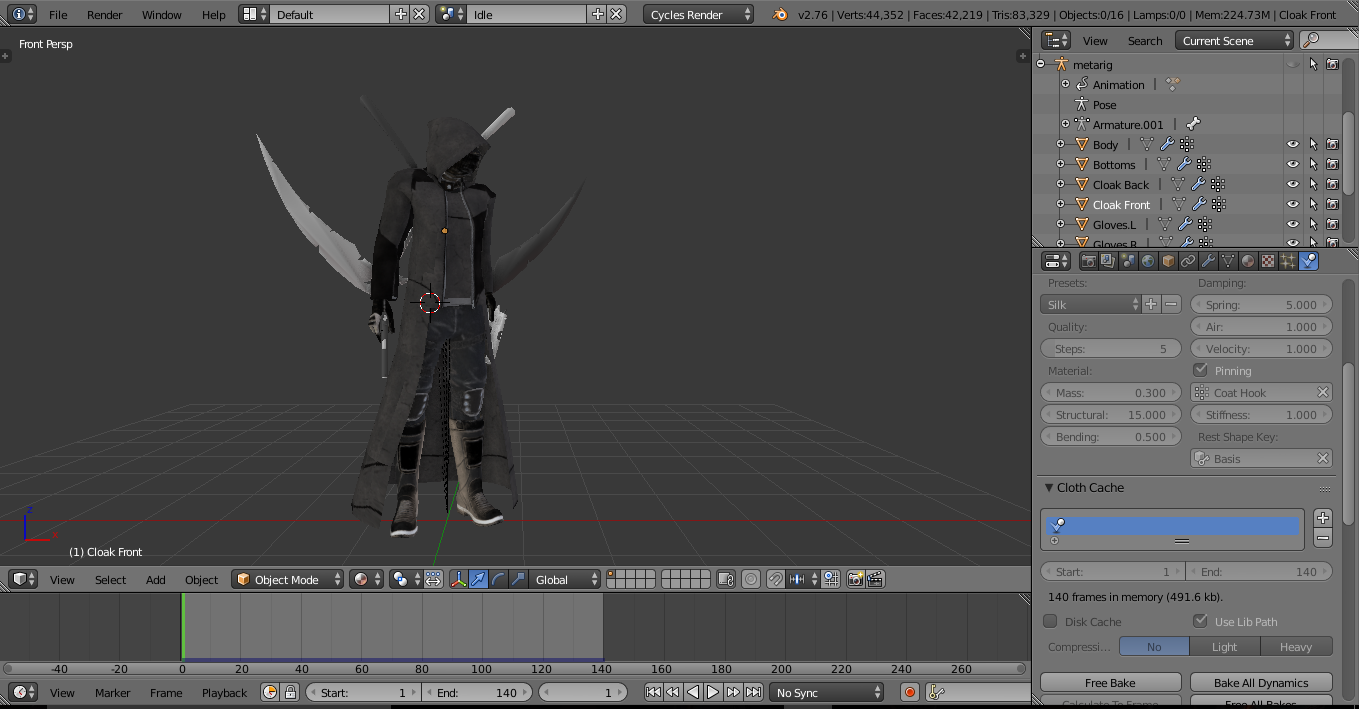
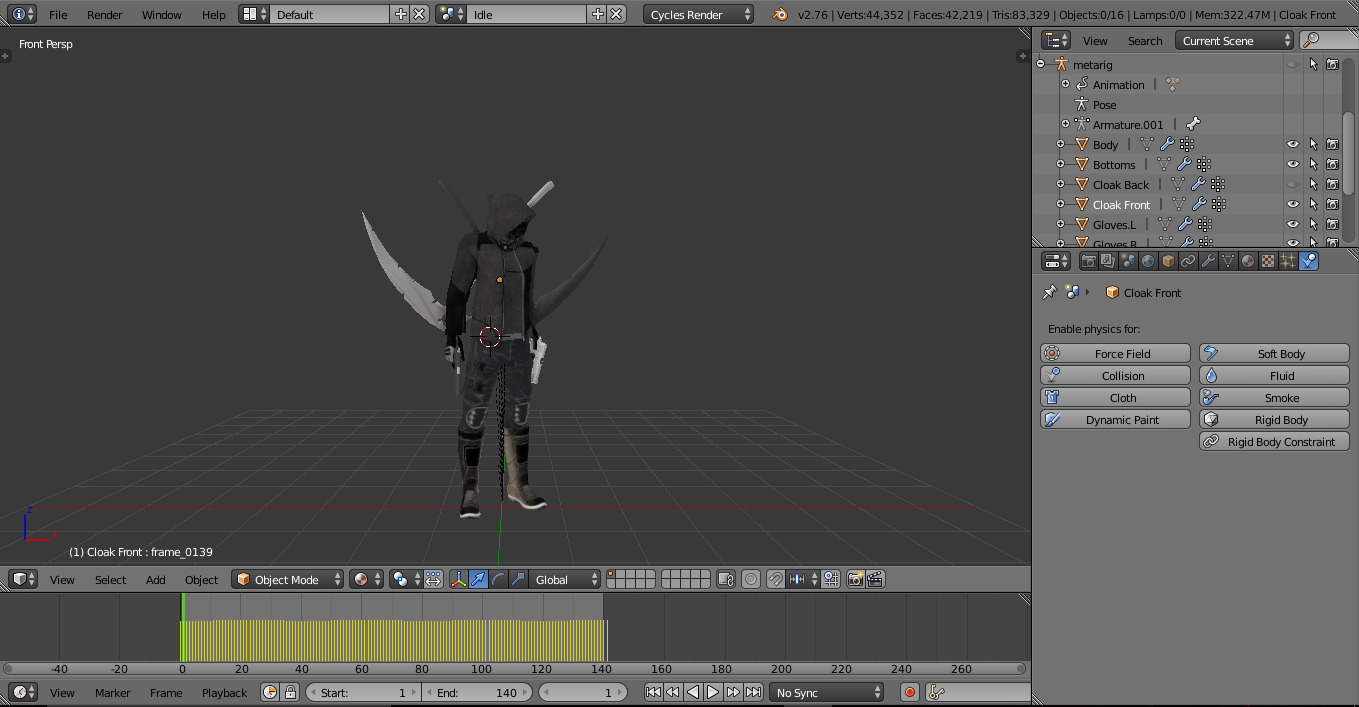
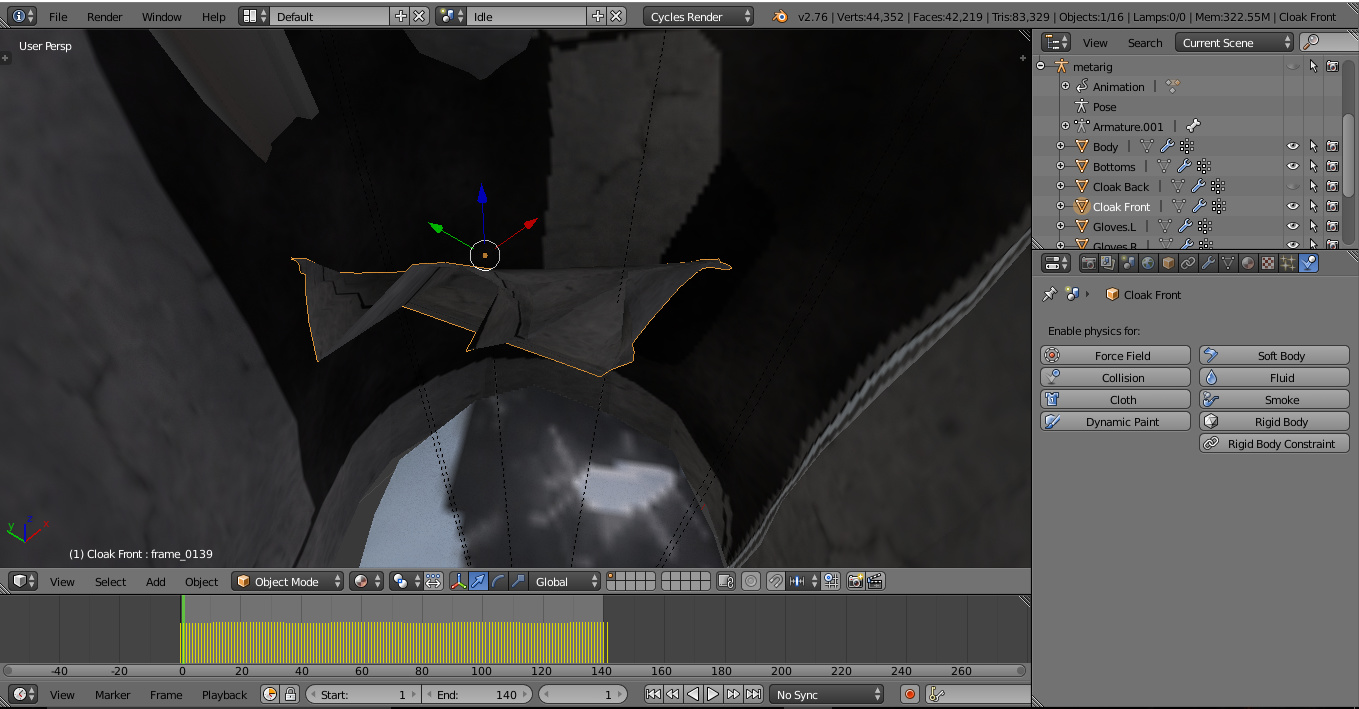
Ok so long story short, I’m making a fighting game in Unity and am trying to import my character models and animations from Blender. I can export an .fbx to Unity just fine and the armature animations transfer perfectly, but when I try to import one of my characters who has a long coat, the cloth physics on the bottom part of the coat are lost in unity. I’ve tried using unity’s cloth physics on it but the mesh spazzes out and grows to the size of the entire screen regardless of what animation type I use (legacy, generic, or mecanim). After some research it was recommended to me that I use the Lightwave Point Cache add-on in blender which basically allows me to take a simulation and apply all the transformations as shape keys on each frame since these will actually transfer into Unity. However, when I do this the mesh becomes completely deformed in ways it wasn’t meant to be. Here are screenshots:
Anyway, I’ve tried this over and over both with the cloth mesh parented to the armature and without, but it’s the same result every time. Does anyone have any suggestions?
Unity uses a different system IIRC. You have to set it up in unity from your models, sort of like setting up a ragdoll. Check out Shaderforge for some nice physic based shaders. You can achieve quite a lot without actually animating.
Saw this today and figured I’d share my technique even if it is late.
Unity’s cloth sim works similarly to goal weights of softbodies in Blender, in which armature animation is mixed with the cloth sim. Before I go into the trick make sure that you’ve applied your transform (apply location rotation and scale).
So first, weight the cloth to the character so that the parts that are attached to the character deform appropriately and continue those weights down the cloth.
DO NOT APPLY A CLOTH MODIFIER!
It has absolute no use here other than conceptualization.
Instead, play your animations in Blender without the simulation and make sure things aren’t falling apart. The cloth will look really stiff, but should otherwise move with the character. This is what you import into Unity. Add the cloth component, and set your vertex weights so that what is attached is set to 1, and ramp down as you travel away from your attachment points. The ramp down can be pretty fast, especially if you use less vertices for the cloth.
You’ll know when you get it right because it will look epic and simultaneously murder your friend’s “gaming” laptop; especially if you’re like me and do this for a 26k tri model with cloth applied to a two layer dress, neck fins, and hair.