Ok, so, i posted recently asking about some issues on my model, but now i think this is a better way to solve or learn about this.
Could you please tell me wich is or are the best ways to model this kind of things?
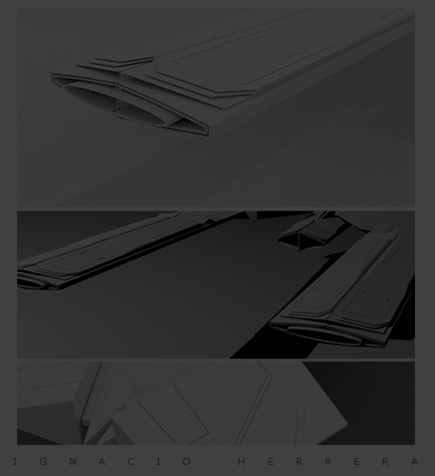
Im talking about the incicions, the lines between parts. I have tried making cut with CTRL+R and extruding, but some strange faces where created and then using the knife tool but it was strange also because the modeling was not clean anymore and new faces changed the shapes. Probably its about textures, or different objects. I dont know!
One of the images is from google and the other one a render from someone else. Patience please im new with Blender!
Decide how close the camera will go and based on that, which protruding details affect the silhouette (apart from the obvious major forms). Those ones need to be modeled. The rest can use a normal map. Normal map can also be used for details that go inwards, with or without supporting geometry depending on the size and distance to the camera.
One way to get the panels modeled is to model the major forms, then use those forms to conform the panel geometry on top (retopology). Could create a new object or duplicate and separate geometry from the existing one, then use a modifier stack:
mirror for symmetry
shrinkwrap with offset to get the geometry on top of another object and offset the geometry
solidify with rim only option on to get the panel sides where the surface is cut
and bevel with suitable angle to get a small bevel on the panel sides/corners
I clearly need to learn more about the modifiers and concepts you are talking about. Do you know any specific tutorials to learn about them?, i know there are lots on youtube but probably you could know exactly where to go.
Im asking this because the first advice includes some thing i dont understand, for example when you mention retopology, and some of the modifiers.
Anyway, until someone answers ill try those modifiers and search about retopology.
I don’t. First part of the anwer is a mix of polygonal modeling basics and knowing about normal mapping. We’re dealing with approximation for visual purposes and the accuracy is relative instead of absolute. The accuracy both in terms of dimensions and detail decreases when the distance increases is how the human eye works, so it’s exploited everywhere: games, movies, drawing, painting, physical and digital mediums.
Normal mapping doesn’t affect the geometry so it can’t affect the silhouette, so when two elements overlap it can break the illusion. If the camera is close enough or the detail is big enough, it will be apparent it’s not real.
Retopology is just the name for the technique I suggested. Topology is a term that can mean a huge amount of aspects related to model structures, but simplified it means the structure of the model and edge/face flows in it. When we have a form with some structure and we build another structure for the same form, it’s retopology.
In practice it means that the new structure is built on top of the existing form, so we’re creating a new structure but don’t need to rebuild the form. There are several ways to conform the new geometry to the old one, shrinkwrap modifier is one of them.
Modifiers you learn by reading the manual and simply trying. Some are less used and more involved, which require a tutorial or even several tutorials.
It will be a new object so it’s possible to use modifiers and use options in object properties -> display. If you used snapping tools to snap new geometry on the old surface you could do it in edit mode, but would still keep it as new object and join the two afterwards if that is the goal.
Ctrl+J in object mode to join two selected objects, and P in edit mode to get the separate menu for separating geometry to its own object.
Just have to remember that the active object keeps its modifiers when joining objects. For example, if you built another object with too much geometry and join it to an object that has a subdivision surface modifier, those joined parts will get even more geometry.