Hello,
I was so impressed by Dan80s Mclaren that I decided to start my own project.
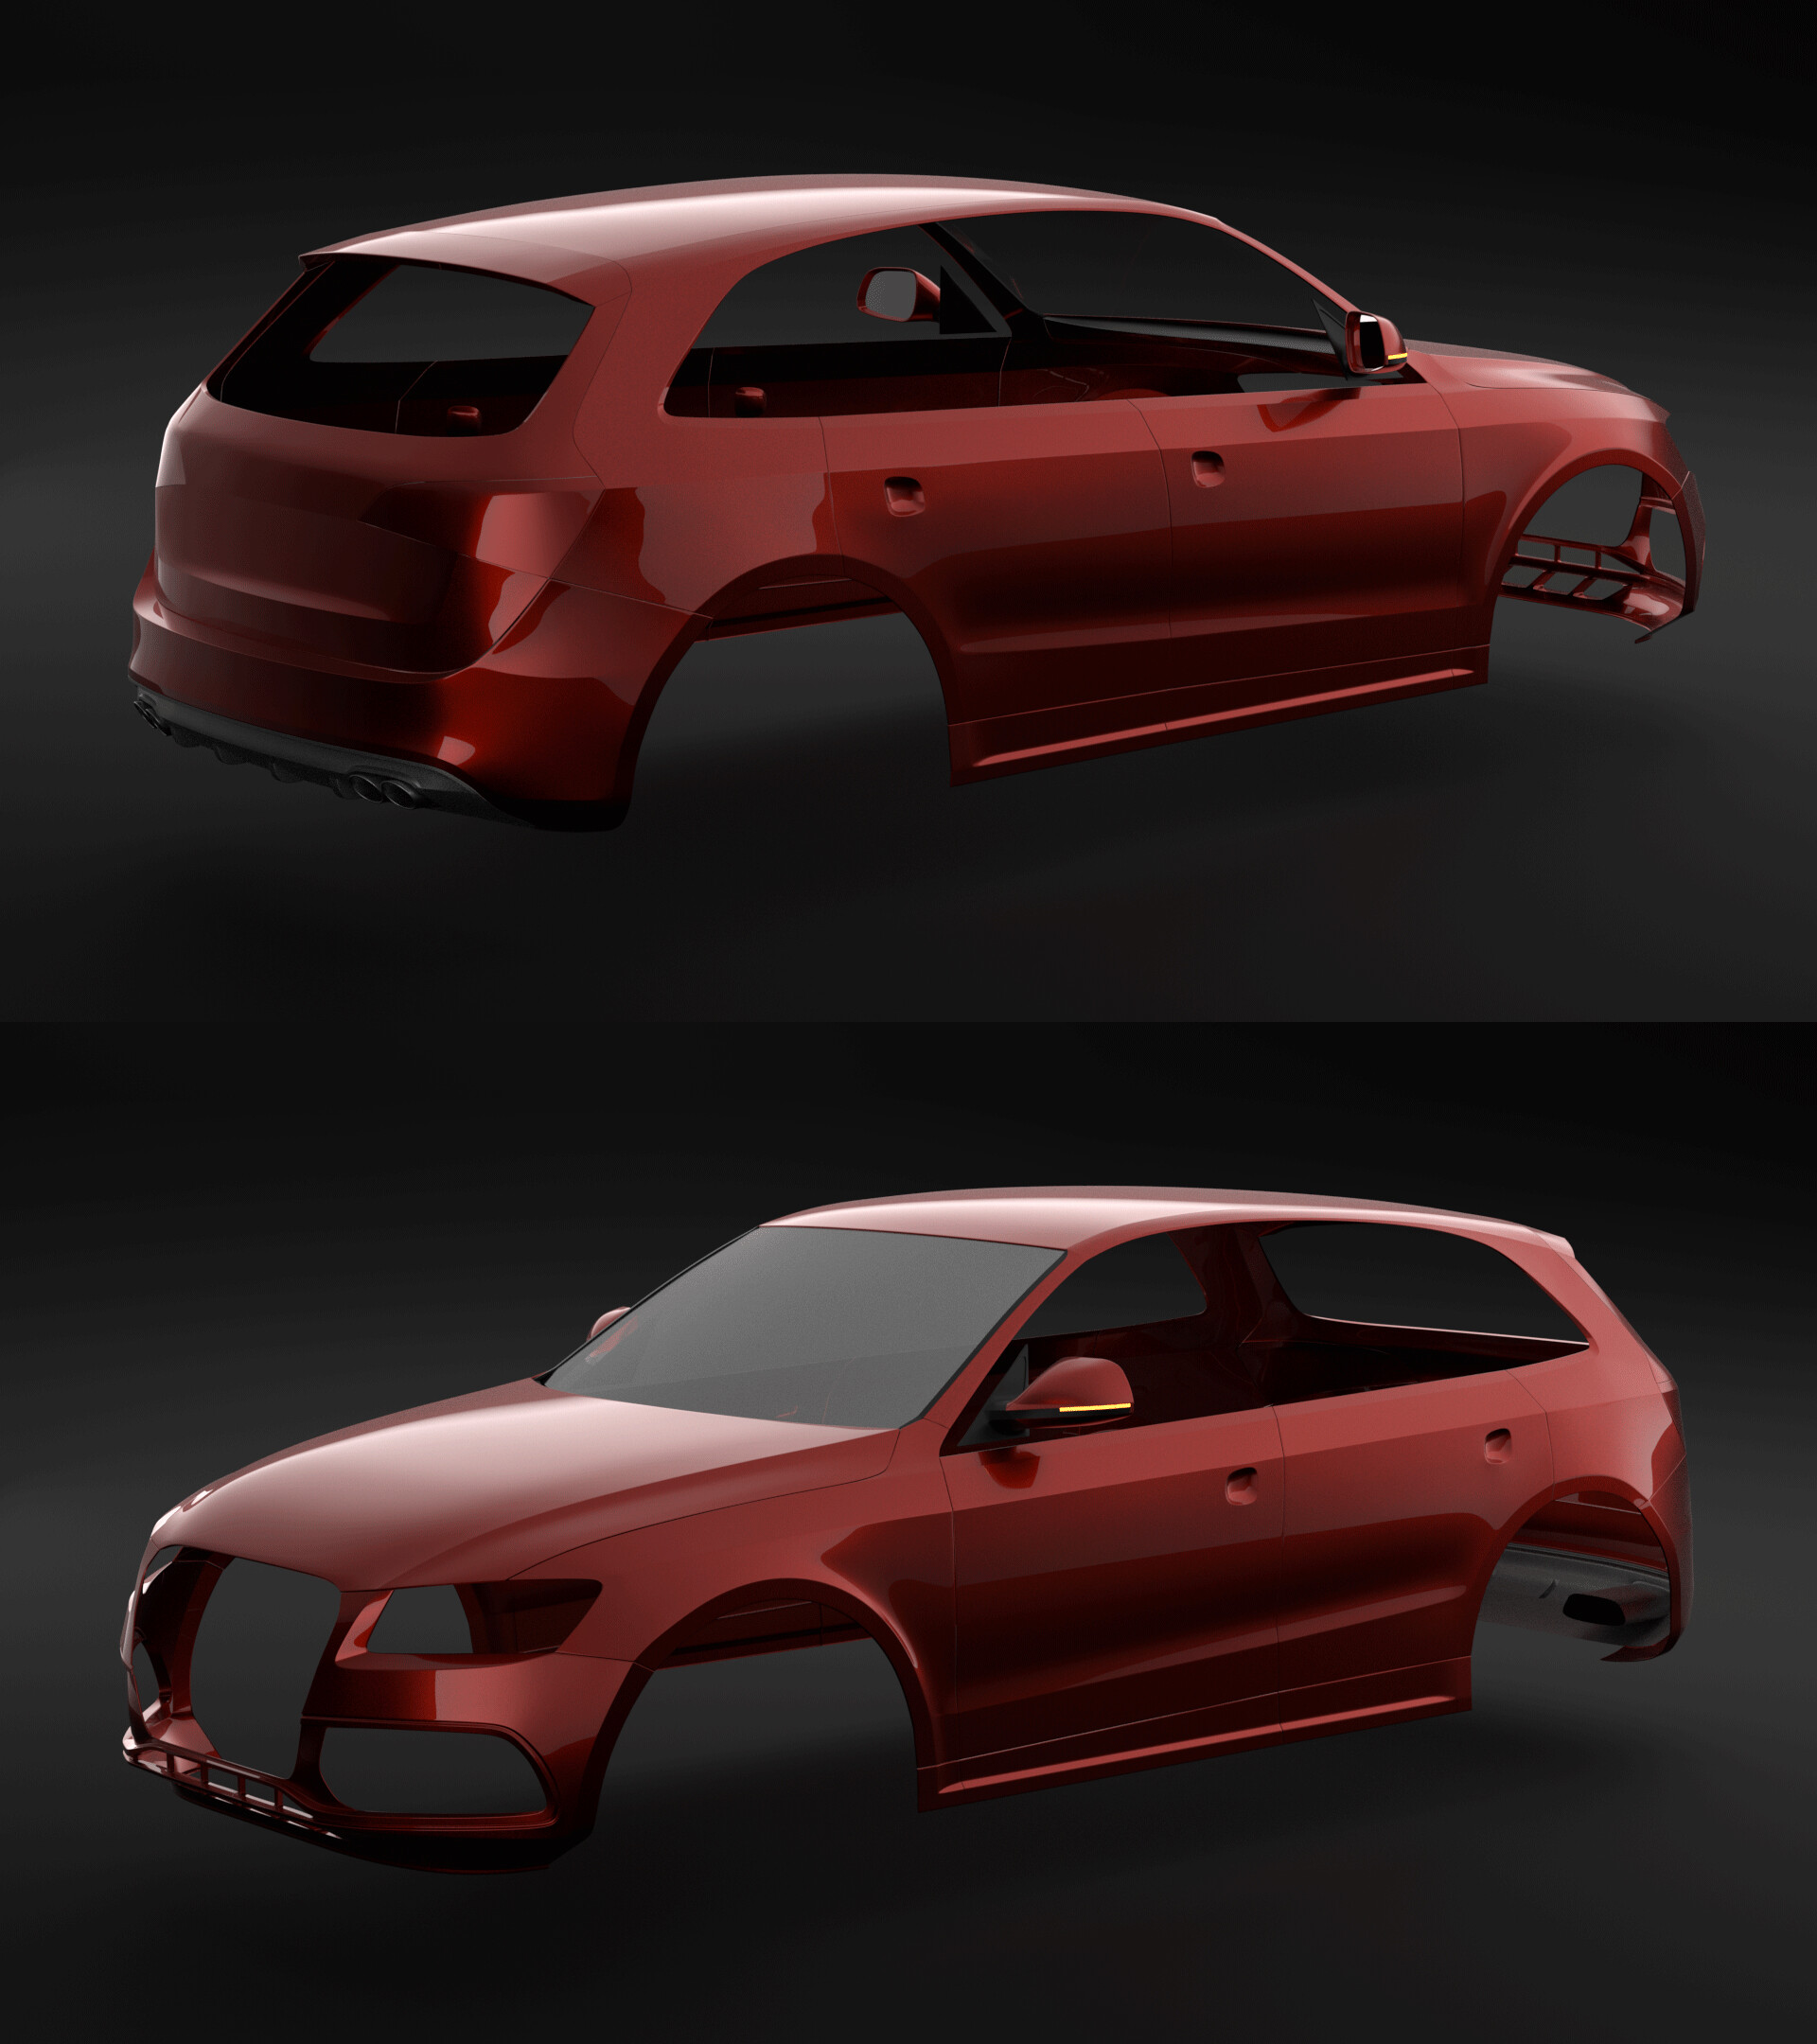
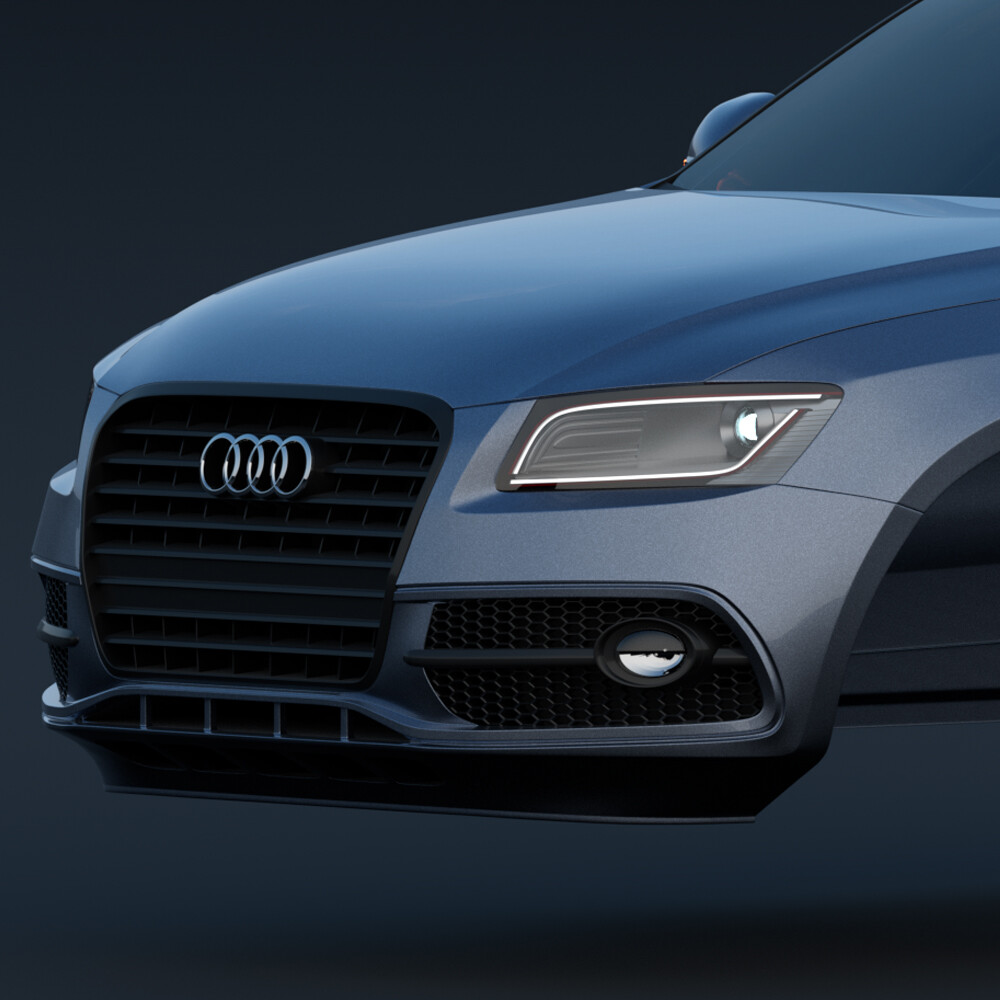
The model I chose is the Audi SQ5, since I really like this car. I am spendig approximately 30 min. per day on this model, and I am not going to do it 100 % accurate, since this would take me too long and I might loose motivation.
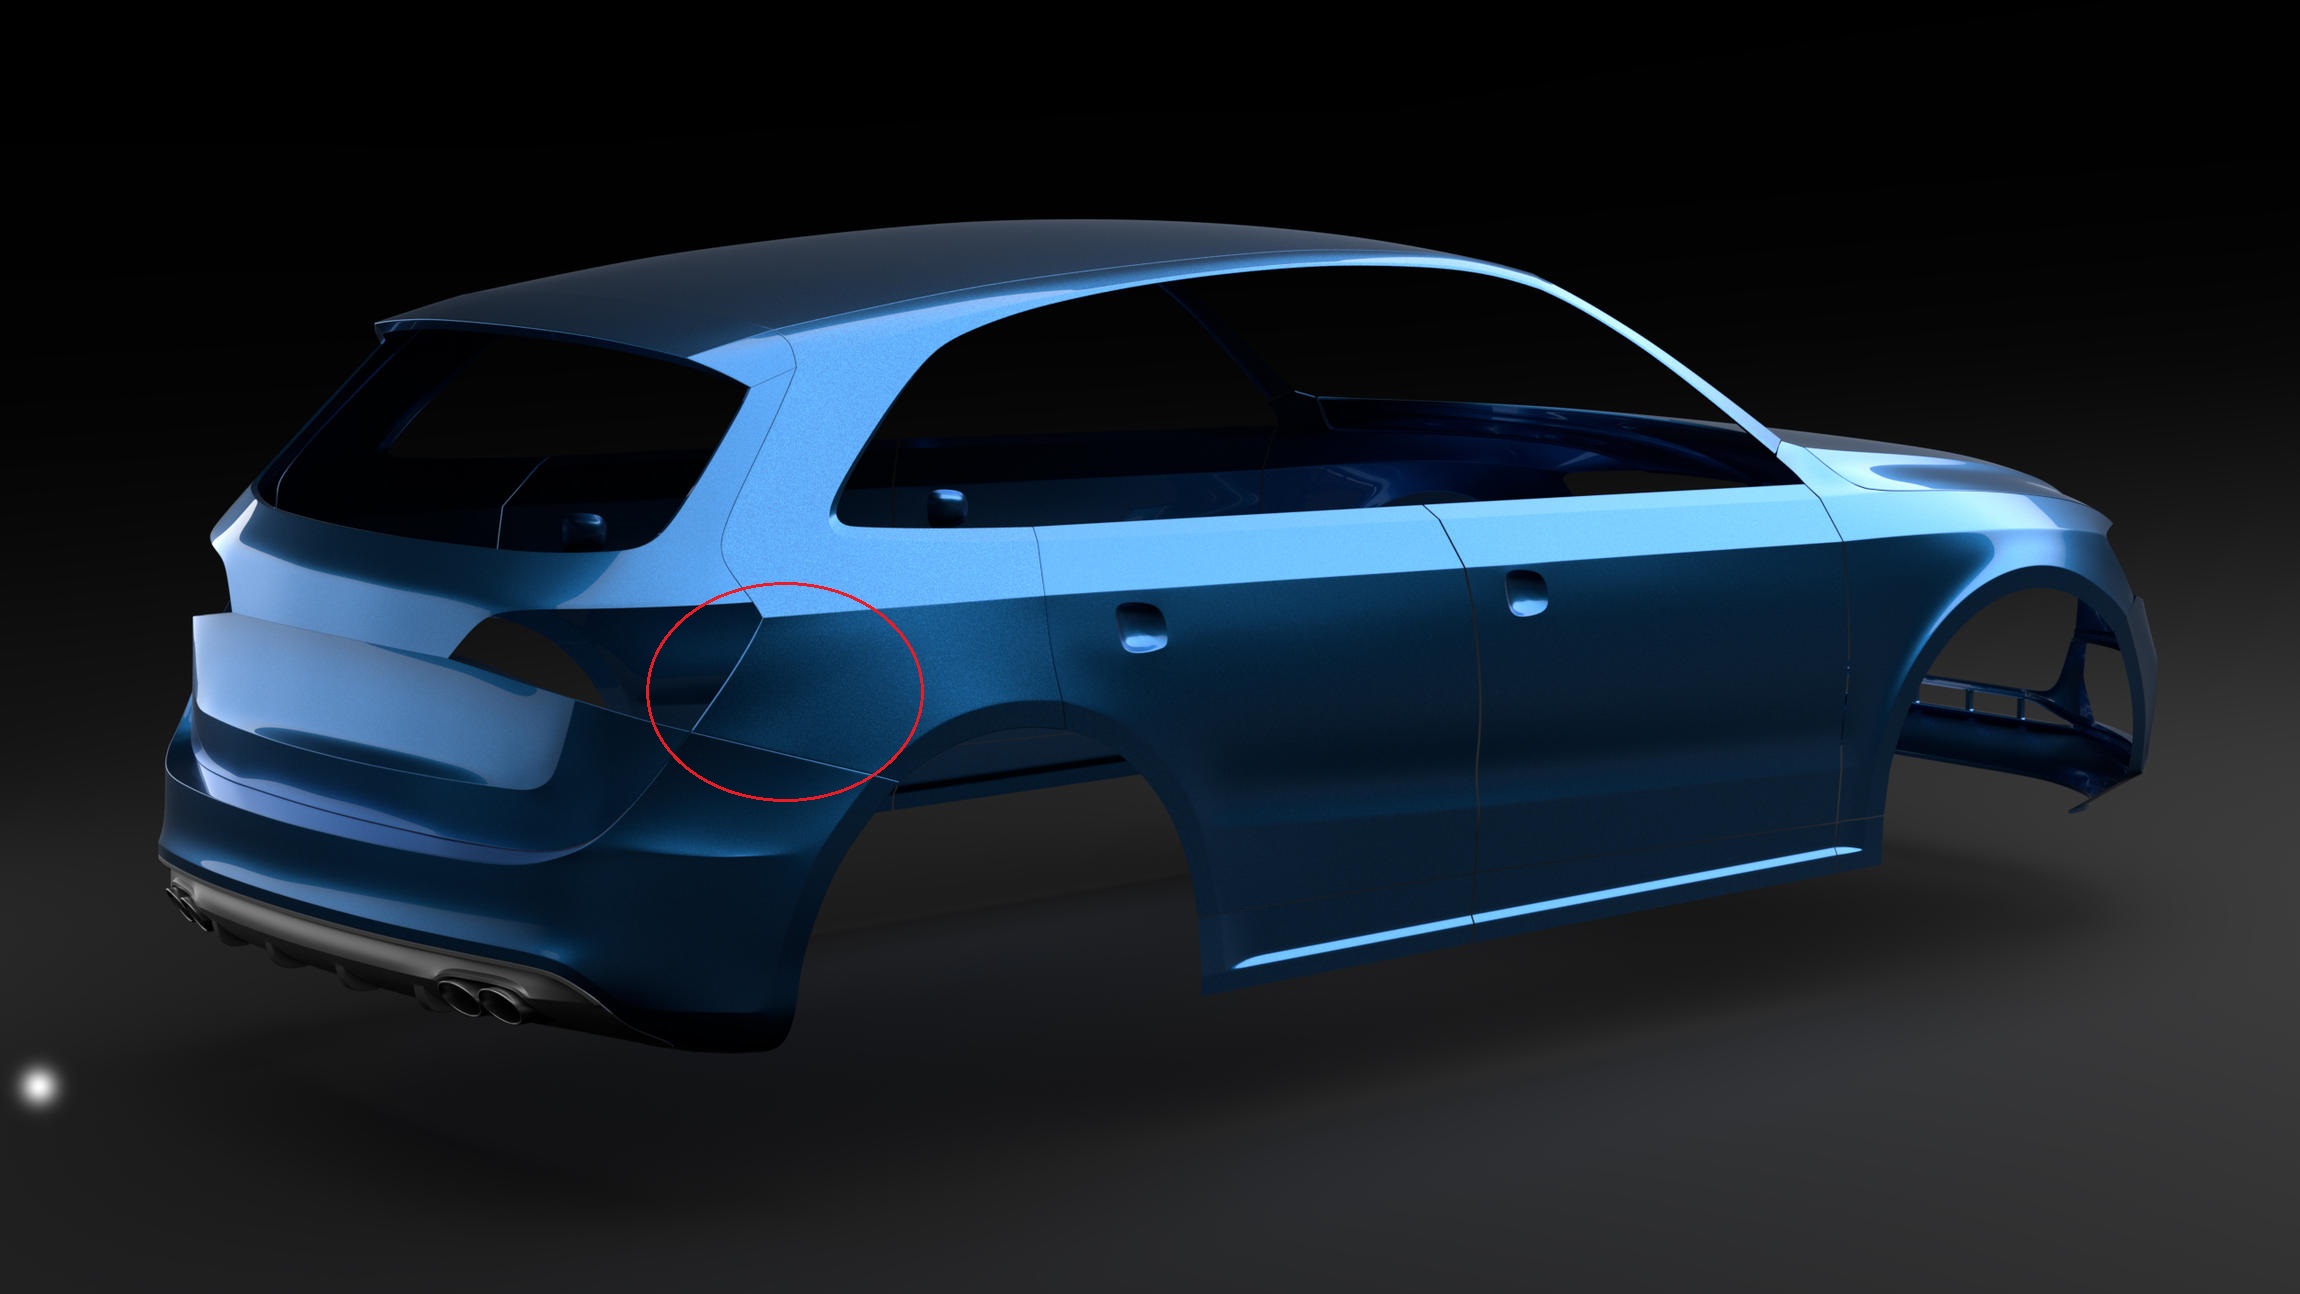
@ferrettank I think I modeled it too dense, and could have made the mesh much more simple. But I think I will improve that on my next model and keep this as it is right now.
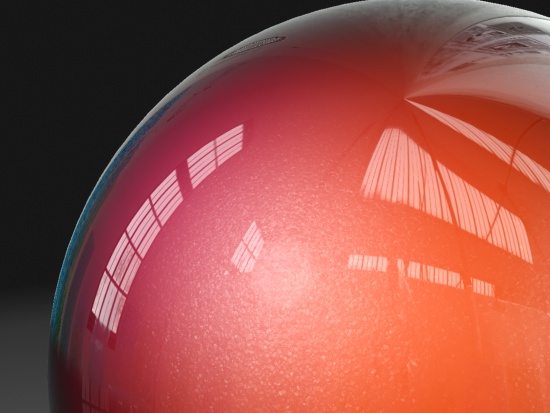
Excellent to watch. Can’t wait to see the final model. One thing to note, and I’m learning this really in detail now is the paint of a car. I had no idea car paint was more complex than it was carrying dielectric properties, but also metallic properties (because of the tiny metallic flakes in the paint mixture). This may already be obvious to some, but upon studying the paint effect closer, I realized believable or “impactful” car paint has this dark hue around whatever angle you look at the paint from. Why that is I don’t know, but I learned it on my previous car project. Not to mention getting the microscopic “sparkle” FX under the clear coat
Thank you LRosario, I used a Tutorial by, I think it was Syndicatpro, for the material. In One of his Videos he showed how to Mix metallic wir dialectric Materials, I used this Setup for this Material. Tho simulate the metallic Flakes I just used a voroni texture.
Thank you for taking the time and explaining it to me. I will definetly dive more into the topic of shading once I finished the modeling ( which will probably take me some more months :P)
That is about how dense my wire frames are. There are areas that could use less vertices, but eh, if it works, then it works!
Also a quick tip, for the diffuse plug the (Layer weight-facing) socket into a color ramp. That way you can do all the color mixing there without using multiple diffuse nodes. Plus you get way more control over the color and when it transitions. Then from there mix in the glossy :).
Here is an example:
My Fresnel node is the (Layer weight-facing) with a couple of math nodes attached to it to control the Fresnel Curve. I will probably write a tutorial on that soon.
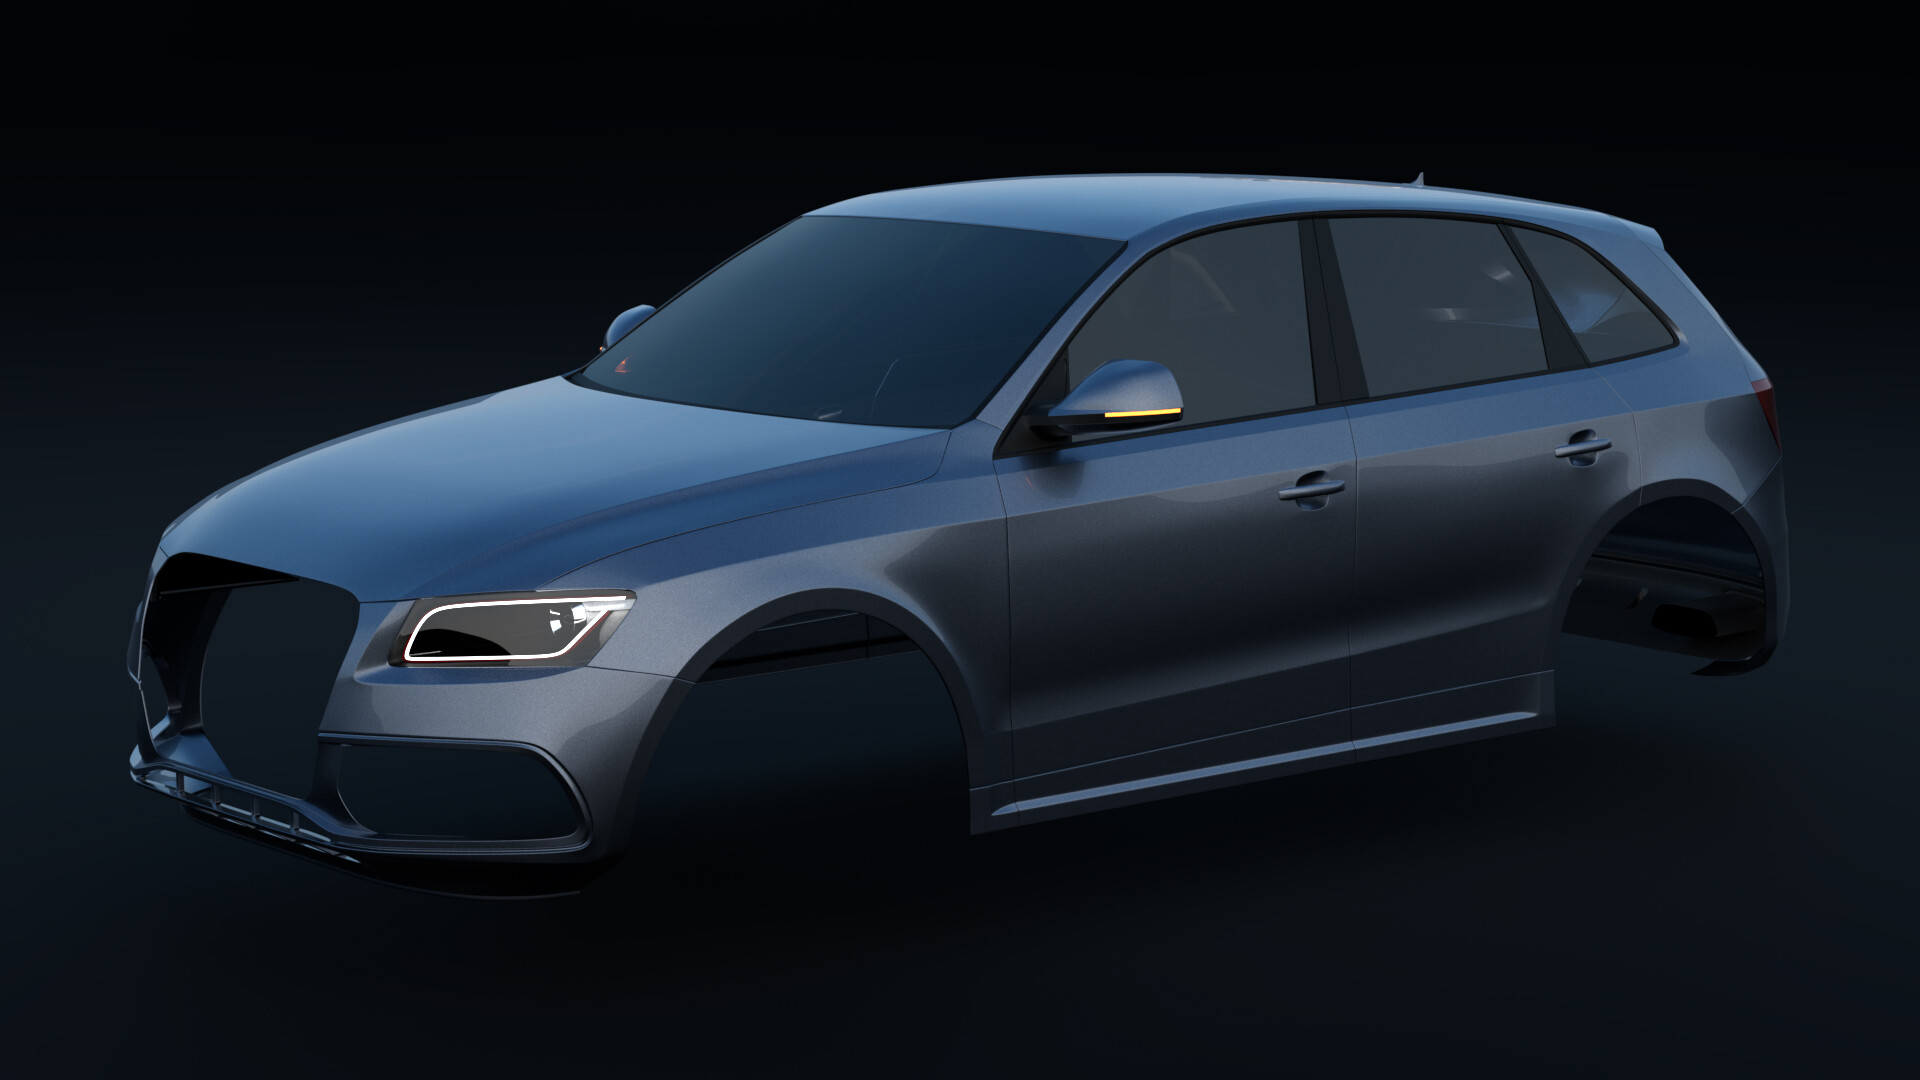
Side Mirrors, Windshield and Cover for the rear lights added, lighting cahnged a litle bit. Also cleaned up the mesh at the rear part, but still not satisfied 100%.
Yes, I already noticed that, and in the red render I already fixed this part, sort of, but due to the changed lighting there are now other parts visible which need some work :no:
Today I added some windows, door handles, and started with the headlights, which I find really hard to model.
I hopefully will finish the front part this weekend
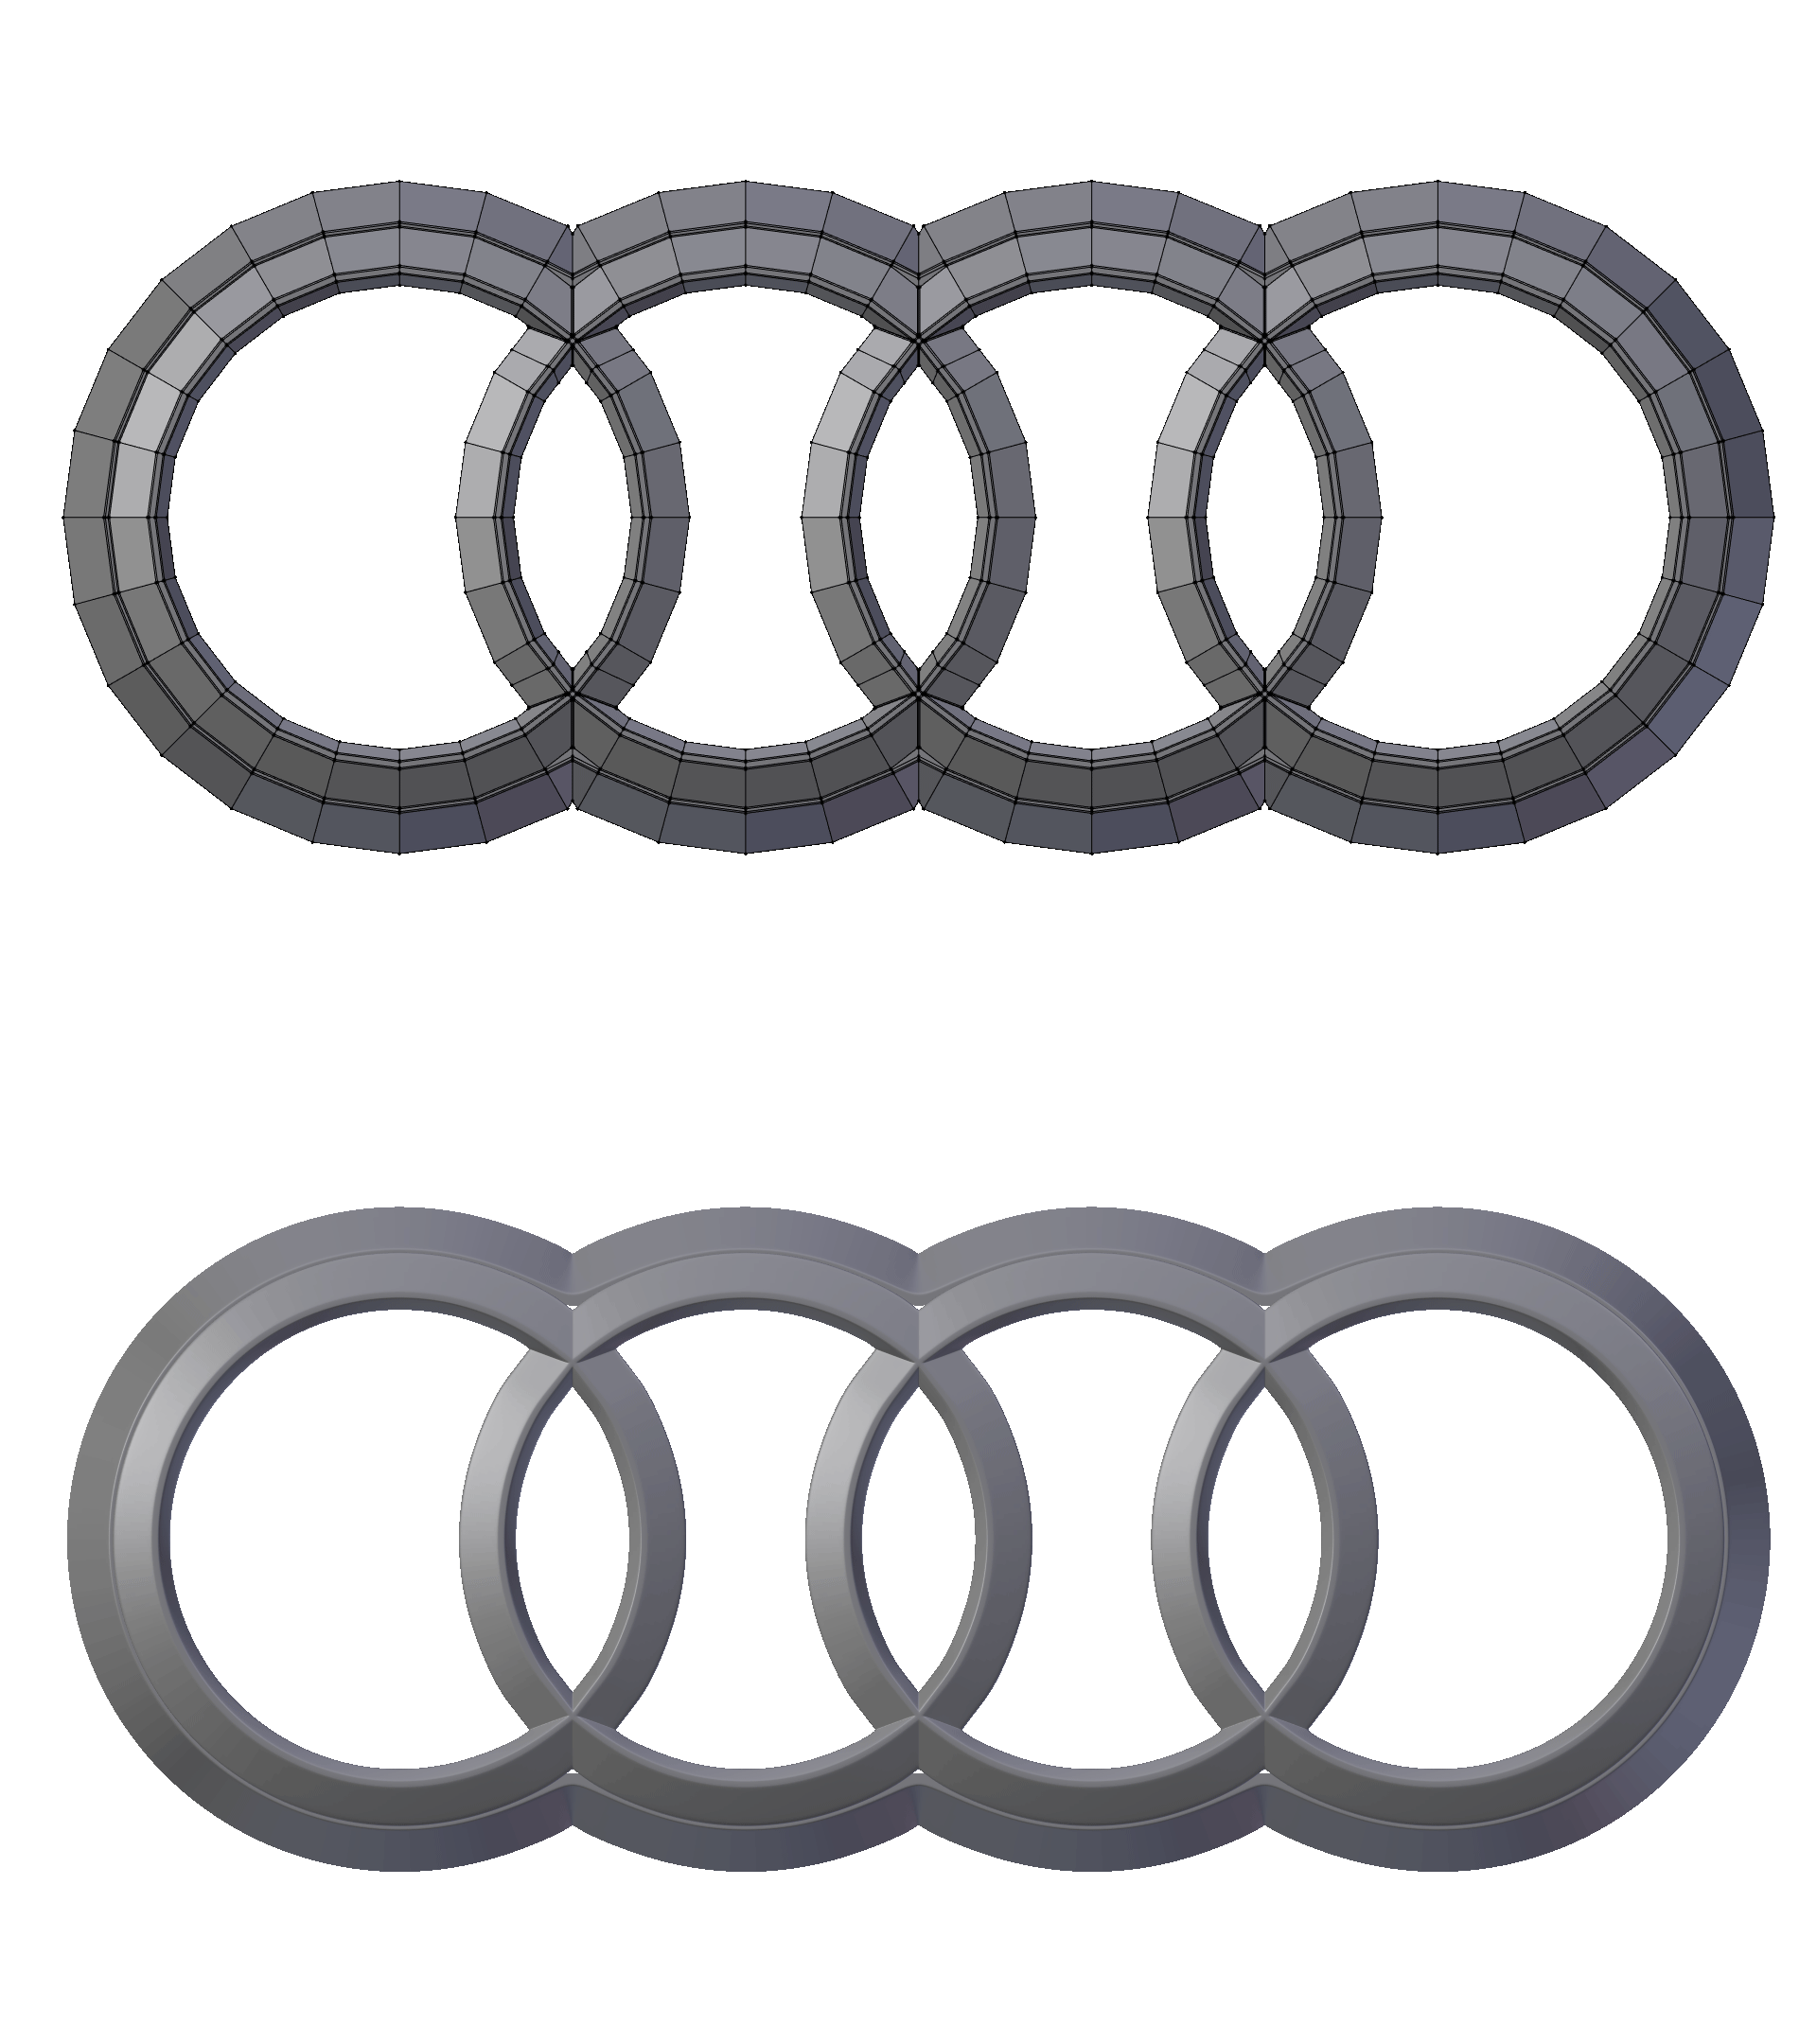
Today I figured out how to model the Audi Logo.
Took me like 10 tries and different approaches until I got it right.
I’ll attach the .blend in case anyone is interested.