Efficient character modeling workflow for NPR (frustrated)

Hello and good day to you.

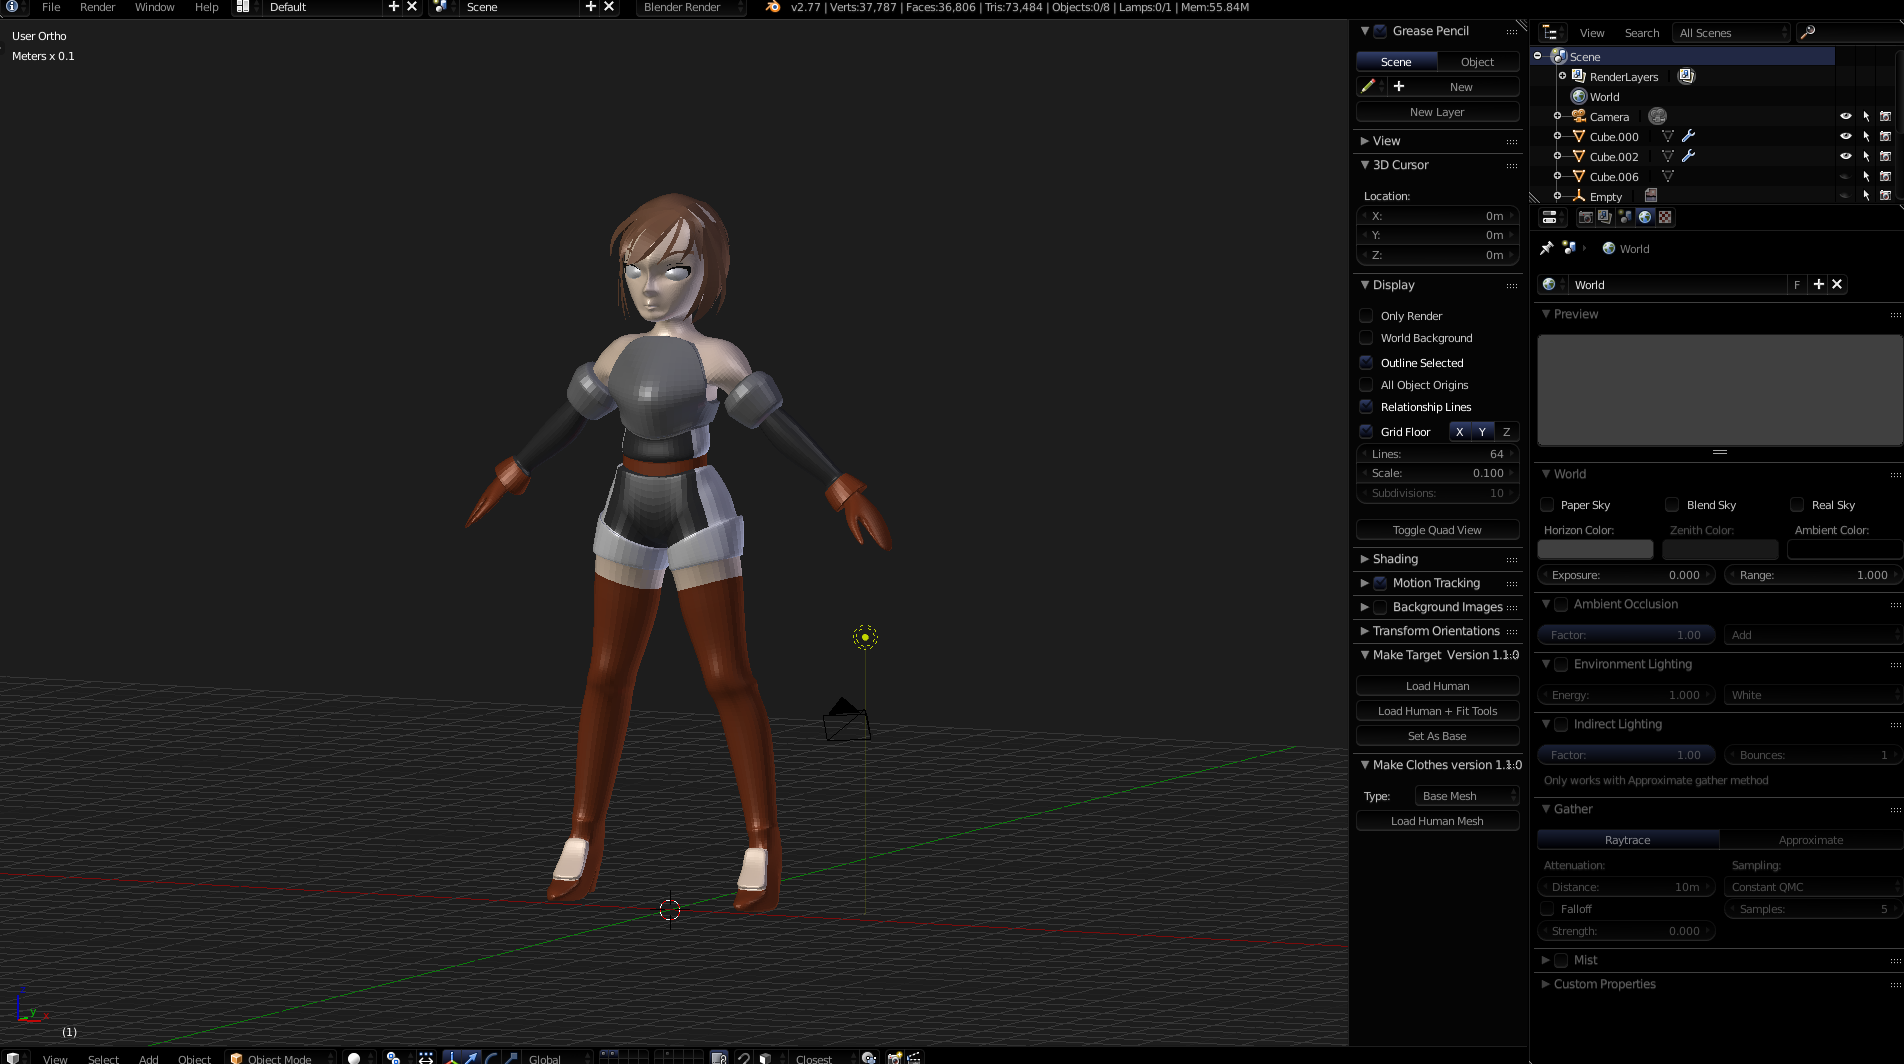
I’m looking for a quick/efficient workflow that would help me with modeling characters somewhat similar to this:


Basically: Smooth surfaces, low or no texture detail, high poly. The plan is to plug character into a game engine later. (I’m aware that this kind of render would require a NPR/toon shader, this is not a problem).

The issue is that I can’t find proper workflow I am comfortable with.

I made decent progress with basic polygonal modeling:


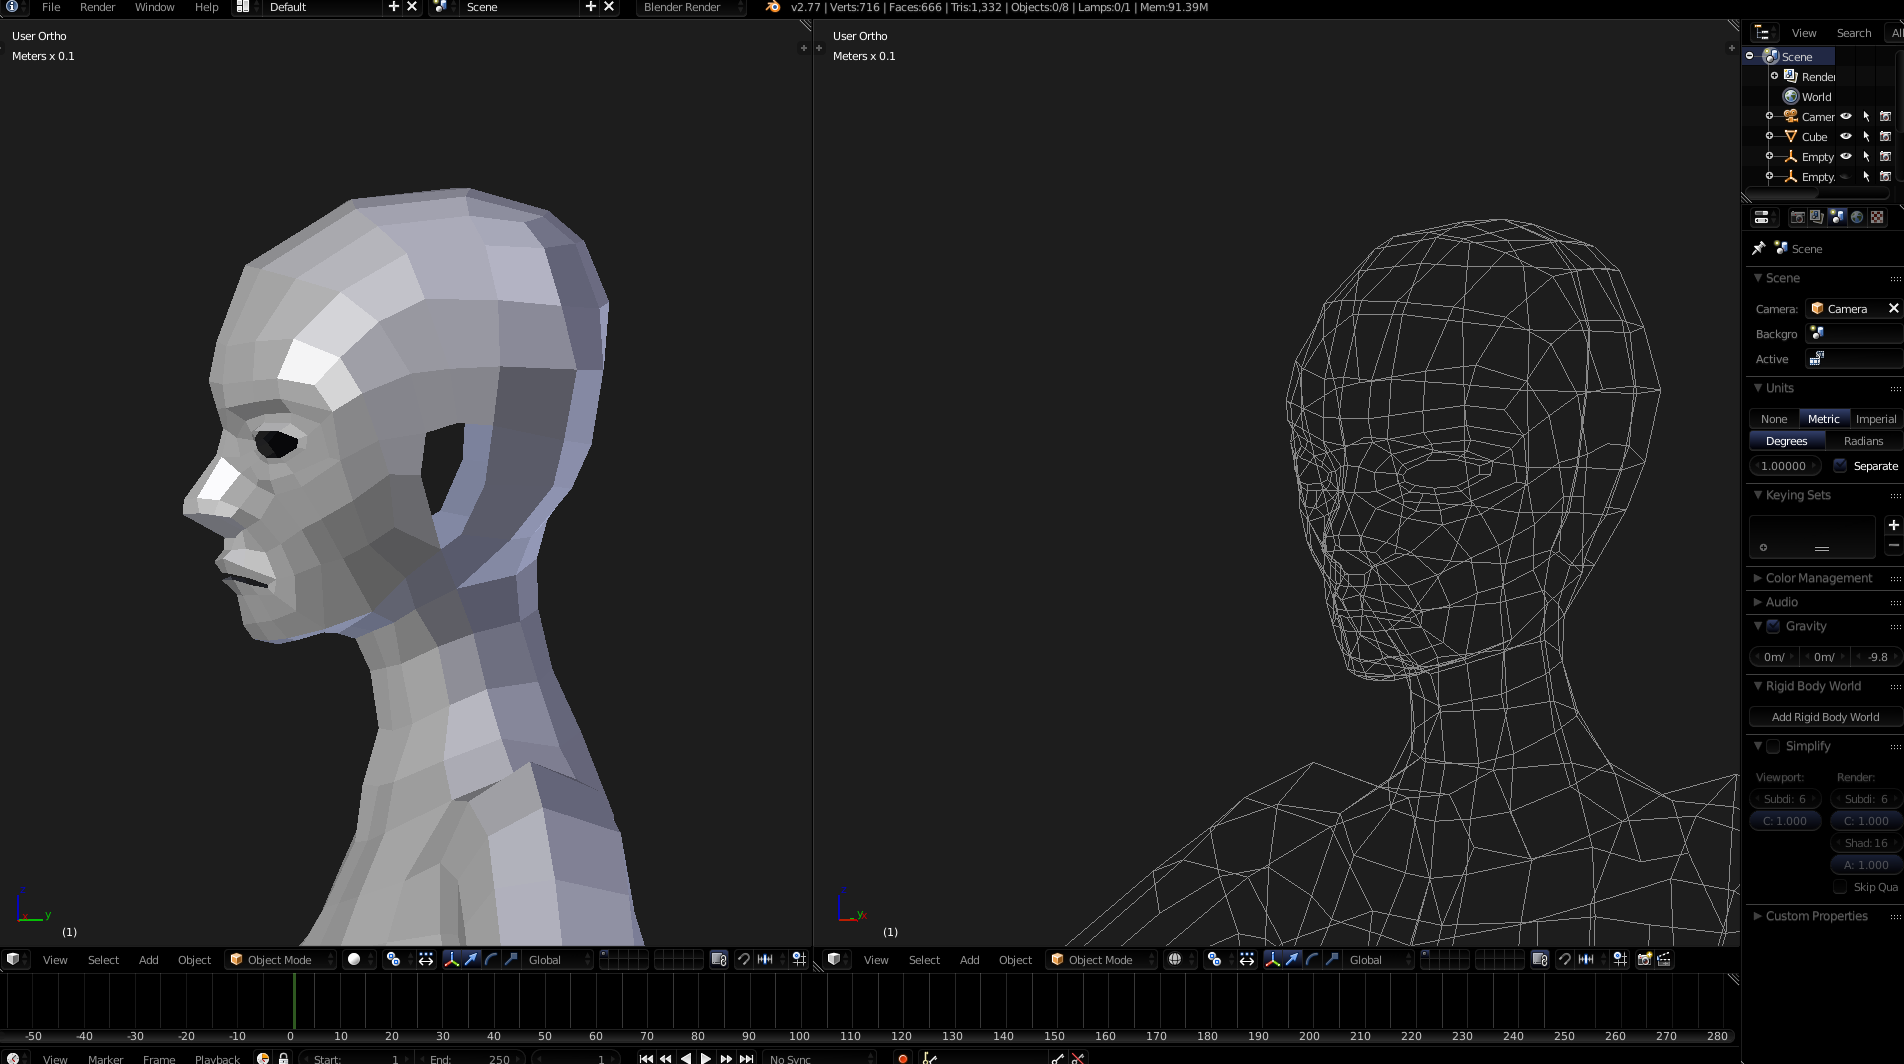
However, I’m getting fed up with moving one point at a time and have impression that there should be a faster way to do this. I’m also progressing very slowly, basically, unfinished model on screenshot took several hours.

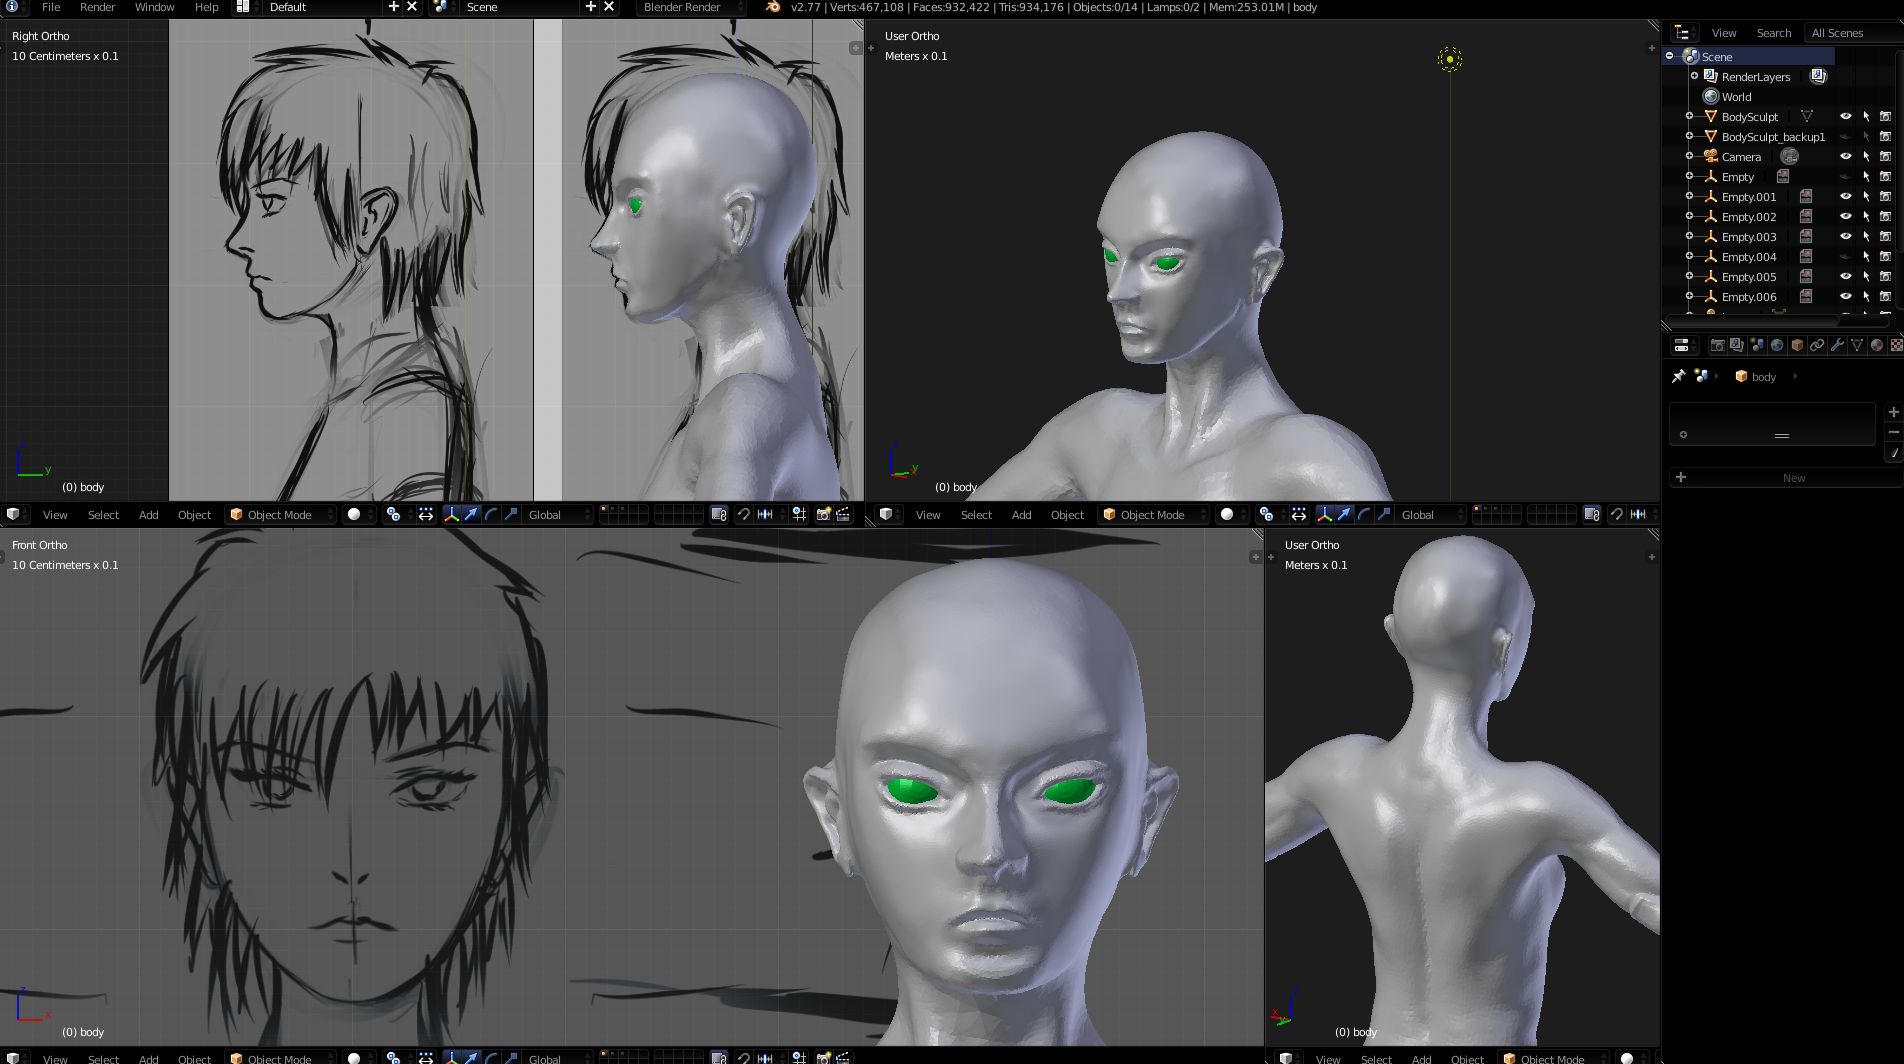
Currently I’m poly modeling on a mesh with mirror modifier. I’m using front/side reference image, place points and adjust their position, then sew them together, sometimes using “ctrl+click” polygon chain. I most likely know majority of hotkeys ("G"rab, "S"cale, "R"otate, "E"xtrude, "K"nife, "C"ursor Select, “.” to center on scene, Ctrl+Tab+1/2/3 to switch modes, etc, Ctrl+R for loop cut, Ctrl+K for knife, etc.), however, I find progress to be fairly slow.

I’m not sure if I’m impatient, lack experience or doing something wrong.

Any advice? Tutorials, youtube videos, anything? I have a small wacom drawing tablet if that helps.

Those characters look pretty low poly.

Unfortunately, the more detail you want on a character, the more time you will have to invest in modeling and tweaking it. You could try making a base mesh that is easy to manipulate so you can base all your characters on it, that should at least cut out a large chunk of work if you’re going to be making multiple characters.

Hmm.

I’ll certainly save the mesh (to be used as template) somewhere once I’m done with it.

Any further advice, though? The main issue is that I feel like I’m being significantly slowed down by dealing with individual points and topology at the initial phase where I am just establishing character shape, and end up moving individual points by half a millimeter many times, even though they don’t have significant impact at the shape.

Also, I’m not exactly looking for high level of detail, something similar to the first screen is what I’m aiming at (well, with slightly different facial proportions) - basically, “sorta” simulation of hand-drawn look that doesn’t go overboard with trying to look hand-drawn.


I’ll try sculpting base shape and then creating final mesh out of it with retopo, and see if this works better for me (I have some drawing skill, so it might help). If there’s any additional advice, I’m all ears.

Unless this is for mobile, you’ll definitely want to go with higher poly. Higher poly will help with the smooth shadowing and getting the outlines right. Games these days typically use 4-5k polys for characters, and significantly more for main characters.

My two other tips are editing with a subdivision on, and having a separate window that shows the model as a silhouette. Those will help isolate the real issues of your model to focus on.

You can also start from a base mesh (manuelBastoniLab, for example) and then modify it to suit your purposes.

I tried sculpting. Seems to work significantly faster than polygonal modeling (although I’ll have to retopo the end result).

Might try using bastioni’s mesh as a base next.

Also, I now need to figure out why my character’s head looks like a Gray Alien.Plus I suspect that there are a lot of anatomy errors.

Attachments


sculpt in perspective mode(numpad-5) with N-Panel view lens set to somewhere around 70, ortho is good for setting up initially to define edges but only in front,side,top straight on view port, ortho doesn’t give you depth, only outline.

It is a bit hard at first but once you get into it and understand the underlying reasons it makes sense.

Setup a cube and do as above then turn it about 45 degrees and 20 degrees down then toggle between ortho (numpad-5) and perspective and you will see what I mean, :slight_smile:

Alien head syndrome, first discovered by the master leonardo da vinci, when he tried to paint Kate Winslet while impersonating a drunk pirate complete with eye patch on the titanic, no depth perception, realizing his error Leo promptly sold his pirate custom along with eye patch to the captain, the rest is history.

Thanks. :smiley:

I’ll definitely try your advice.

Speaking of which, I think I’ve found workflow that works for me.

Sculpting is lots of fun, but I found out that:

  1. Blender loses pressure sensitivity when I alt-tab anywhere. :frowning: That’s a real show stopper.
  2. Blocking initial “anime-like” form takes a bit too long, even when I use skin modifier.

So in the end it looks like sculpting isn’t what I was looking for, although it is definitely fun and is definitely a way to go for realistic visuals.

So, I experimented a bit more, used someone else’s sketch as a reference and found out that subsurf modeling works for me. Apparently low number of points makes tweaking less annoying for me, and I can quickly block out form, add detail … aaand it is compatible with target visuals.

This is done today from scratch.

It still suffers from “alien head syndrome”, doesn’t have individual fingers. but it at least it was modeled at a decent speed, meaning I can tweak it faster.

Attachments


Alright, I think I got it.


Just need a bit more practice now.

This is done today from scratch, speed is good enough for me, although making hair is time-consuming.