Hi folks,
I am new to freestyle but have figured out most of what I wish to do. However, there was one image that was included in some examples that I can’t figure out how it was done. Possibly, it was an example of what freestyle was designed to do (in other words, perhaps the image wasn’t from freestyle). I have played around but I can’t get anywhere close to this, so the question is: can anyone suggest some settings that would?
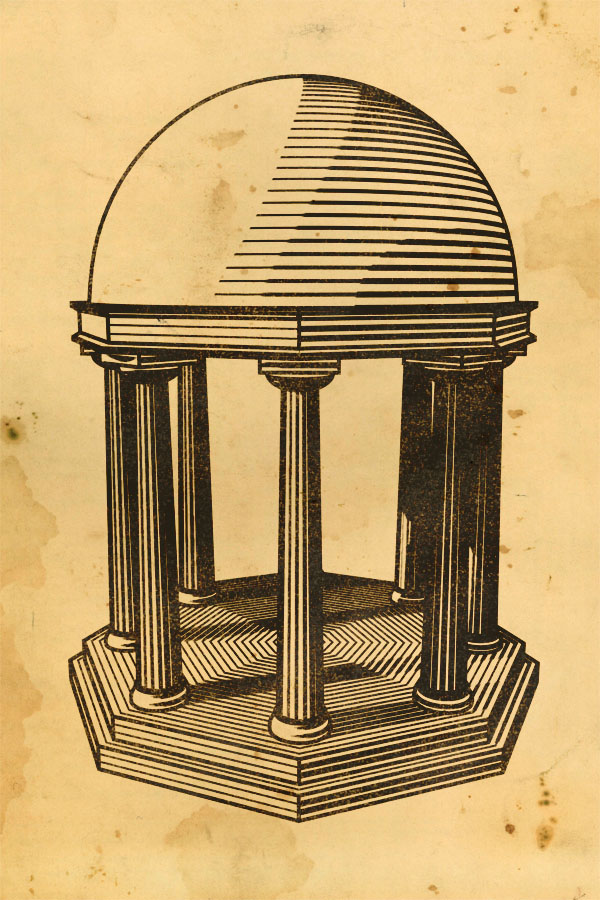
This is “Temple Xylography” by Charblaze
I can’t figure out how to make the lines thicken with the shadows (and not just the mesh geometry) and align with the horizon (and not with the mesh’s normals, especially on a dome). Any ideas would be really appreciated. Thanks.
Figured this out a while back but was too busy to post (and the lack of responses may mean that this is useful to someone out there).
So the answer is: it is not freestyle that is used to create this effect and this should not be used as a freestyle example. Possibly, Charblaze used a freestyle setting for the border around the structure, but the hatching effect is done through an ingenious node material.
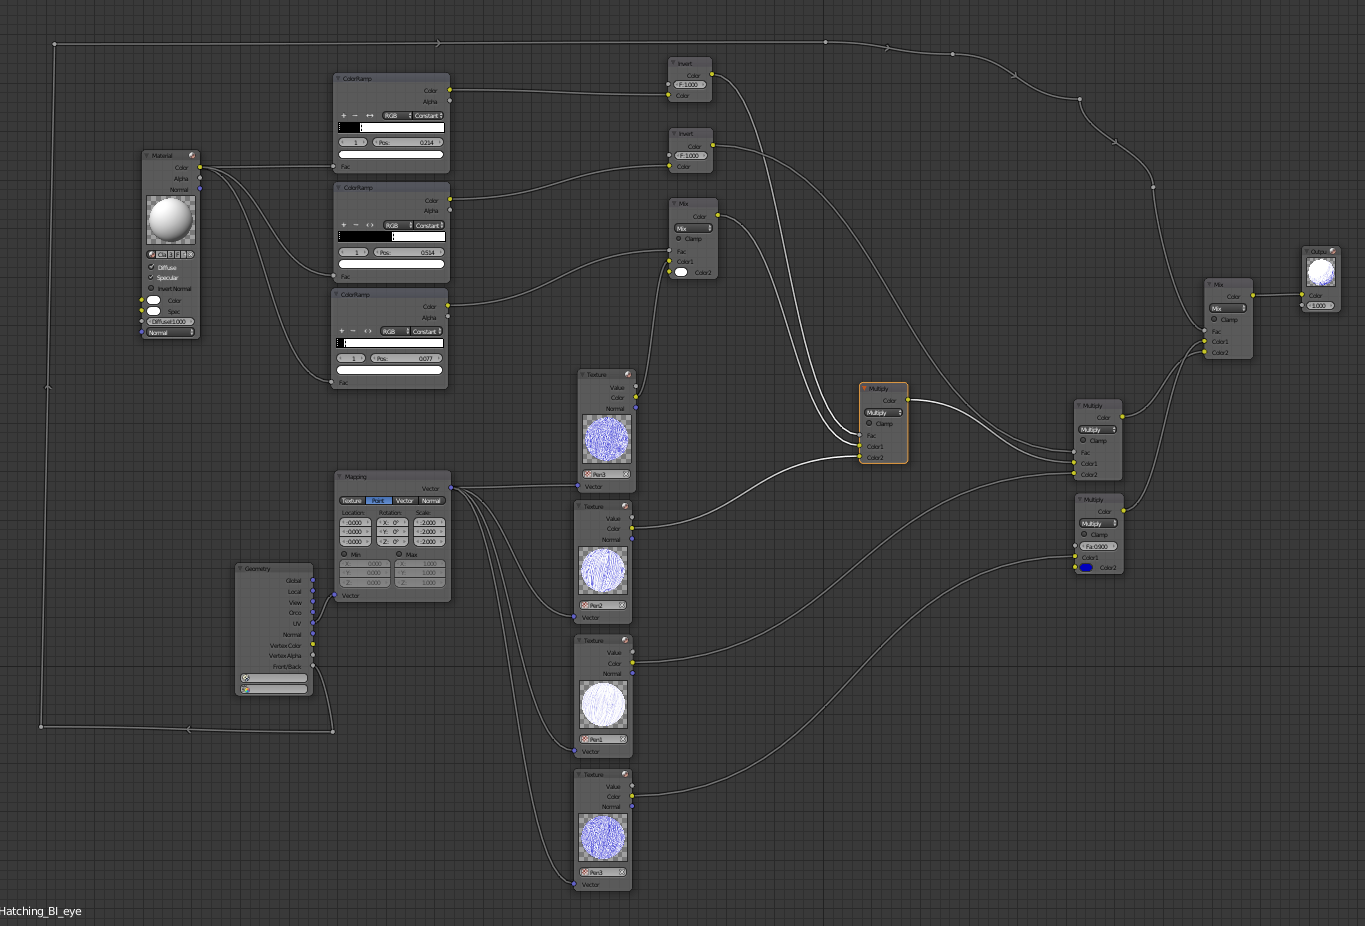
This node material basically reads the color (shading of the object included) and keys these against a set of color ramps. At the same time, the geometry of the object is mapped against a number (in this case three) different textures (which are the light, medium, and heavy hatchings). Then the color ramps are inverted or mixed and multiplied against the corresponding textures. Voila!
Really ingenious work by Charblaze. Again, all props to him/her.
Here is an image of the node material from another Charblaze project that was CC-Zero on Blendswap. Hope this helps.