Hi everyone!
I’ve a big problem and I hope that the community can help me to sort it out.
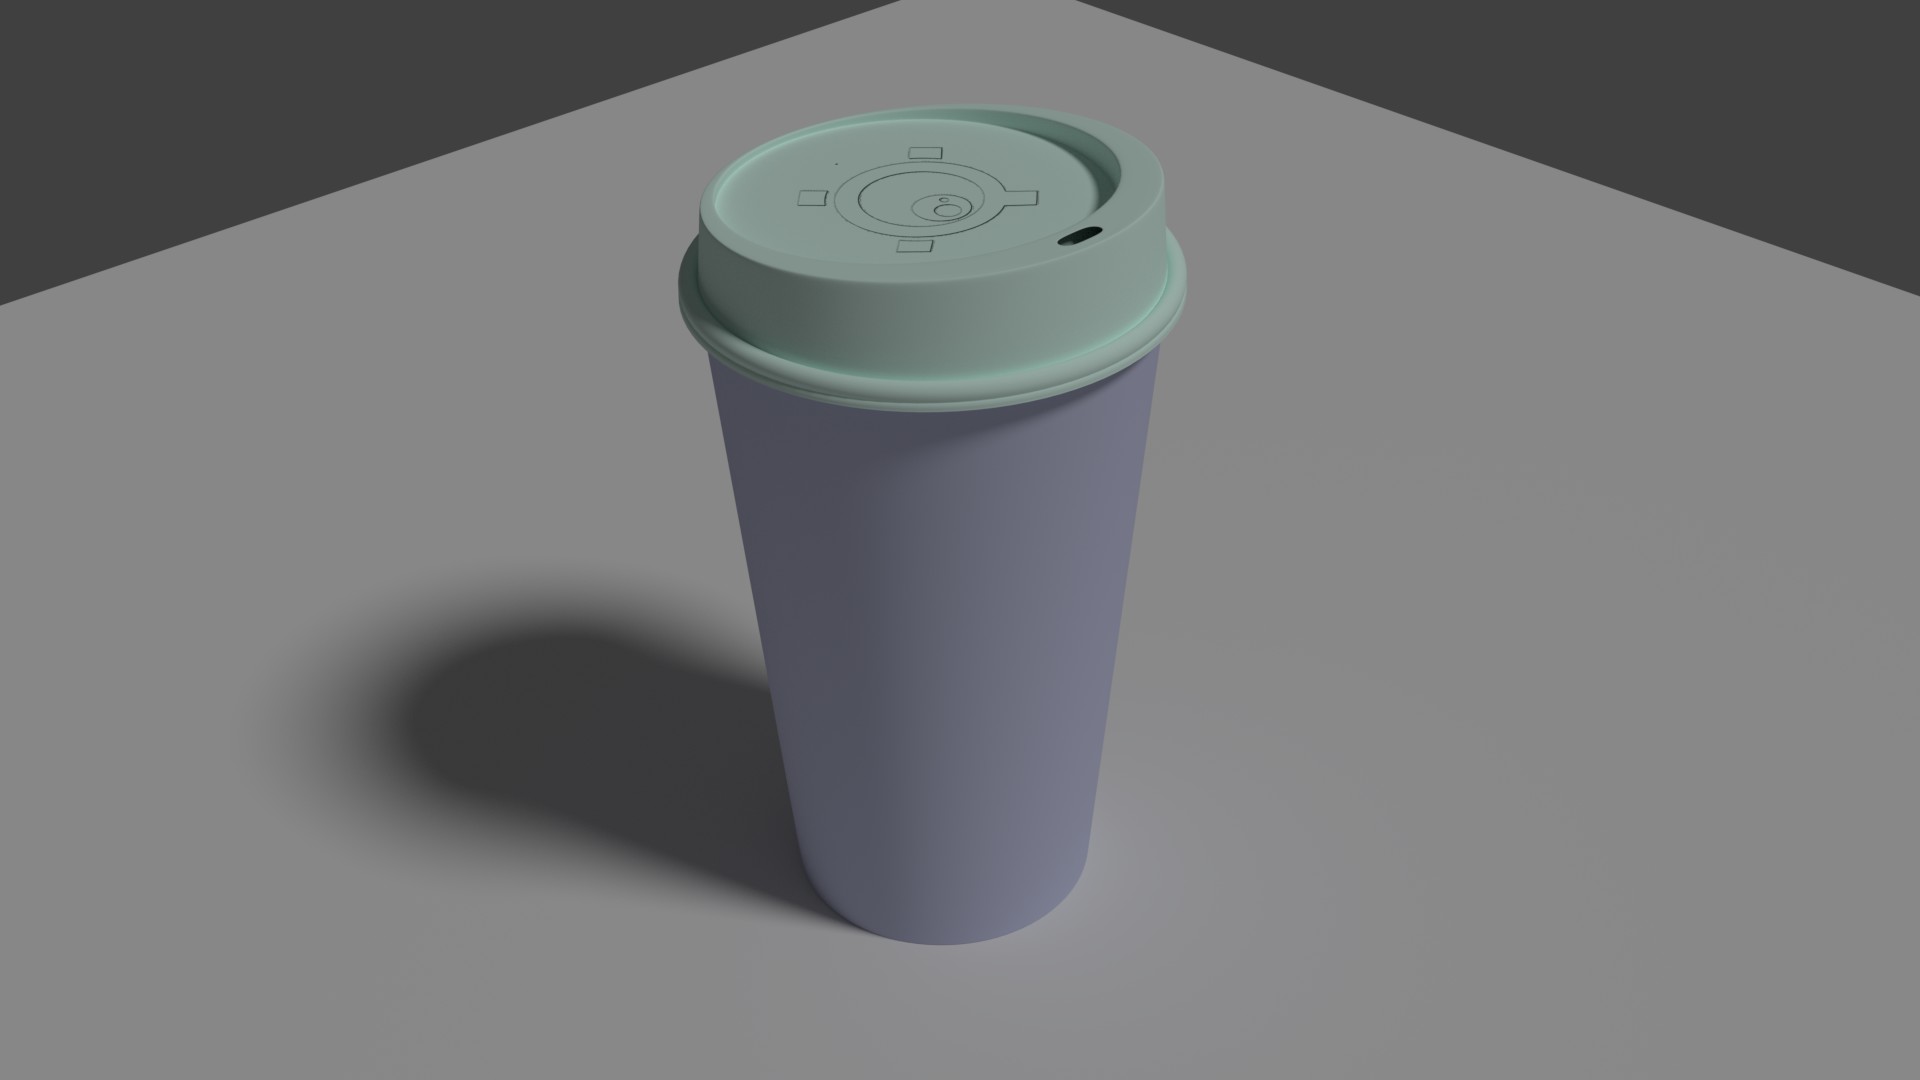
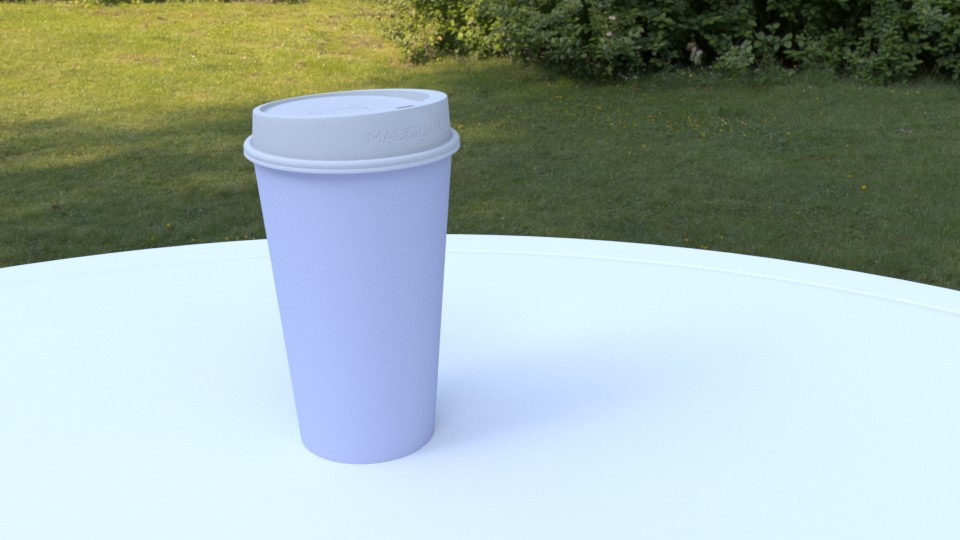
I’m modelling a Starbucks paper cup and I’d like to decorate it. My idea is to create a basic material and on the top of it using a MIX node adding the elements.
I’ve just finished to model it and I’d like to add my logo on the top of the cap. I’m using a BUMP node and unrapping just the top of my cup I was able to position it properly.
My problem is that the engraved element seems too sharp and extremely fake.
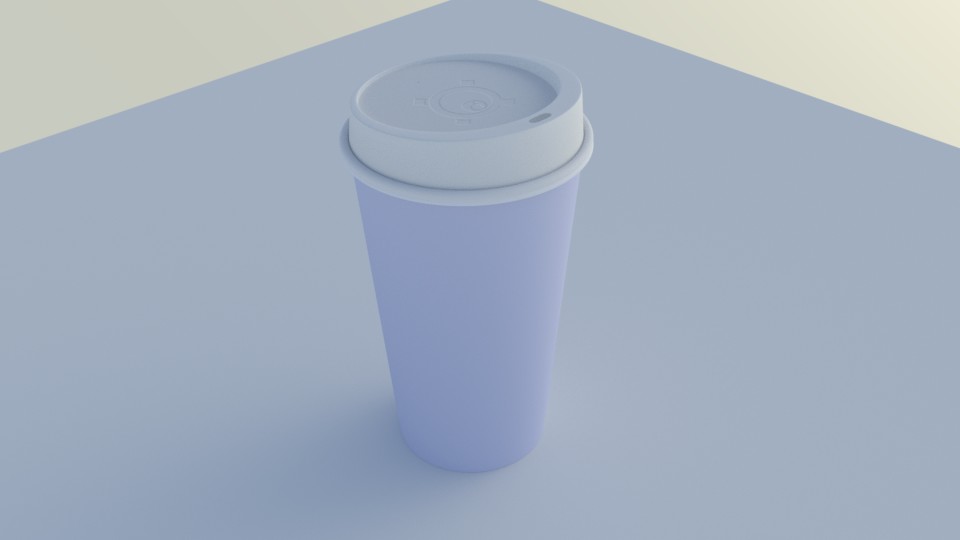
I placed a single sun light that I’ll after replace with a better illumination, in order to understand if the effect works properly.
Do you have an advice on how to make it more realistic? I have a real Starbucks cup that I use as a reference and there the logo is really delicate… no dark shadows.
I post you the two images [rendering and node editor of the tap]…
I suppose your texture is just a black/white one… In that case, you may want to blur a bit the texture so the bump node can procuce better derivatives.
Other option would be to model a 3d version of the logo on a plane, bake the normals and use the normal texture instead of the bump map.
Is there a way to blur the image directly into the node editor?
Do you have a tutorial for that? Considering that the cover has a thickness [top - what you see and bottom - inside the cup] is there a way to “imprint” it so I can show that it’s engraved on both the sides?
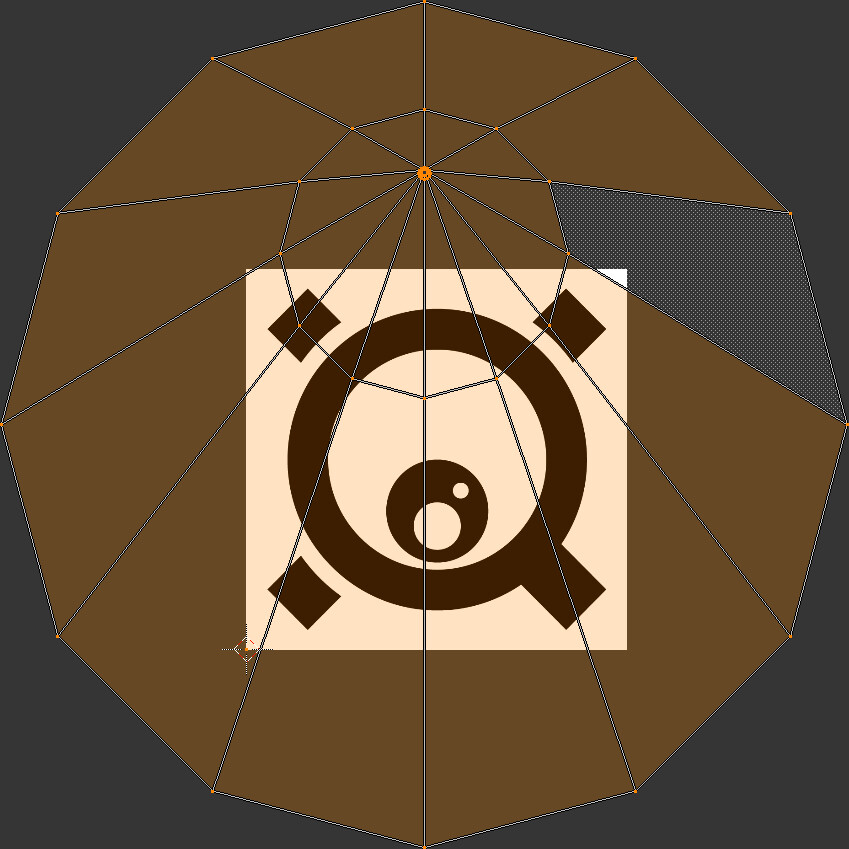
Ah, seen that I’m focusing on the subject… I engraved the logo on the top selecting the polygons and UV unwrapping them. This works for this very piece… but what if I wanted to add engraved elements on the side of the top? I unwrapped just the top and placed on the image on the UV editor. In this way, applying the TEXTURE COORDINATES node I was able to place the element to engrave where it should be.
But what if I want to engrave other elements on other parts of the cover? If I unwrapped them the polygons would stay over the once I already unwrapped. If I created a different material would be a problem as I can’t link the BUMP node to the diffuse [as it would be a different diffuse of a different material]. I heard about something called “INDEX” that allow you to define an order… is this the case?
Not in the case of a bump map… (it’s possible to disturb the coordinates to produce some blur, but the bump node will fail to determine the correct derivative and therefore it will produce more noise than you would want)
Do you have a tutorial for that? Considering that the cover has a thickness [top - what you see and bottom - inside the cup] is there a way to “imprint” it so I can show that it’s engraved on both the sides?
There are some tutorials around that can give you some hints… I don’t recall any in particular but you can google it.
What I would do is:
create a plane, model the logo over the planen (you can add as many details as you need here), and place the camera above the plane facing down. In the blend file below, there’s a material to convert the world normal into tangent normals, that you can use for your object. Set the camera to orthographic, render the image and save it to a file.
On the cover, use the texture you created, but now instead of the using the bump node, use the Normal node instead. Here’s a quick blend… there are two scenes: one for creating the texture and the other with the material.
It definitely helps… It’s amazing how every time I work on something, just to be super precise I post a comment here and in response I learn plenty of useful stuff! Consider that I model in 3D since 2005 but I started using Blender one year ago… and now I know more about Blender than all the previous softwares I’ve used!
In addition the community is so active and precise that even if sometime I was asked to work in 3D using different softwares Blender is my first choice!
Hi Eppo…
I’ve tried to follow your advice but I still miss one piece…
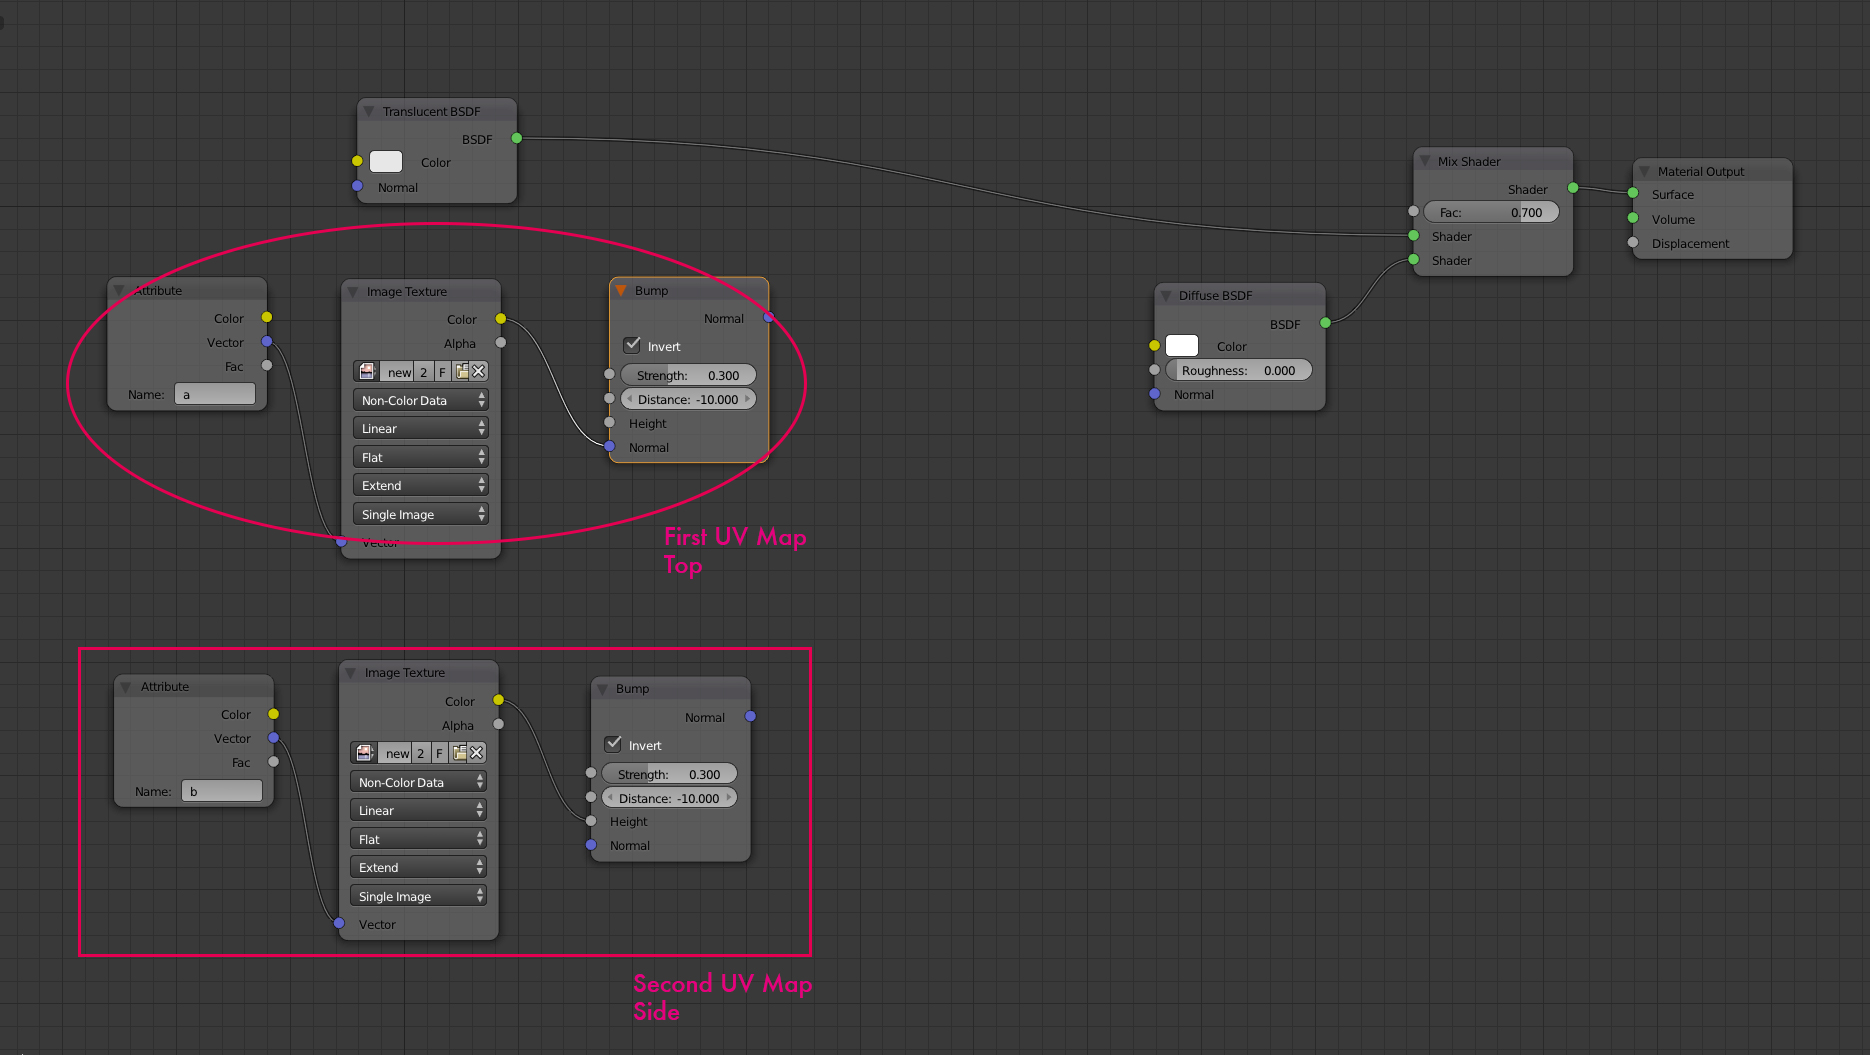
I’ve created two different UV maps [one for the front and one for the top].
I’ve tried both of them as singular maps and they seem working perfectly.
What I miss is: “how can I put them together in the nodes?”. If I use a MIX node it cannot work as it mixes the textures 50%.
If I use a COLOR RGB MIX I can’t as it creates problems with the two textures.
I noticed I have a problem… The first UV works… but the second not. Basically where there should be the image of the first it appears also the image of the second.
Probably I made a mess when I defined the different UVs… May I ask your help again?
I understood my mistake… When I unwrapped the second time I forgot to select all the polygons I don’t need and move them away… I found a tutorial… Now it seems working good.
Just a quick question… Why the first time you unwrap you don’t have to do it but the second time all the other poligons appear behind the once I’ve unwrapped?
Sorry, did not see posts earlier…
Concerning the last question - absolutely no clue, the wild guess would be the math used first time ‘disturbs’ default values, if that makes any sense at all.
The second time you UV Unwrap the mesh you need to make sure that you reverse the selection and scale down the polygons not involved moving them somewhere outside the UV canvas.
I found this in a tutorial. I don’t know if there is an other way… as I’m afraid that for complex UV this could represent a problem…
you need to make sure that you reverse the selection
… why?
Simply add a new UV map by clicking ‘+’ in UV Maps, select set of faces on a model, hit U, choose method you want to use for this set. Nothing overlaps, nothing gets in a way.
for complex UV this could represent a problem
do not see why there should be a problem, can you define precisely problem you see. Demonstrate on a monkey, if possible.
I created two selections… and so two UV… the second time I noticed that behind the polygons used in the UV there were others. The sizes were exactly the size of the square of the UV image, so I couldn’t see them until I selected reverse.
Here the problem was that:
The colur of the top is white [plastic].
On the top there is an engraved logo [UV 1]
On the front there is an engraved text [UV 2]
The UV1 should just work on the top while UV2 should just work on the side.
I noticed that when I put together UV1 and UV2 on the top of my cup I could see both the logo and the text…
I think I need to repost… probably I missed some passages of this technique…
I’m gonna work on a cube and post it… so I can understand perfectly how it works…