So as a project, I’m trying to remake the Ice Box part of the cheesy but addicting Big Bumpin’ game in Unity.
The main problem is I suck at modeling LOL.
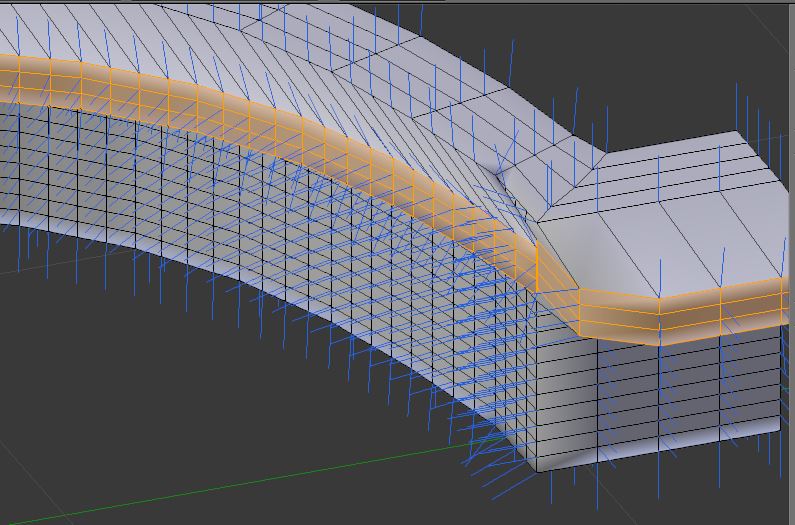
So I have recreated the basic outline of the rink:
…and the ridged goal there is giving me headaches. I tried duplicating the “blue” section above and moving it to another layer to work with. Here is that:
So I’m stuck on the way I should make that ridged effect. Ideally, maybe if this were “straightened out” first, it would be easier, but then not sure how I’d fit it precisely back into the rink (that was originally made with curve & mirror modifiers).
If I extrude, the result’s pretty obvious. If I use shrink/fatten (alt + S), the parts of that goal mesh in the foreground don’t really “fatten” towards the center…they mush up a bit. I looked at the normals and they appear to point towards the center, so I don’t really understand this (if I try that fatten method).
If I extrude, the result’s pretty obvious. If I use shrink/fatten (alt + S), the parts of that goal mesh in the foreground don’t really “fatten” towards the center…they mush up a bit. I looked at the normals and they appear to point towards the center, so I don’t really understand this (if I try that fatten method).
Deeslect the part along the front of the goal and then center your cursor at the median between them, so it’s center to the circle that forms the rest of the goal.
Set you pivot point to 3D cursor and scale the selected faces inwards slightly. (Do all three rows for the goal at once to save time.)
Now reselect the other faces along the front and just grab them and pull them out slightly to match the others.
Actually, the way it was build isn’t the most efficient way to do it. Here’s how it should be constructed in my opinion .blend.
Unfortunately this is a little bit too advanced for a beginner.
Sorry I didn’t get back to this right away. Thanks for all the suggestions, taught me a few tricks I didn’t know. In the end, I think Medium Solid is right, the reason this is so challenging a problem was modeling philosophy :-P. Thanks very much for taking the time to make that .blend file. I looked around, and I’m actually familiar enough to duplicate that…just wasn’t savvy enough to think of it that way :-P.
No problem, man. Hey at least you had the decency and respect to come back at some point in time to this thread, most OP’s once they get their answer don’t give feedback at all, which is really disappointing.