I have two curves I want to drive copy along for a single object. Imagine those two curves being the track of a twisting, looping, and rolling rollercoaster and I want to have “railroad beams/ties” (?) between them. Dupliverts don’t reorient the object, and if doing a duplifaces approach I’m only getting every 4th object in the right orientation. The three in the middle are flipped 90° and I’ve given up trying to fix them. I don’t want the object modified in shape.
Is there an approach for this I’m missing? Sounds so simple, but I’m stuck.
I’d start from a one curve/plane array shaped as a rollercoaster. Plane can be set to duplicate beams which will follow curvature and wont be deformed, selected 2 edges along curve can be duplicated into a new object, modifiers applied and duplication dropped, then convert to two rail curves.
Not sure I understand “Plane can be set to duplicate beams”. I have the two curves (and I have to start from these) and an object, let’s say suzanne. I can create a mesh from the curves by edge bridging for face dupli, but that will rotate suzanne occasionally and I have no idea why. I could also add a center curve by inserting a loop. Ideally I would get suzanne’s modified center point between the two curves.
I can’t get dupli faces to work from this starting position. I was thinking dupli frames, but I don’t know how I would set it up.
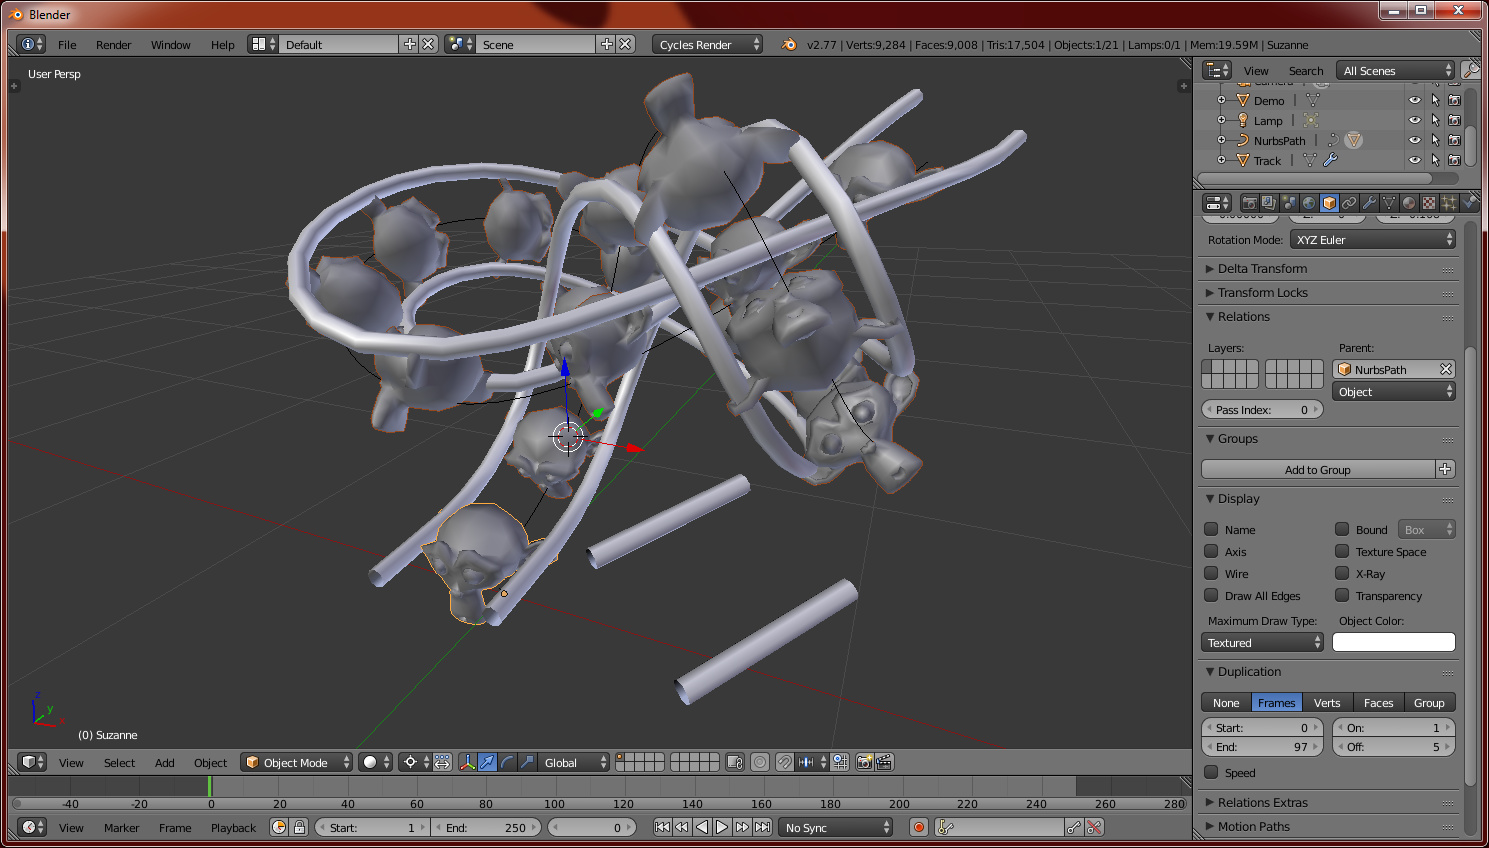
If you can’t see the deformation on the objects in between this works great. And this is much harder than you would expect. Even with Suzanes as the beam between the tracks and making the curves much, much more curved it is still hard to see that they are being deformed.
But to answer the question. I got dupli frames to work by parenting the object as “follow track” to the curve it was to duplicate across and unchecking “speed”. It doesn’t seem to work in any intuitive way and the manual doesn’t help much either. I fiddled a lot with it before it did what I wanted. And I question the value of dealing with that weird thing, as I can’t even see the slightest deform along the curve, even when comparing it directly with one that isn’t deformed. Try spot it yourself.
The problem seems to be somewhat theme/contrast related, of all things. The curve was derived from a regular object, and I placed my object at a place most convenient to me rather than what Blender considered to be the start of the curve. I couldn’t see the offset/parenting line, and my object was going anywhere but I wanted it to go. Relocating and reorienting the object at least made it follow the intended path.
However, from earlier attempts this path had dupliverts enabled (now also follow path), and the object has dupliframes. Don’t ask how I got there, because I have no clue what I’m doing - but it’s there and it will crash Blender every time I try to remove the duplivert or make dupli real. If I understand it correctly, I have the nice (ehm…) object I was going for but it won’t render because of the duplivert setting. Or something else I’ve missed.
Anyhow, for future attempts, how do I identify “point 0” on a curve? Curve originating from edgeloop from a regular model.
After making the curve a follow track parent to your object, you can use Clear Parent Inverse (Alt+P) followed by clearing the transforms on the object (Alt-G, Alt-R and Alt-S) to place the object origin on where it currently is on the curve.