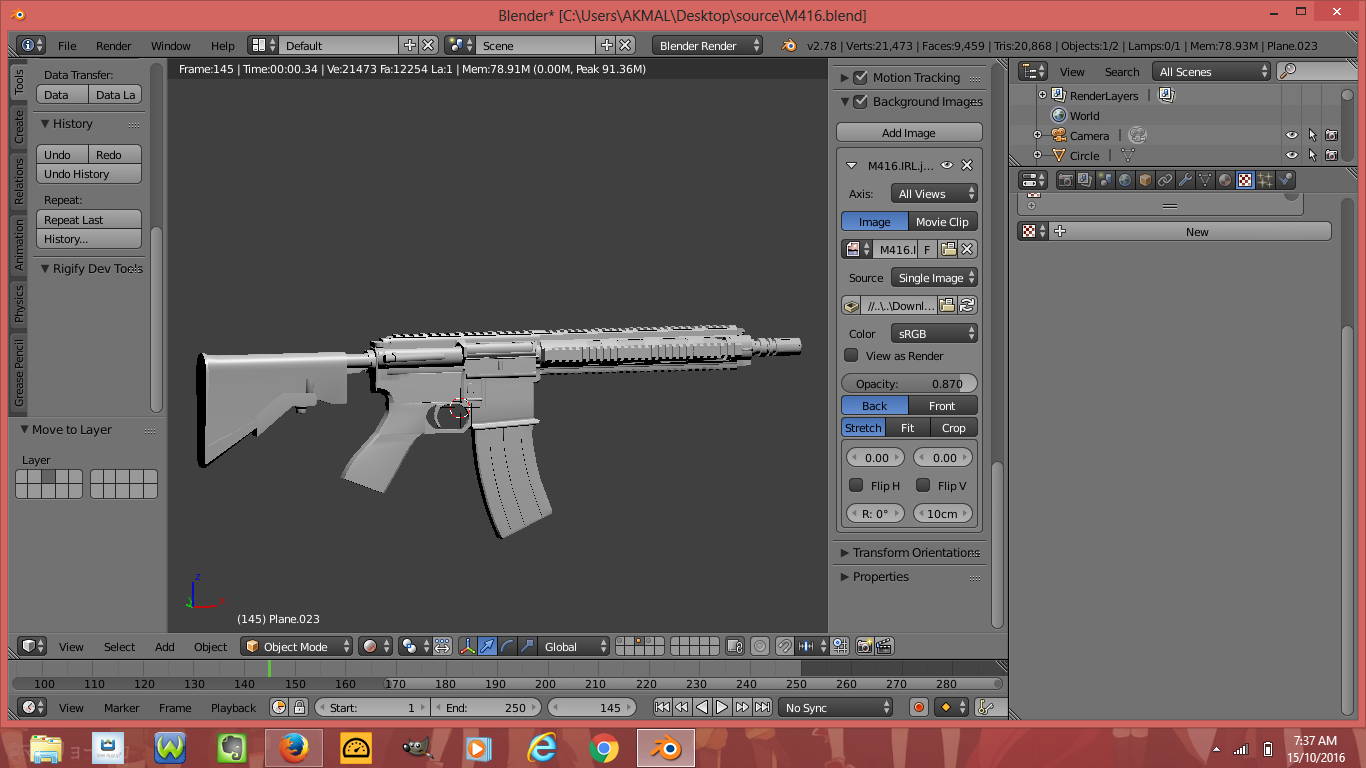
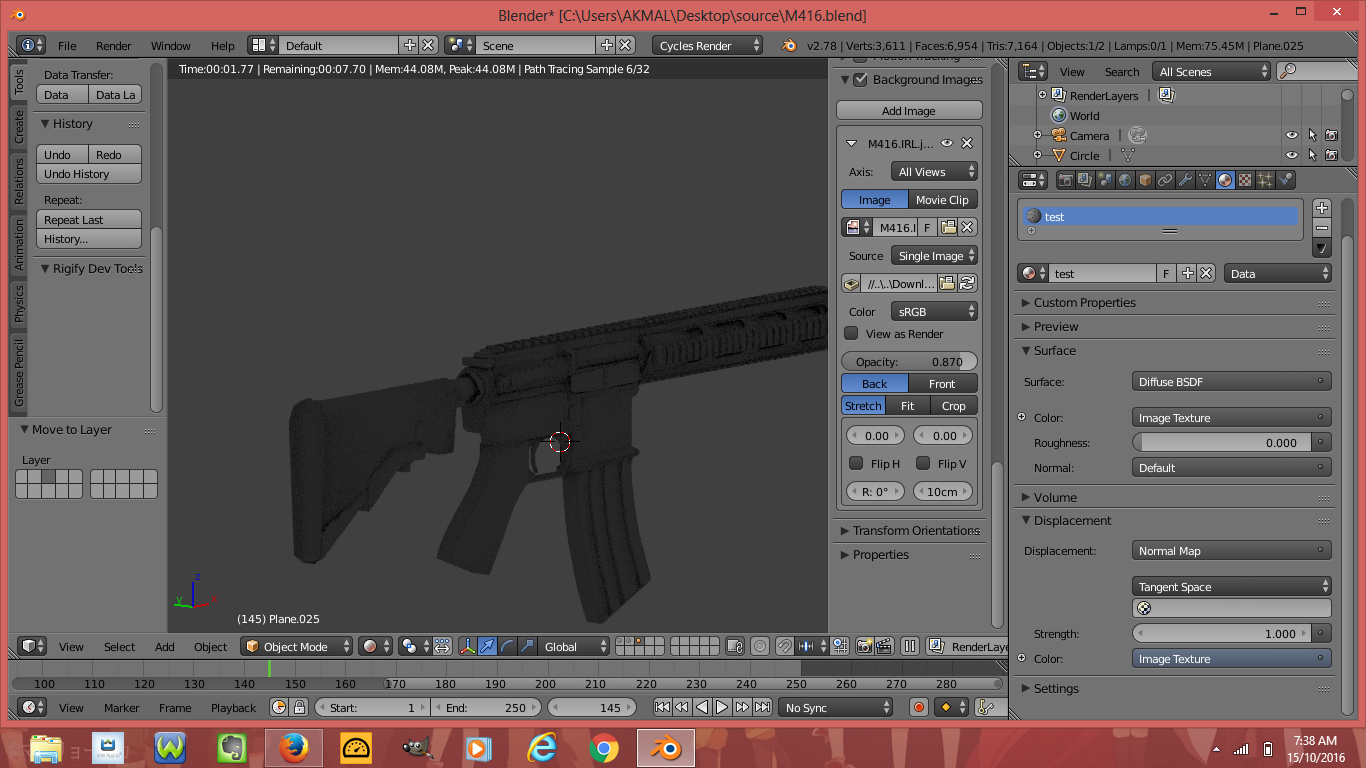
I made a normal map from high poly to low poly mesh but the result seemed the same the low poly still looking bad am i missing something?.I decimate my low poly carefully so it doesnt loss much of its face and still have its basic shape and i also triangulate it and for the high poly i only smooth and edge split but i dont triangulate it now i bake the normals and it seemed it doesnt work at all please help heres the pictures:
So am i doing something wrong? cause in the wikipedia page the normal map seem can fix the diffrence between 500 triangle mesh with 5M mesh so whats wrong here?
So… the answer could be: «Check the face normals of your meshes to remove any inverted normal (unify normals)».
It looks your low res object has some flipped normals.
(a blend file is always nice to share, to avoid annoying false guessings)
But that’s not really the answer to your question, just the answer to your problem…
Your answer should be: «Normal maps inform the render engine that at the point being shaded has some specific orientation (the normal), related to the original plane of reference (a triangle), and the coordinates axis directions.»
Your second answer (to the second question) is more weird… «Normal maps don’t fix. They just lie!»
‘Fixing’ requires a bit of carefull modeling and abuse of any hacks possible. Using normal maps is just a single hack, for certain (plenty) circumstances.
and the last, is just an advice… Wikipedia has lots of information, but sometimes is misinterpretated.
As Secrop mentions, without a blend file it’s hard to tell what’s happening from a couple of static images and little information. I know people are sometimes reluctant to share their work for various reasons. And that’s fine. They don’t have to. It would take the guess-work out of it though.
If something isn’t obvious from the very beginning, then it usually takes quite a few posts back and forth before there’s some kind of resolution. Often because the person with the problem doesn’t know what information is important. Whereas a blend file would speak for itself.
One knowledgeable person could only need a few minutes to identify potential issues. But only if they can see and interact with the models in real-time.
And Secrop is exactly right. Normal maps provide the illusion of detail. Nothing more. They don’t “fix” or repair anything.
yes, if use correctly, it can give the illusion of a very detailed mesh. But using correctly means understanding a little bit of what’s going on.
one must take into consideration the normals of the low res mesh, and their interpolations (which depend also from the vertex density, so modeling is a basic factor). This because normal maps just add up a ‘little lie’, they complement the vertices interpolation, which are calculated upon the base mesh. And if your mesh has problems, then your normal map will probably not work great.
As JohnVV said, an actual blend file would help others to help you. A turntable doesn’t show any potential problems in the process you’re using to bake or render the models. It may not be the models alone.
I’m not an expert on normal maps. Or the processes involved in baking. Although I’ve learned quite a bit, I still have room for improvement. But I do know from experience that hard surface meshes can sometimes be more problematic, because of sharp changes in angle. The images you showed of the bake down to a 500 tri mesh, illustrate that to a degree. There’s no huge changes in angle in the low poly or the high detail sculpt. For the most part it’s quite “soft” and gradual. Baking normals with these kinds of meshes, in my own experience, works far more predictably.
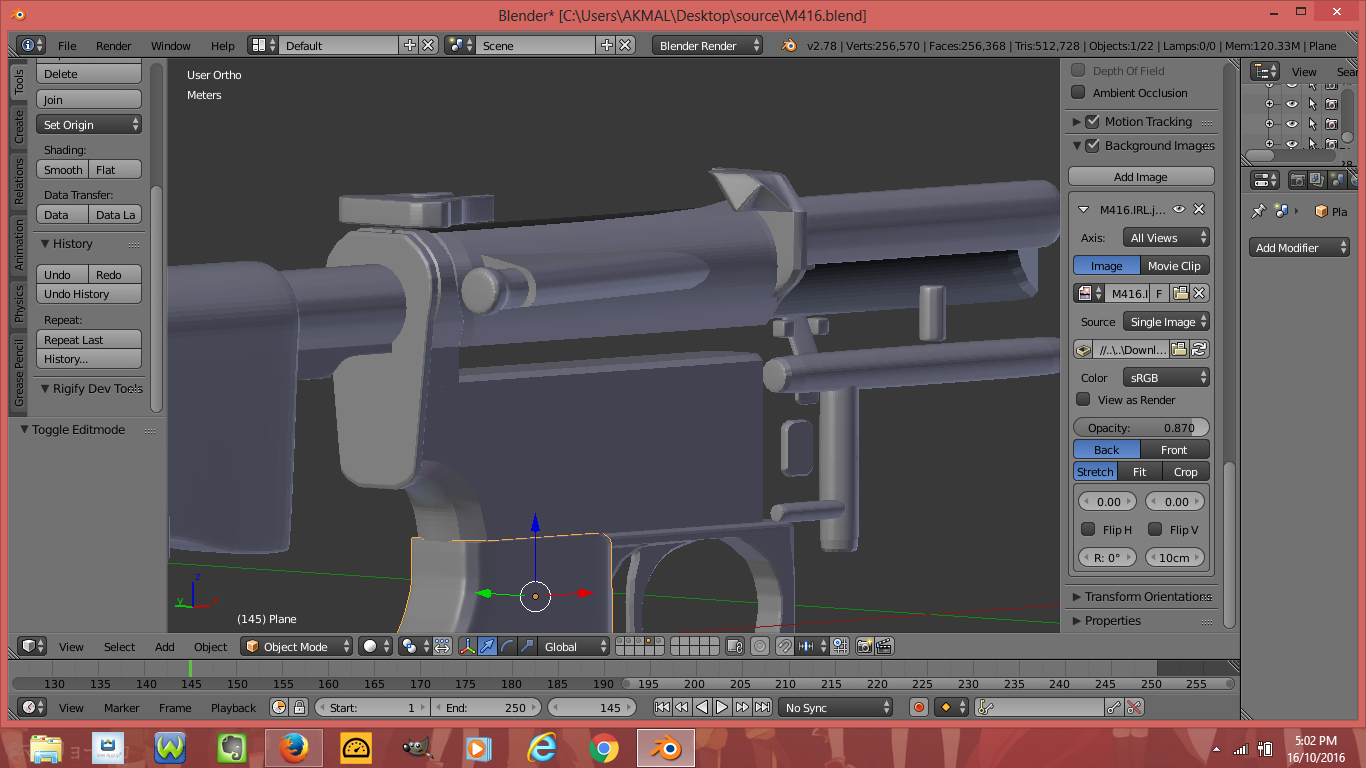
Hard surface models, like your HK416 (Battlefield M416?), typically have lots of areas where there’s sharp changes in angle in the topology. Some areas are going to cause a little trouble for the baking algorithm without help. Even if there are no glaring errors in the meshes.
im Sorry i thought the sketchfab option was for that XD real sorry
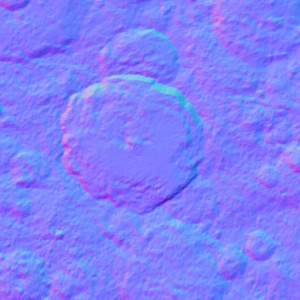
here you go i gotta remind you that some of the normals shown green and i dont quite understand why it does that
If the second layer is the high poly, there really isn’t enough detail to bake to the mesh on layer three(low poly?). Besides that the “low” detail version looks like it’s been passed through some kind of decimation or import process that’s broken the geometry. There’s a lot of split verts. And the Uv seams are… A bit messy. Possibly a result of the same process.
If you look at the vert count for the low version it’s got roughly the same as the high. It shouldn’t. It should be considerably less.
If you select the low model in edit mode hit W and choose “remove doubles” you’ll see what I mean.
If you want detail in the low you need something to bake from. Typically something constructed with sub division surfaces or a sculpted model. There really isn’t enough mesh information to bake an accurate version of the HK416 it’s based on.
Right now the “high” poly version is already a game level mesh, minus UV information. That for me would be the low poly target mesh. Although you could get it lower with some care and attention.
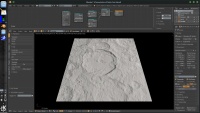
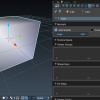
When I say high poly sculpt or sub-d model, I mean something like this.
I don’t mean you have to reproduce that exactly. But it has all the subtle features you would find in a physical object. Like roundness on “hard” edges or smooth shading across flat surfaces.
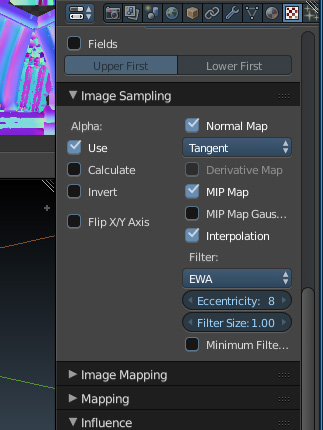
One other thing. In the image sampling section, switch on “normal map”. This identifies the texture as a normal map as opposed to a bump map. Leave it set to “tangent” when using tangent space normal maps. This won’t help solve any of your problems here. But it’s important for future reference.
first of all the high poly mesh is not triangulated yet but i already check when its triangulated it the face becomes around 20K dont you think its to much for a game model?
secondly yes i used decimate for the low poly caused i dont really know other effective way to lowering the poly count so please tell me a good way to lowering the poly count and also is decimating for lower poly count is bad?
thirdly what do you mean by subtle features do you mean really subtle like for example the roundness of the receiver and the complexions of the grip pattern and also what the best way to do this?
the last question yes the uv is unwrapped harshly and hastily so can you gave me some advice to improve that
Triangulation:
Triangulating doesn’t really give you advantages in terms of efficiency. The quads will be broken down into tris anyway before it’s rendered by your video card. That’s how current hardware deals with geometry. So bear that in mind when constructing anything. Triangulating also clearly defines the way all edges are turned. There’s occasionally a chance that a turned edge will literally change the topology, depending on where it lies. I’ve seen this happen with importers before.
Quads:
Quads are a great way to work neatly. They facilitate building good topology for deformation. Or loops to control how sub-surf works on a model. As in when you want more defined edges on certain surfaces, without unwanted changes in surrounding geometry. If you were to pass your work onto someone else for editing, quads are a lot easier to manage when selecting parts of a mesh. And of course they work well with the sub-surf modifier.
Decimation:
The decimate modifier is very useful for a few things. Particularly when creating LODS (Levels of detail) for a game asset. But it can be a bit harsh if you simply apply it across a whole model at once. So consider breaking the model into smaller separate objects when it’s not happening the way you want it to. Then decimate those and re-integrate them back into the main object after applying the modifier. A mesh made mostly of quads will tend to reduce a little better, combined with dissolving edges.
Don’t confuse n-gons with quads. They can be very useful, but not in every situation. Your source mesh has quite a few of them. Check the magazine to see what I’m referring to. Quads only have 4 edges. N-gons can have many. They don’t always work well with sub-surf, and they wouldn’t be recommended for a game asset.
As regards subtle features, I meant sharp edges on real world objects are rarely blade-sharp. It’d be unusual to see edges like that unless they were meant for cutting. Through wear and tear or deliberate filing they tend to have a very small amount of roundness to them. Aside from that A high poly model done well will have smooth even shading across surfaces. Low poly models tend to suffer from shading artifacts. Which is something that normal maps can help with. Although they won’t magically fix bad geometry.
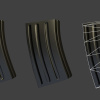
The construction of the low poly mesh will still affect how believable the normal map is. I did a quick model and bake of a magazine. You can see the slight difference in shading below. Although the normal map picked up the detail from the source, it doesn’t have the same physical depth. But it’s a decent trade-off. The source is around 12-13K, while the low version is made up of around 120 tris. It could be improved obviously, by adding more geometry and making it conform more closely to the source.
I couldn’t put everything you need to know in one post. There’s just too much information. And many people have covered the topics better than me. There’s literally hundreds of videos dealing with normals and unwrapping. Don’t be put off if the author is using Max, Maya, or something else. It’s all relevant.
With seams. Placing them manually takes a bit longer. But it’s worth the effort. When ever you get the chance though, do your best to hide them. It can be very tricky to eliminate them completely from view, but doing so gives you less clean-up. Do some searches on the subject here, and on the polycount forums. Uvs can have a definite impact on the way a bake turns out. So it’s worth the study. I still have much to learn myself.
With subtle edges using bevels and subsurfs and also advice if im wrong or doing it really badly also Real thanks man your really Helping me a lot real thanks
No problem. I’d say you’re on the right track. Just make sure to set that object to smooth shading.
If you need to add your own sharp edges for the low poly, use the autosmooth option in the object data section. This works in place of the edge split modifier. Without it on you won’t see them displayed. Set the angle to 180. Make sure this model is also set to smooth shading from the Tool panel.
For the high poly there’s no need to set sharp edges. Use edge support loops to achieve that. Be careful not to pack loops too tightly though. Or you’ll get “pinching”. Only use what you need to get the job done.
Take a look at how other people approach this. Especially how they construct the mesh to allow for control over how sub-surf affects the model. There’s always lots of good information out there. This page should come in handy. As I said earlier, don’t be put off by the fact programs other than Blender are being used. The principles are universal.