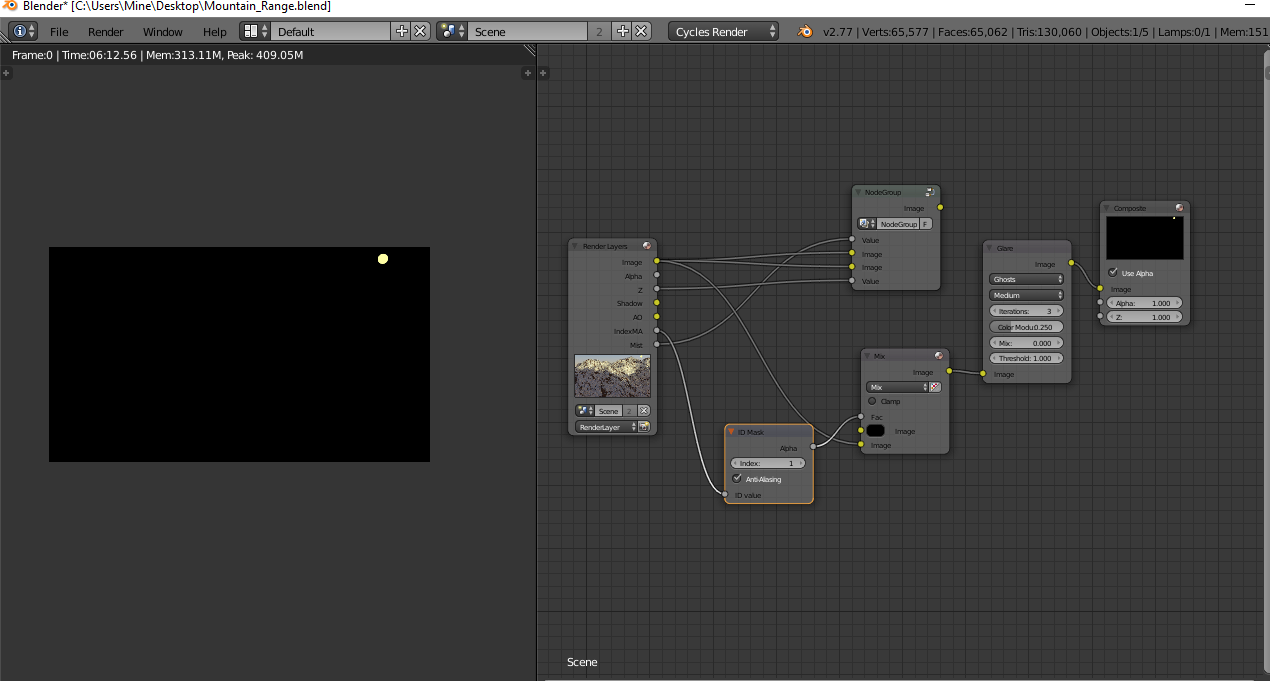
I’m pretty sure I have everything here set up properly yet the ghosts glare doesn’t display. Can anyone explain what I am doing wrong?
I think you just need to turn down the thresh hold of the glare filter, allowing it to work on colours with lower values than 1.000,
I would also suggest using the colour mix node set to “screen” to mix the effect with the original image
I was using this set up to create a mask so that the source of the glare would only be the sun and not anything else in the scene. This is the effect I was going for but it doesn’t seem to work properly for me. 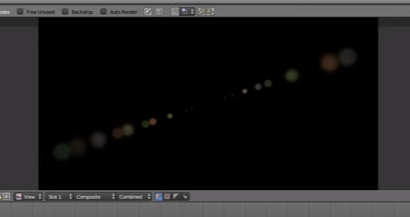
Thanks for the suggestion but it had absolutely no effect on the image whatsoever.
If you don’t post your .blend file, all we can do is guess. The only thing I can think of is the threshold setting. What did you set it to? What happens if you set it to 0?
PS: use add, not screen. Screen does some funky math to try and keep values below 1.0, which isn’t actually necessary in most cases with a floating-point compositor like Blender’s. And screen makes weird things happen when given input values larger than 1.0 (it becomes darker instead of lighter).
J_the_Ninja - Is that true? i didn’t know it had that effect? although i do recall trying to use screen on a filtered environment pass once and it output some weird dark blue colours…
Thanks for the info, i didn’t know that screen worked that way! :o
Here’s a longer answer I wrote on Blender stackexchange once: http://blender.stackexchange.com/questions/56960/why-does-the-screen-node-turn-hotspots-pink-and-blue/56961#56961