Ok, I am pretty new to this 3D thing and I have a model that is from photogrammetry. I have fixed some holes in the roof but when I texture clone paint the texture looks really weird.
What am I doing wrong?
Thanks!
Ok, I am pretty new to this 3D thing and I have a model that is from photogrammetry. I have fixed some holes in the roof but when I texture clone paint the texture looks really weird.
What am I doing wrong?
Typical first post. Unclear information about the problem and no support files for others to work with.
“looks weird” is not enough information to even begin to troubleshoot.
People are going to need to know what you’re trying to do, what goes wrong, and then a piece of it in an example .blend file with the relevant textures packed in. You describe the problem, and with the .blend others might be able to help you find out why it happens. It’s not usually necessary to use video for doing the explanation part because you’re not giving more information in it than what would be included in a screenshot of the whole interface. It’s the .blend that includes most information for troubleshooting and to communicate back to you.
Ok, sorry.
I want to fill the hole in the top of the roof and then texture clone so that I get the correct texture.
However, I do not manage to do it. I try to use:
Edit Mode / Clean up / Fill holes after selecting the object. Nothing fills. Tried doing it in Meshmixer and it fills the area but it does not seem to merge with the rest of the model.
roof.blend (10.1 MB)
I that is the root to not being able to texture clone the model.
//Jonas
Texture paint goes on an image using the UV coordinates. UV islands shouldn’t overlap, otherwise the paint goes on multiple spots. The UV islands should also cover the UV area so that the texture pixel (texel) density stays the same relative to other areas on the model/part.
UV islands should be apart from each other so that the paint can go over the UV island instead of stopping right on the outline (aka. texture bleeding). That’s because texture filtering (mipmap, maybe interpolation) would cause artifacts otherwise. Paint goes over the UV island or the colors from the pixels are streched away from it afterwards so there’s padding over the border. Different resolutions of the same area get the right color around the border that way. https://therageworks.wordpress.com/2013/02/28/mip-mapping-and-the-importance-of-pixel-padding/
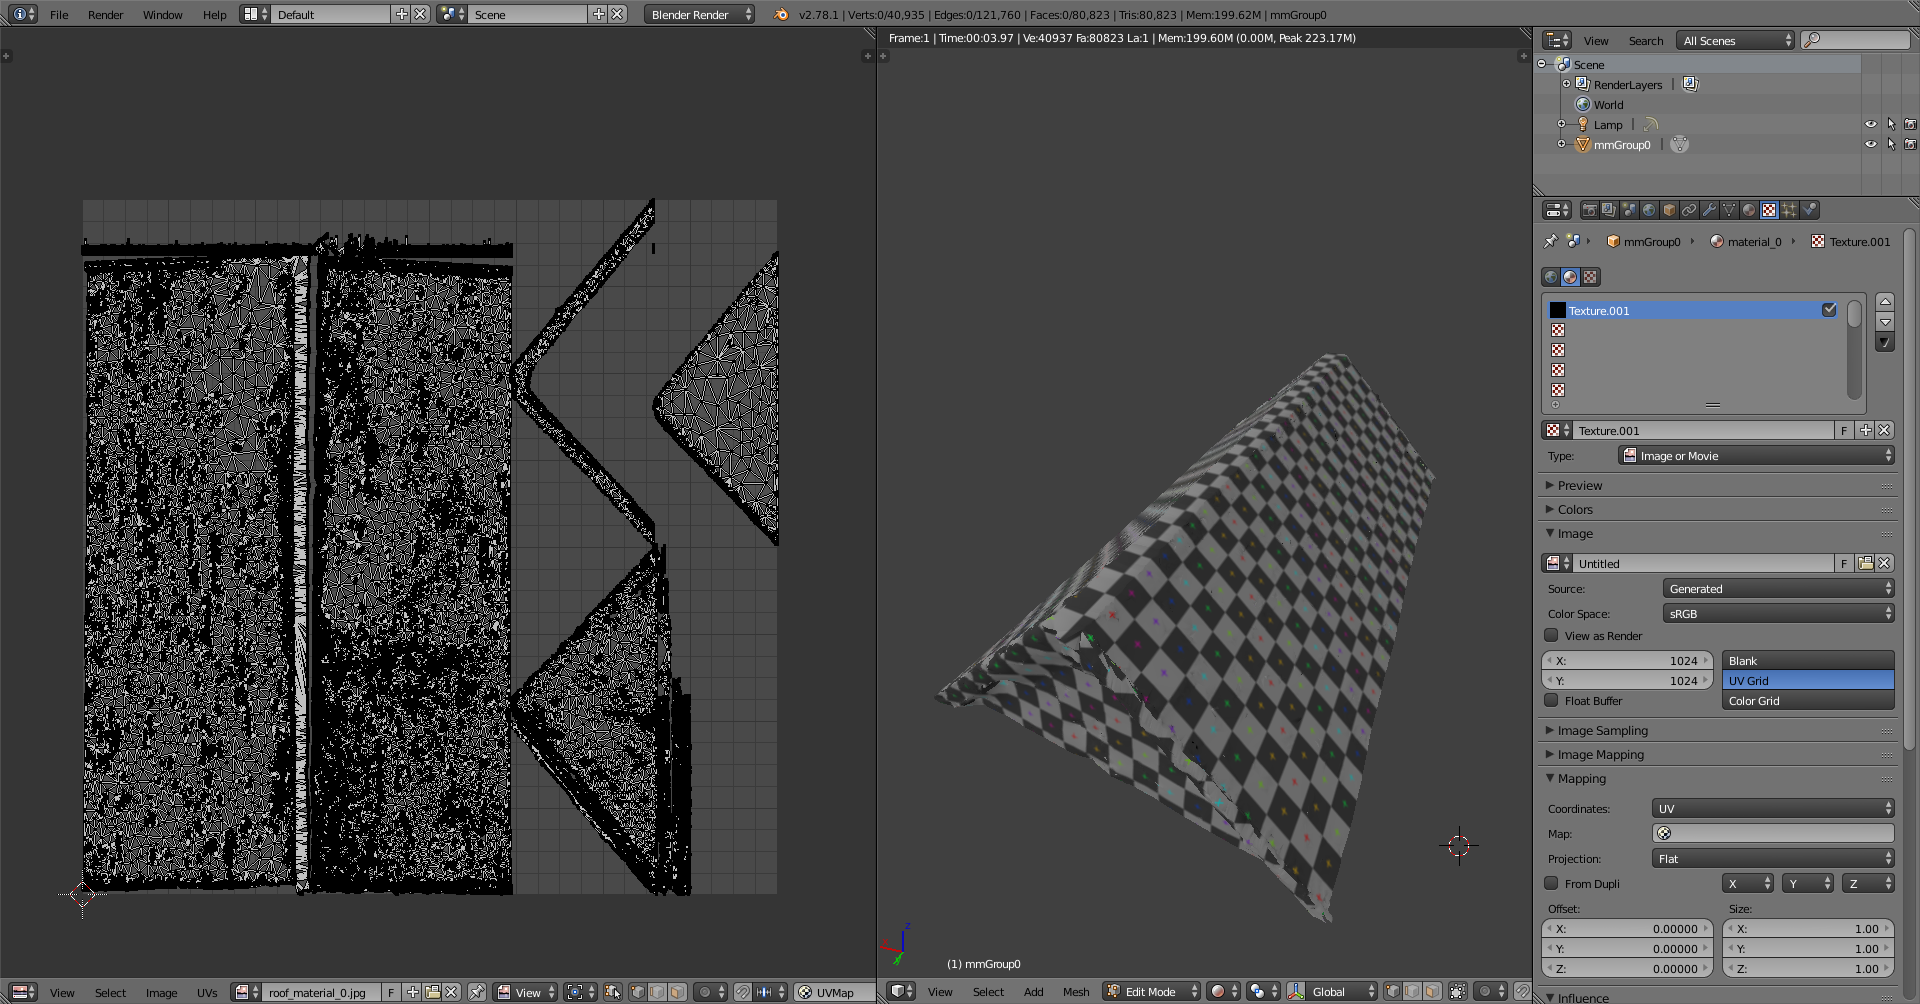
There are overlapping UV’s. Existing and filled areas later should take their own space on the UV map and with that, on the image. UV islands also don’t cover the UV area much, maybe because it’s not the whole model. The roof as it is in the file covers approximately 6-8% of the whole area, excluding the massive triangles that cover the half, and excluding the bleed area needed for each island.
Not a whole lot but the image wasn’t included so don’t know how big it is and what else should go on it.
Not the greatest UV map, just did U -> smart UV project after filling the holes, but the UV map has layout for the filled areas and nothing is overlapping so it should paint just fine.
Hi, thanks a lot for the explanation. Here is the whole model with texture attached. Is there a simple way to merge the UV islands? In my eyes it is quite an easy task to fill a hole and then texture clone it. But I might be wrong. Sorry for the Noob questions, but I have been looking around for weeks and are not getting anywhere. Have been using Meshmixer, blender, and other software And it feels as if I am close to completing this 
It would be if it was a workable model but it’s crap. As pipeline goes http://www.upcomingvfxmovies.com/wp-content/uploads/2014/03/3d_production_timelines.jpeg this kind of model wouldn’t have even gone through modeling yet, let alone released for the next stage which is texturing and what you’re trying to do.
As said, the problem with painting is the UV unwrap. Filling the holes is relatively easy, select the hole outlines and fill them
You could unwrap the filled areas and scale/move them on the UV area which should do the trick.
The image you paint on is really big, yet the UV’s don’t cover much of it. Getting a better UV layout might be possible if you have a powerful computer, which I don’t:

