Hey everyone!
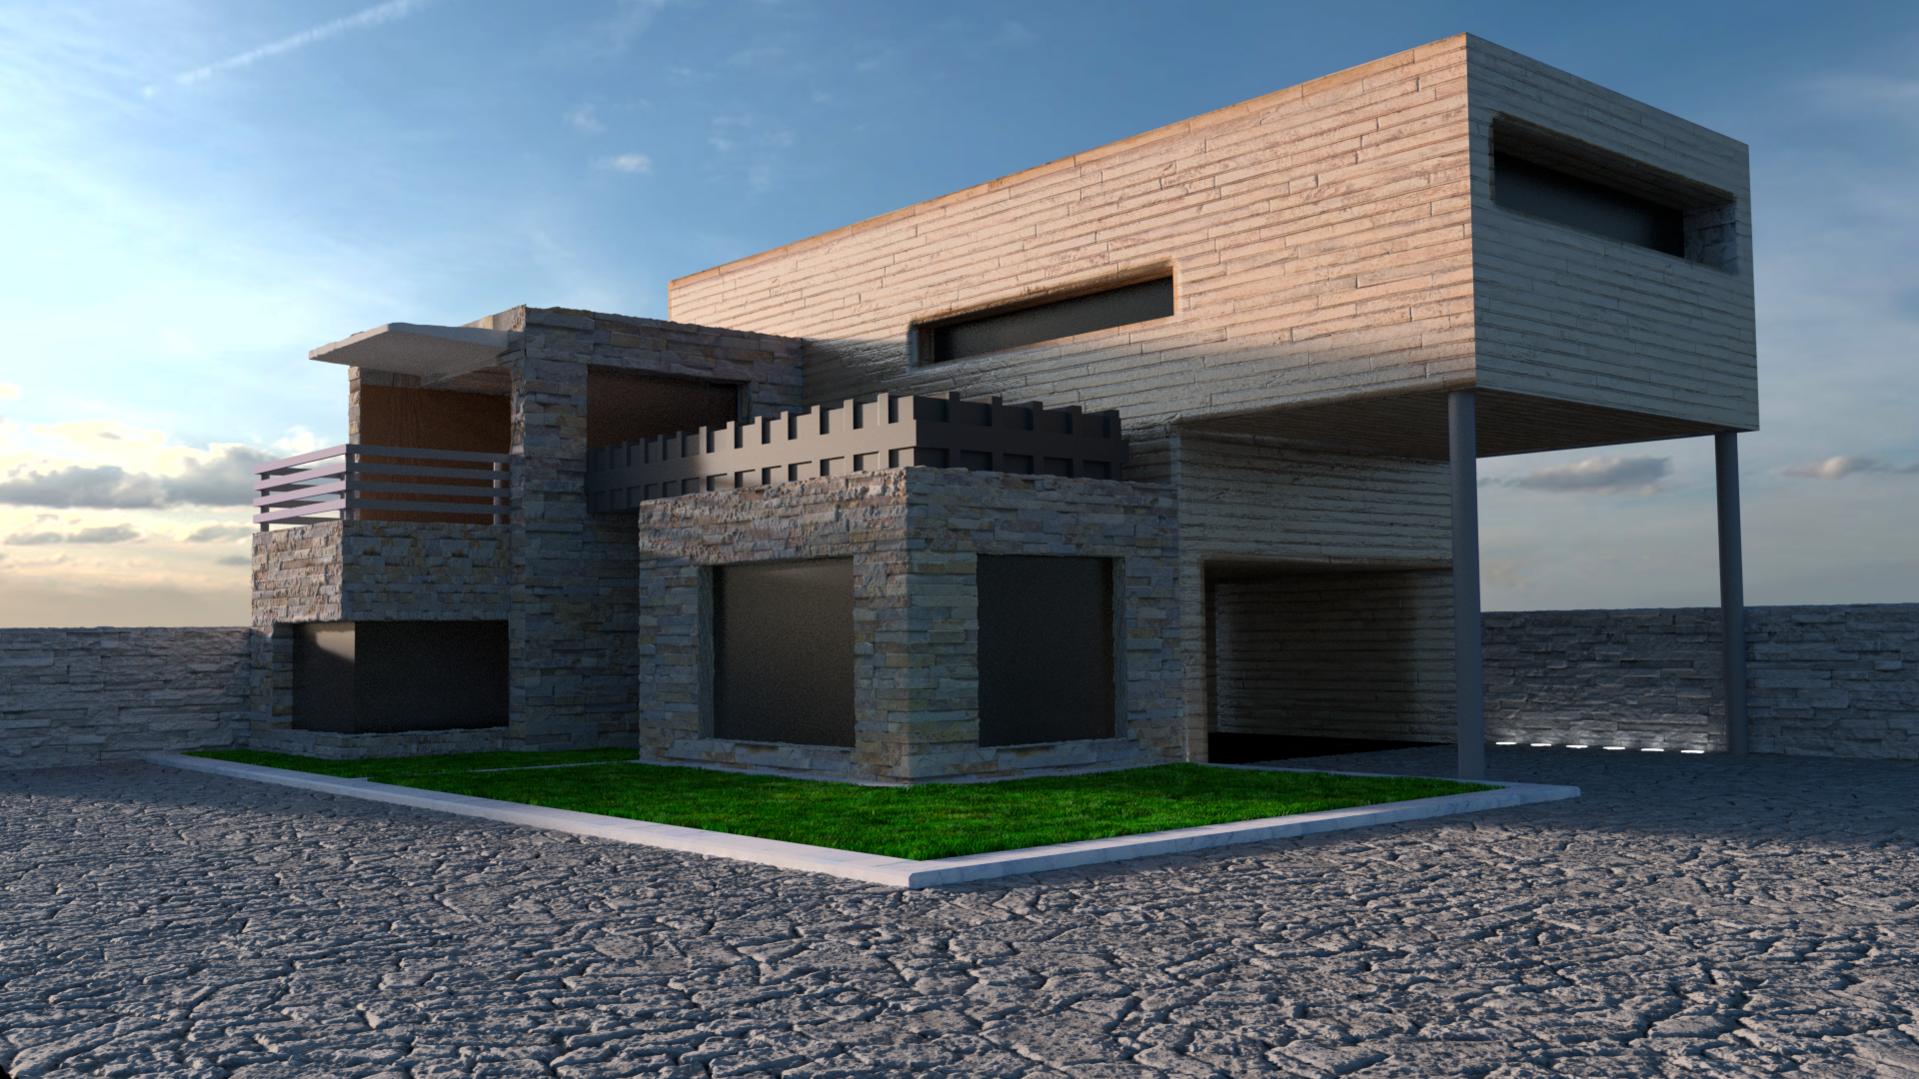
A while ago i saw a 3D render of a house. I thought it looked realy cool and I wanted to try and make something that kind of looked like that house. So I started working on making that house in 3D and I learned a lot of things allong the way. But now that I want to render the scene I need to make render layers because my blender crashes otherwhise.
The picture below is basicly what i have right now for the scene. (I know its kind of bad but im trying to get better )
And as you can see it looks like plain shit here and one of the big reasons (what i think) is because not all the shadows show up because I’m having trouble with making layers for rendering, plus the windows look realy weird now (also because of the render layers). I was wondering if there was anyone who could help me create better render layers. Any help would be appreciated
Any other tips for this project would be great as well(I’m also not to sure what to do about the sidewalk)
(I posted 2 pictures with this: The one with the store at the end is the newest one.
And sorry for my bad english)
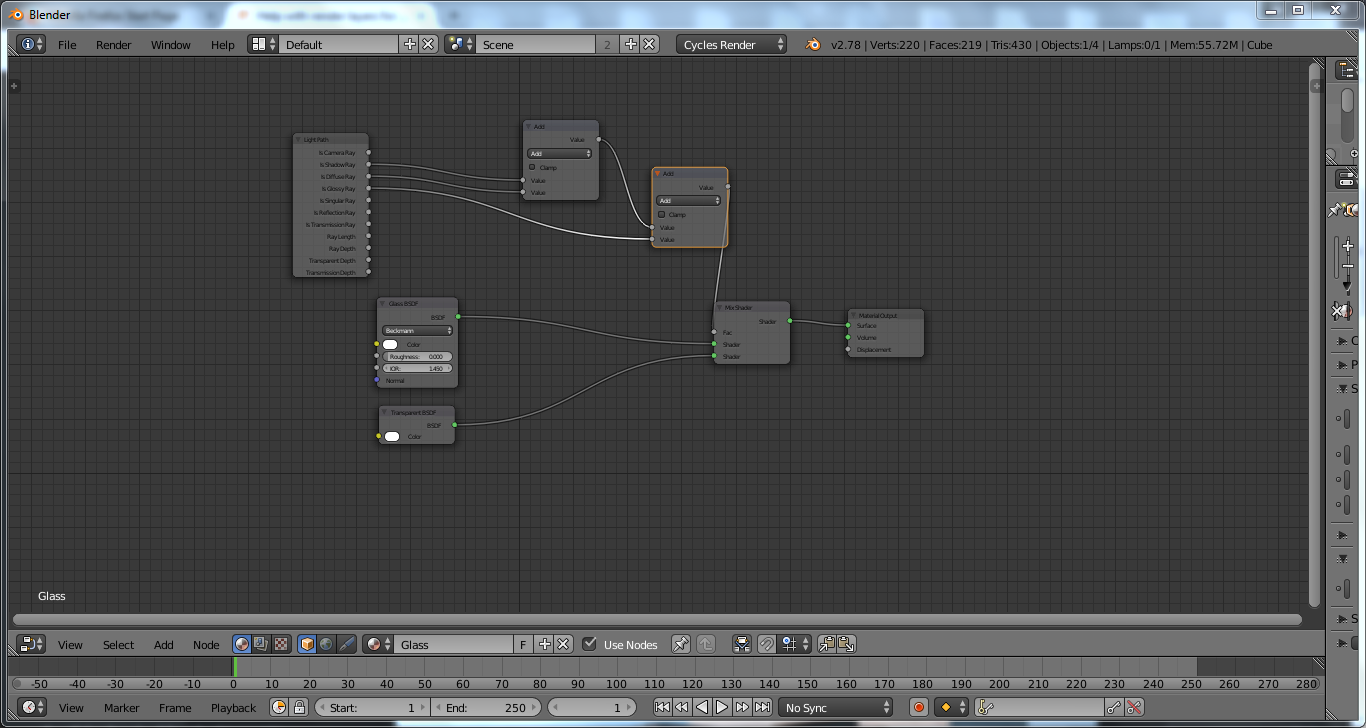
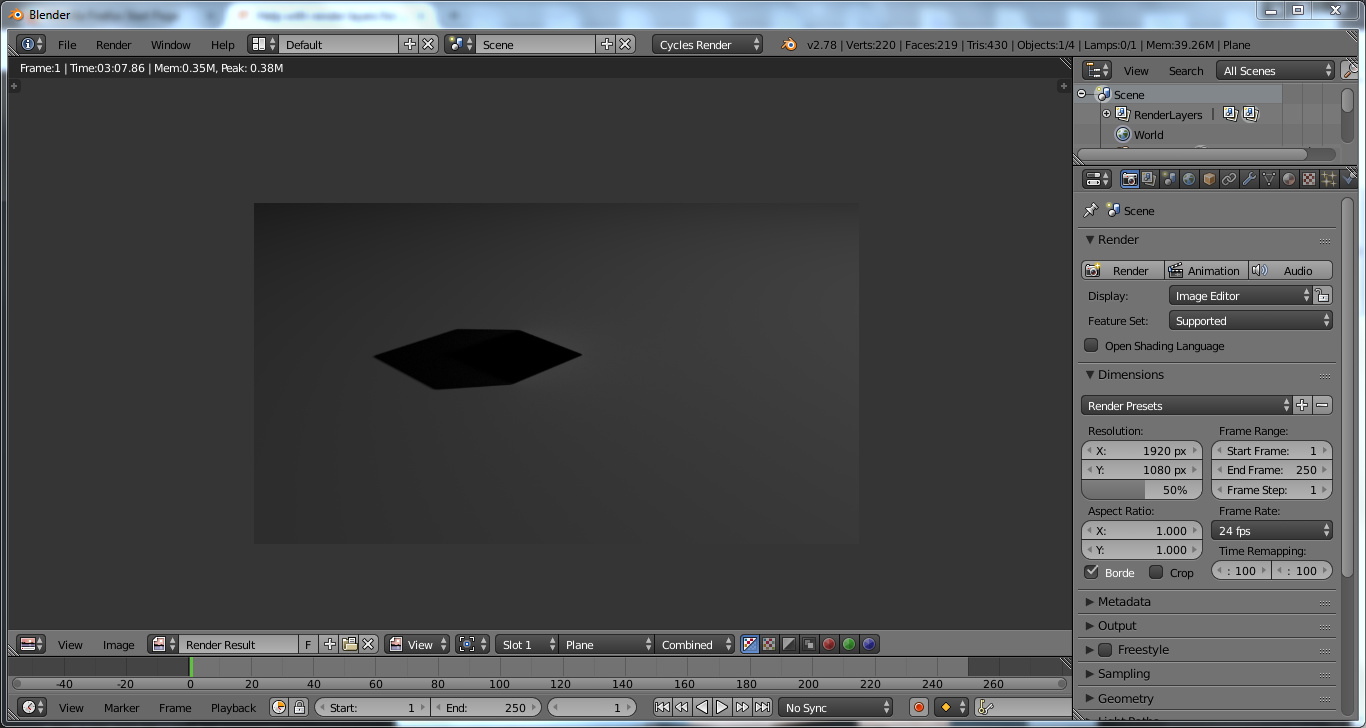
Make sure to enable transparent whenever you are rendering on different layers.
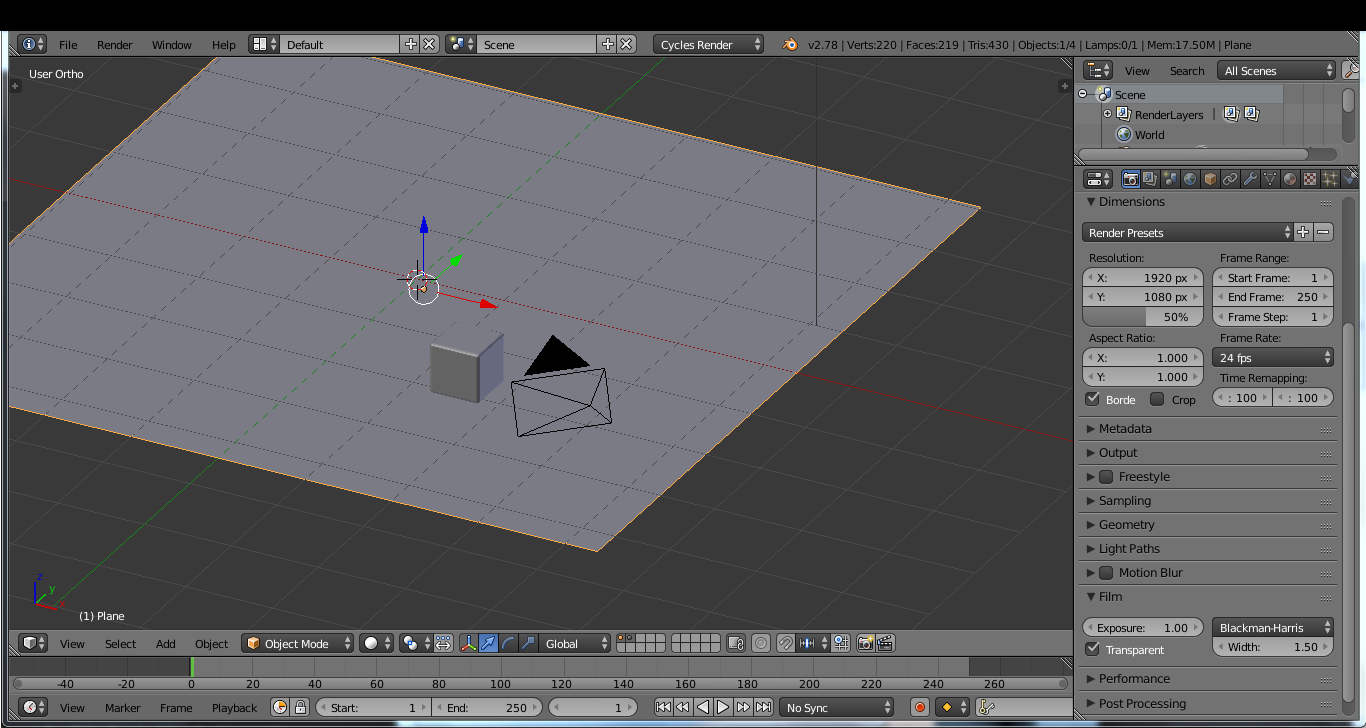
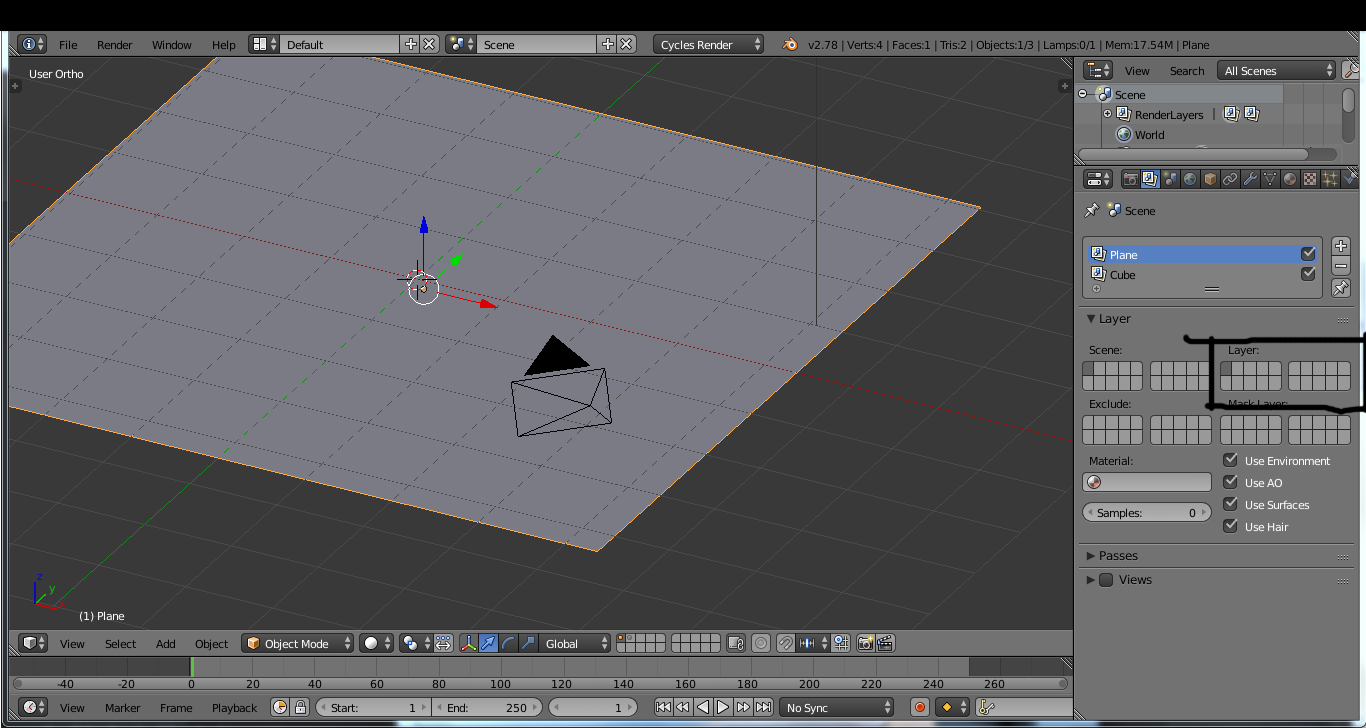
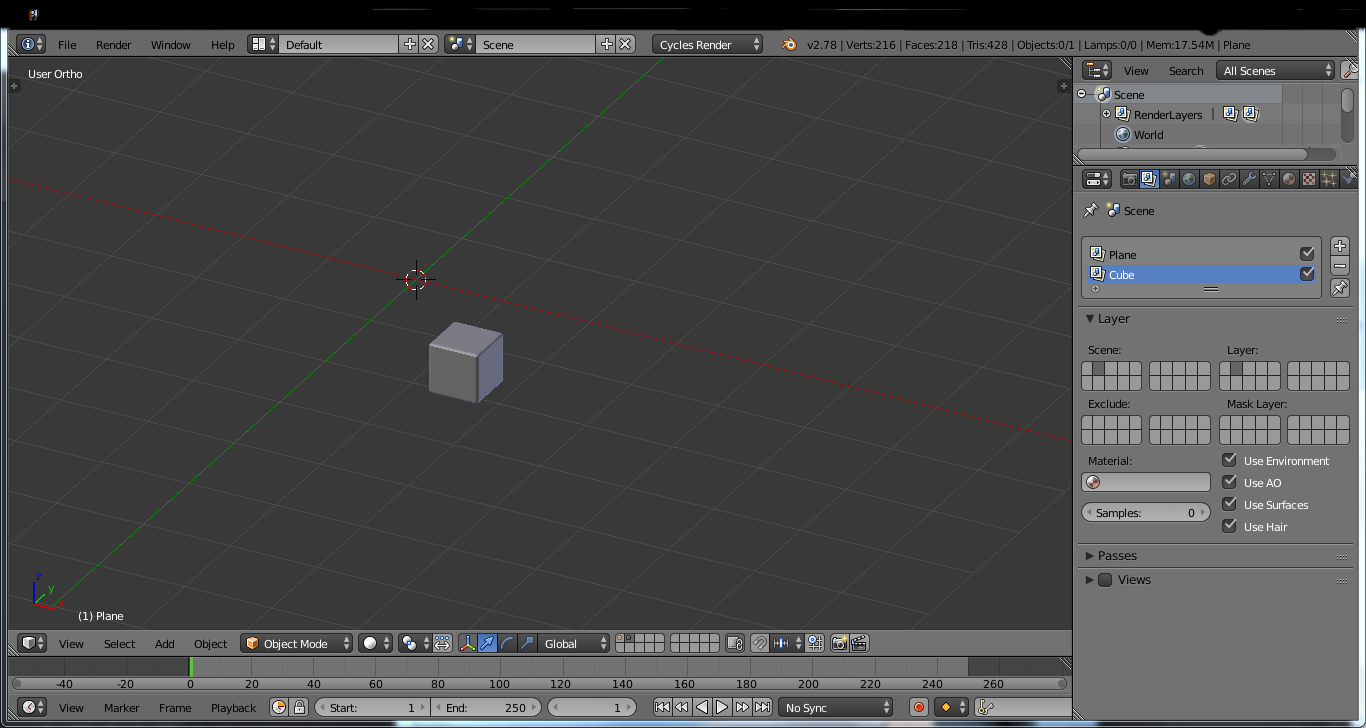
First you move the cube to a different layer so that our scene will be separated into 2 layers in your case i think moving the grass will be okay then you need to add a new render layer by pressing the pressing the + button on the Render Layer panel and for each render layer you need to define which layer will be rendered because by default it will render all the elements of the scene in one picture so that we will have something like this.
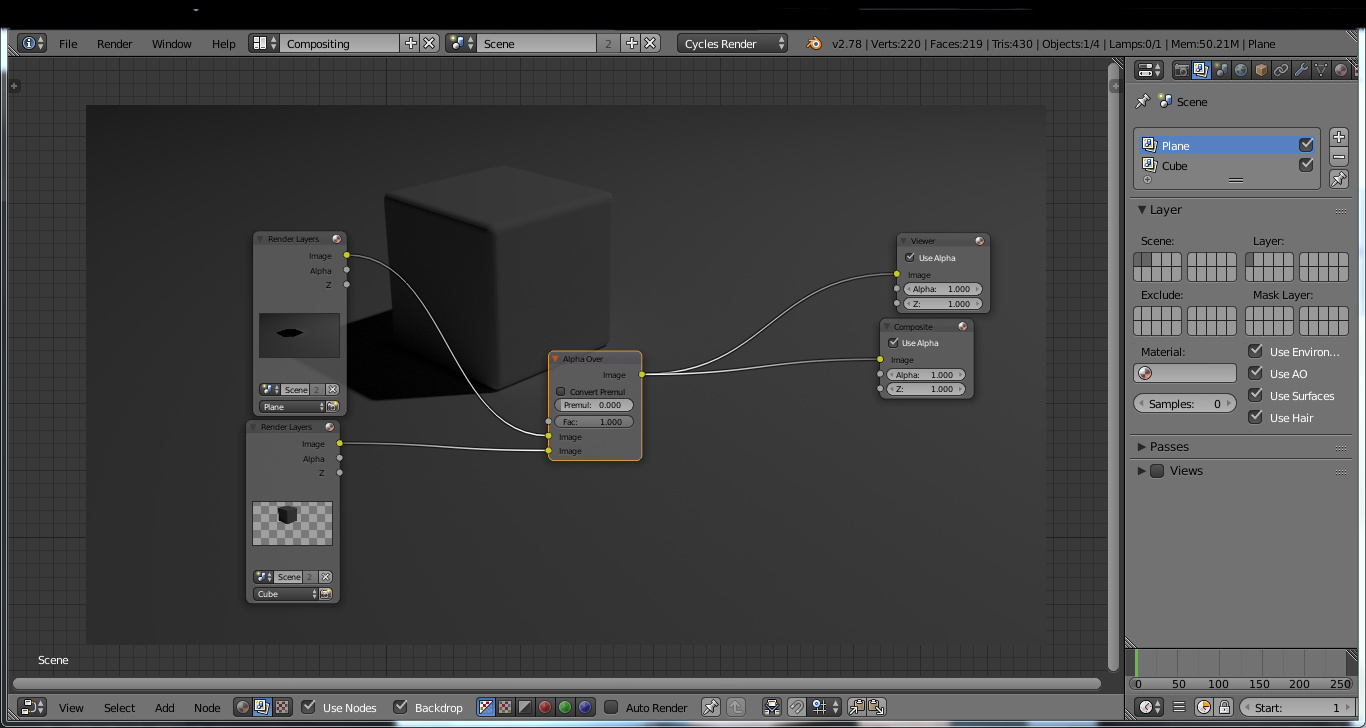
when you are using an HDR to light the scene enabling Transparent will make the sky disappear to get back you need to enable environment and the add it also in the compositor with a mix or alpha over node.
Hope it helped you
As someone who’s got a slow computer i know how frustrating it can be when rendering
I encourage you to always keep working.
can’t wait to see you the finished result and your upcoming projects
 )
)