So some background, I came to Blender from C4D, and started by exporrting C4D scenes to Blender, and setting up materials and lighting. Then I rebuilt from the ground up. Now, I learn new stuff, and this is my go to scene to improve it. I’ve posted in finished projects twice, but I’ve accepted it will never be finished, because it’s my go to scene.
I keep returning to it because there is so much there. Models, materials, lights. It’s my ideal scene to build on to improve myself.
Looks very good. I see improvements big time in comparison to the earlier C4D.
May I suggest to use a slightly warmer tone light bulbs in the room?
It looks like a cool bright industrial LED is used, while with those leather couches you would expect something warmer like a halogene bulb colour.
Halogene is about 3200k = RGB:255-241-225
Tungsten 100w is about 2850k = RGB:255-214-170
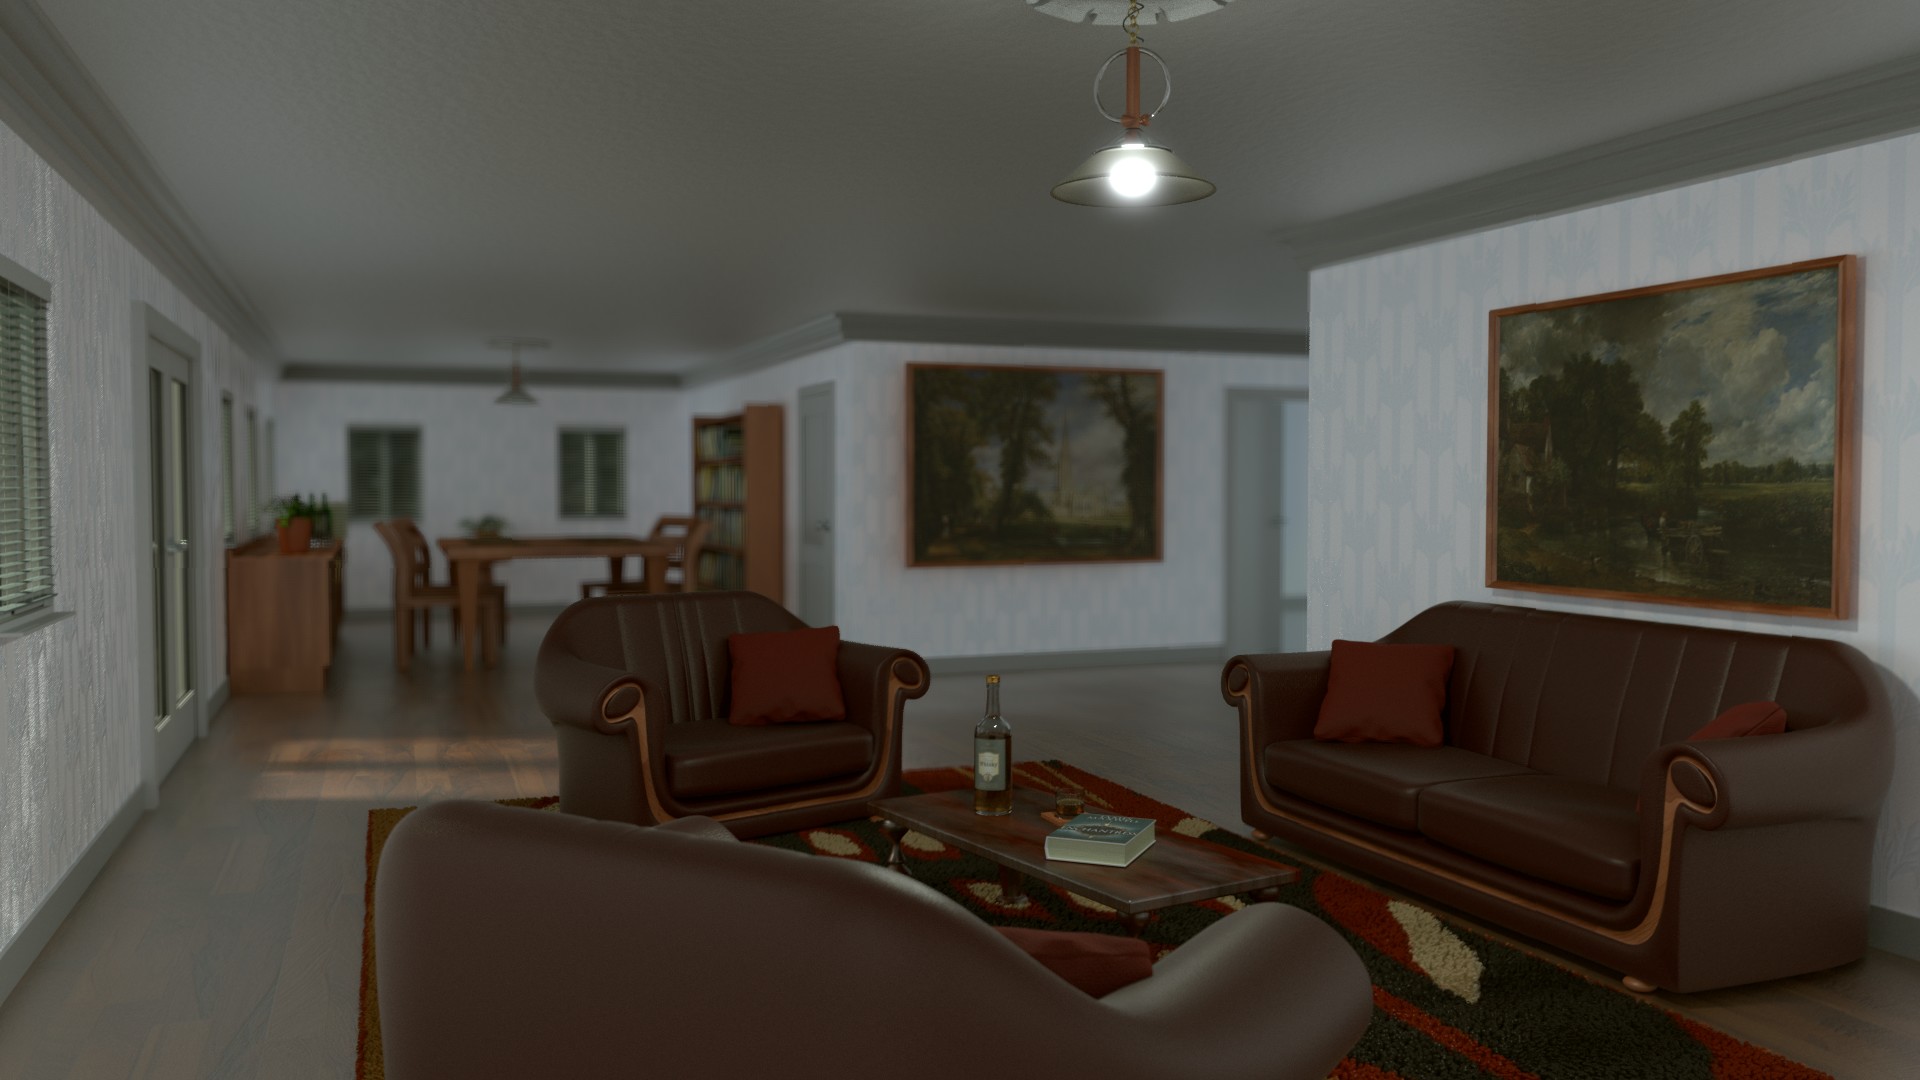
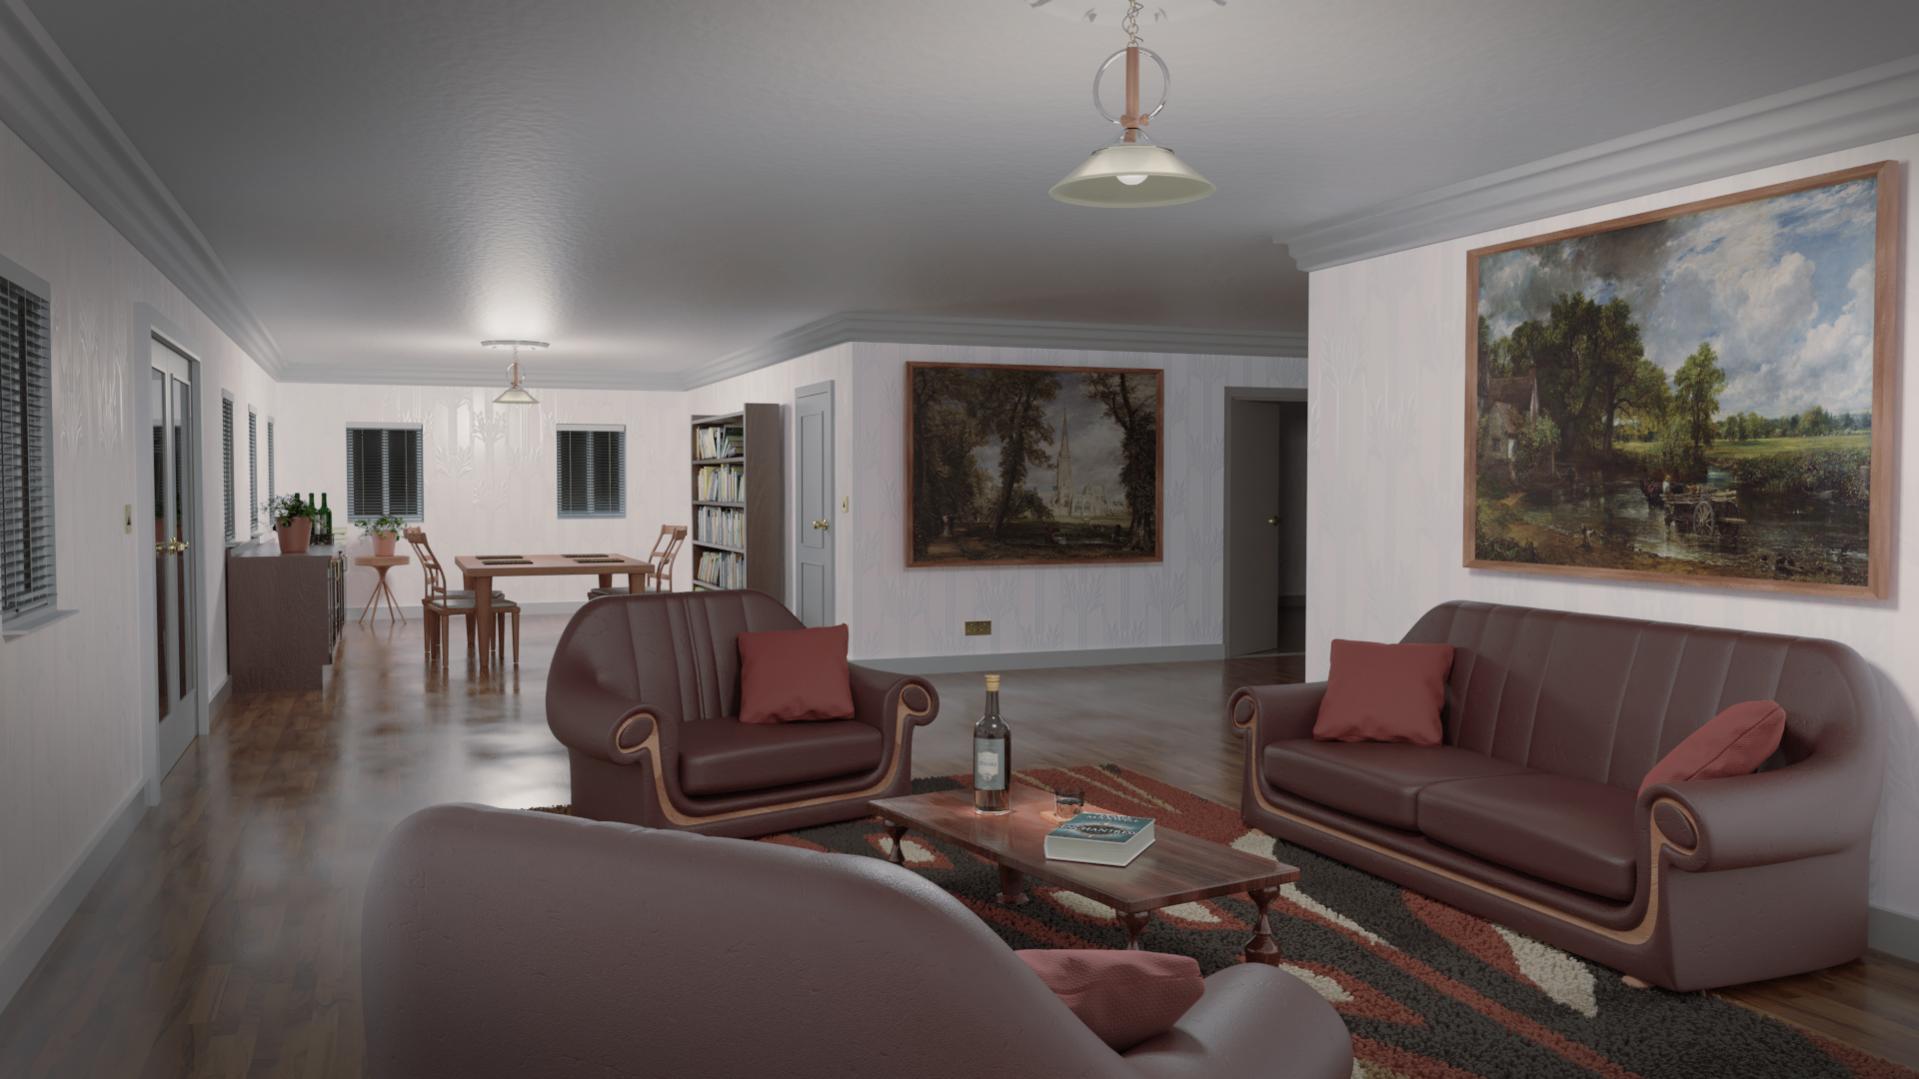
Thank you. I’m aiming for a daylight version first. You’ll note that the previous Blender version needed the overhead lamp on, whilst the latest doesn’t. I’m using blackbody for the lights, now, which should improve the lighting as I get better.
EDIT: I added the first Blender version of the original model, just for a happier progress.
It’s nice to improve, but the steps to improvement are important.
More learning, and changes. Gotta let the render go (4 hours or so) but initial tests of filmic (thank you Andrew Price for showing this) suggest a more natural lighting. Hopefully, since I’m kinda playing with this right now, I’ll have a post worth showing tomorrow.
I think with the amount of windows in the room, it should be much brighter than it currently is. But not seen latest render with Filmic I guess. Also, when doing test renders, or less than final at-least, render half or so of the samples you need. 4 hours to render a progress render is too long really. Also, maybe reduce resolution to half or 75% aswell, just to help speed things up. But good job so far
Thanks for the comment. The first filmic blender test did brighten the image up an awful lot, but there’s some tweaking to do.
With regards to previewing renders, if truth be told every render is, at the time of render, a final render based on my knowledge at that point in time. It’s only as I discover or learn of a new technique, method or addon that can improve or enhance the image that it gets a fresh working.
And I can render overnight, so the time doesn’t hurt. Obviously, whilst I’m working on changes I’m using a much lower resolution and sampling.
Took some experimenting with the lights and exposure, in the end, I left the exposure at default. Lighting was tougher, and my first full test was massively over-exposed (to the point that there was no correcting it).
This is with no post processing whatsoever, filmic-blender render, progressive render whilst at work, reached just shy of 4000 samples when I stopped it. Converted to jpg from png in GIMP.
probably worth mentioning that the dining chairs, and the plant stand against the far wall have been remodelled, and the dining table tweaked. Also changed the materials on the book case and sideboard. Bump is a little high, but not too bad.
I have that same Constable painting in my house! (on the right). Good progress, lighting looks much better. sofas textures look really nice, but I think they could look a bit more natural. Creases etc…
Thank you. I love the Haywain - one of my favourite pieces of art, and seemed to me to fit the style.
I agree re the leather, it needs some cracks. At the moment is entirely procedural, and I’d like to keep it that way, so just need to figure out how to do it
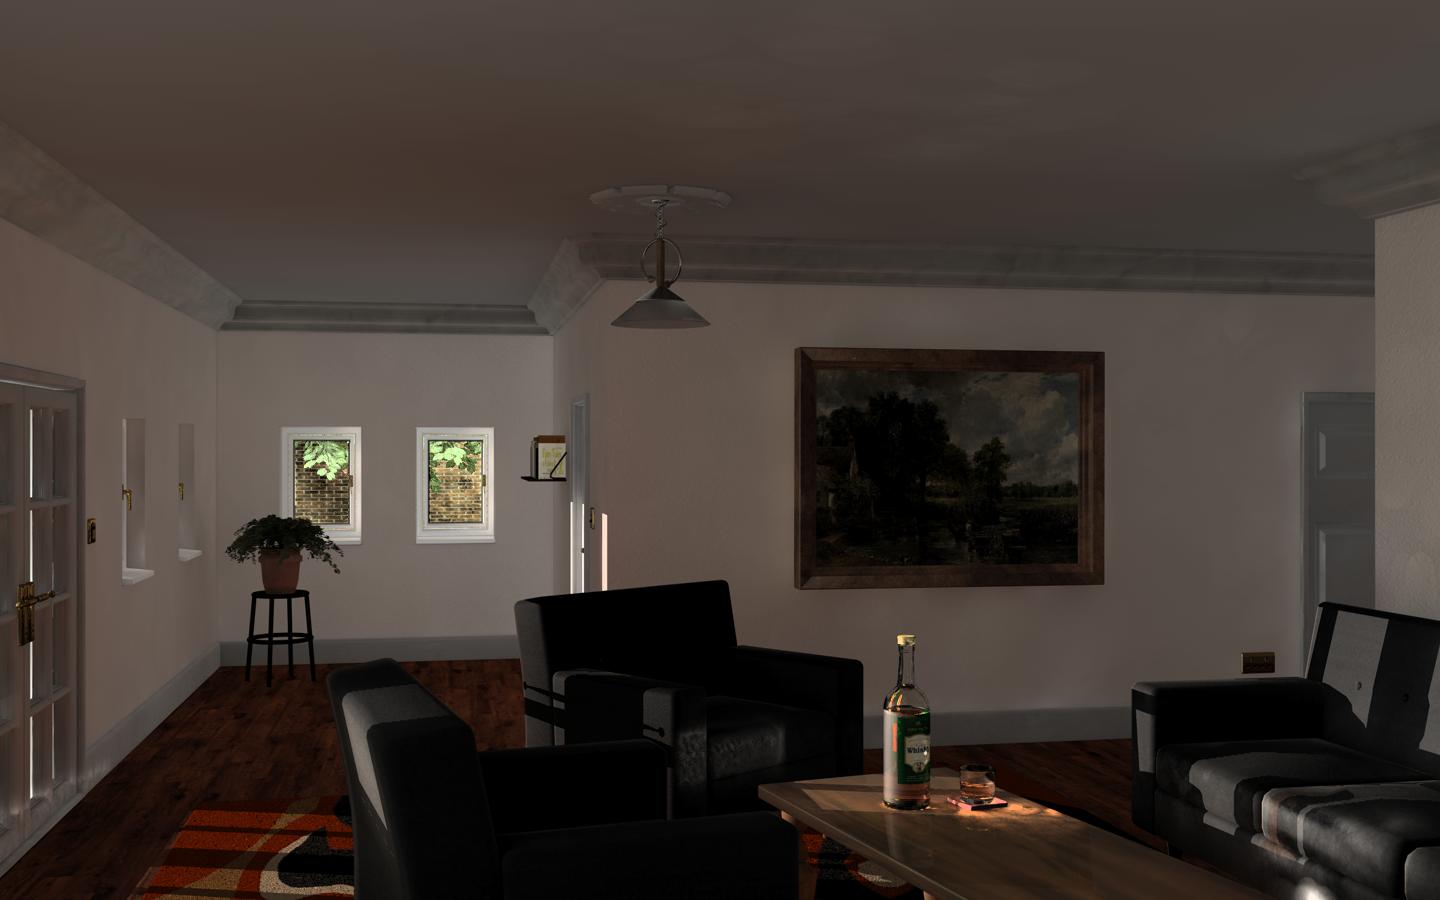
Been a while since I added to this thread, but the everlasting project is still going. The latest render is done at night, using indoor lighting. Right out of the box it’s too warm and saturated, and so this is re-touched to reduce the saturation and bring in some coolness. It appears to age the image a little, which I like.
Oh, and I’ve re-worked most of the textures to use the principled shader.
My 2 cents:
You are doing well with the filmic and daylight.
The night shot is not convincing that it is lit from the lamps. Seems there is too much ambient and too much overall.
For example the sitting area in the foreground is plenty lit, yet when I look at the lamp overhead (presumably THE light source) the bulb is dull and dark and there is no fall off from that origin.
Your comments about the night shiot have me puzzled (though I see what you are referring too). The bulbs themselves are not the light sources. There are two point lights inside the bulbs (with the bulbs set to be non-shadow casting so the light goes through). Apart from the background HDR at very low strength (0.01) and a very weak, bluish sun (.25) for the moon, there are no other lights. (the sun is in the wrong direction to account for the lighting on the foreground, anyway).
To eliminate the HDR, I simply closed the blinds. No difference.
I can only assume bounce light, though I’m open to ideas.
OK, this is with a very different lighting technique, and I can only assume that the light hitting the facing sides of the foreground furniture is bounce light. In this version, there is zero ambient light, the point lights are down to nothing more than providing reflections, and the main lights are spots.
Both points and spots use the falloff node for quadratic falloff.
I had to drop the filmic contrast to very low for this, and still had to desaturate and colour correct. Not sure I can do more with the lighting and post on this.
After some playing, I added an invisible to camera and reflections “occlusion mesh” against the wall behind the camera. This does help to fix the lighting on shadowed side of the visible foreground objects. I also played with the strength of the lights and the filmic contrast to get a better result.
Still a little correction in post to colour saturation and tone, but otherwise, looking better I think.
I can agree some earlier ones were too dark, but the latest looks fine on 3 different monitors (2 at home and one at work), so I’m not sure where you are seeing the darkness.