I have been working on this corvette for some time now and wanted to know which renders you think are good and how to improve them.
I have been struggling quite a bit with the color correction and I realized that my two desktop screens, laptop screen and smartphone screen all have different color calibrations and at the moment I have no idea which screen to ‘trust’.
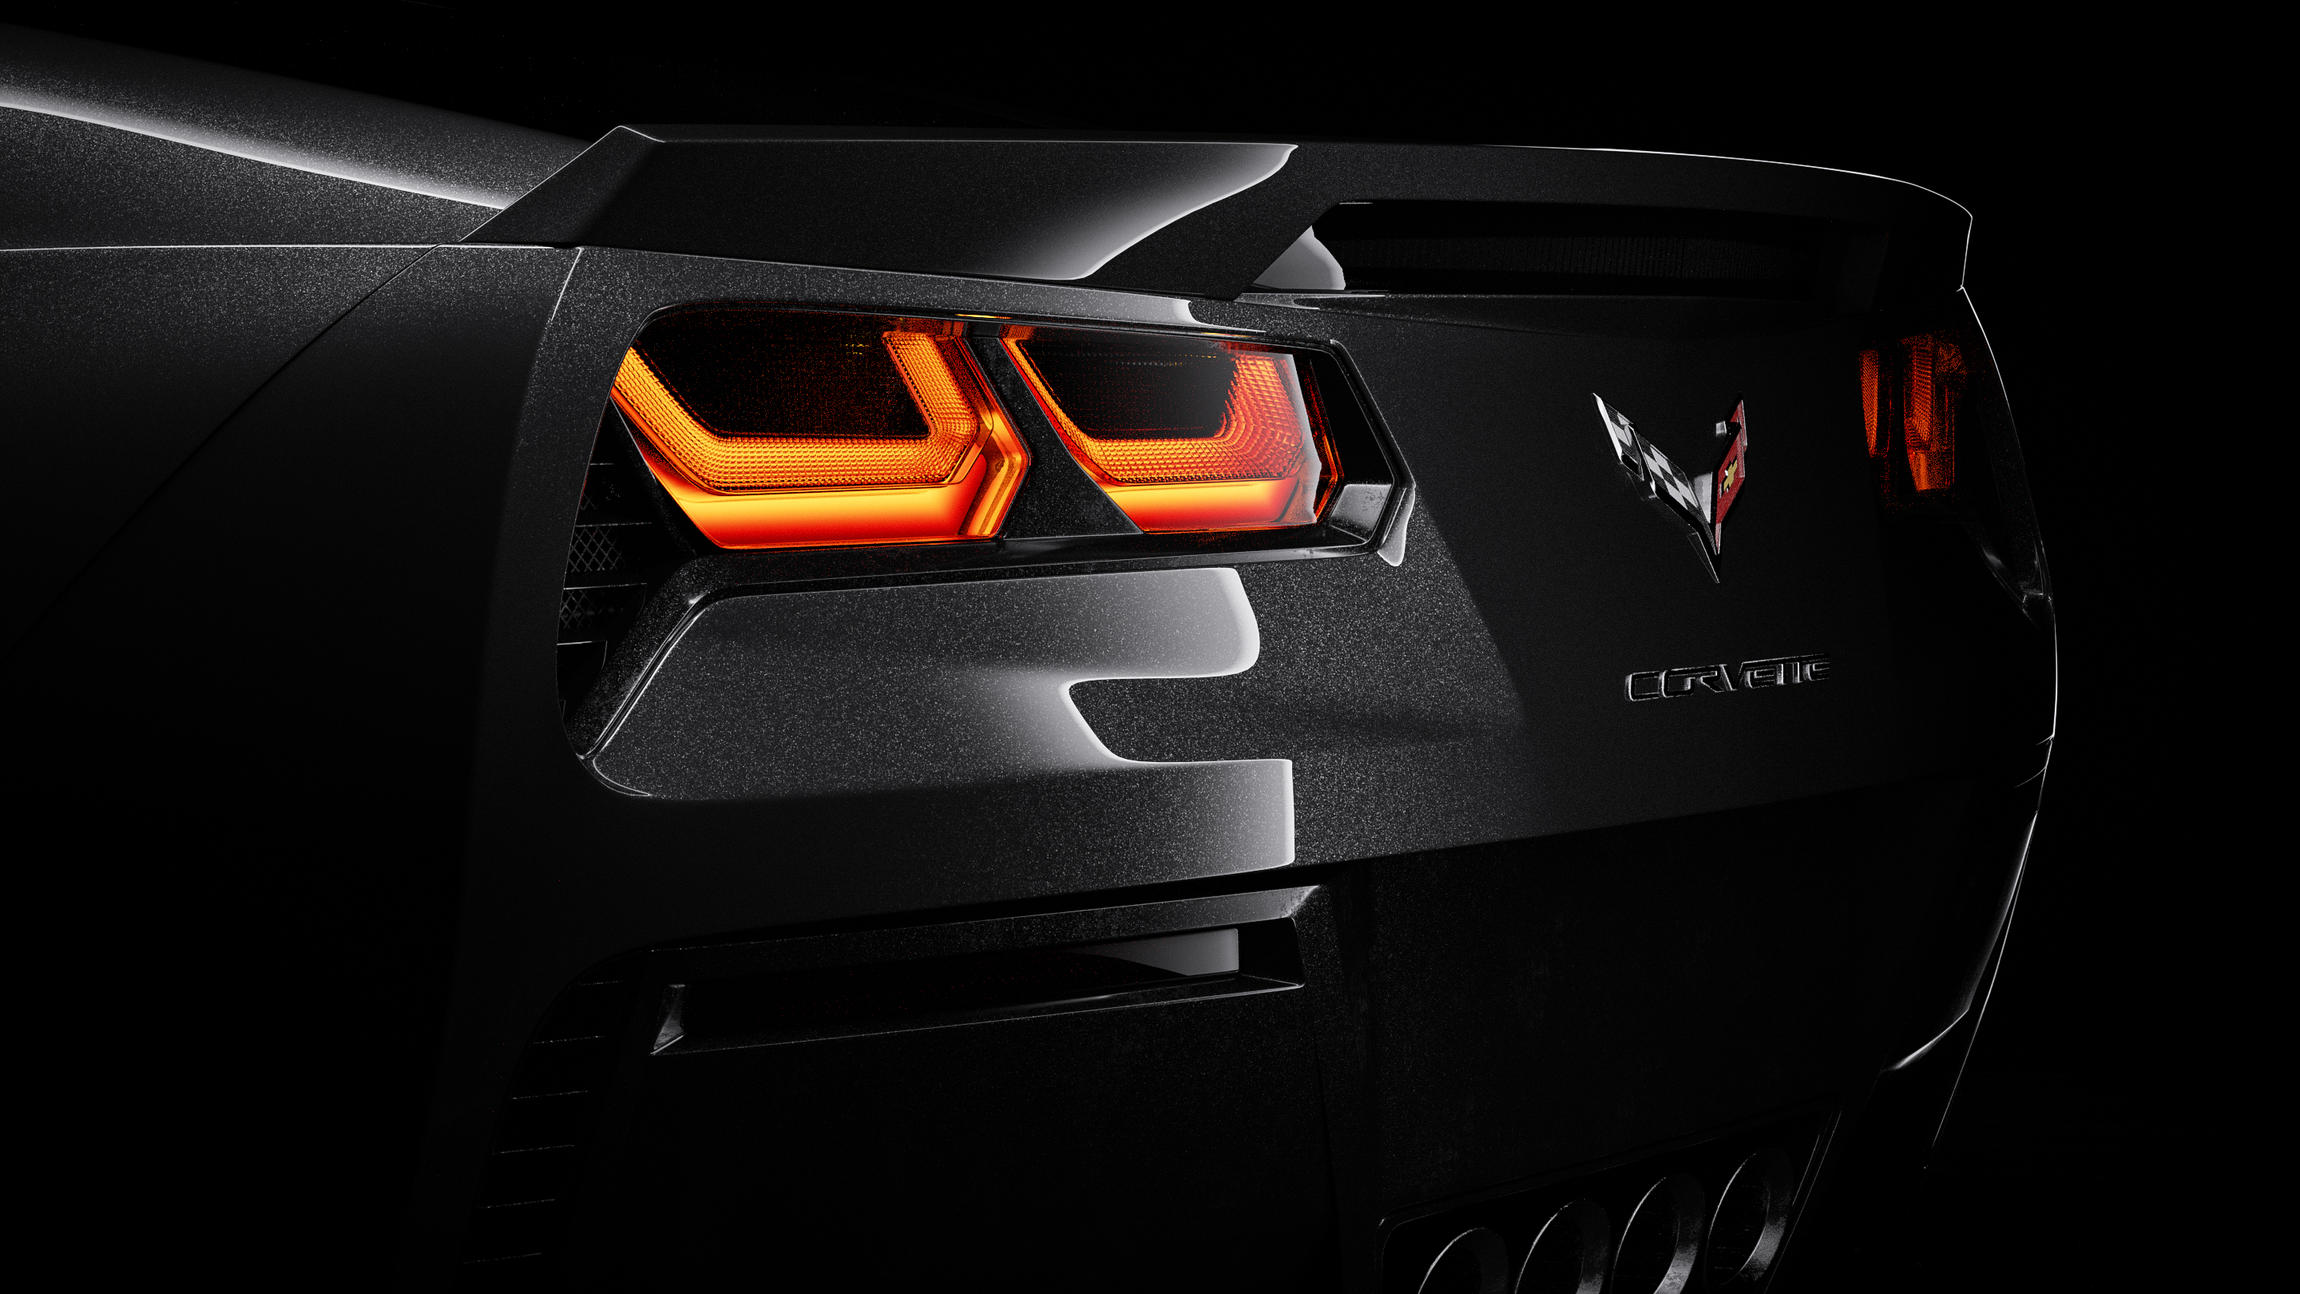
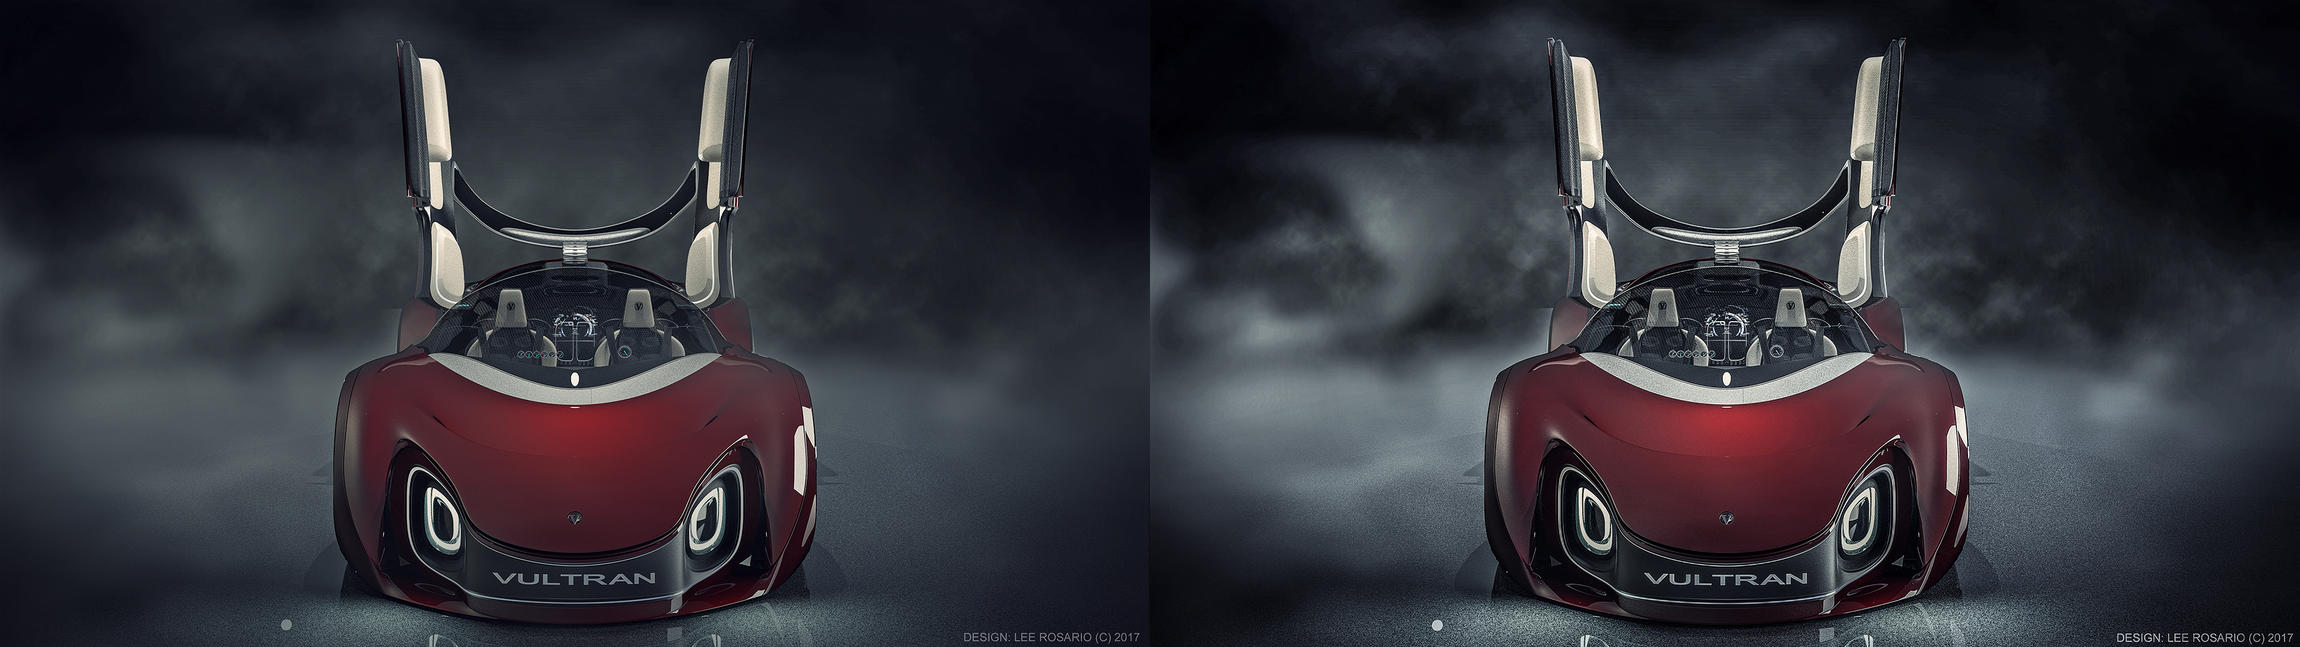
However, I do think the renders need to be kind of dark and ‘contrasty’ while the car has a metallic paint which has a lot of contrast.
HQ: http://u.cubeupload.com/dan80/04Edit4.jpg
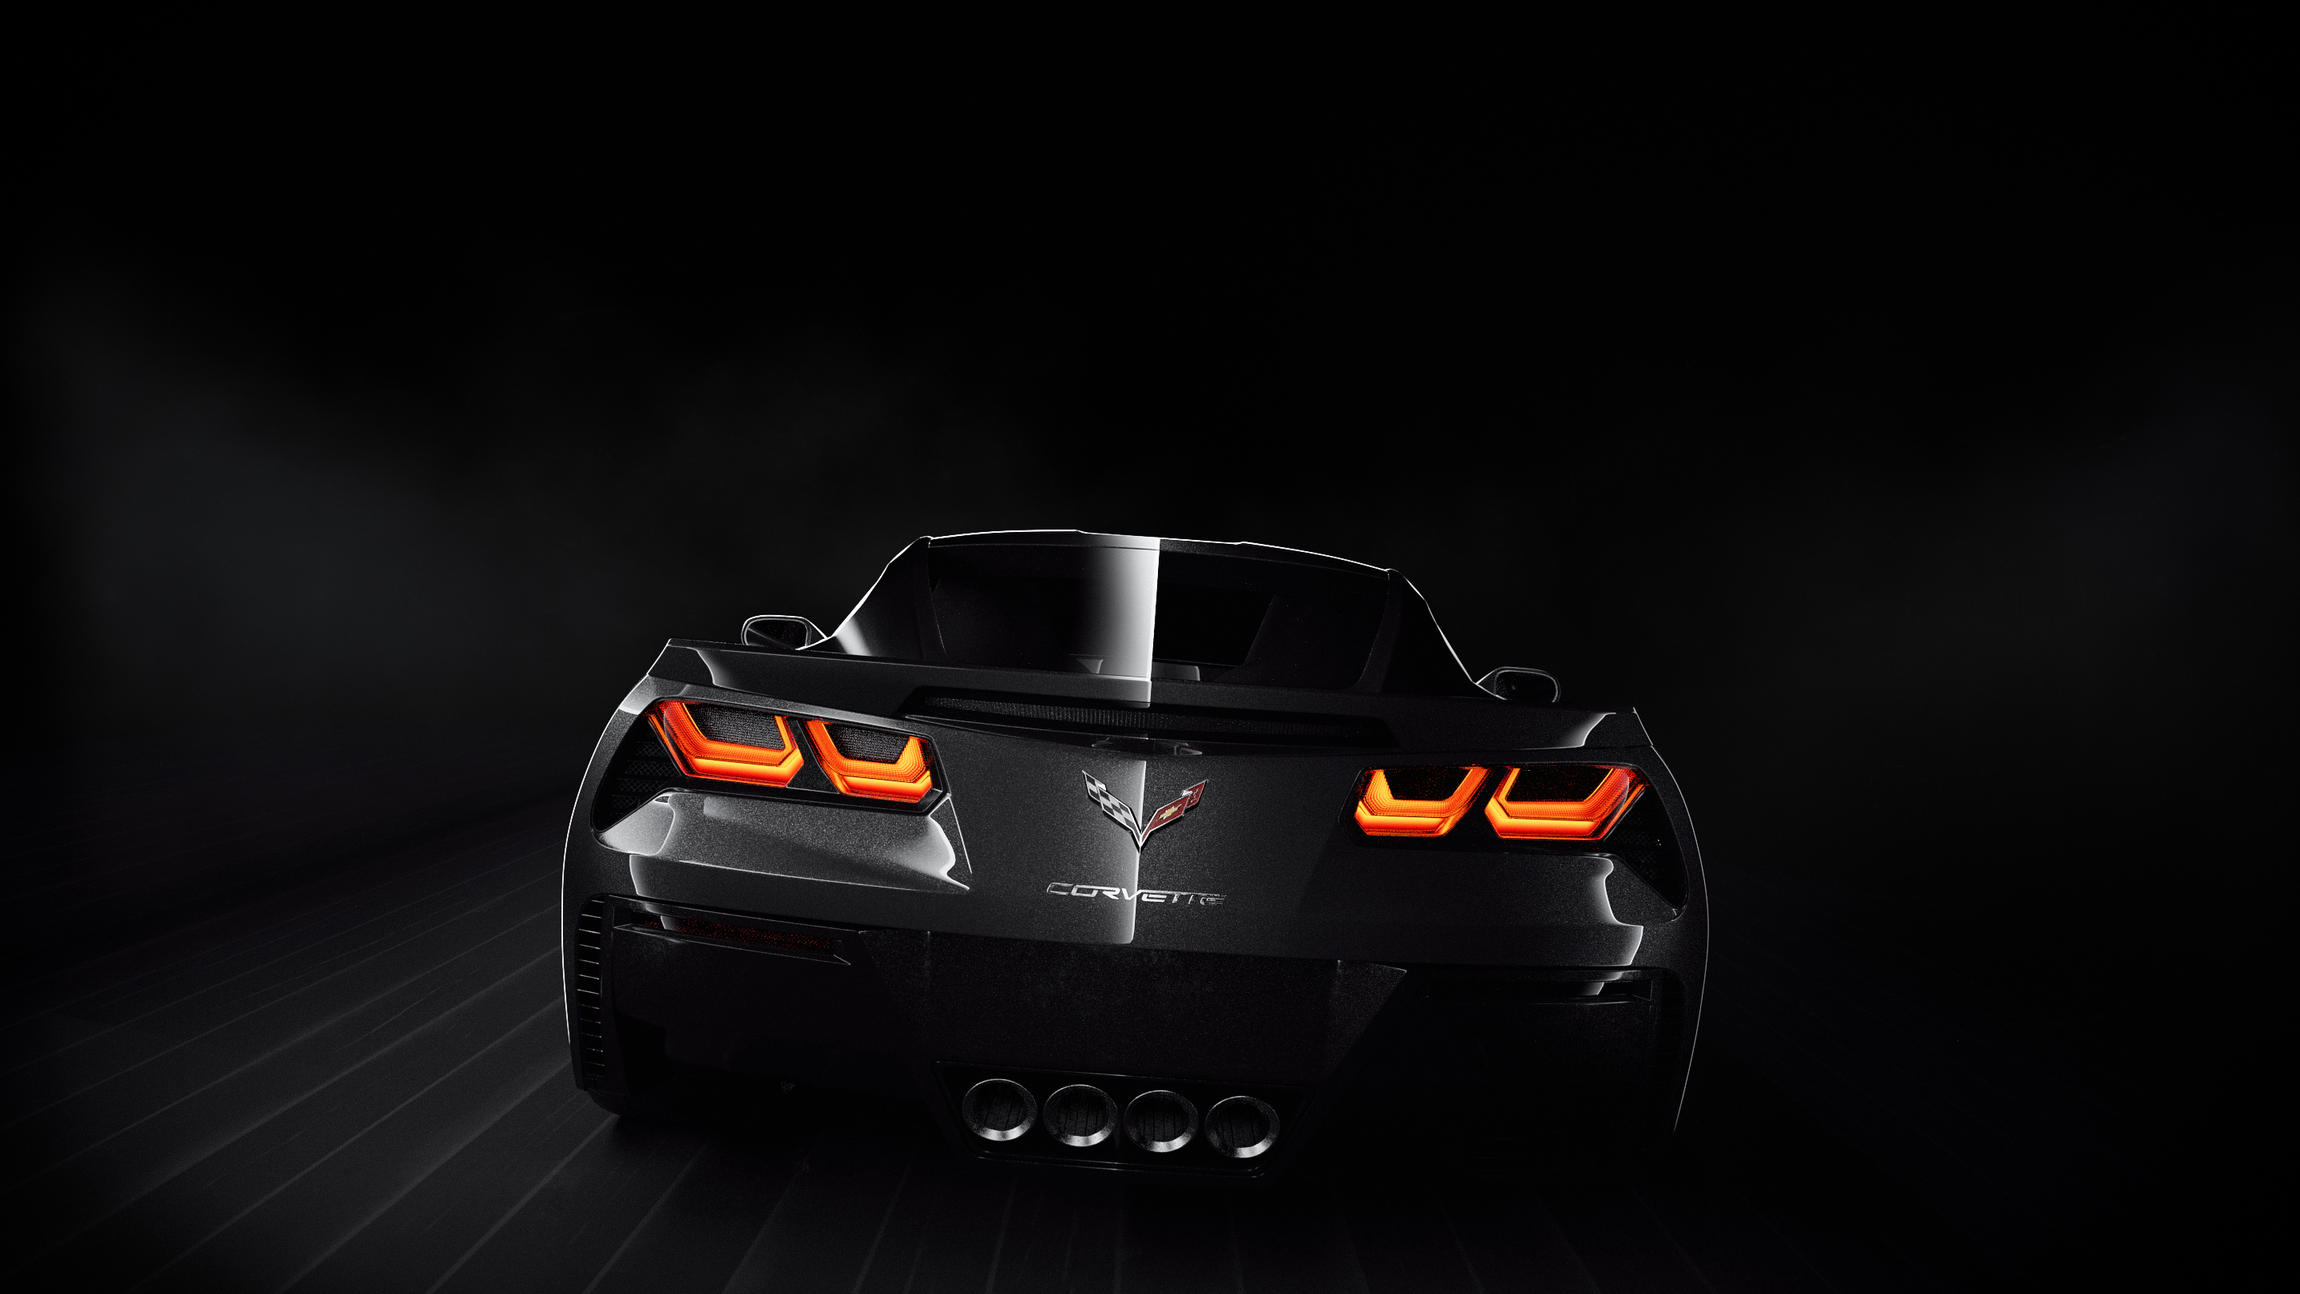
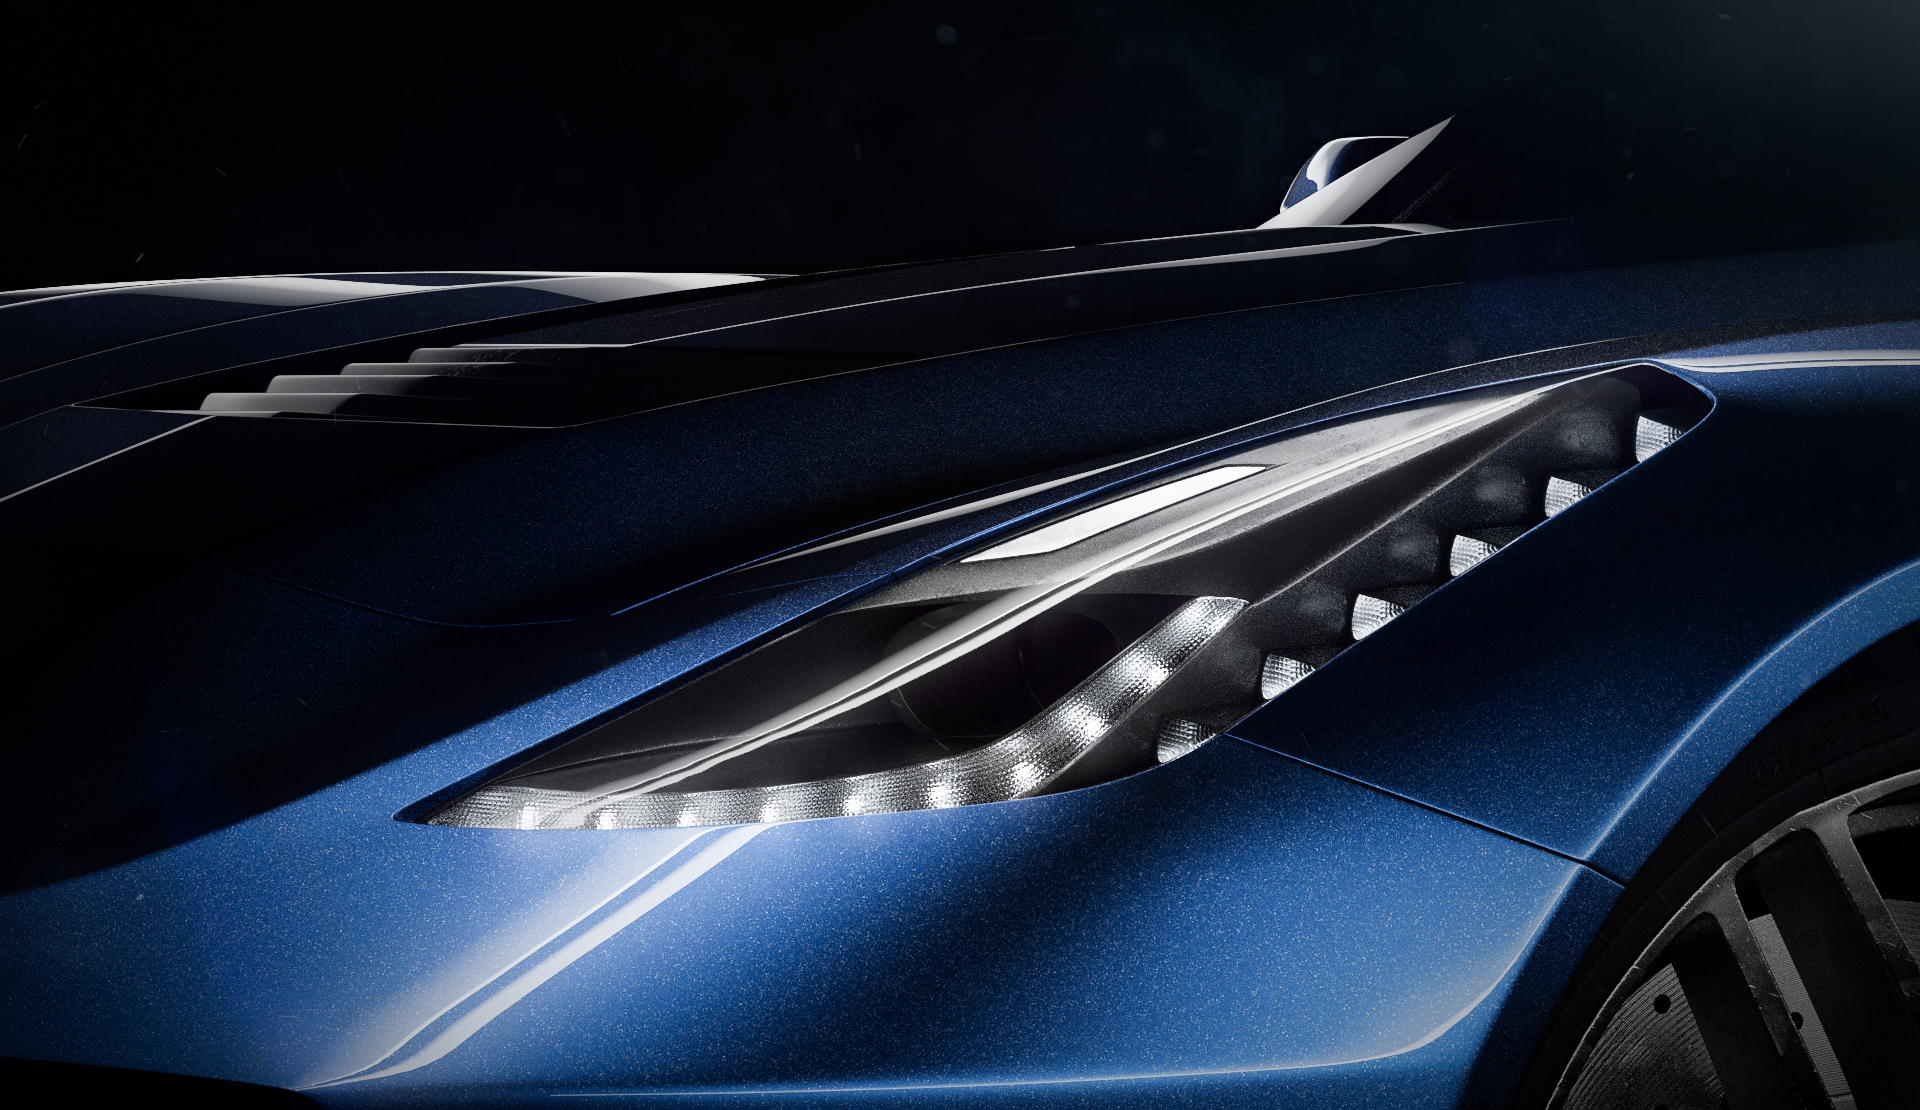
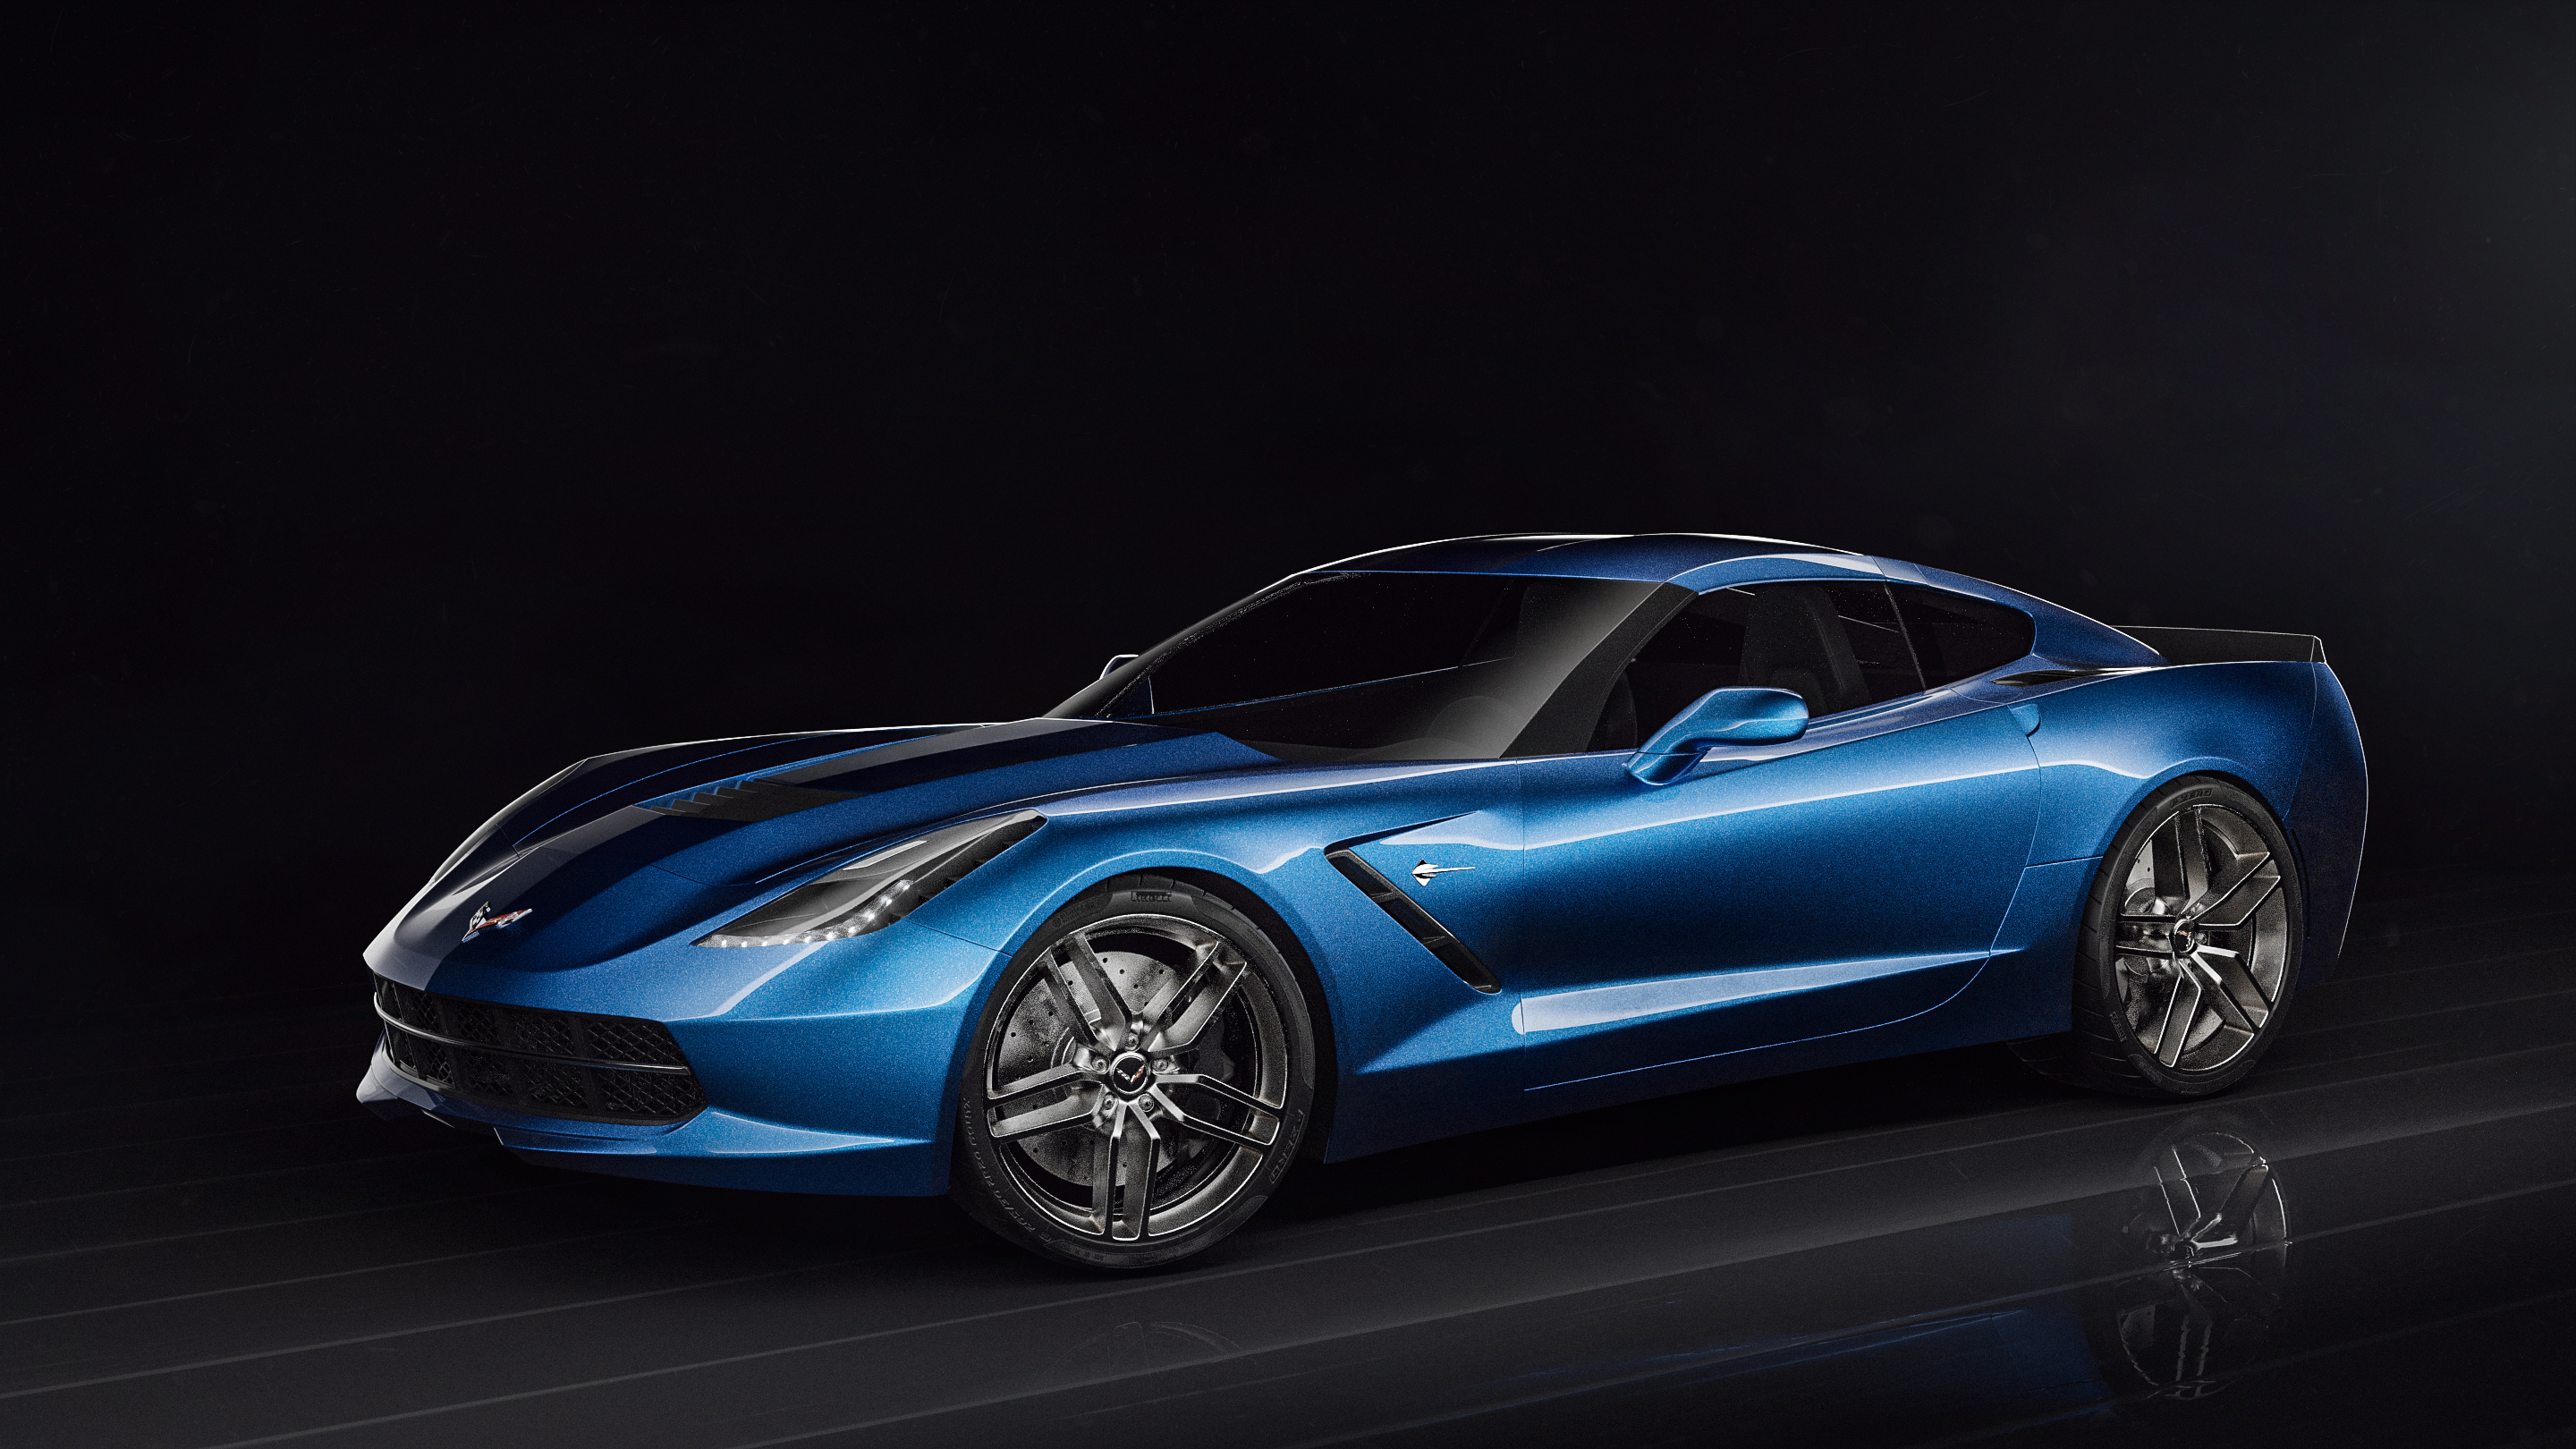
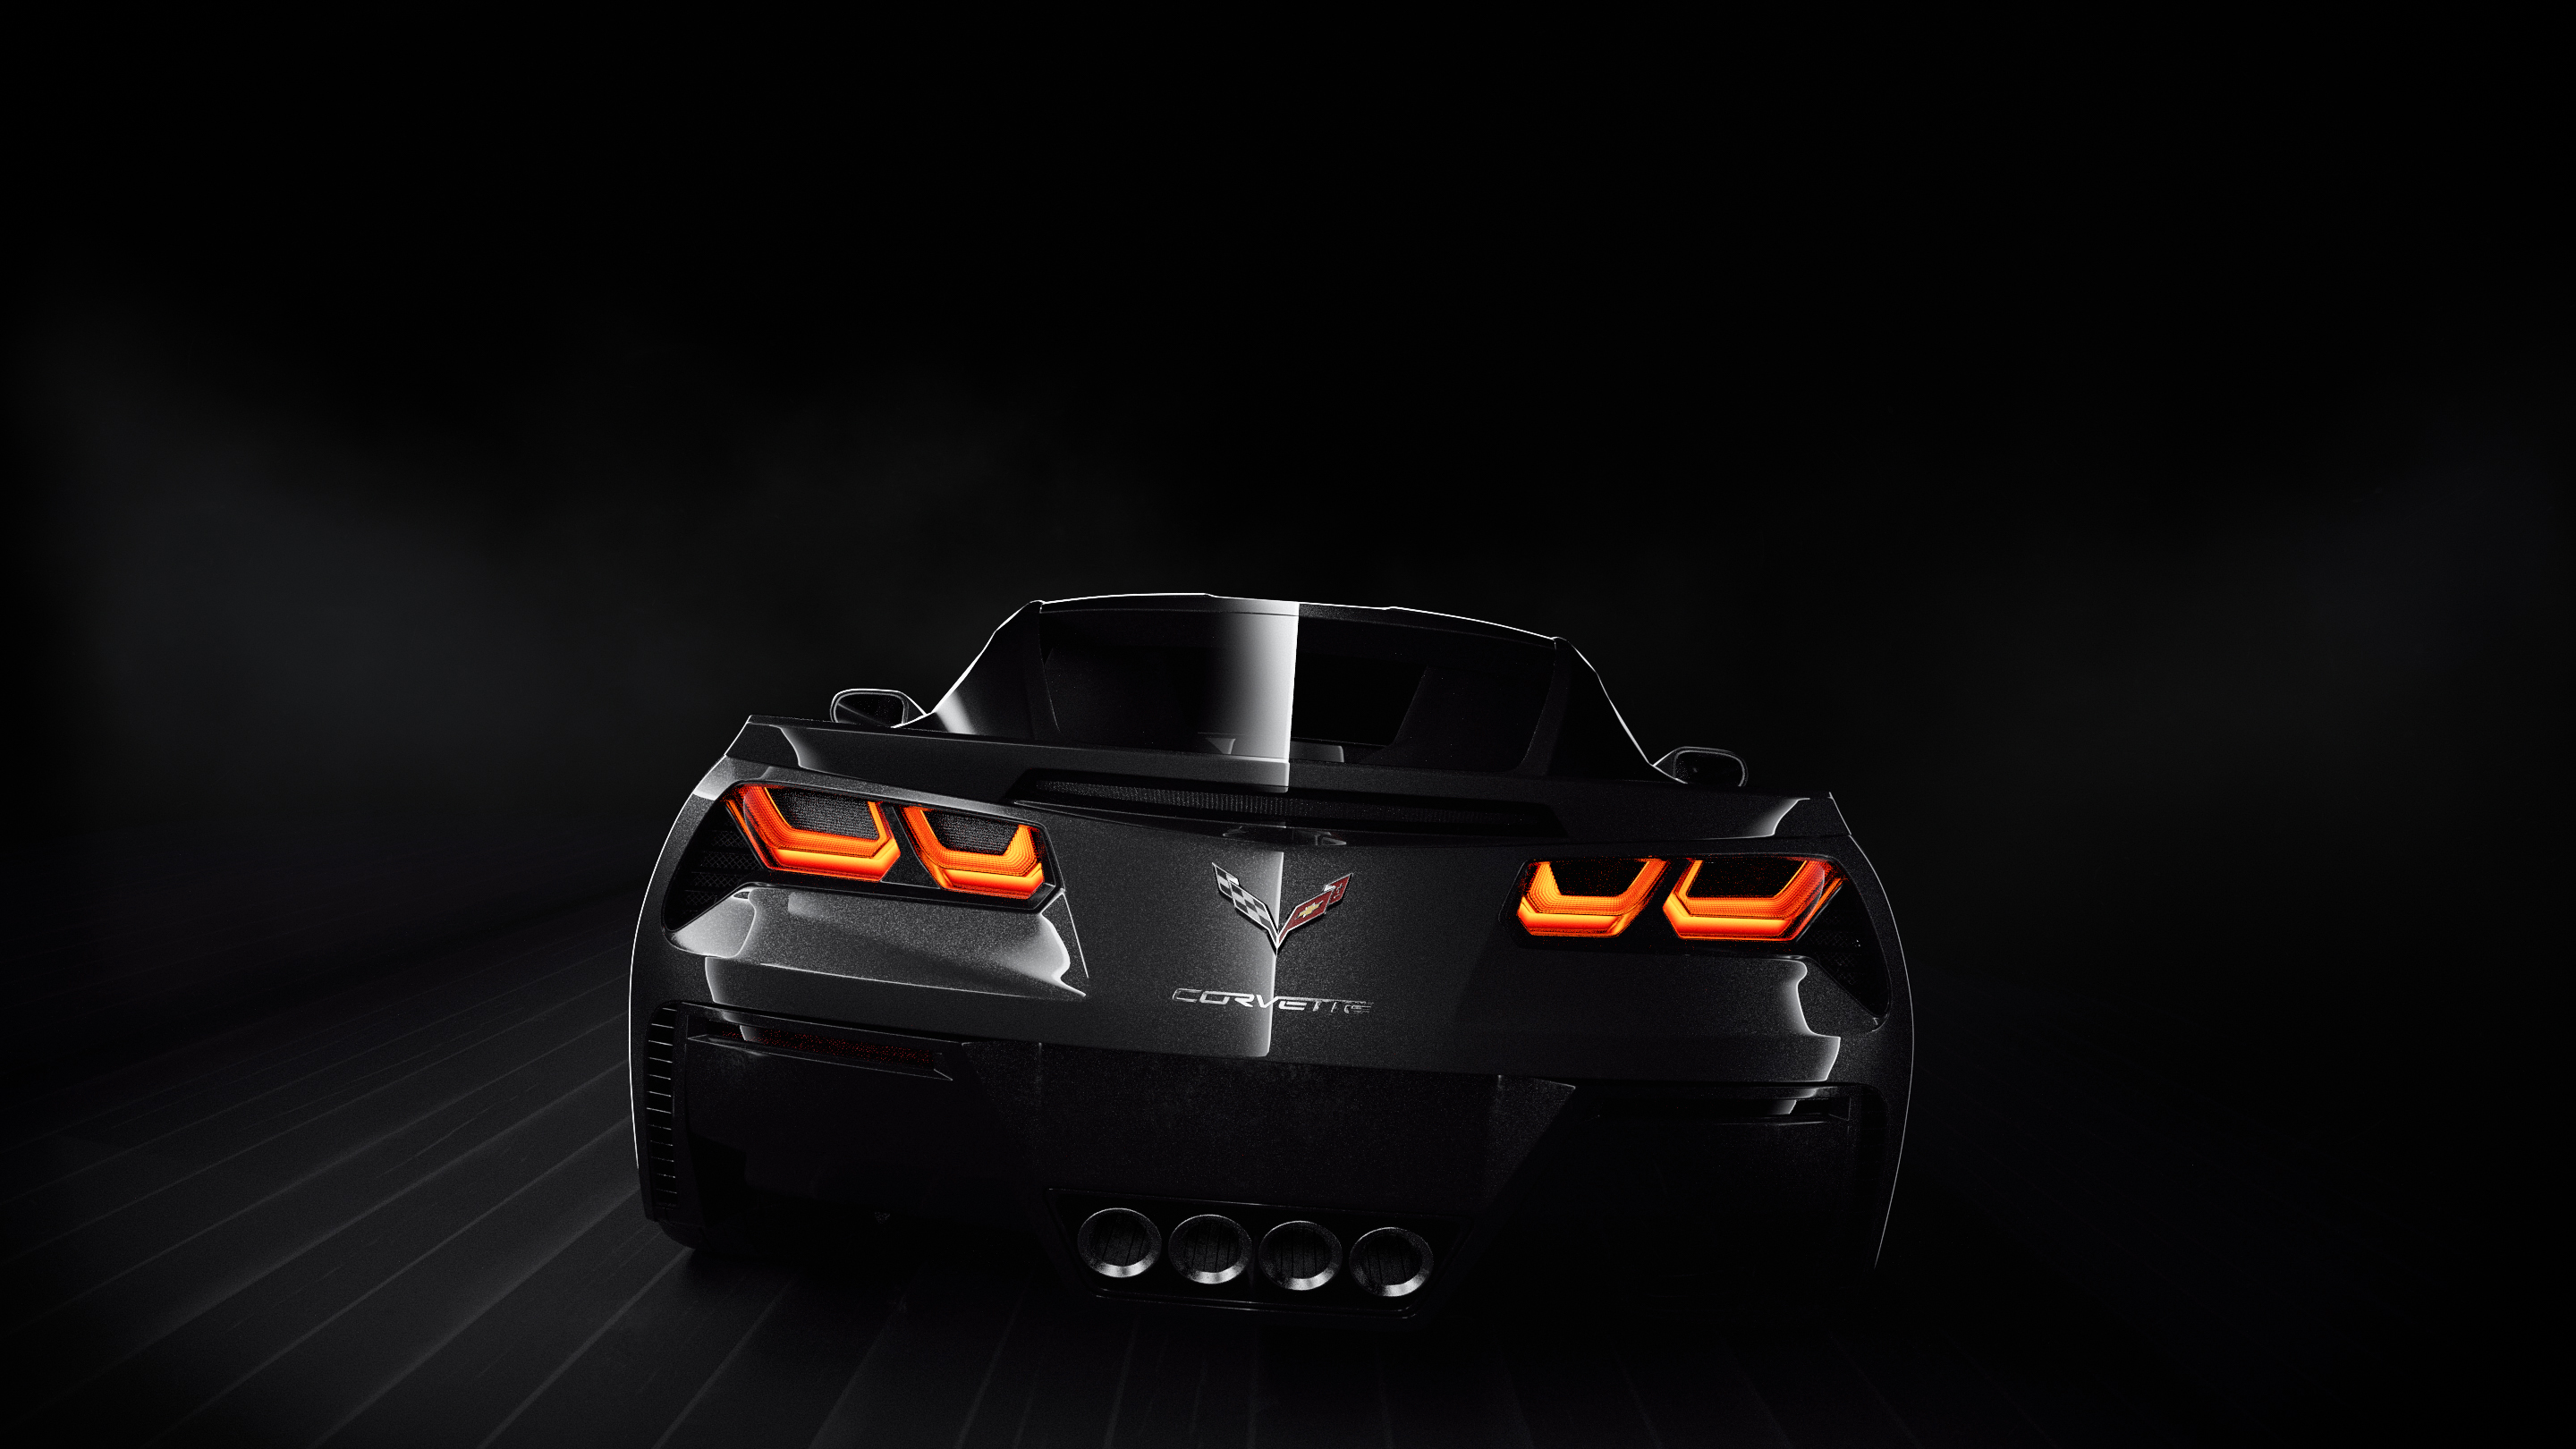
‘Main’ render. Had a lot of problems with the lighting for this one. I had to light the entire car, but still keep some areas dark to get the contrast I wanted. - I also cranked up the ‘clarity’ setting in Lightroom for this one, which gave it the very ‘sharp’ look.
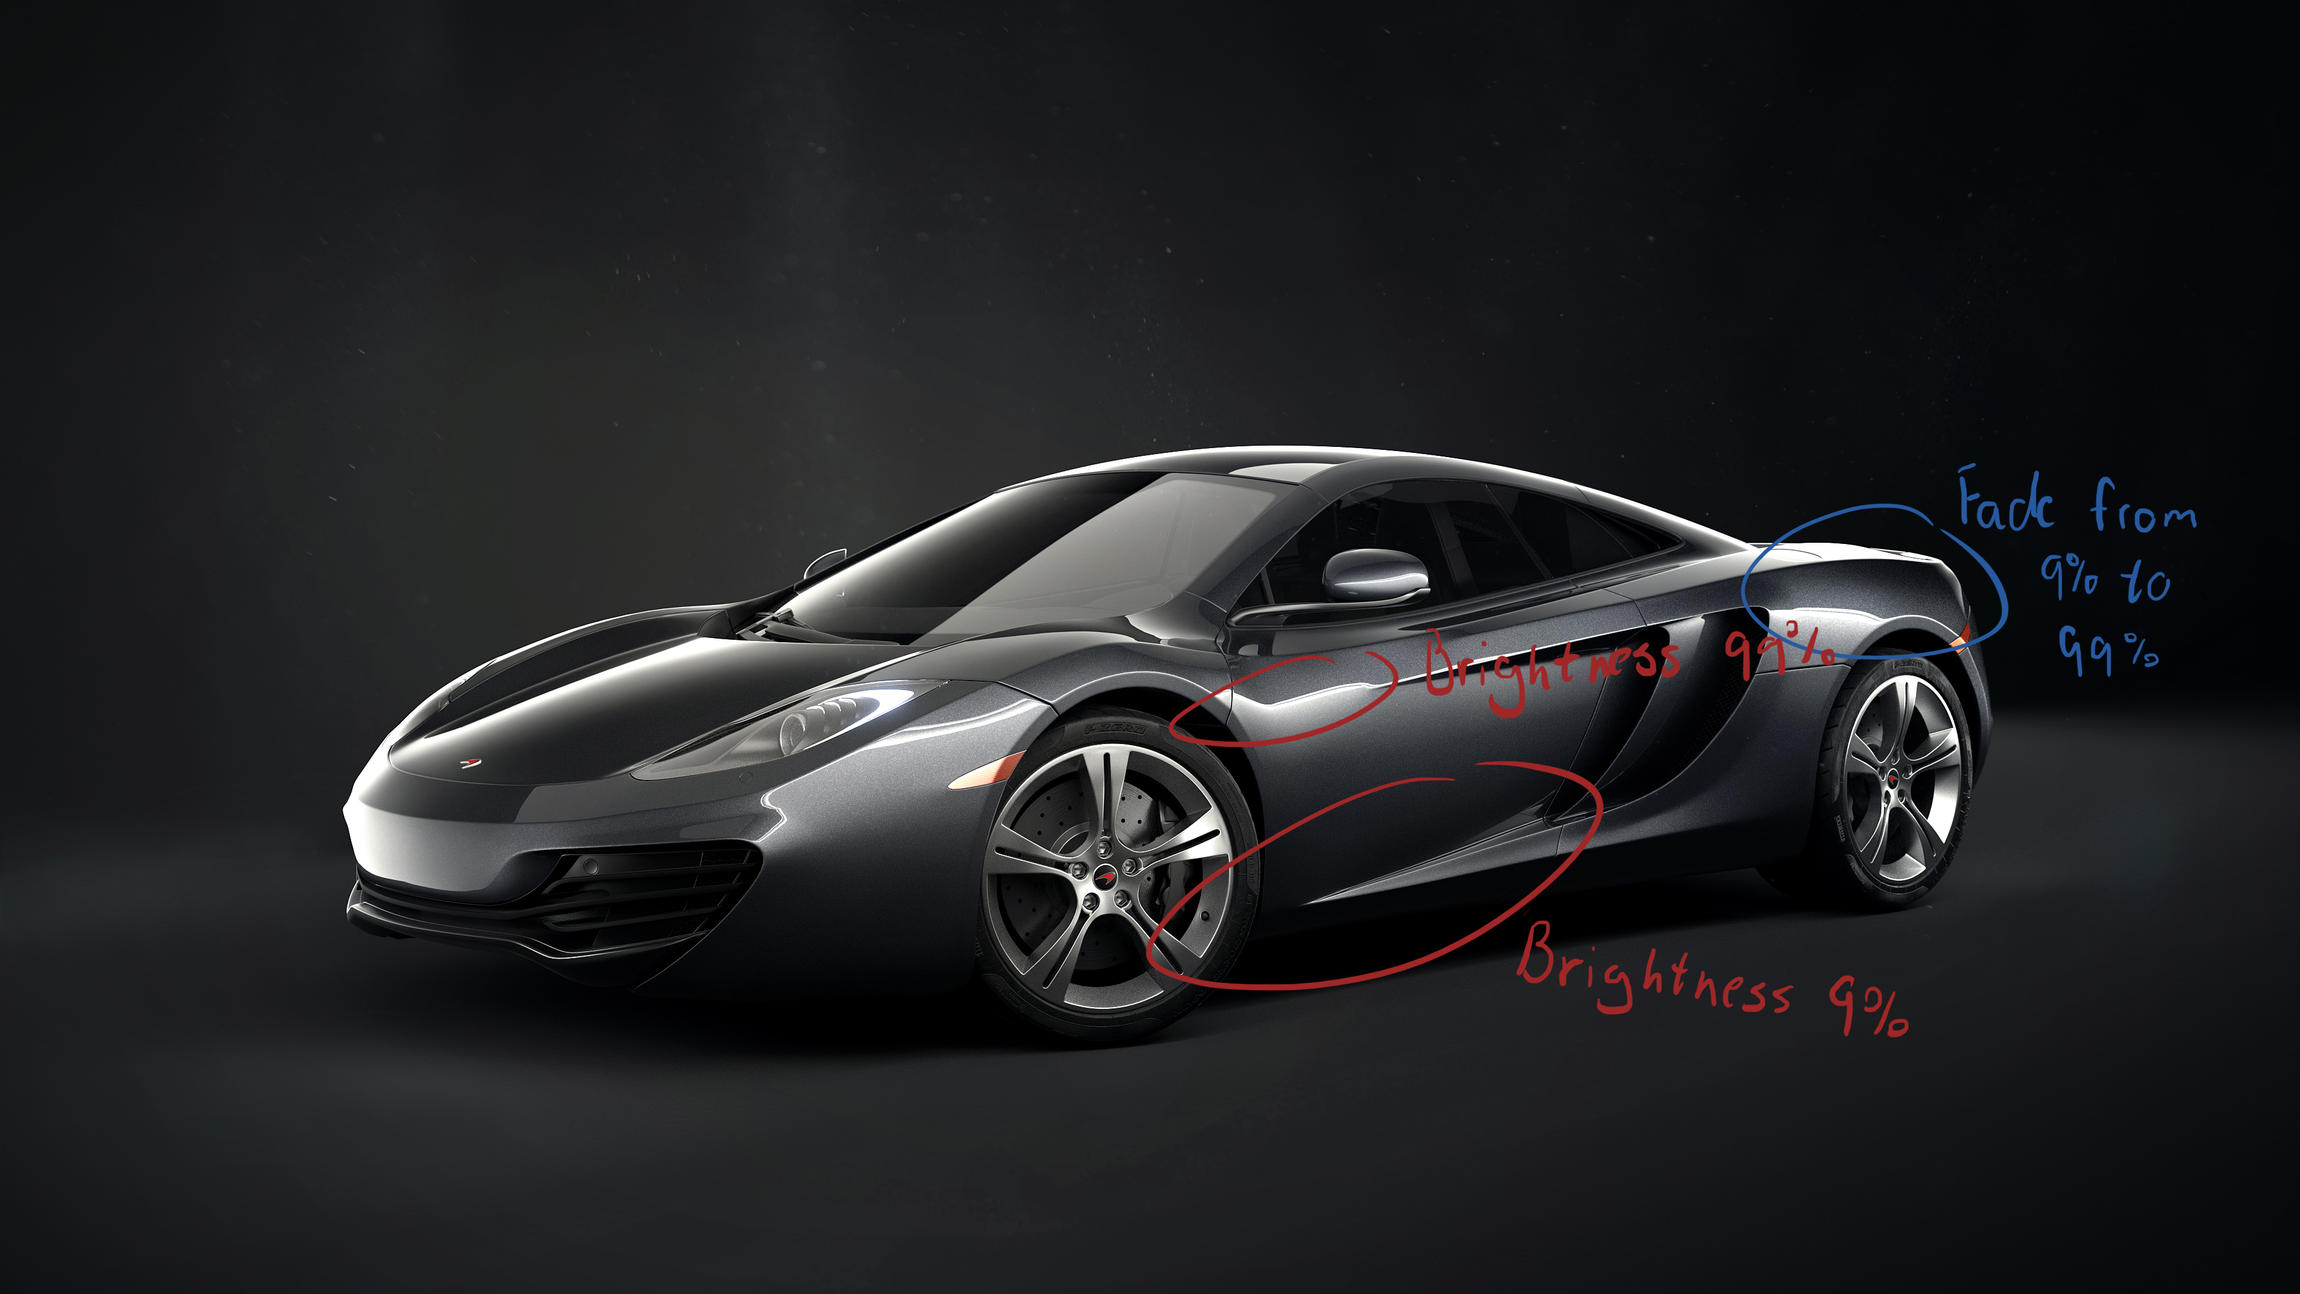
do you think you could go into your process for lighting? I’ve been trying to get my car renders to look as sharp as yours forever but I can’t ever seem to get it right. Like the picture below was a render I did and it’s ok or whatever (I’ve actually kind of grown to hate it)…but I was actually trying to make it look like yours. Like for example when you say lightroom…what do you mean?
By the way, big fan of your car work. Your Mclaren a while back almost made me quit modeling
Yea, of course. I can at least tell you how I like to do the lighting for my car renders - I have no idea if that’s the right way to do it though.
First of all. The car paint. Metallic or non-metallic. I always use metallic car paint materials and I always try to get as much contrast as possible into the paint. For the non-metallic paint I don’t think this is the way to go, though. Another important thing to mention is that you should always use the contrast and ‘value’ of the car paint to show the shape of the car. For instance, you would (in most cases) never place a light source on one side of the car emitting light with an 90 degree angle onto the cars door - That would make the colors of the paint on the door very uniform (you will get almost no contrast) and the curves and the form of the door would not be very ‘readable’. Place the light a little higher to get a shadow on the lower part of the door and a bright line or spot on the upper part of the door. Contrast is a tool to show the form of the car.
The last thing: Adobe Lightroom - Not sure if you are familiar with the program or not - is a bit like photoshop, but it is only used to manage the colors and values of an image. In the software you find a ‘clarity slider’, which basically sharpens the image by adding contrast in certain areas. I have added the effect to your image so you can see for yourself. It really makes the image pop, but when overdone, it can make it look very unrealistic and chaotic as well.
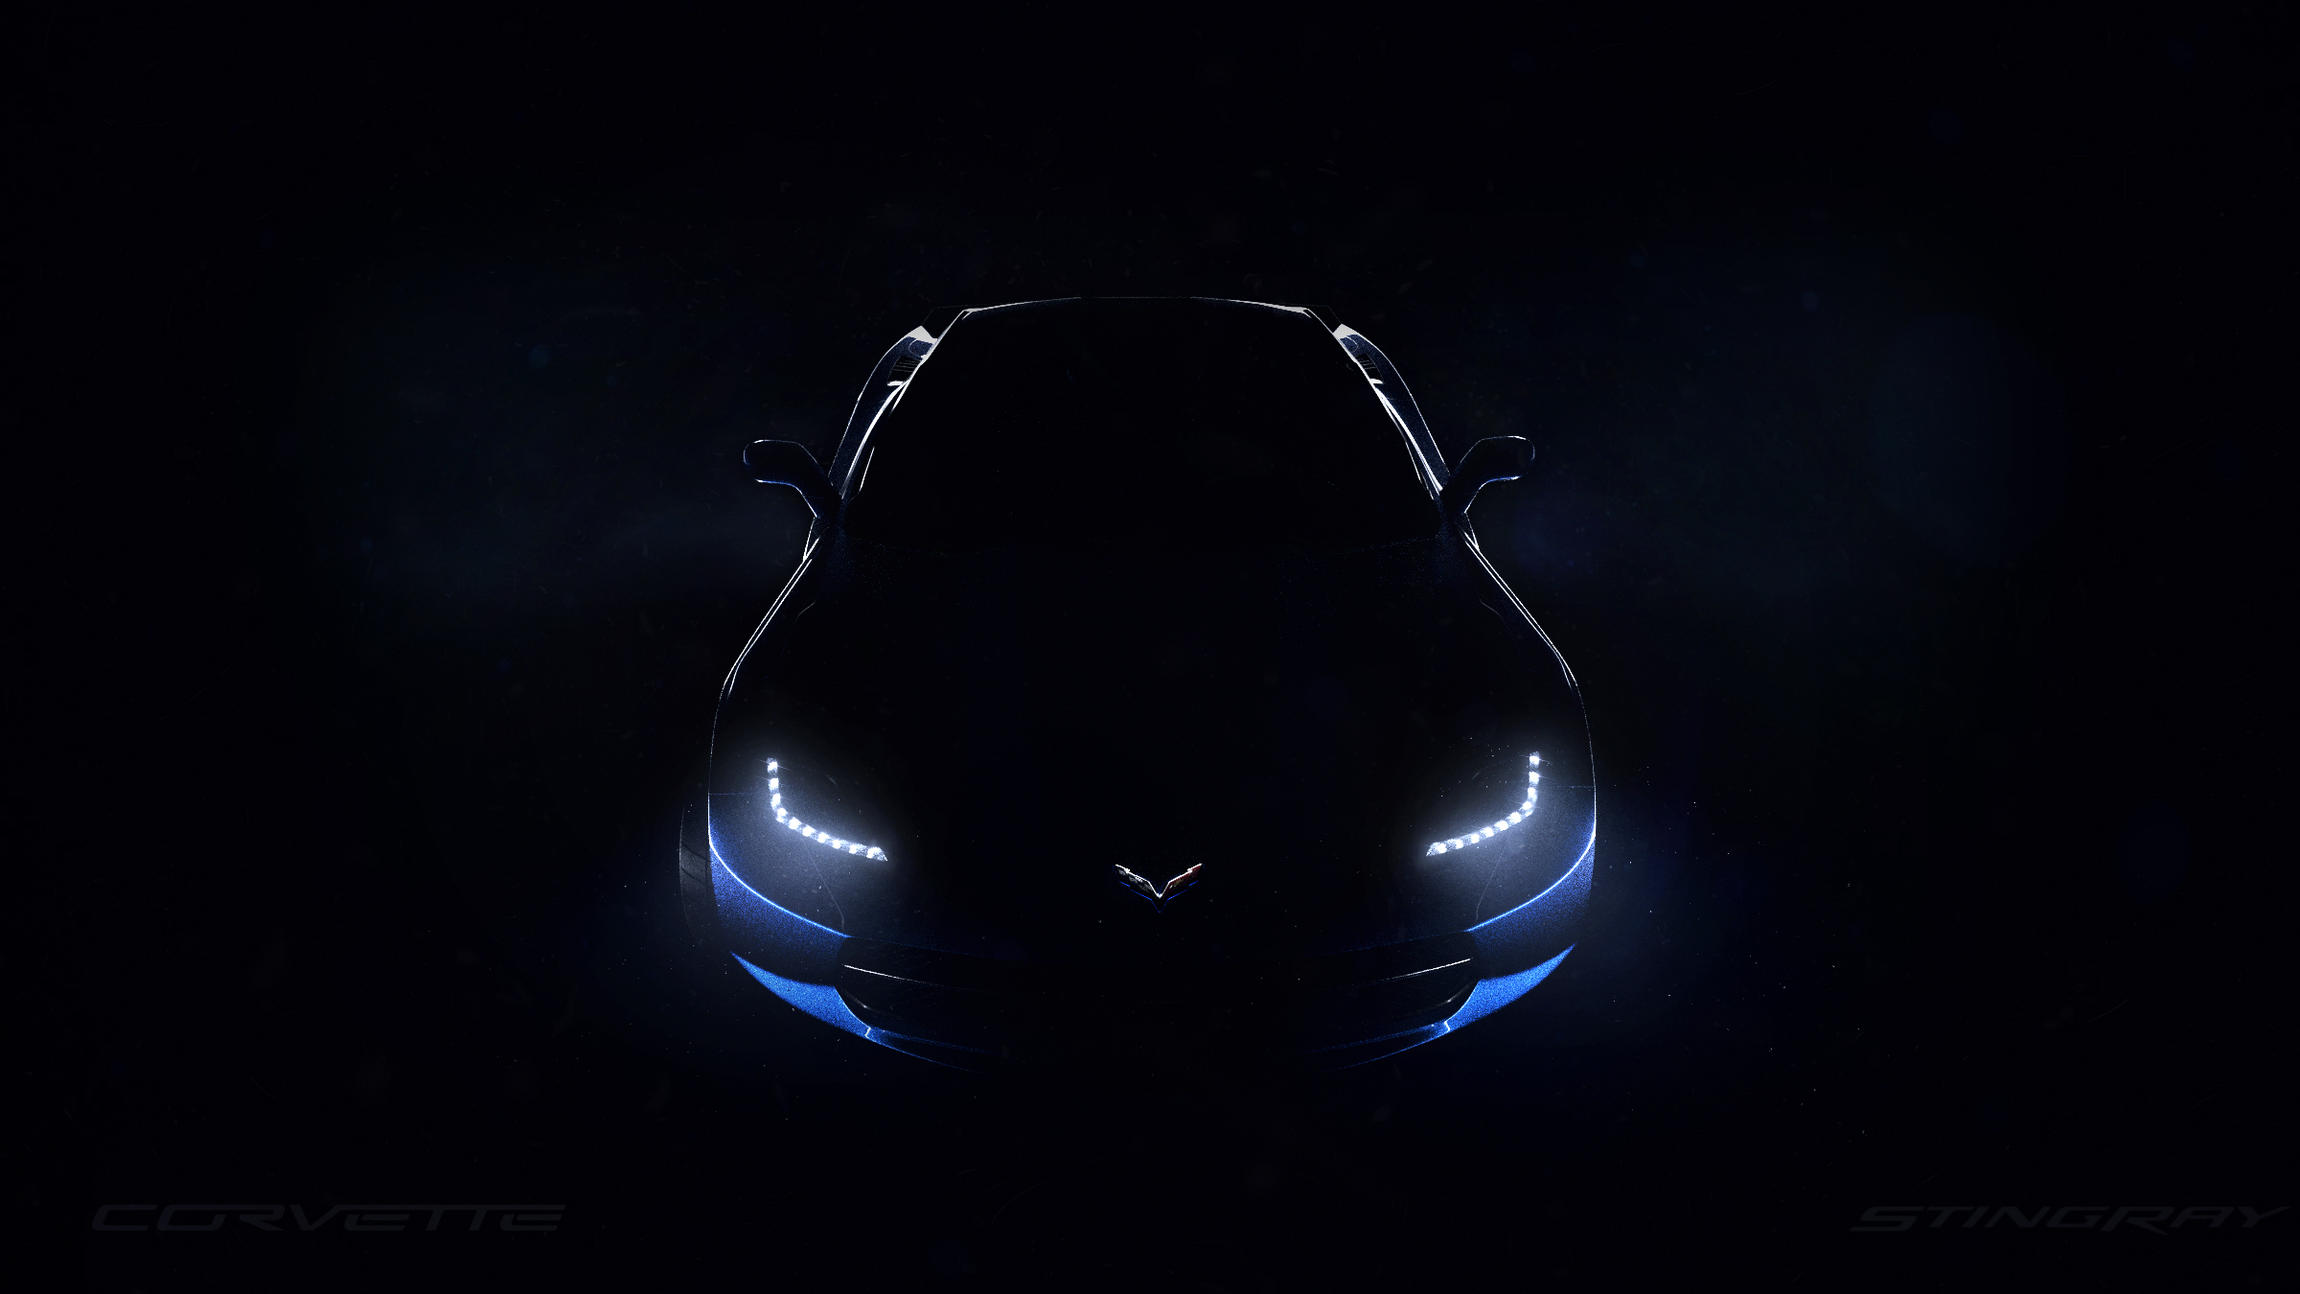
Oh, and a bright rim light is also very important I think.
Nice car by the way! I know the feeling… Looking too much at my own renders just makes me want to throw them in the trash can sometimes. Sometimes it helps taking a break from the project and come back later.
Wow, your cars are practically flawless. I really, really like this Vette.
I have a few questions.
How do you add your rim light so nicely?
How do you get the windows so, so smooth?
Do you use the glass shader for the windows?
Do you use T connections?
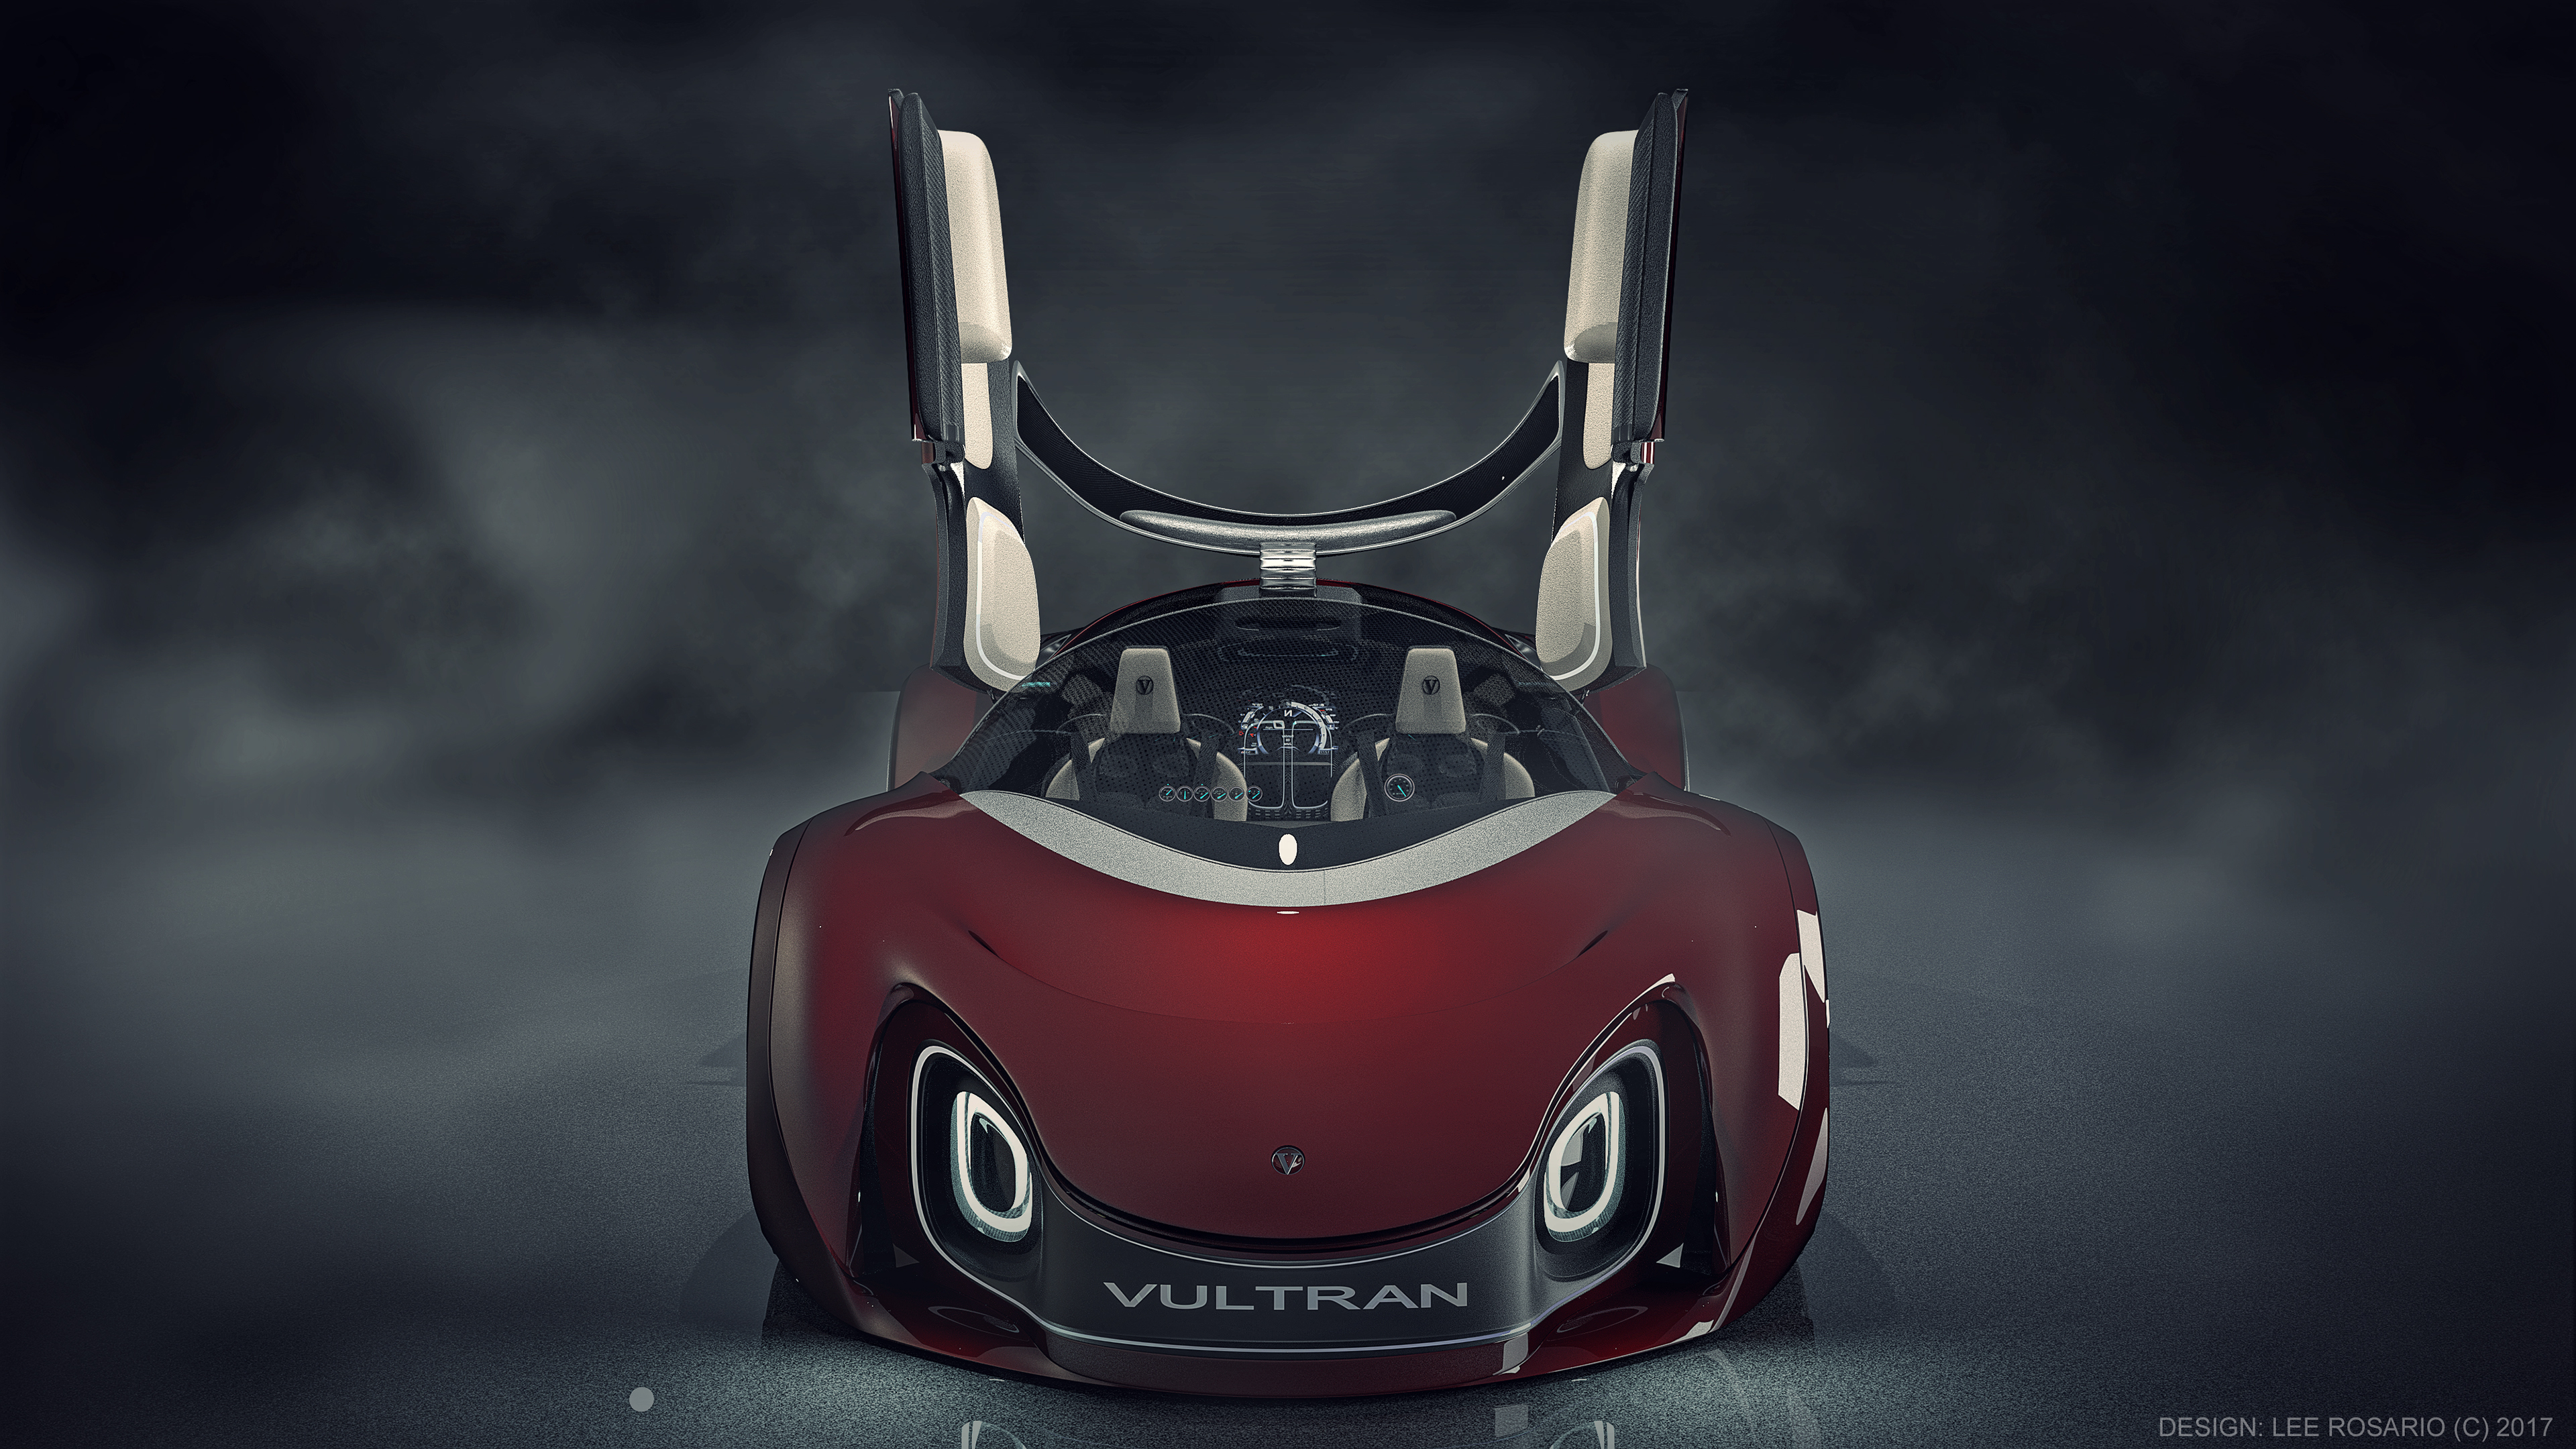
Have you ever modeled your own concept car?
1 ting wong metalic flakes are rough instead of scattered with normal map.
Gees! man, I can only find one solitary thing wrong with your car!?
I used to be able to criticize the heckometer out of any car!
My rating: 9/10. (Took away a point for being too awesome.)
Really fantastic work. You’ve put so much time into these I hate to point something out that may be deliberate, but the metallic flecks in the paint attract a lot of attention in the closer shots. I think I’d appreciate other details if they were less prominent. Again, it’s really exciting work.
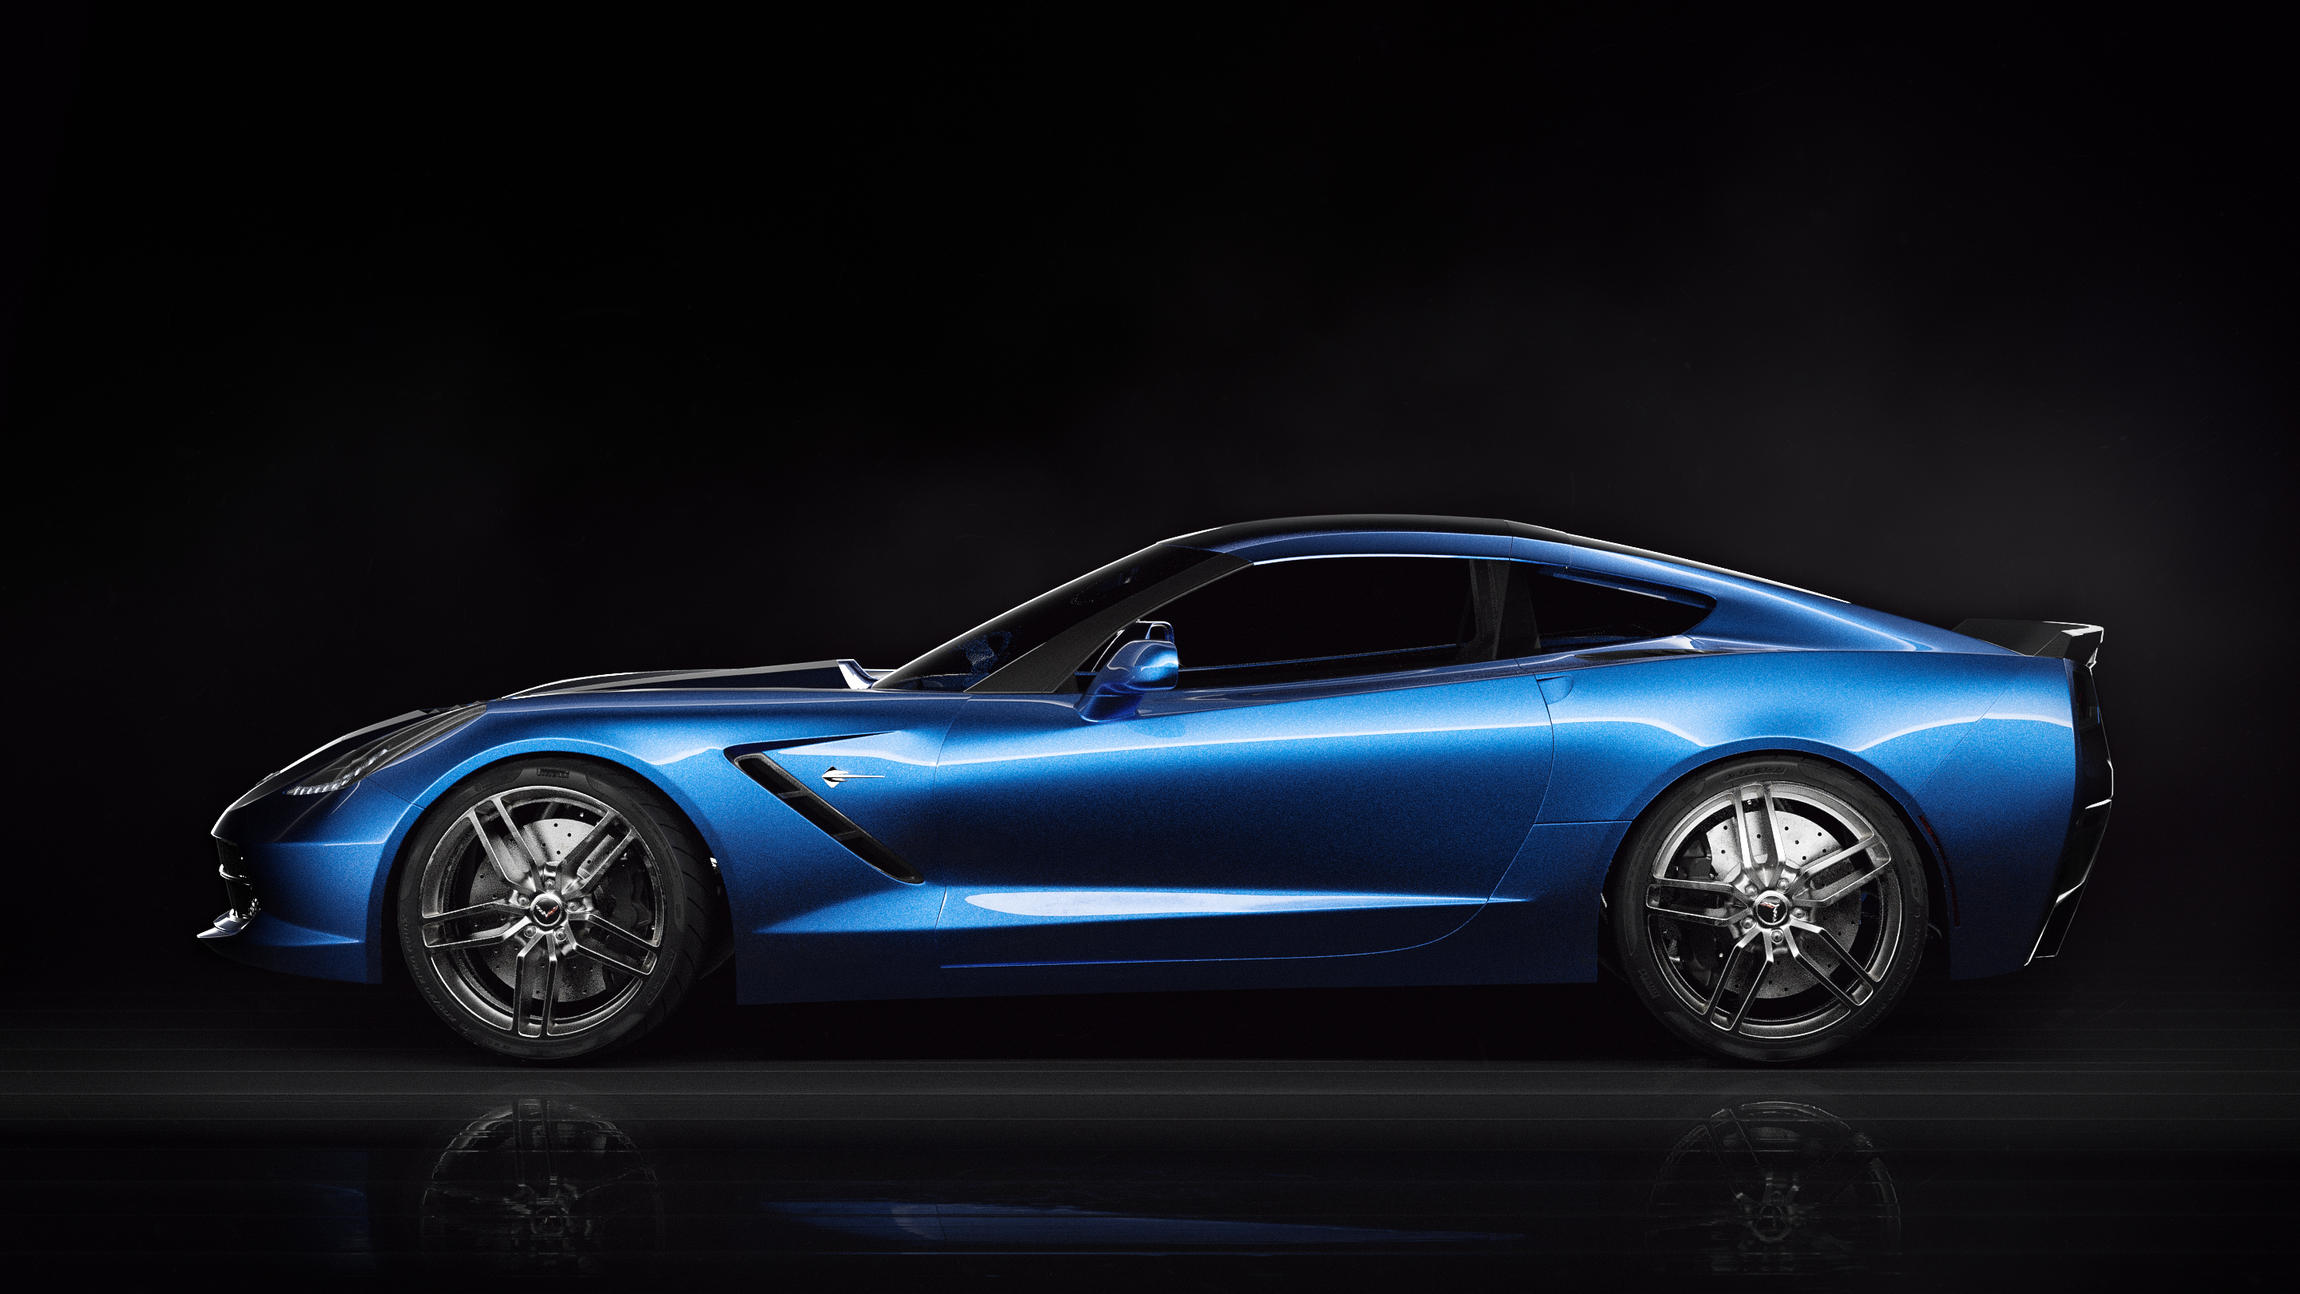
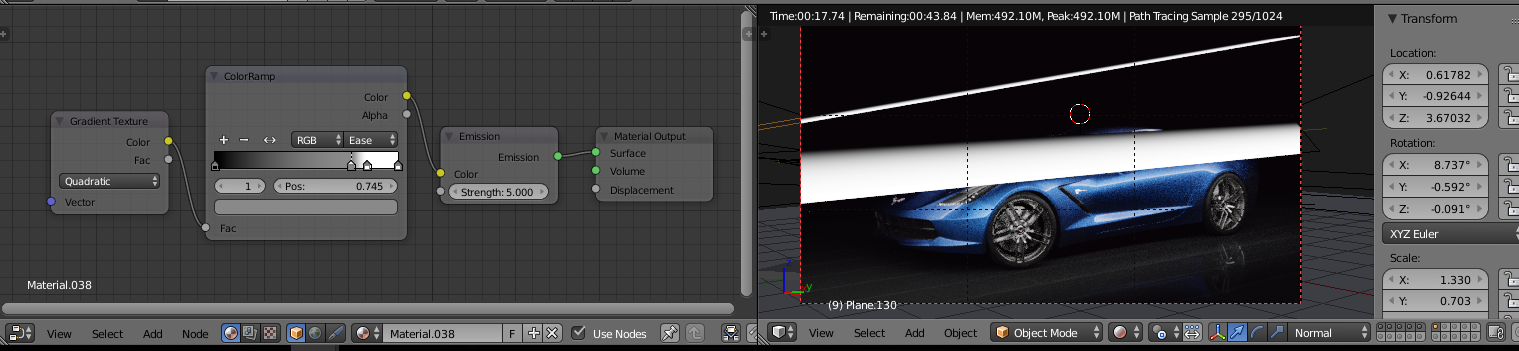
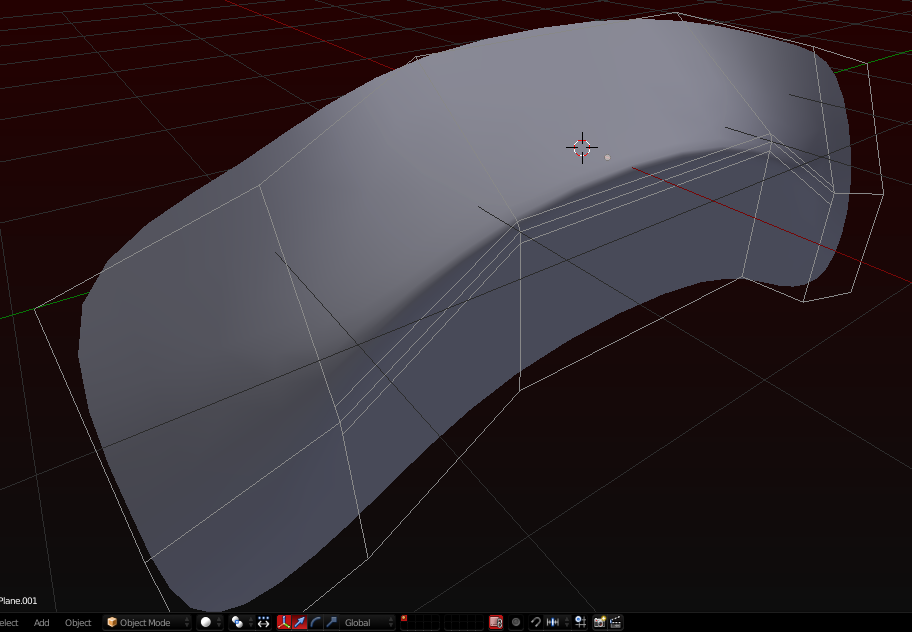
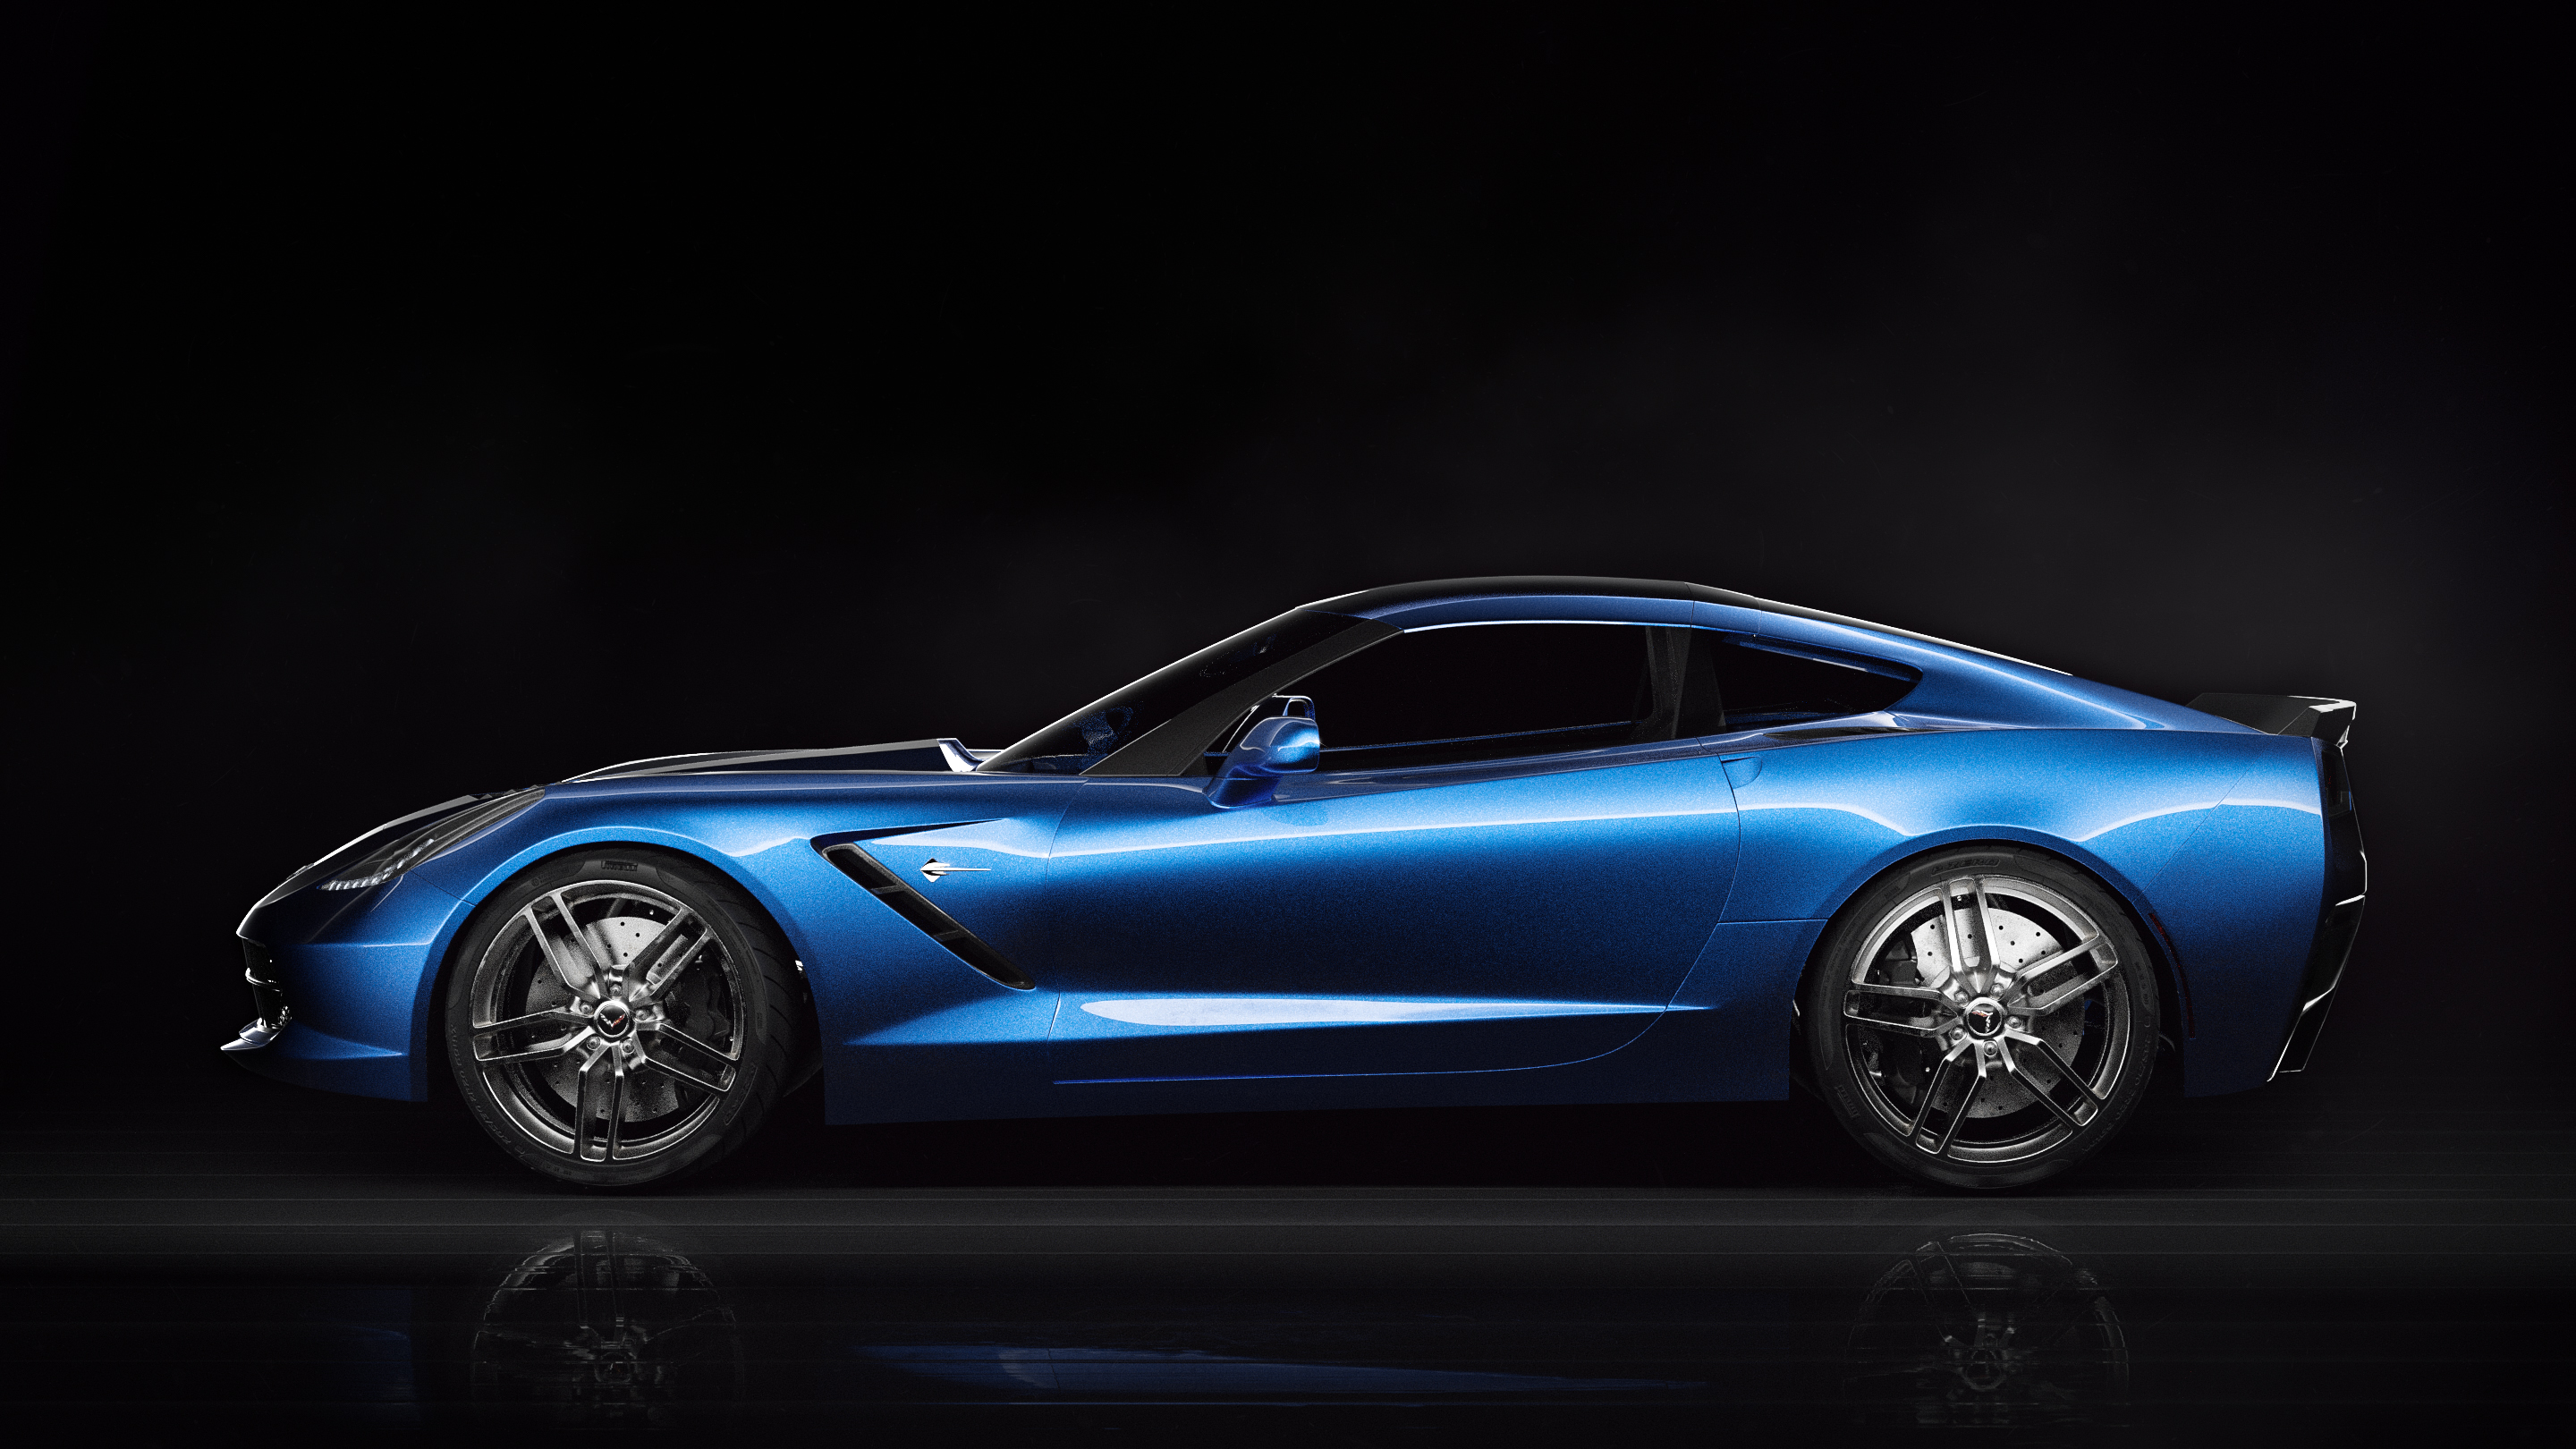
Well, I kinda cheated. Instead of using a rectangular plane or something like that I edited the plane and pulled around the vertices until I got the exact light/reflection I wanted. For the side render I used a soft falloff of the emission plane as well. + I adjusted/painted some of the edge light in photoshop…
[ATTACH=CONFIG]472705[/ATTACH]
I make sure I use as few vertices as possible and then subdivision surface does the rest. If you use too many vertices you are more likely to mess up the smooth curve of the windows. Furthermore, I often edit the windows in rendered view - If a reflection looks distorted you might need to edit the vertices in that area a bit.
I use a refrection node and a ‘reflection node’ (A node by CynicatPro - https://www.youtube.com/watch?v=rImvyRepx1U). The result of these nodes is almost identical to the result of the glass shader… Then I remove the shadows with the mix node and the Light Path and finally add just a bit of the shadows back in.
[ATTACH=CONFIG]472706[/ATTACH]
I have no idea what that is - so I guess I don’t… ^^
Nope, not yet. But I think it would be quite awesome to try it.
Hmm… I don’t really understand the part about the flakes.
I do not use a normal map to scatter the metallic flakes. I just mix/add in a glossy shader with an flake texture plugged into the color input and a roughness value of 0.2 or 0.3.
Thanks!
Really appreciate the feedback. I had a friend over yesterday and he accurately said the exact same thing.
I will try turning down the intensity of the flakes in the next render then.
Hahah, you are welcome.
Sometimes small things make a huge difference. I know it isn’t easy when you mostly render your own designs, but I often collect a lot of renders/images of the car I am rendering just to figure out how other people light and render the model. References are always helpful.
I agree on the references. I make a folder for that every time I start a new project. But dude thanks so much man! coming from you that means alot. I end up on Yanko Design a few times for concept stuff…if you ever wanna collaborate on a concept design and try to get published as a joint team…let me know They love new design ideas and they get quite a bit of viewership. Good credit to have.
I even had this idea for a crazy hover jet personal transport deal, but with really crazy scifi renders. Like something out of a steven speilberg movie with crazy city landscapes or planets colliding in the background or something. haha. But anyway, I’ll be around man. Keep pumping out the good work.
Never heard about Yanko Design before, but it looks really cool!
That would be awesome! I am working on a couple of projects at the moment, but I would love to make a collaborative project some time!
Hahah, sounds epic!
I will do that! (y) And you too.
@Hiserod:
I have tried to avoid using the T connections - didn’t know that was what they were called - but I have probably used them a couple of times anyway.
I will look into the flake-thing, thank you for the link!
Update!! Finally…
I have been working on an animation with the car, but it has taken a lot of time for me to get all physics and simulations right. - Or close to it at least. Aaand because of the smoke this takes ages to render using Cycles. Do you like the idea?
The second clip in the video is not done rendering. Some frames have not been rendered yet.
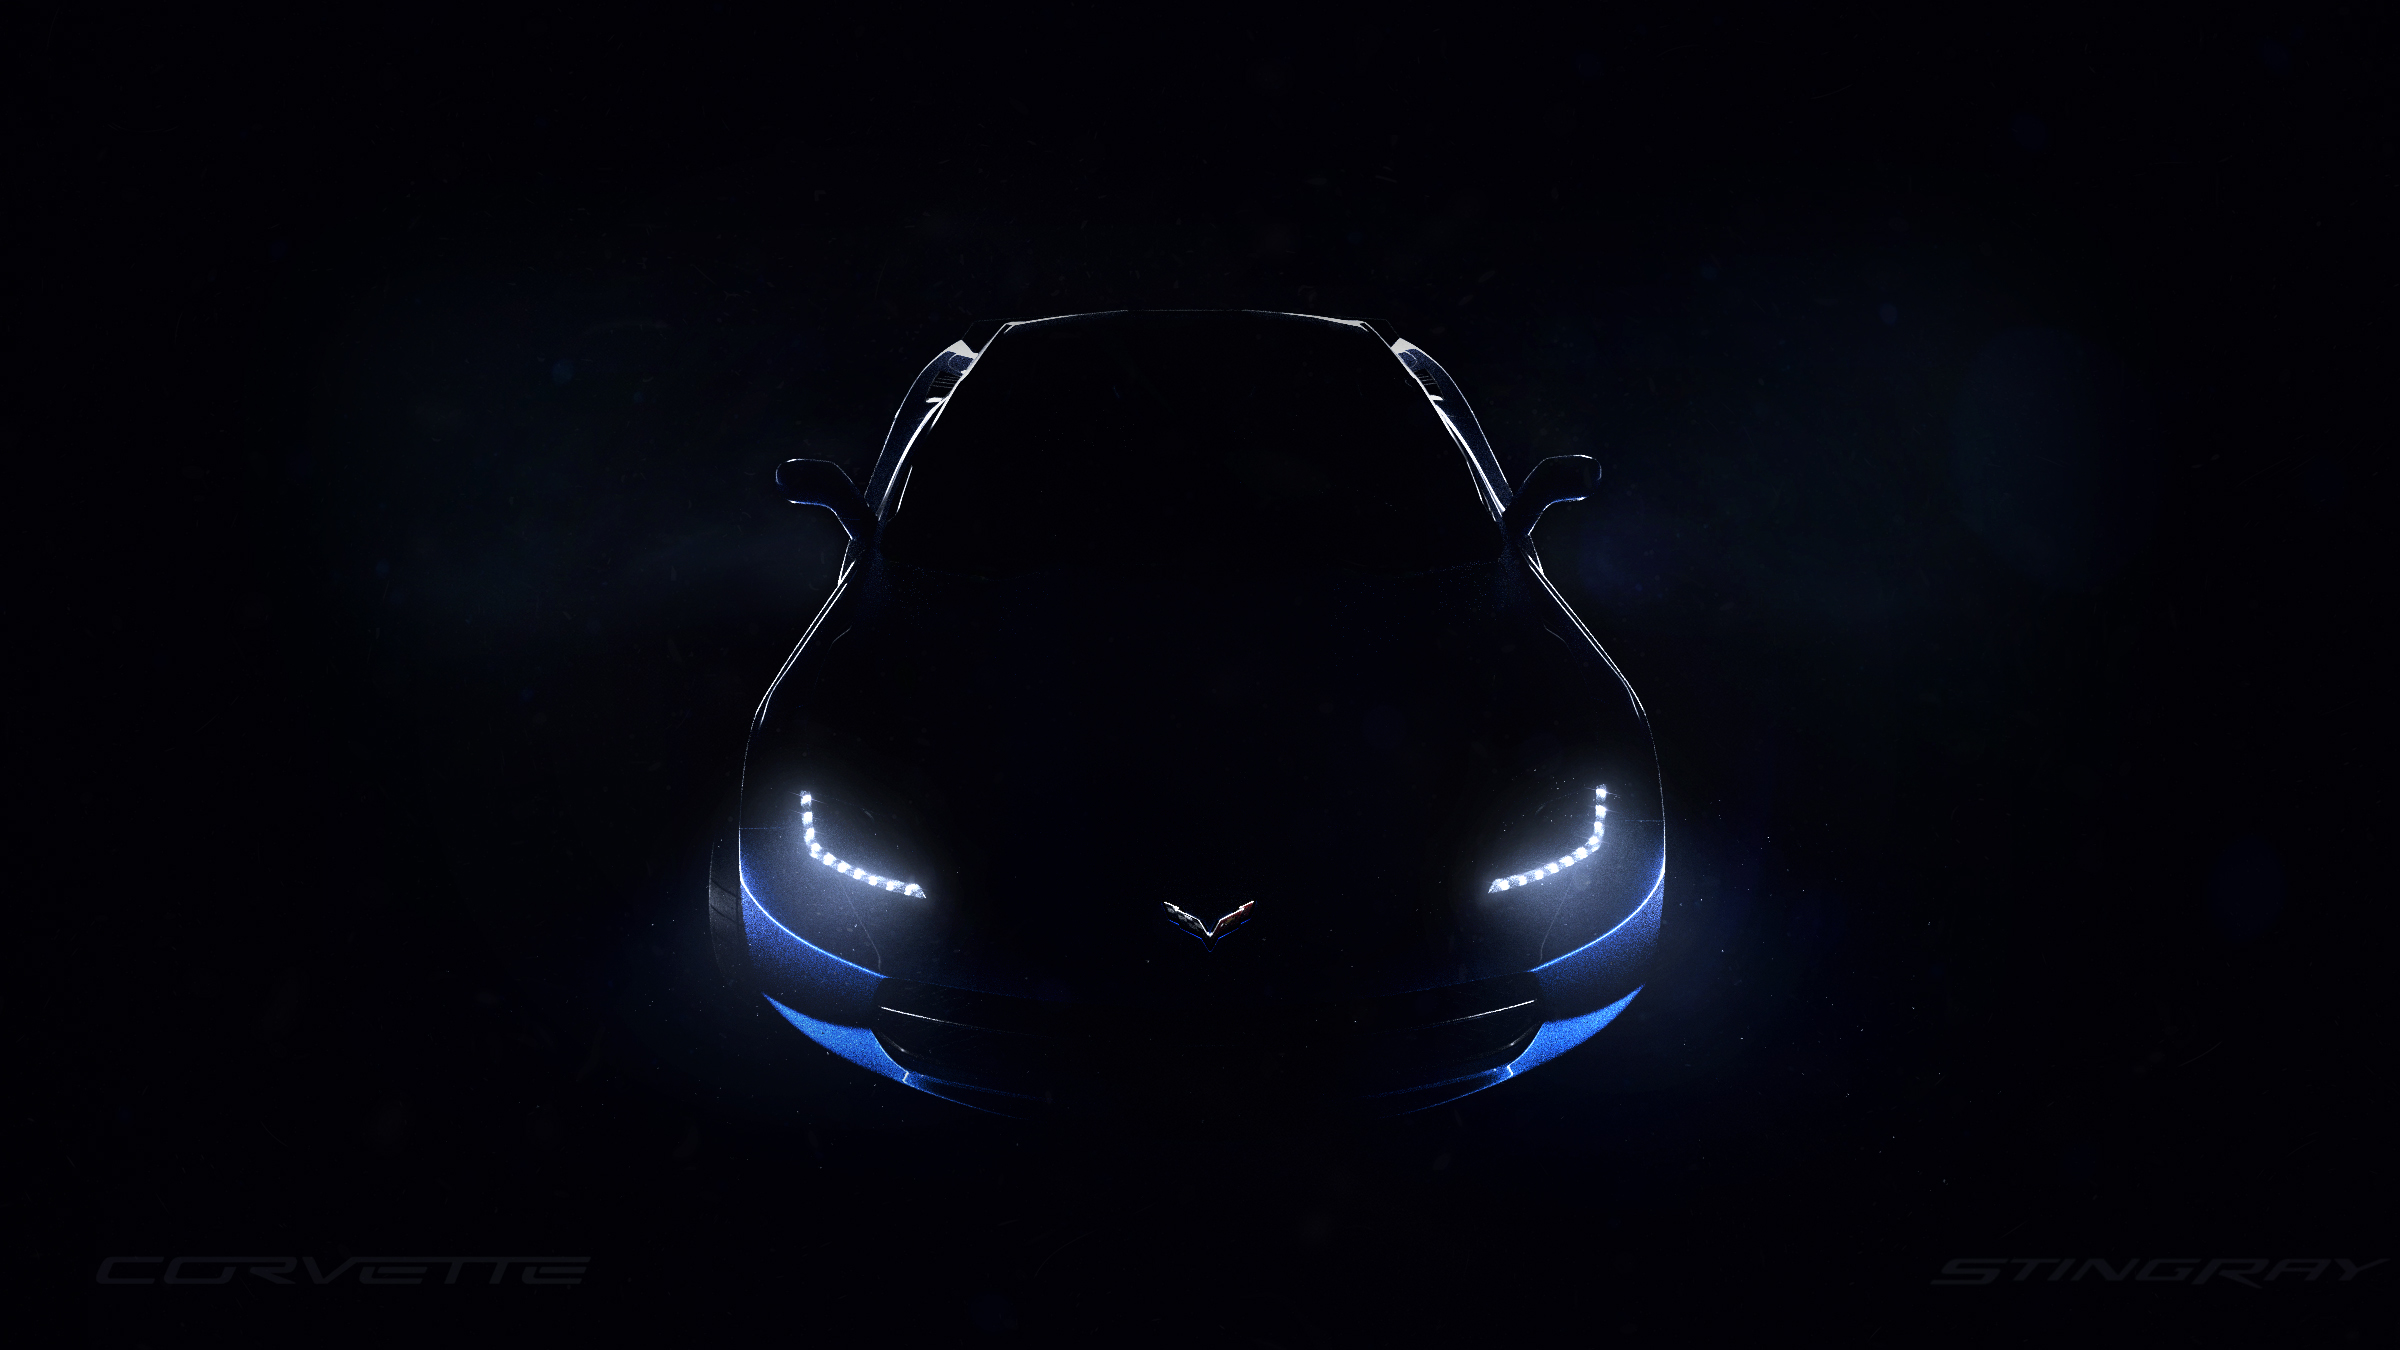
(The flickering light effect in the last clip is supposed to simulate the look of an LED car light. I am not completely sure why such lights flicker on camera, but they tend to do so. You often see this flickering effect in Top Gear as well.)
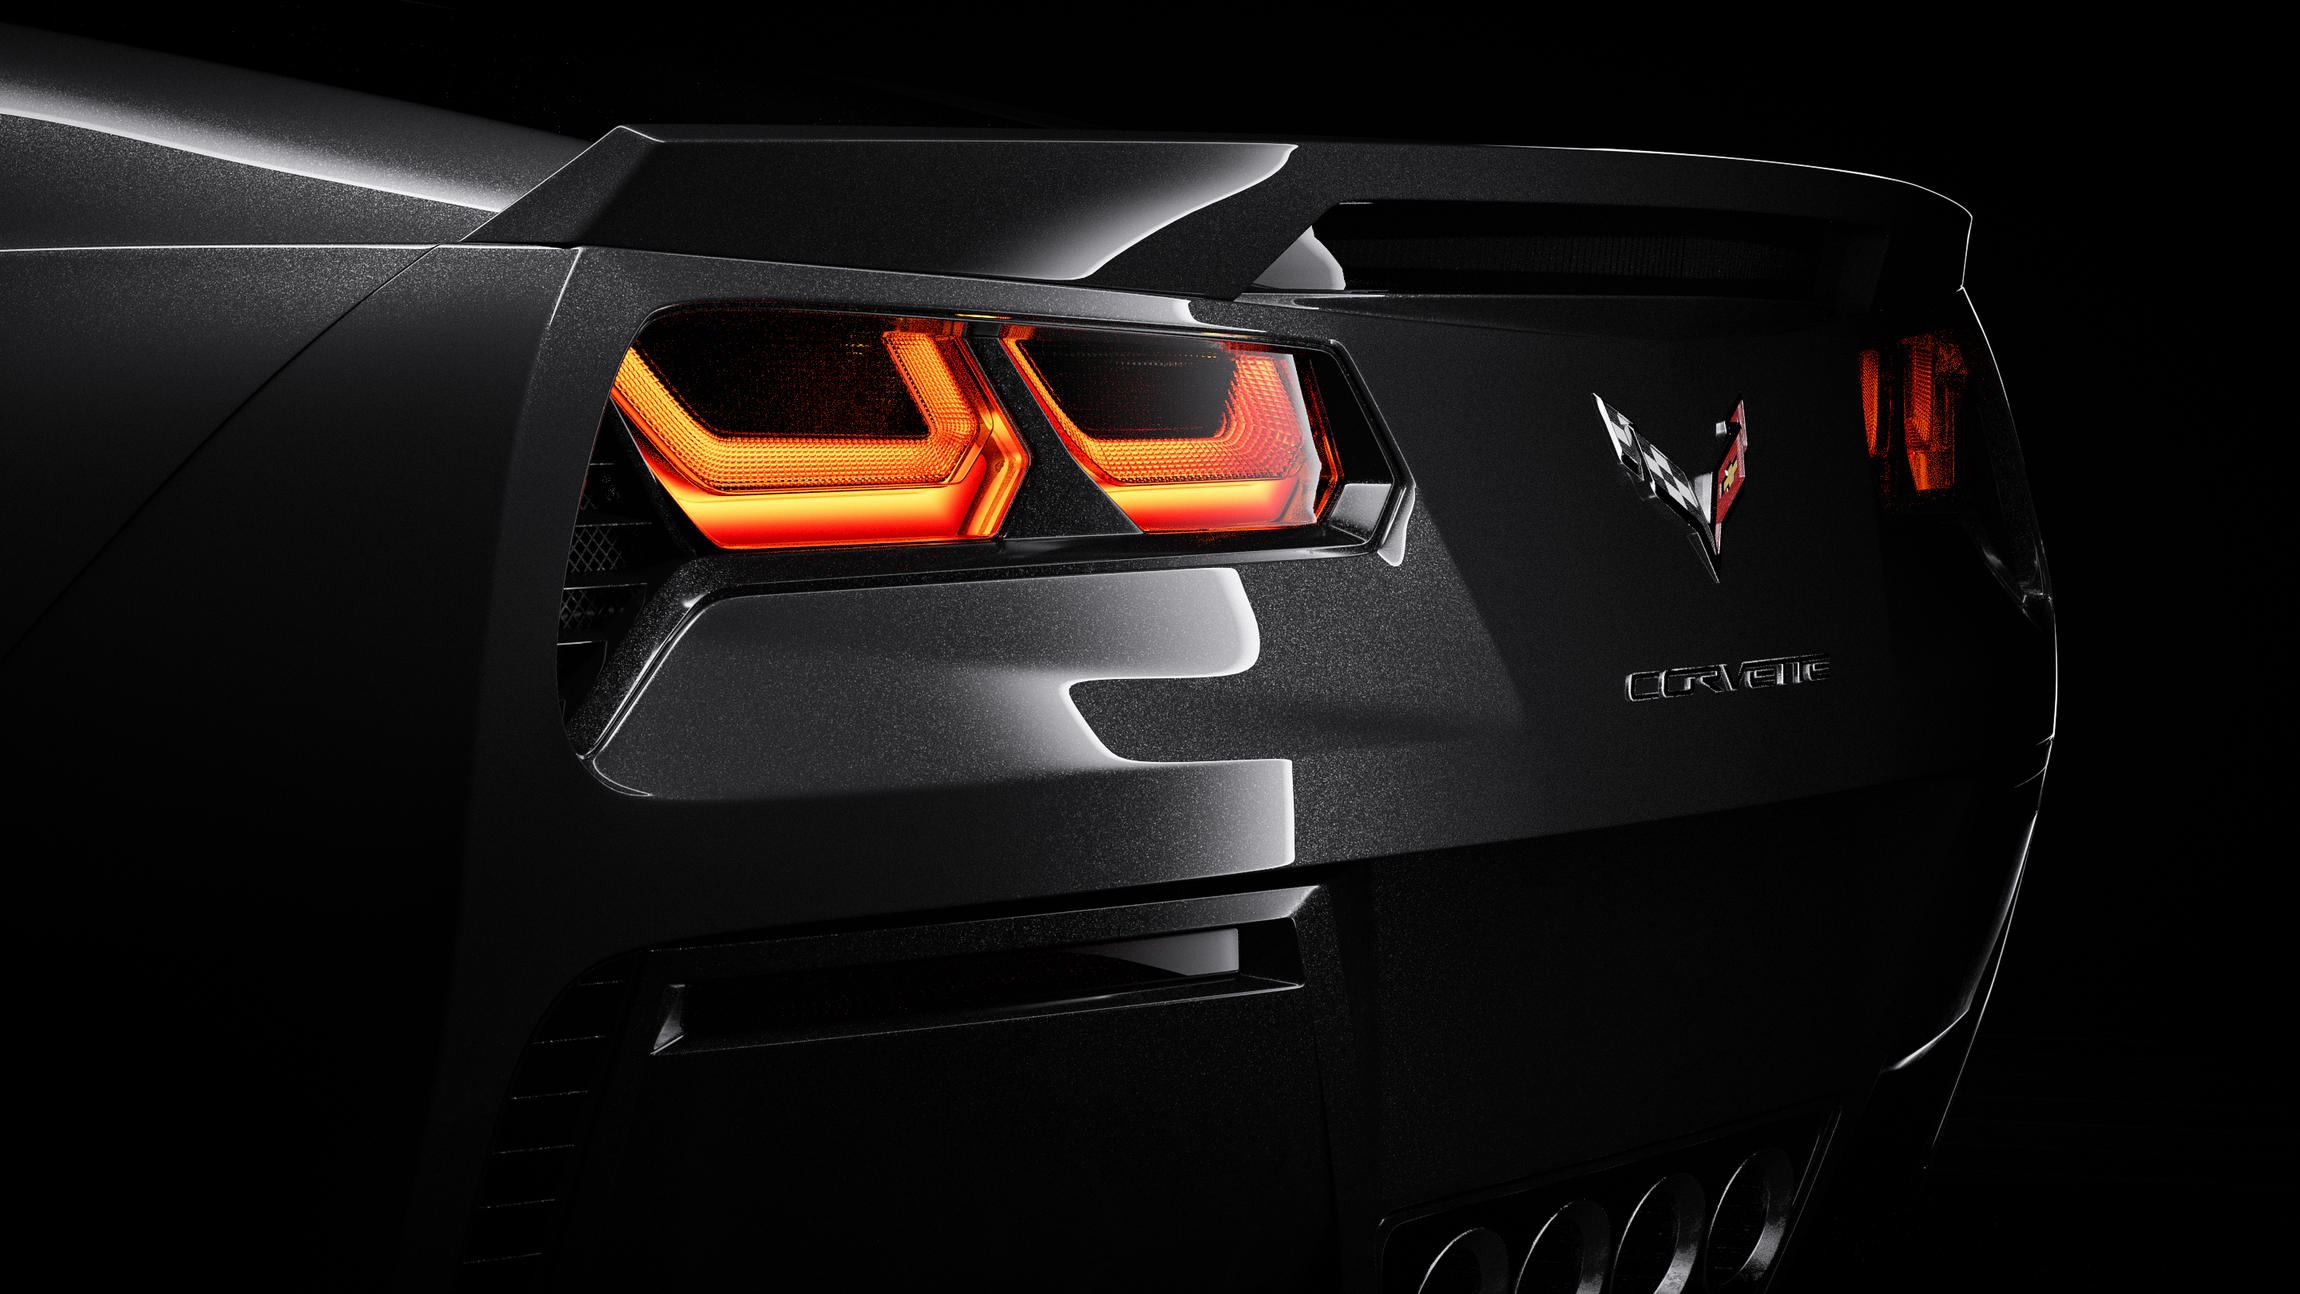
I love the car, and it looks great. don’t want to sound picky, but the light streak going doin the back under the rear headlight looks slightly heavy. it makes me look more at that rather than the car.
Yeah, I have developed the material for my McLaren model and tweaked it to work with this car as well.
If you want to check it out I have a link to the car paint right here: https://drive.google.com/file/d/0B4JTwP2s693VWDZhZDRQWlZQOUE/view?usp=sharing
Just remember that a nice car paint does not look any good without great lighting. Just try out some different things and you will eventually find something you like.
Thank you! The light streak on the last image? I really appreciate the feedback. Sometimes you just cannot see the flaws yourself and need other people to point them out for you.
