Hi. I have a human model here which I´m rigging and I used Blender´s default human armature(“metarig” is the name,if I´m not mistaken),and I´m now skinning it starting from the foot and there are two bones for the foot that I just don´t simply understand what they are for(I´m linking an image to the post,showing what I´m talking about) I mean,as far as I know the human body doesn´t have independent movement on the knee and bottom of the foot,so… I hope I´ve been clear. That´s it
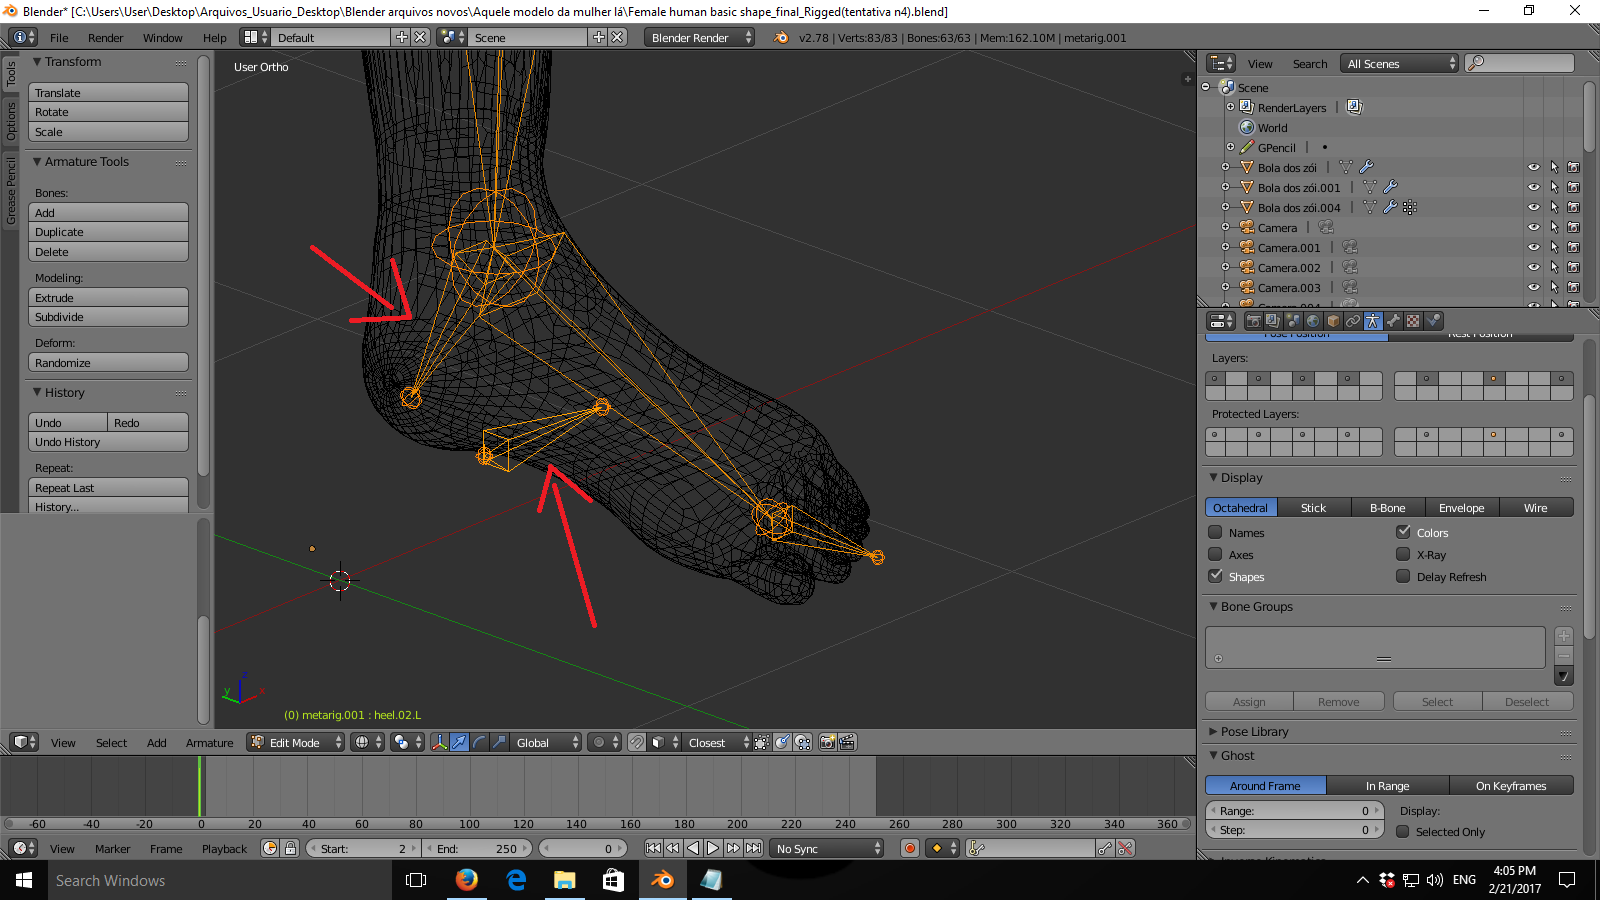
If I’m not mistaken, the one at the bottom is the IK control, and the one in the heel is to keep the heel from collapsing when the ankle is rotated, or to allow overall better foot rotation, since it can be difficult to weight paint the foot for just a few bones. Foot rigs are very subjective and sometimes complicated. This is actually a very simple foot rig.
You need to generate your rig. The metarig is only to position the bones for the actual rig. Don’t try to use it for your rig or you will not be very successful. Do a google on how to set up the rigify metarig and generate the rigify. Here’s one you can use. https://www.youtube.com/watch?v=2k9Hk8gpHKk
If you’re just getting into rigging, it might be better to start with something very simple. Something you create yourself to get acquainted with how the constraints work. Rigify is a great shortcut tool, and well featured. But it does help to have a little experience beforehand. If only to make sense of what’s happening under the hood.
I’m not saying you won’t get any use out of it though. I think with a little study even a novice can create some decent animations. 
Thanks Safetyman,stilltrying and macser,I got it all now