got some questions on amount of samples to choose, to get clean results… well, of course there is no definite answer…
I’ve attached a blend file I’ve created (models made by me, free to use)…
Acceptable results occur at around 400 samples… but I would let it ride for 2000-4000
I’m a big fan of “Progressive Refine”… yes it takes more RAM, but you can set samples to 200000 or whatever and stop when you like the result!
i use 300 for path tracing (1 or 2 lights in scene) or 100 branched (many lights). its a bit low, but i render at a very high resolution to be scaled down, which helps take out much noise. 256x256 tiles.
it depends! there are scene which clean up with some hundred samples others need thousands.
you can try to find your way with the branched path tracing and setting samples high on the things which need them
or take a look at the denoiser (which is coming to the next official version)
Try box selecting a small area with noise and simply running a few trials. I do that for animation not so much looking for a clean image but something I can live with when the camera is moving. And, yes it does take a little back and forth or trial and error.
As you said, there’s no definite answer. There could be many reasons for using more or less samples: Indoor vs outdoor, direct light/indirect light/mesh lights, materials used. I could go on and on.
Brute forcing it by progressive rendering is one method that’ll get the job done of course, but there is a more effective way to gain an understand of how many samples you need, and what other render settings to tweak: render passes.
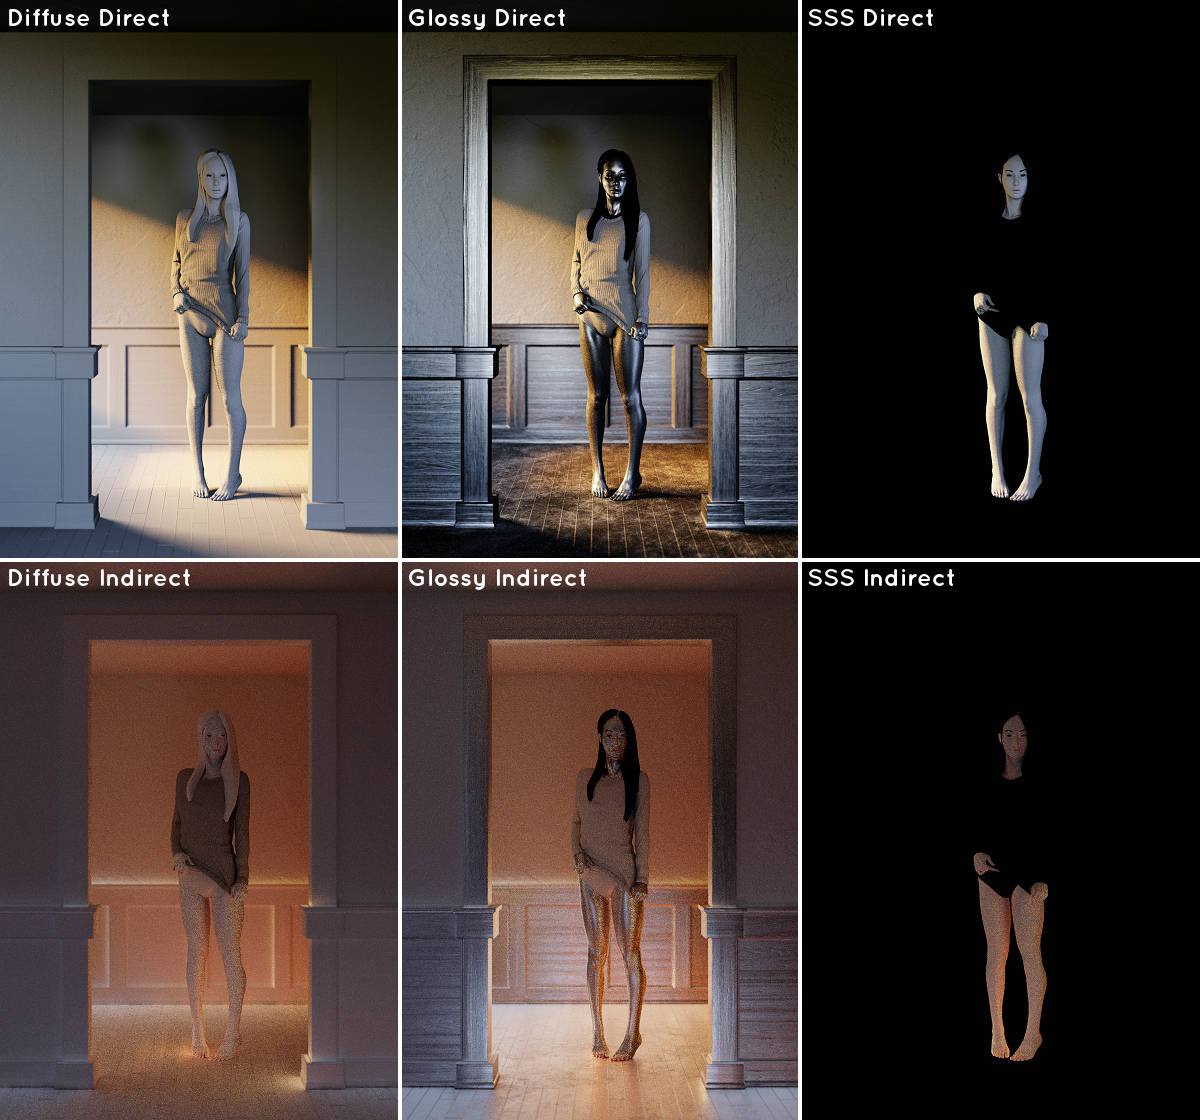
As an example, below is my current work in progress rendered at 1k samples and broken into it’s various passes. As one would expect for an indoor scene, the indirect diffuse is pretty grainy. If I was only looking at the final output, I might make this assumption and start tweaking the diffuse bounces and samples, only to be left wondering why I’m still getting grainy results and fireflies, so I might then increase the samples to some obscene number and play the wait and hope game.
BUT! Take a look at the indirect glossy and indirect sub surface passes. These are even worse (The glossy was dramatically worse and had a lot of fireflies before I scaled down the image and compressed into jpg.)
With this information, I can be smart about my settings. In this instance, using branched path tracing, I might choose to increase my glossy and subsurf samples, decrease my transmission samples (only needed for the eyes), LOWER diffuse bounces, denoise my indirect diffuse pass in post, and clamp fireflies in post on just the glossy and subsurf passes. Then if I’m still having issues with any particular pass, I can quickly rerender the scene by decreasing samples to 1 on all but the needed pass.
Of course the speed benefits might be small if you’re only rendering at resolutions intended for the internet. Brute force would probably be an easier route. In my case, however, I often render my work at 300dpi in standard poster format… That’s 7200px x 10800px! Brute force isn’t even an option at this scale.
In Cycles the scenes that suffer most with respect to the noise, are interior scenes.
That is, your sample scene render really fast with ~ 2000 samples. You should try complex interior scenes to really see which means to suffer noise
The only difference I can think of is Filmic Color Correction… other than that it should be the same…
So install that and reopen the file… it should give same results…
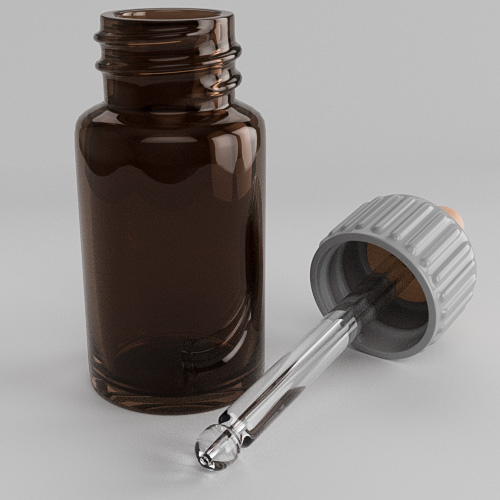
The reflections shapes on the top of the bottle in my render do not look the same as those in your image. But never mind, I just realized that you are the same as the other thread of noise in the interior and I had already mentioned the denoiser there, so you were already aware of it.

 Let that CPU/GPU BURN!