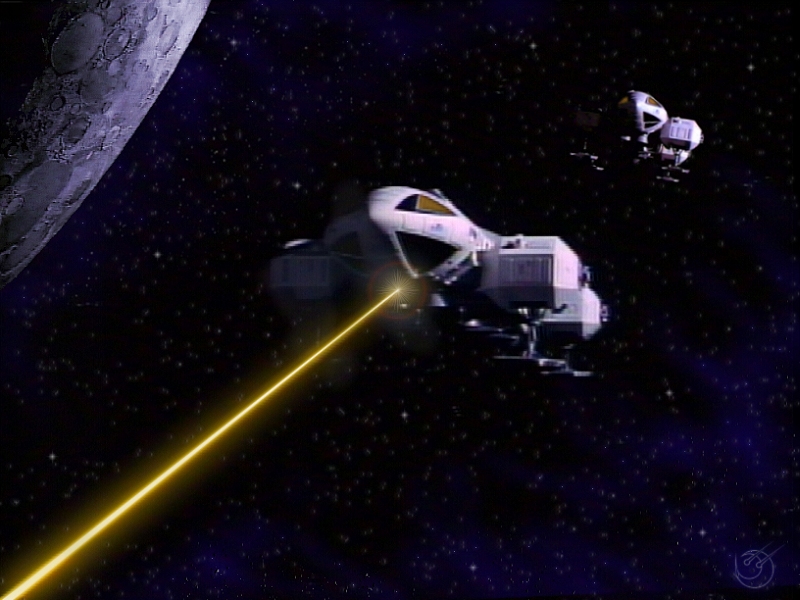
This is the Eagle Transporter from the British sci-fi series Space 1999, A Gerry Anderson classic if ever there was one.
I’m just over a week into this project and after a few false starts things appear to be going quite well. I must admit though I didn’t realise just how much detail there is on the original Eagle, but if I’m going to model it I may as well try to get as close as I can to the series model.
One thing that’s eluding me at the moment is to where to place the lazer cannons. I know the Eagle was fitted with them but I can’t find any images on-line that show where they should be.
Any thoughts, tips or comments are most welcome. Thanks for dropping by.
Although the Eagle was not designed for use as a military vessel, some Eagles on Moonbase Alpha are fitted with a laser emitter as standard equipment and an arsenal of space-to-space missiles. The episode “War Games” suggests that only seven of Alpha’s many Eagles are armed at that time. It is demonstrated in the series that Eagles were primarily designed for transport, reconnaissance and scientific surveys. In “War Games” the Eagles are badly outmatched by the Mark IX Hawk, which were designed specifically for combat. The Hawks were faster, more manoeuvrable, and better-armed than the Eagles, although a skilled Eagle pilot such as Alan Carter was still able to destroy several Hawks in the battle to defend Moonbase Alpha.
In addition to the primary weapons mounted on the underside of the Eagle superstructure frame (directly behind the command module)[SUP][8][/SUP] intended for combat or defence when in flight, a retractable laser gun was revealed in Year Two for use when the craft is grounded.[SUP][9][/SUP] This mid-size weapon was mounted on the dorsal surface of the spaceframe and emerged from the girders of the ship’s ‘backbone’. It can be adjusted to fire in 360 degrees and at numerous angles of elevation. Various pods also carry small arms; a rack of stun-guns and a single laser rifle for the use of crew is mounted by one of the two main hatches.
Also:
Google “Space 1999 Combat Eagle”, that is a design with auxillary cannons.
Thanks for the info, colkai. I have had a good look around and as the Wiki says the Eagle was armed with lazer cannons and rockets. Unfortunately it appears that they were never modelled for the original series and all that was seen were the lazer beams after they had been fired. I did find some images for the turret that appears in season two.
I think I will make the Eagle so that it has weapons, pretty much going to design my own and see how it looks. Something along the lines of the Combat Eagle.
Cheers for the images. I think I will use the style of gun used in the second image but place it on the underside of the Eagle so that the lazer fire comes from the area shown in the first image. Actually I will probably add a couple of guns, better for fighting the space bad guys:RocknRoll:
Been working on the engine. Lots and lots of pipes going somewhere and doing something, not sure what it is that they do but hey it looks pretty cool so that good for me.
I never noticed the juice squeezer before, but I just had a look and there it is. I guess I was too engrossed in the story back in the day to see stuff like that.
Not seen Thunderbirds in years, but the one that always sticks in my memory was the one with the giant crocodiles. Scary stuff.
I grew up with Thunderbirds, Captian Scarlet, Stingray, Joe 90, then UFO & Space 1999, I really think we were spoilt, though not a huge watcher of Fireball XL5.
It’s fun watching some of the stuff now and seeing what the parts actualyl are.
I remember having the die cast toy of this, but the colors were all wrong for some reason. It was mostly shiny bright green and silver.
Can’t wait to see it finished. The design and model work on that show was outstanding and still holds up.
Cheers Toka and colaki. I grew up watching the same stuff, Thunderbirds and the like, the models back then were so good that they still look great today, and in many cases outshine a lot of what is seen in sci-fi films and tv shoes of the present day. We were lucky back then because we had two of the best designers and animators around. Gerry Anderson for one, and then the great Ray Harryhausen, I loved his movies.
So here’s the Eagle fitted with all its landing gear,I’m pleased with the look of it. Next is the front and centre pods, I think that’s what they’re called, then the retro rockets for the VTOL, some lazer cannons of my own design and then it’s on to texturing. Not my strong point but I will see if I can improve.
Looking nice, caz747. I loved these eagles when they appeared in the series. Although, I always found the cockpit windows and their position a bit strange. I mean, there is this aerodynamic design of the front module and then there are these cut outs that end in an upright window :no: Doesn’t matter in space, but isn’t consequent in my eyes.
The hull plating of the front module is a bit different from one of the references. A search on the net shows that the corners of the plating are more rounded. Just my two cents
Thank you. I know what you mean about the cockpit windows looking a bit out of place, certainly ruins the smooth aerodynamics of the rest of the front end. I guess it was a trade of with what is correct for a flying machine and what looks cool, cool must have won at the design stage.
I guess too that the Eagle would have struggled to fly in any kind of atmosphere, but somehow it managed to. :eek:
The hull plating should be more rounded, I think I have seen the reference photo you mention and that’s how it looks on that one. Just got to figure out a way how to do it now. Blender really is just one big experiment to me.
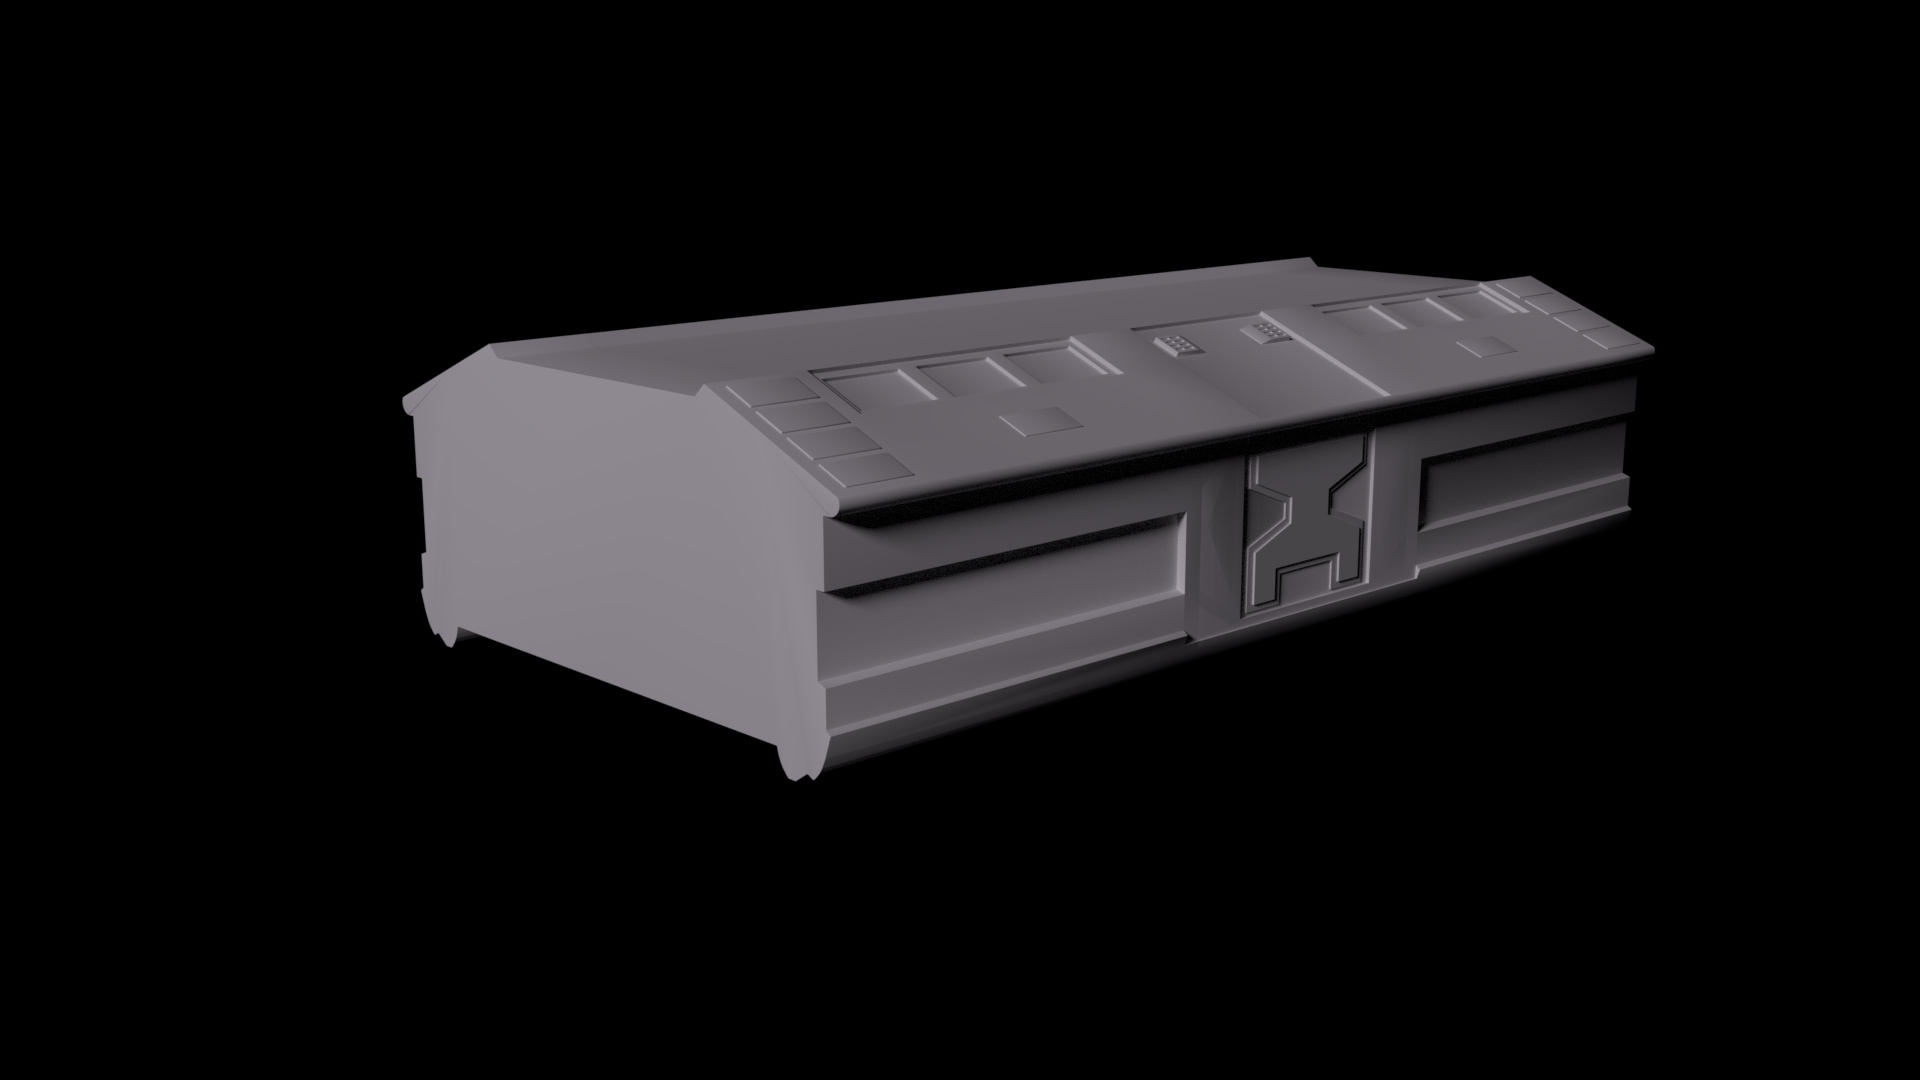
Been working on the environment pod. It is much more of an odd shape than I realised at first but I think I have got quite close to the series version.
Not sure how keen I am on the retro rockets. I will leave them for now and see how the rest of the modelling goes.
By using an additional UV map I can add the decals, and any other bits of colour for the model, over the top of the main texture. Trouble is the transparent parts of the decal don’t allow for the main texture to show through. Tried lots of ways to get this to work but no real luck so far. If anyone knows of a way to get this to work I will appreciate any tips on it?
Also, not that sure if a scratched concrete texture, that’s the one I’m using, gives the best look. Any thoughts or comments on the texturing would be of great help.
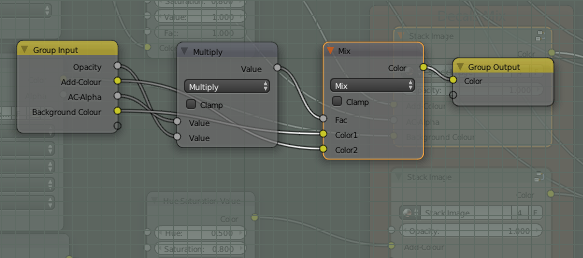
With the “Stack Image” node tree looking like this:
This allows you to add multiple image textures together - I had more of this setup in the overall material for scratches, dirt, holes cut using Transparent nodes fed by B/W images, blackening around the gun ports, etc, etc.
So here I am exporting the UV map to an image file - it is just grey lines on a transparent background - then I add this as a new layer in Gimp and draw colours, decals/whatever on top of this in a new layer and the export as an image file so everything lines up nicely. This saves having image textures that don’t line up… Always draw on top of the Exported UV’s and everything will line up.
Thank you, clock. This is all going to turn out to be very useful. I’m going to have a good play around with the node set-ups and see how I do.
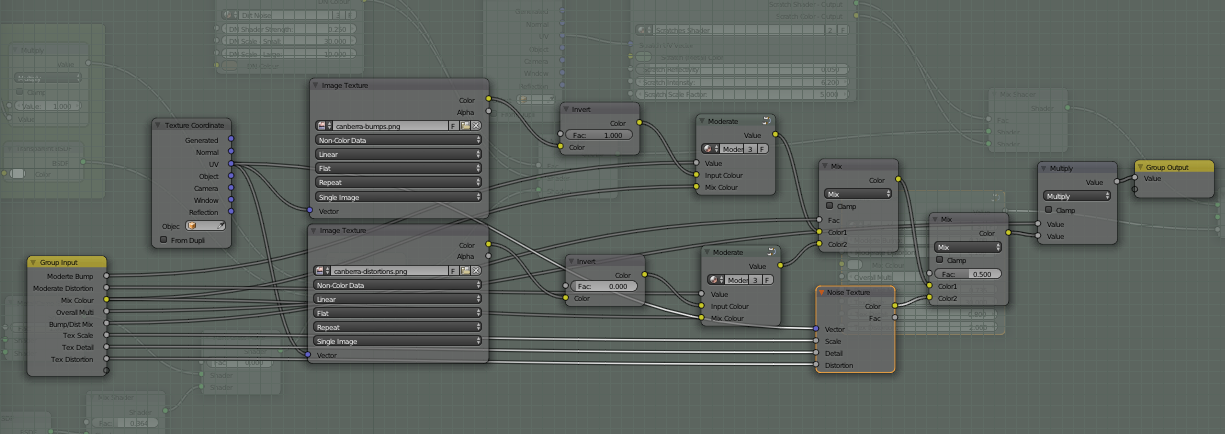
One thing I was curious about is in the bump-map node tree. I noticed there is a node in there called ‘moderate.’ It looks like it’s one that can be clicked on to expand it. I haven’t seen that one before so was wondering if it’s one you made and what it contains? - Hopefully it’s not a state secret that’s held in a deep dark vault somewhere in Porton Down -:eek:
Got some big plans for this model. I was scoping out some possible landing sites for a full size Eagle in my local town, I’ve seen some great images on line featuring the Eagle in real locations. Just have to see how I get on with that idea. :RocknRoll:
Unfortunately, now I am going to have to come round your place and “Do you in”, unless of course you promise not to tell MI5 who it was who showed you this state secret.
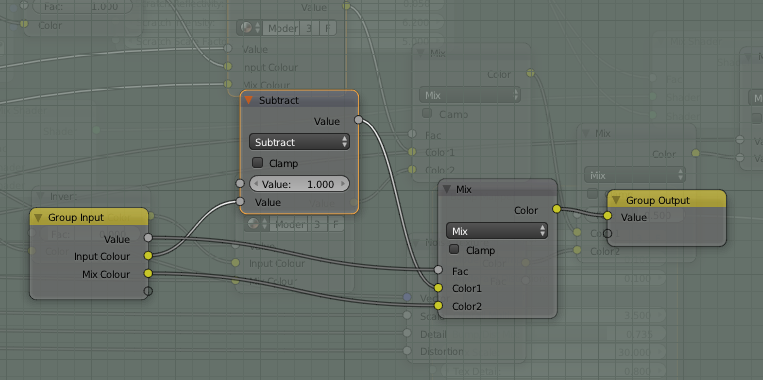
Any questions, just ask - this node is used to moderate the colour mixing and is one of Witold’s pieces of magic.


