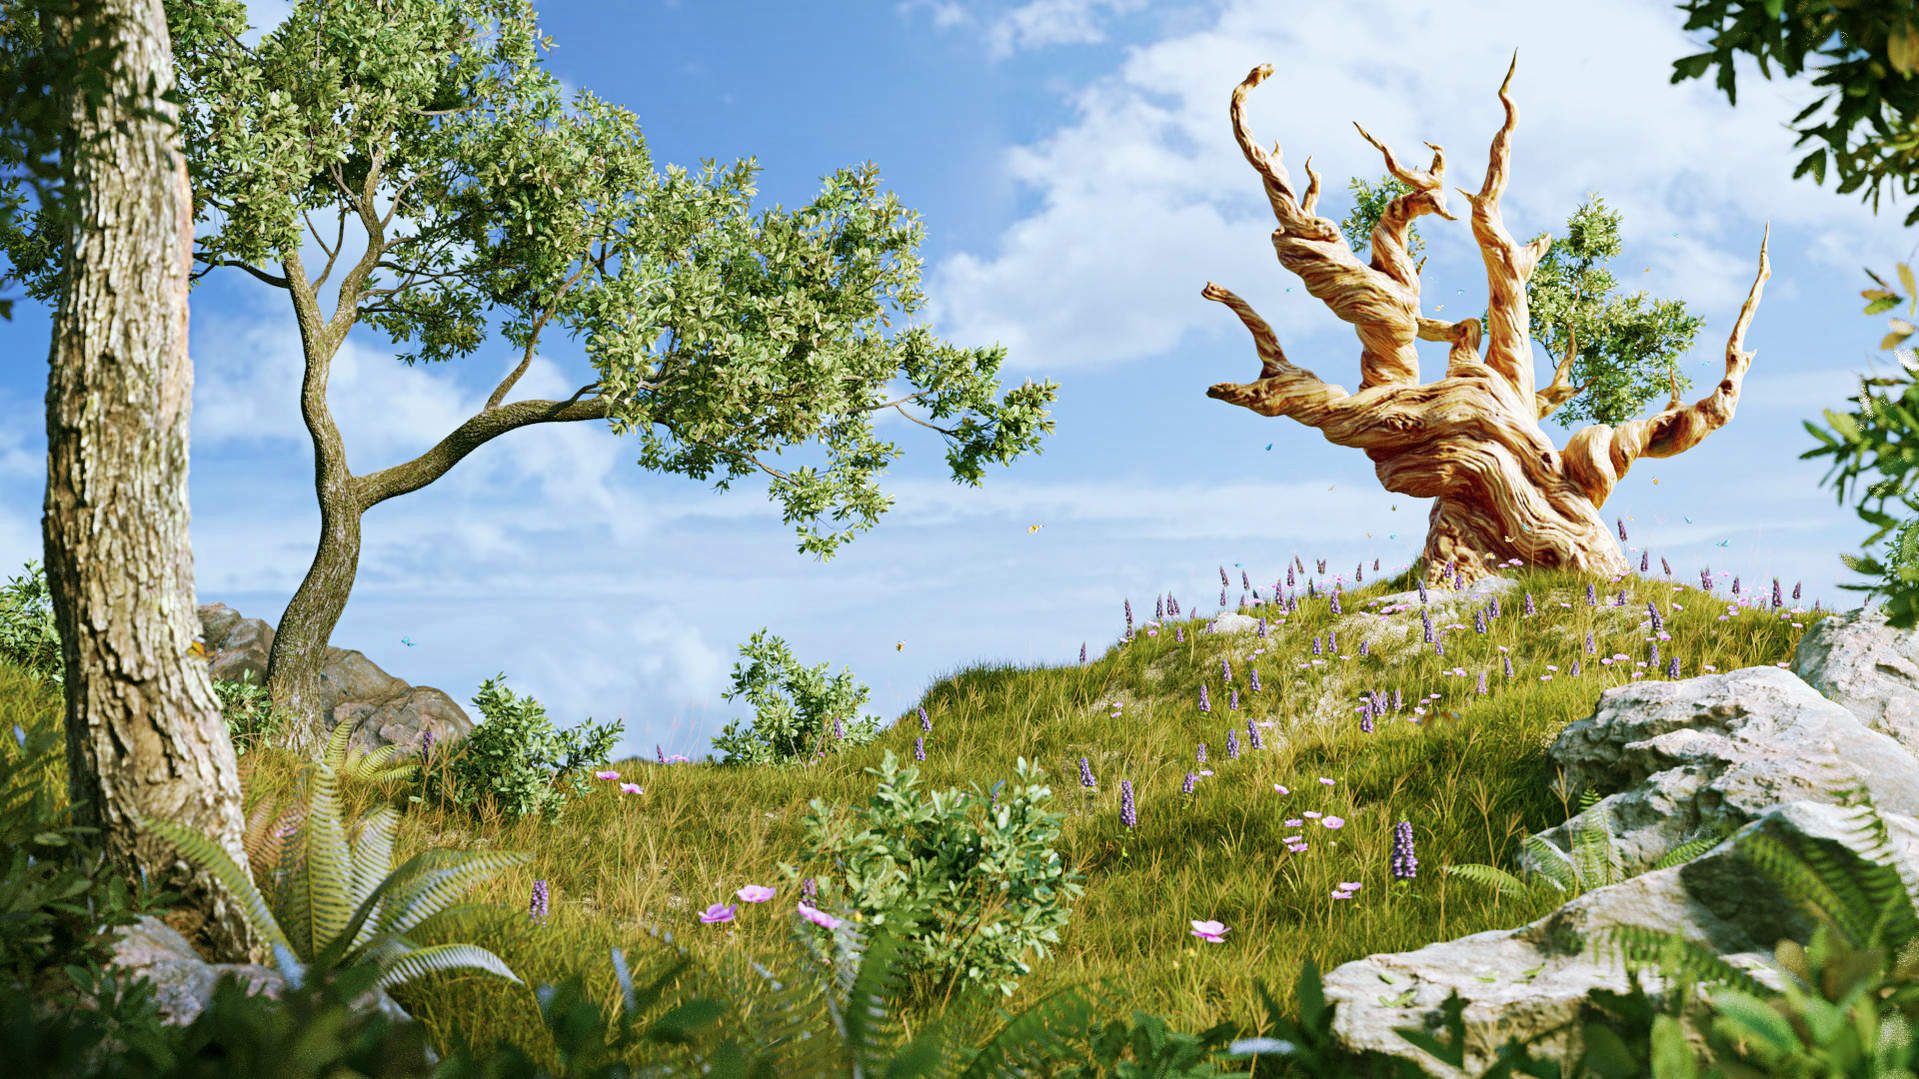
This started out as a photogrammetry/photoscan test for the tree trunk in the left foreground and the large rocks but I decided to take it further as a nature scene exercise. I think I am almost done but would appreciate comments or suggestions before I post it to online galleries.
I don’t like the tint (and I like bright green);). I guess that weird tree is a focal point and need more highlight or something. Also maybe to do something with the sky?
Wow, just impressive. I think the focused critiques section would have been more appropriate, but as far as I’m concerned, it might as well directly go to finished projects, it’s beautiful as it is!
And @lasseJV I prefer the original, your version looks over-saturated to me and way less natural.
@stepenk3d can I ask you how you modeled the tree on the right ? It looks gorgeous.
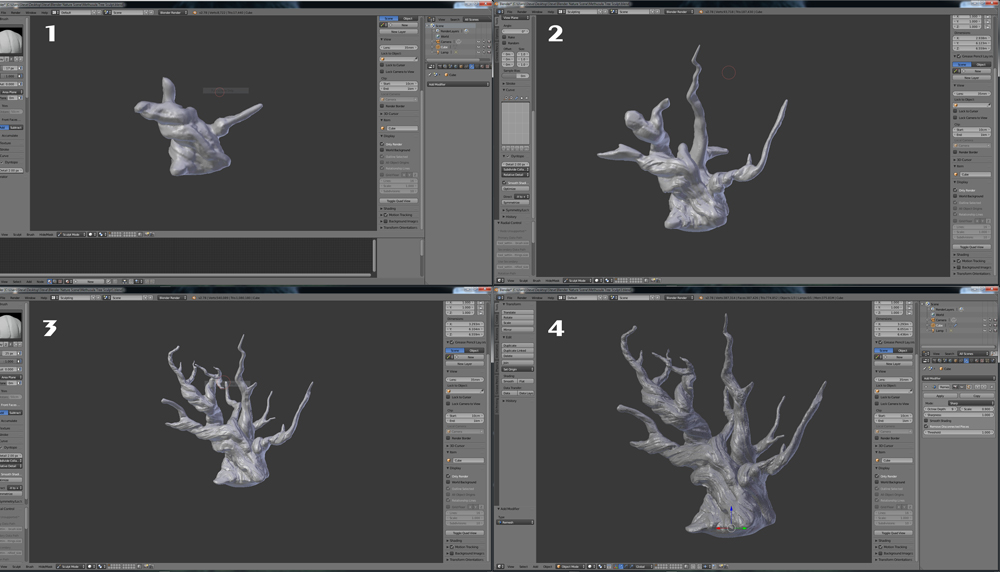
The tree, which was inspired by the Methuselah Tree, a 4 800 year old tree found in eastern California, was sculpted from a cube using dynotopo. I didnt create a base mesh, which would have been a better method I think. I just started pulling out shapes and kept switching dynotopo on and off to reduild the mesh to try keep it smooth. I ran into quite a few problems where the mesh would intersect other parts of itself and I would have to go into edit mode to fix the mesh before returning to scupt mode to continue. Once I was happy with the shape I sculpted the details mostly using the Clay Strips brush with Smooth Stroke active to sculpt the grooves in the wood.
I was hoping to avoid retopologizing it by using the remesh and shrinkwrap modifiers but the topology was a mess and I couldn’t get a decent enough uv unwrap even with Smart UV Project. In the end I retopologized the tree to get a clean low poly mesh. I needed to create a normal map so I duplicated the new mesh, subdivided it till it was a little higher poly count than the dynotopo sculpt. I added a shrink wrap to the subdivided new mesh with the sculpt as the target then applied the Subdivision first followed by the shrinkwrap. Then I baked the Normal Map and hand painted the texture map.
I learnt a lot while creating this scene so it took a while but I really enjoyed it. Thanks again @asmoth