Hello,
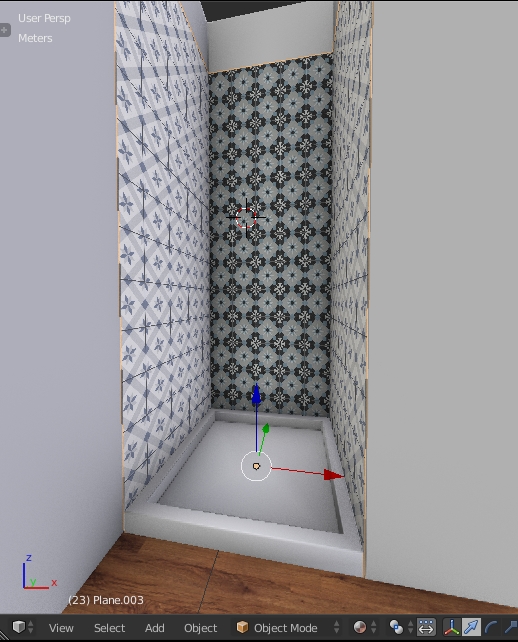
I modeled my house in meters units and I would like to test different tiles before buying it to make sure I like it in place. Problem is I don’t have a good way to place my texture that always fit the real size.
What would be the best workflow to map the tile to the geometry for example with a tile of 20x20cm, then try another one of 10x10cm, etc.
For the moment I generate the tiles with ImageMagick and I crop the result to fit to the size of my mesh but this process is not very efficient. Maybe there is something that can be done to just tell that my tile is 20x20cm and it adapt the texture automatically, then try another tile with another format and see the result directly on the mesh?
Use Texture Coordinates/Object, then activate box projection without blending. Should work okay for interior straight walls. I use this approach for ceiling tiles (box mapping not required here, but same principle) that adopts to European (600mm) and US standards (~610mm, or 2 feet) and I often need this to be fairly accurate. If you need something of twice the density, just apply a mapping node (or color mix/multiply). Use two of these mapping nodes in serial if you want to lock down the scale.
No, I don’t want to use arrays because it cannot display half an instance and could go beyond the walls.
But thanks CarlG, the box mapping work perfectly for the setup I was looking for
Unfortunately box mapping (and those other ones) projections are only available in the image texture node. If you need it for procedurals things get quite a bit more complicated.