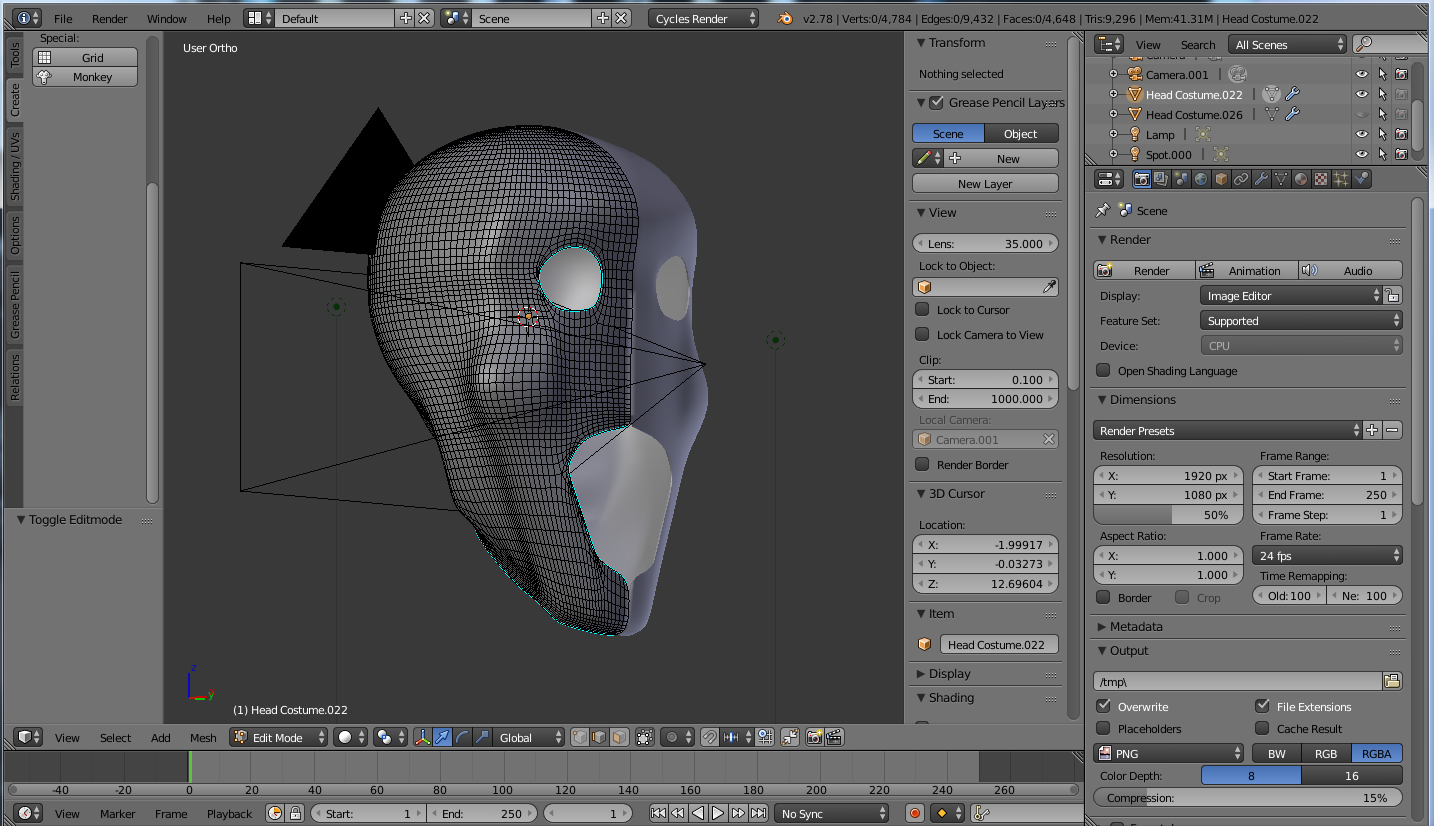
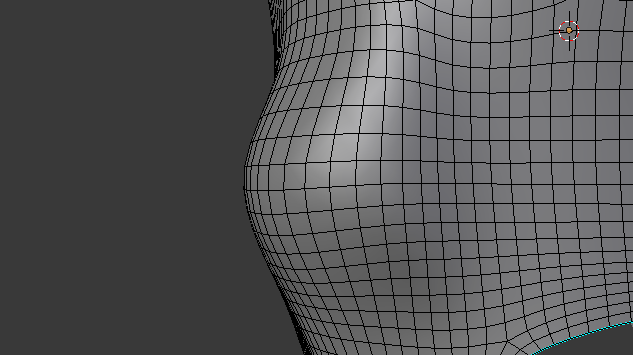
I have a mask/head thing i’m creating and it currently has circular cheeks that push out, the problem is that i’m having some lighting issue where the cheek is meeting and smoothing back into the face. From what I can see there I nothing wrong the the Topology around it (all quads thanks the the Subdivide tool). From what I tested it lessens when I lower the curve of the cheek (I still have the mesh before I subdivided it so I can do it on that), but i didn’t think the indent was significant enough to warrant the lighting going crazy because of it.
I cant just lessen the lighting either since the scenes i have it it may require harsh lighting and shadows.
So is this a issue with my Topology,or is something else causing this?
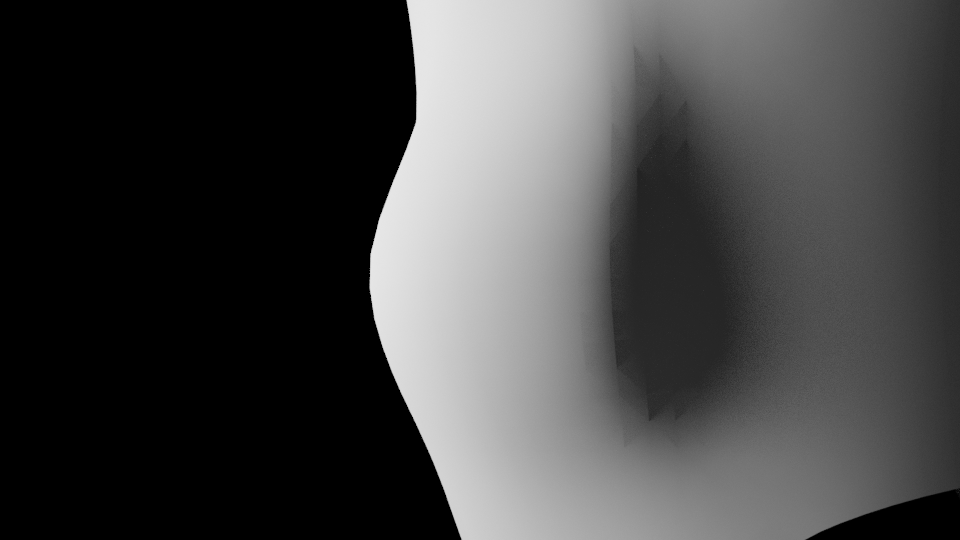
From what I can tell it looks like the terminator artifact. This is just how the render engine is when you have lighting with a hard falloff angle. (And you’re not alone, this bugs me too.) I saw something with the new version of Blender where they may be changing how smooth shading is handled, and I suspect it would fix that particular problem. BTW this is something that also affects other rendering software to various degrees, so it’s not just a Blender problem.
I’m using Filmic Blender Colour management BTW, im not sure if that has anything that with help with it.Is this new version of Blender something Stable that i can download right now? As you saw from the image im on 2.78 right now.
Yeah sorry,was planning to but it limits attachments. So the blend file its in has a second mask, its smoother and has less curve on the cheeks and it has no issues. (So it seems like its the cheek casting a shadow that’s the major issue), as someone else mention in the thread, they say its a issue with the Program and its interaction with hard lights ,and not my model too much. Mask Issues.blend (932 KB)
I have the ones before subdivided so i can edit them and smooth it out there until I find a good middle ground. I just wanted to see if it just was a quirk of blender or whether it was me doing something wrong.
You can too try play with light strenght and size for reduce it.
You have a point light on the left side near this zone… try just increase it size to … for an unknown reason it cause this artifact in this case. ( note i dont have this artefact on my syste, at least not so visible ( 2.78c)
Wrong modifier order. Modifiers are in effect from top down, so in that one half of of the head gets solidified which also fills the rim (extra faces), splits marked edges, mirrored which creates non-manifold mesh error along the mirror plane because of the extra faces from above, and then it subdivides it.
Bad edge/face flow around all openings, on top of the head, and on the cheeks. Red ones are n-gons which make a poor subdivision pattern, no flows following the openings and on the cheek they go up and down instead of following its curvature.
Yeah i figured about the mirror stuff,That was mainly me being lazy since i was gonna apply and stitch it together smoothly later. The top of the head is hidden so i wasn’t too bothered about the wonky geometry up there. As for the each flow, i knew it was kinda crappy. This was my first time actually trying to make something this complicated, as such i ended up cutting the holes out using knife project and stitched it together, sorta,which of course means that you don’t get nice geometry around the hole cut out.
At the end of the day I have never really been able to get edge flow down like how you did on your version. Any Tips or tricks for how to do it,since I need to do it for the whole head? I assume that I should probably do it on the not subdivided version, since that lets me tweak the cheeks around aswell? Or would it be better to start from scratch again,using my wonky ones as visual reference.
Mask Issues.blend (956 KB) Updated Mask File with the unsubdivided version, just to see whether its salvageable or not.
Unrelated,how do you colour the faces in the solid view, and how did you have a box of rendering show up?
Someone else might give a practical modeling example, but a pile of tutorials should eventually make you build your own workflows to control the structure.
Yes. Too much geometry to work with when the control cage is subdivided, if it didn’t start with a good flow. Could edit or build another one, doesn’t matter. I did build the new structure on the existing model for the screenshot by using face snapping.
Materials, Cycles has separate viewport color option. Render border, ctrl+B, ctrl+alt+B. Render border options on the 3d view properties and on render properties for the camera.

