hey y’all, just posting here hoping that someone can help me out a little bit.
so, currently working on a model that i plan to rig (eventually) ((when i figure it out)) and i keep hitting a roadblock on the damn hair.
so, i initially looked up some basic things like “modelling cartoon hair”, because obviously i wasn’t aiming for anything too realistic. i came across using curves and bezier circles to create individual, chunky strands with some bevel and depth to them. it looked good at first, but then i hit my first problem… i had about 7 individual chunks on his head, which were not very… ‘blended’, just kinda looked dumb. so i thought of converting them into mesh, which was OKAY until it started to get really messy. basically, i just couldn’t achieve what i was hoping to achieve.
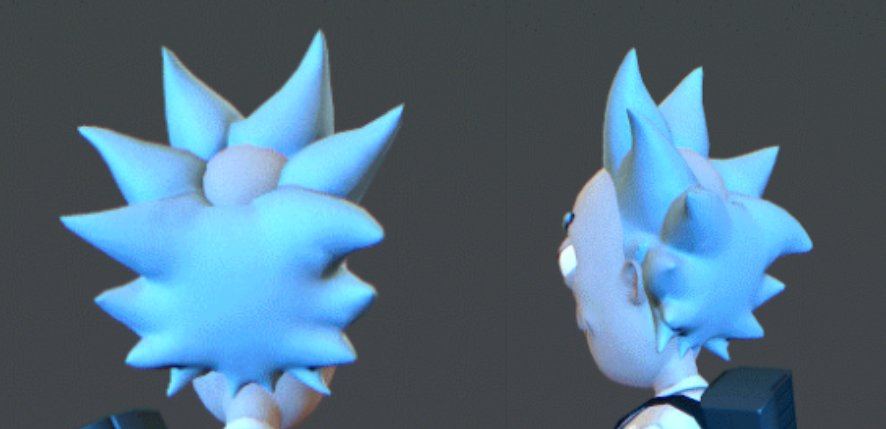
after some googling around, i eventually found a model of rick that someone else had done that actually did the hair really well, so, i started using that as a reference point. (https://goo.gl/Ci28YY) it’s exactly what i was aiming to do! as you can see, the hair looks like one solid piece, it all blends together smoothly instead of lots of individual pieces intersecting each other.
but, because of my lack of experience, i’m having some serious trouble trying to recreate this. i tried duplicating the top of his head and working from there but i couldn’t get the spikes up and pointy enough… etc etc. basically i’m just hoping someone else can give me some insight onto how to approach this.
thanks a bunch !
Hey everyone, while waiting for a response i’ve been trying my best to achieve the results i want.
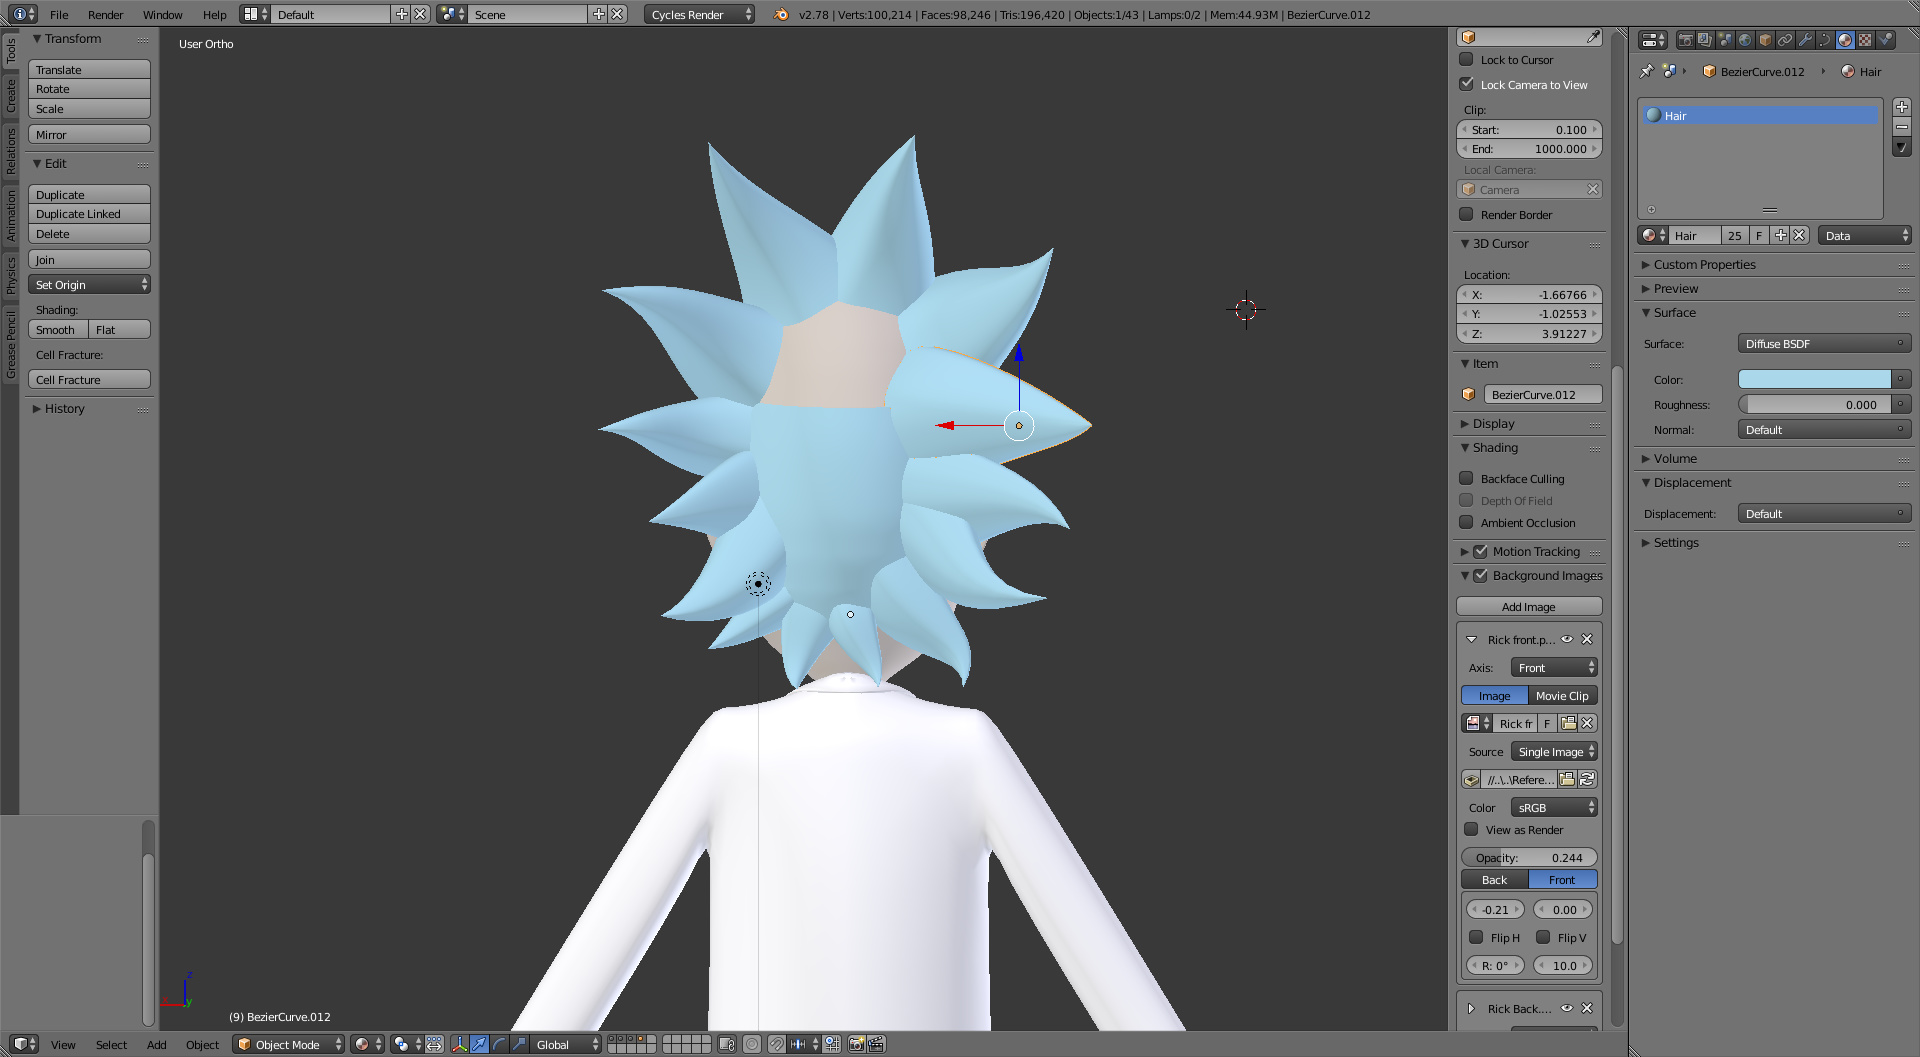
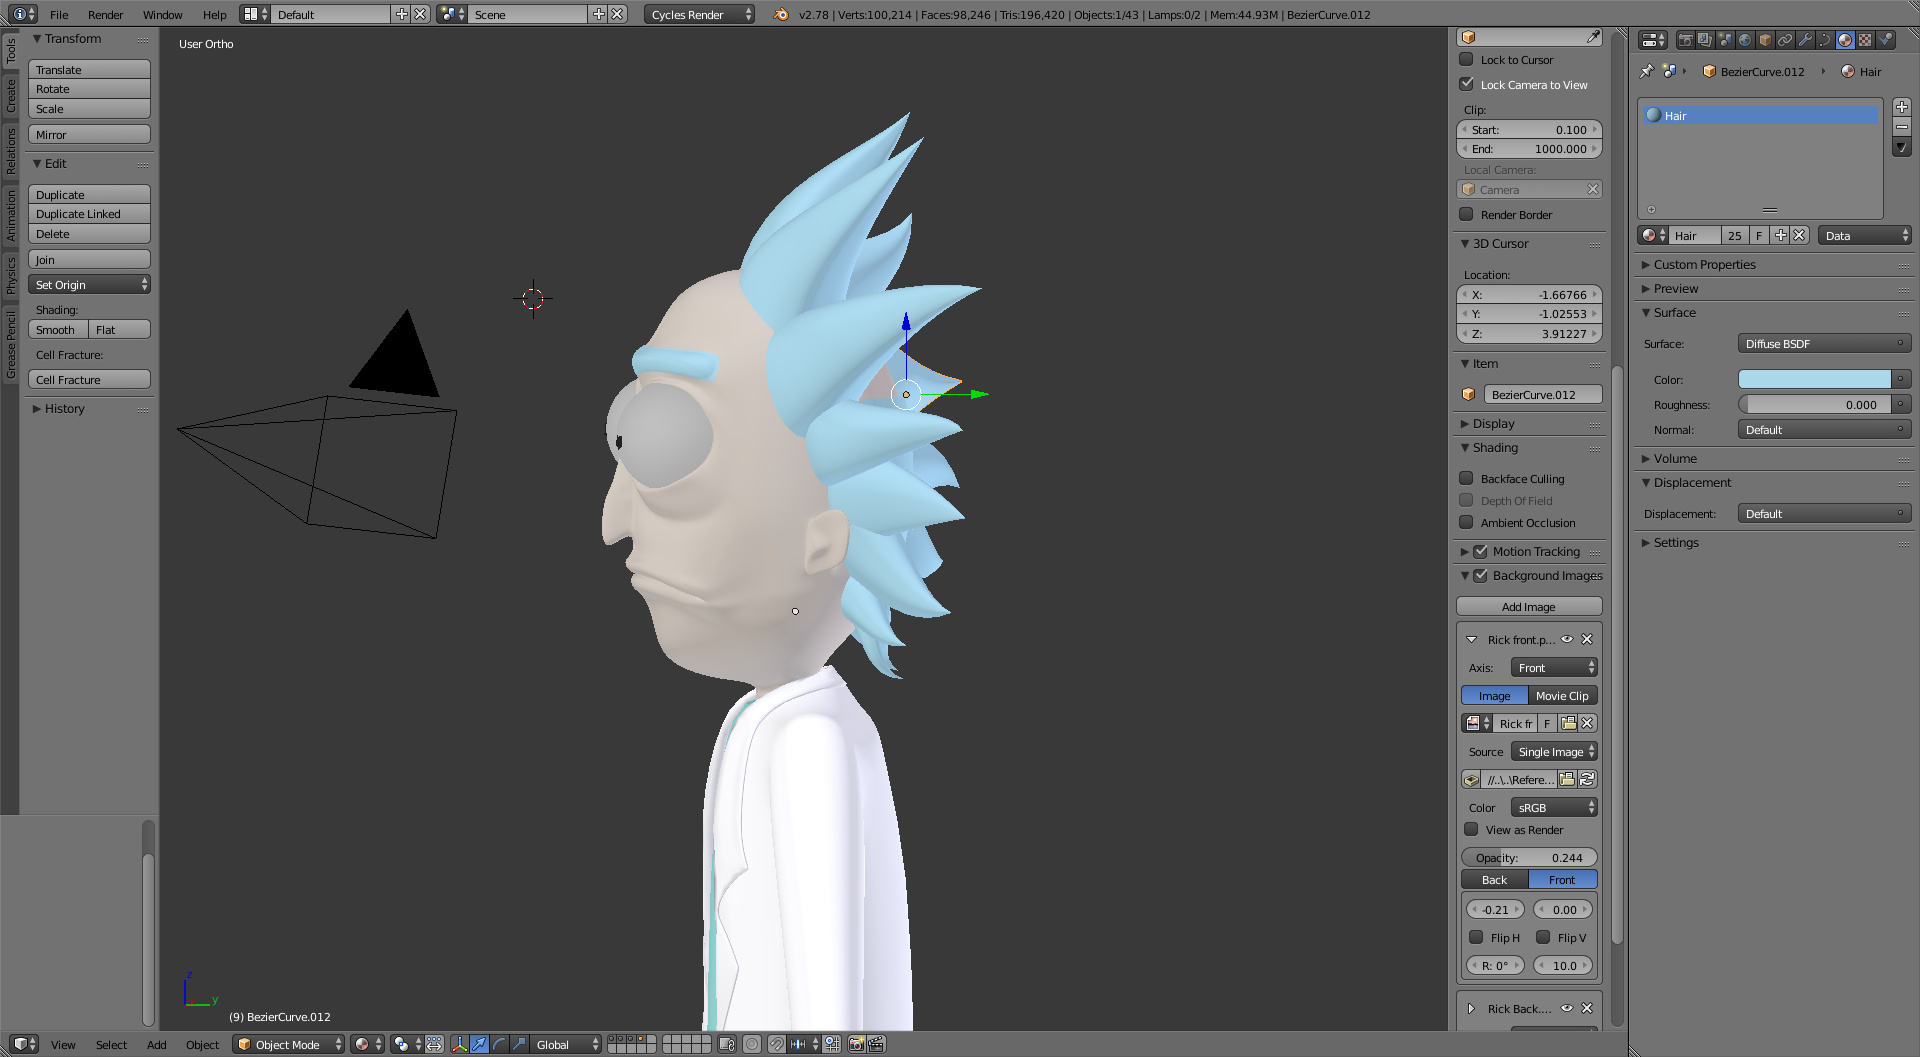
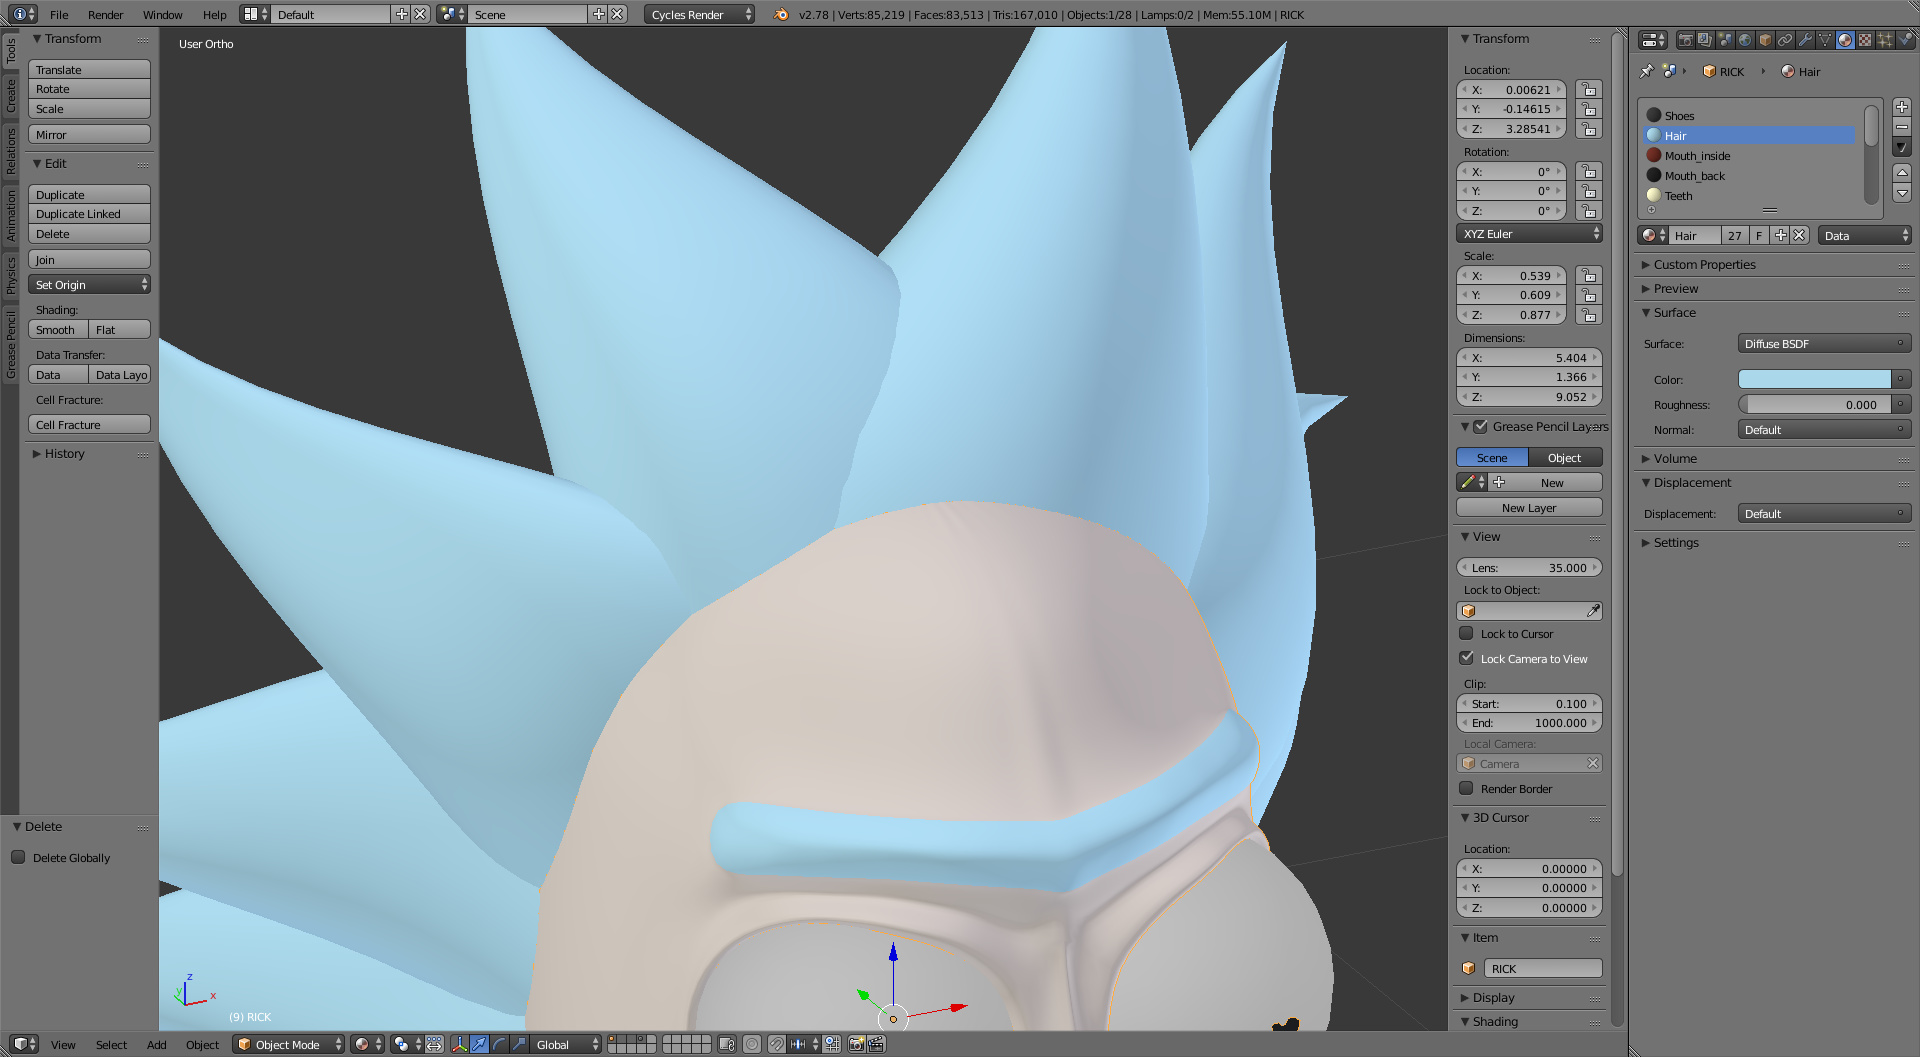
So here’s what i have so far, it’s pretty rough. I went with the bezier curves technique again.
what i want to do is blend all of this together, as well as bring out that flat plane and make it more thick and solid (solidify modifier maybe?)
currently all the curves are still curves and not converted to mesh yet because at that point it becomes super hard to look at and work with. theoretically, i THINK if i converted them and then started deleting parts of the mesh and then joining them up to the plane and surrounding hair strands i could achieve what i want. but i have already tried that and failed tragically…
again, any advice would be greatly appreciated.
sorry for being a nuisance but i’m just bumping this because i haven’t touched it in days because of this roadblock. i’m really just looking for any advice as to how to approach it. how would you approach it?
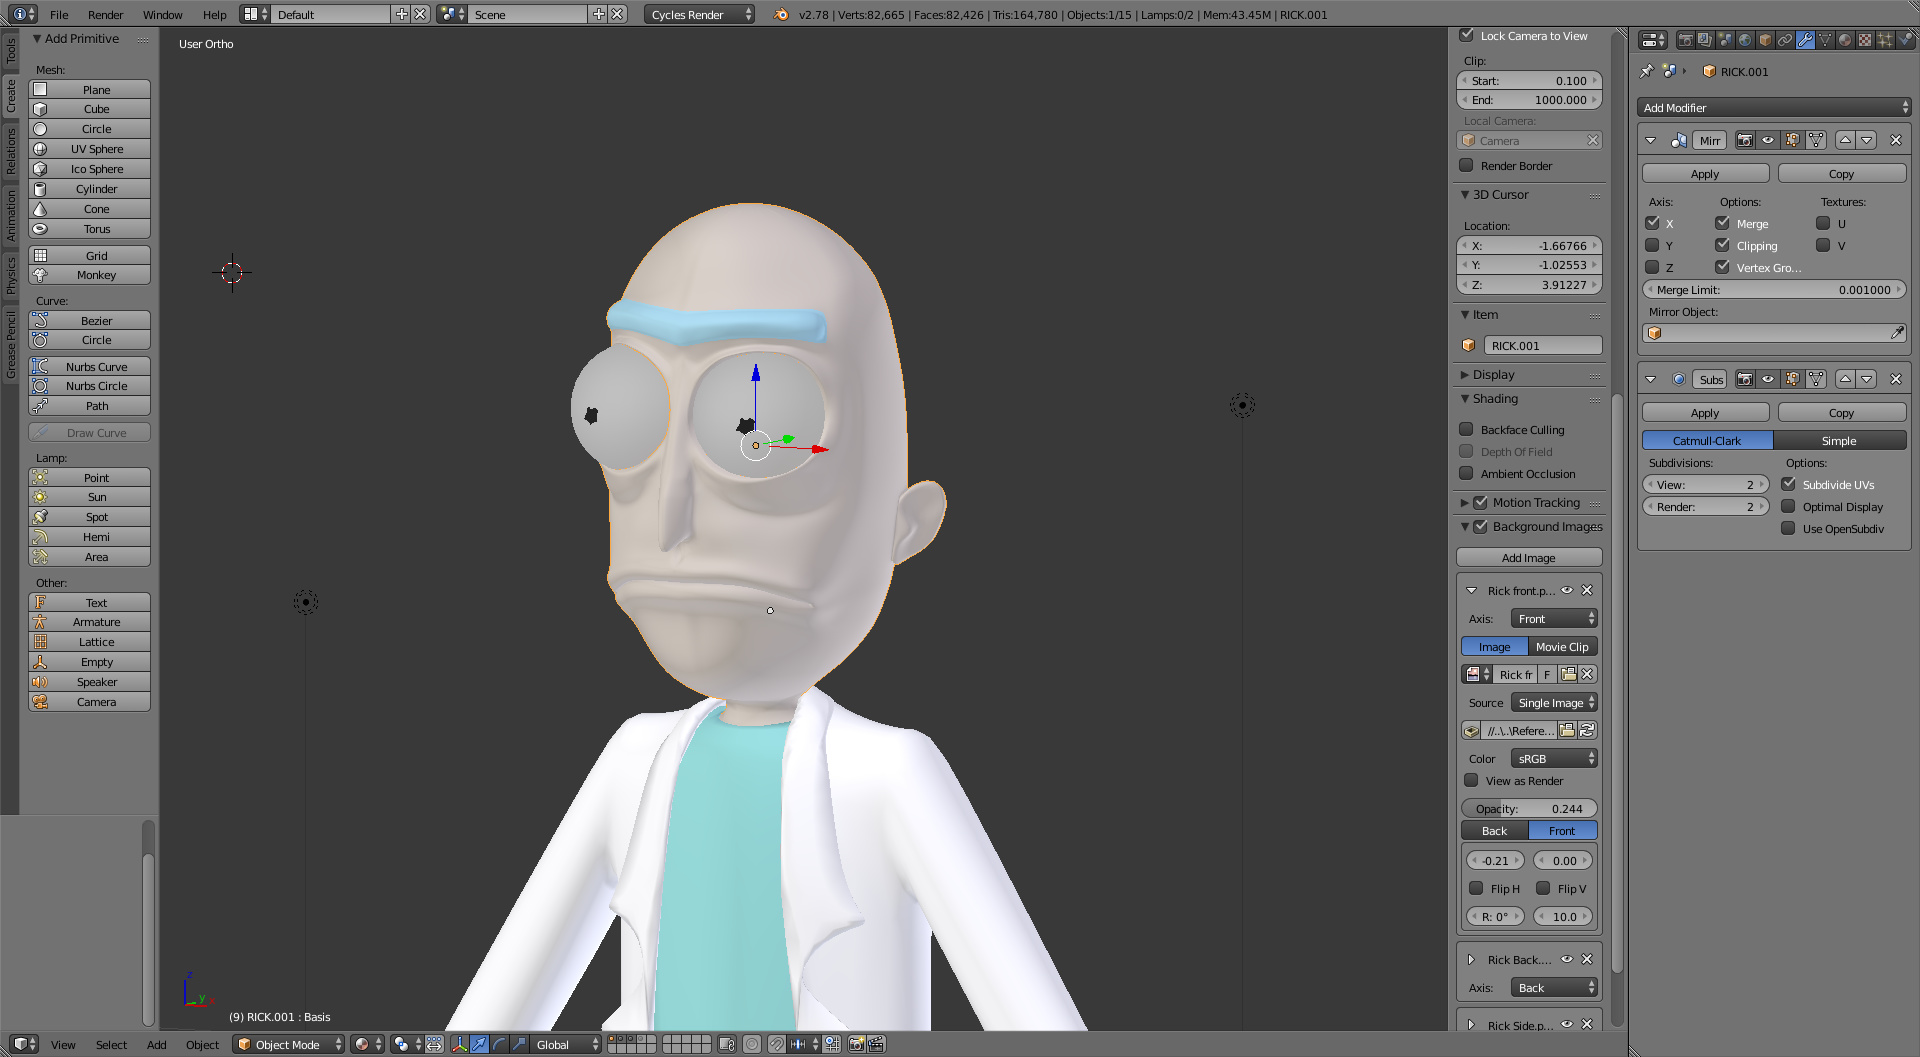
Thanks for your response. I continued on with the bezier curve technique with a clear frame of mind and i think i am happy with the spikes, the only thing i need help on is ‘moulding’ them all together. i’ve seen something similar to what i have in mind in blender before, when you have two objects opposite each other with a mirror modifier with clipping on and you move them towards each other. they mould together and become one object. just an observation.
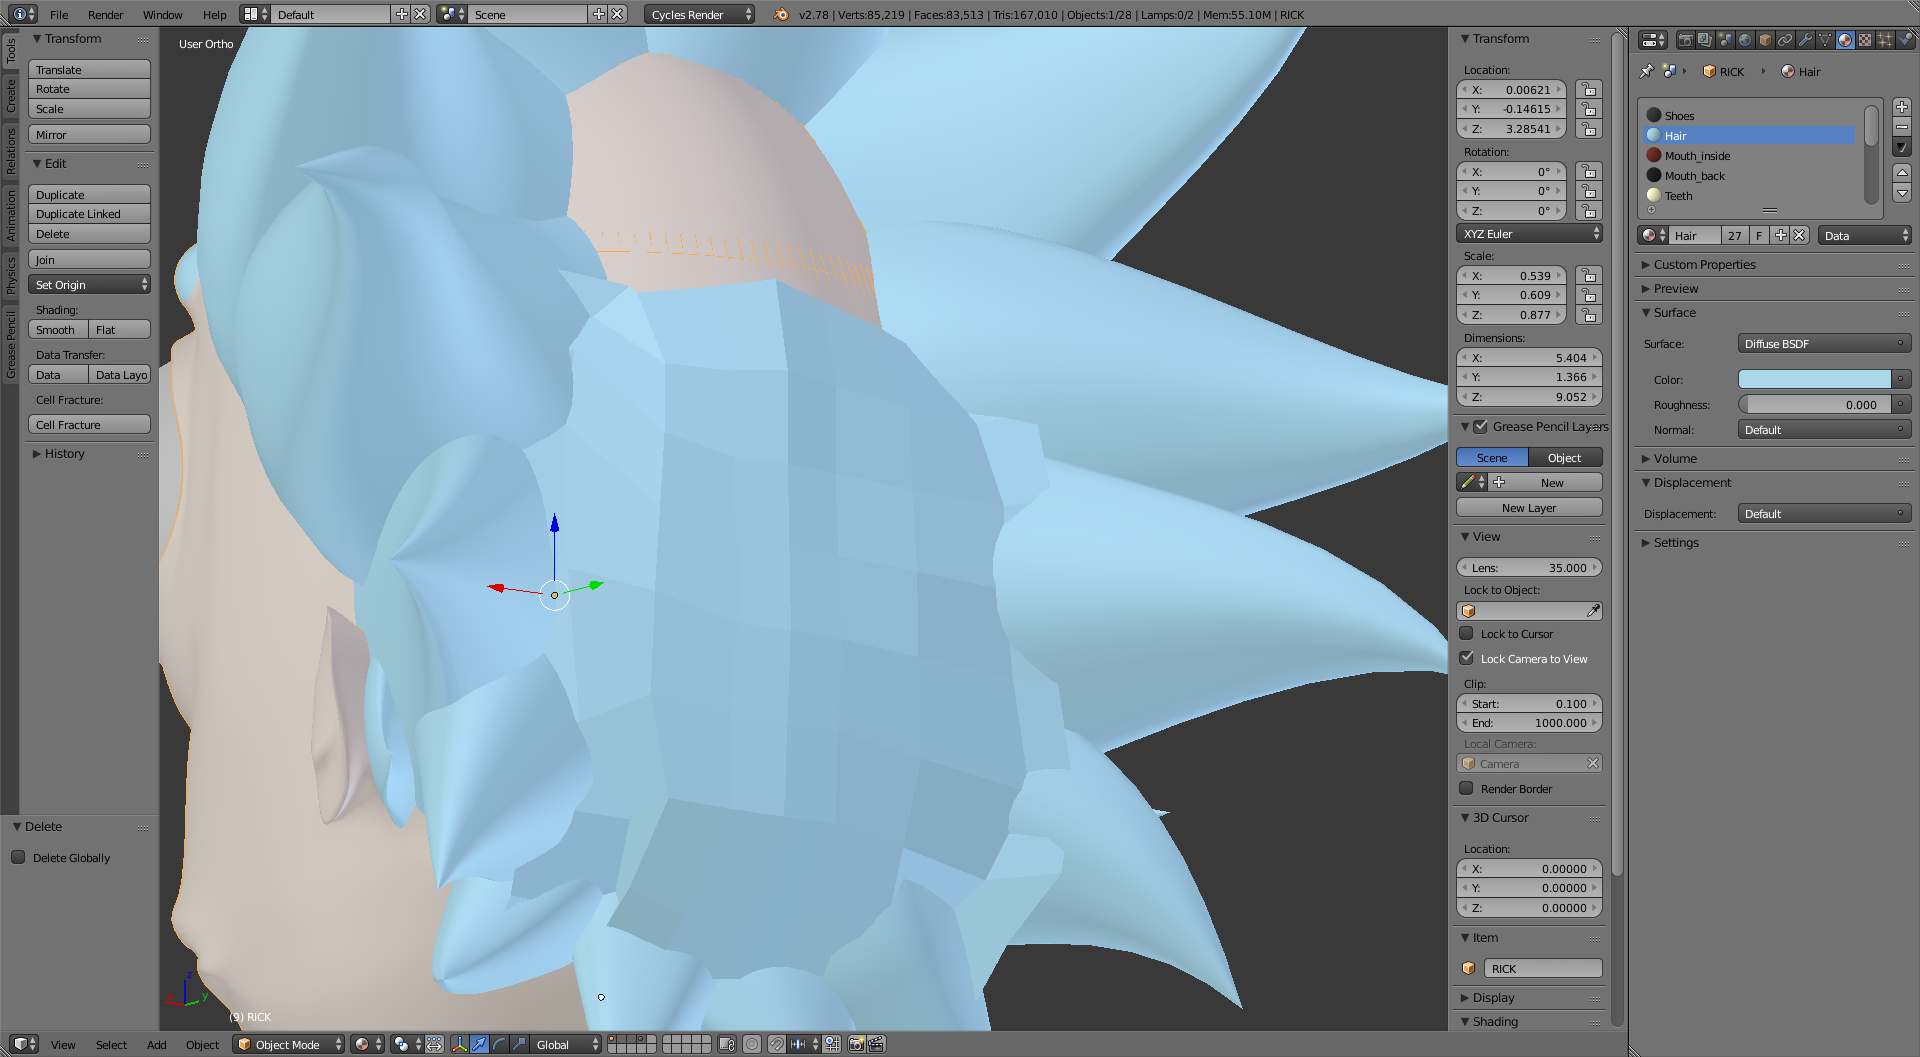
here are some pics, and this time i have attached the .blend file hoping that it’ll be easier to help me out here. (please for the love of god excuse the mess lmao)
and here is the plane at the back of the head (don’t worry i only made it for the purpose of explaining what i want) that i want to fade the edges into the surrounding spikes.
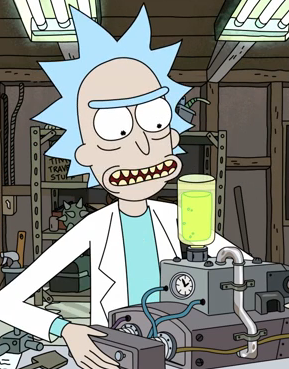
finally, here is my ‘goal’ reference picture. it’s what i’m ultimately aiming for. (or as close to)