Hello there,
I am new to blender and started a project for my firm regarding the Easter holiday coming around the corner. I wanted to give our company logo some rabbit ears and simulate some fur on it. ETC. I imported the logo as svg, then I extruded as curvers and then converted to mesh. I added some rabbit ears witch I took from Grabcad(com). I merged them in to one shape. Then I started to assigned basic diffuse materials, For the logo base I have a diffuse and for the hair I have a a shader with color-ramp. The problem is that when I want to preview a short render Blender just stops working, or working with delay. And the render`s outcome looks strange. Where did I go wrong? Is something wrong with my mesh? Hope you guys can help me. Cheers!Alfa rabbit.blend (1.08 MB)
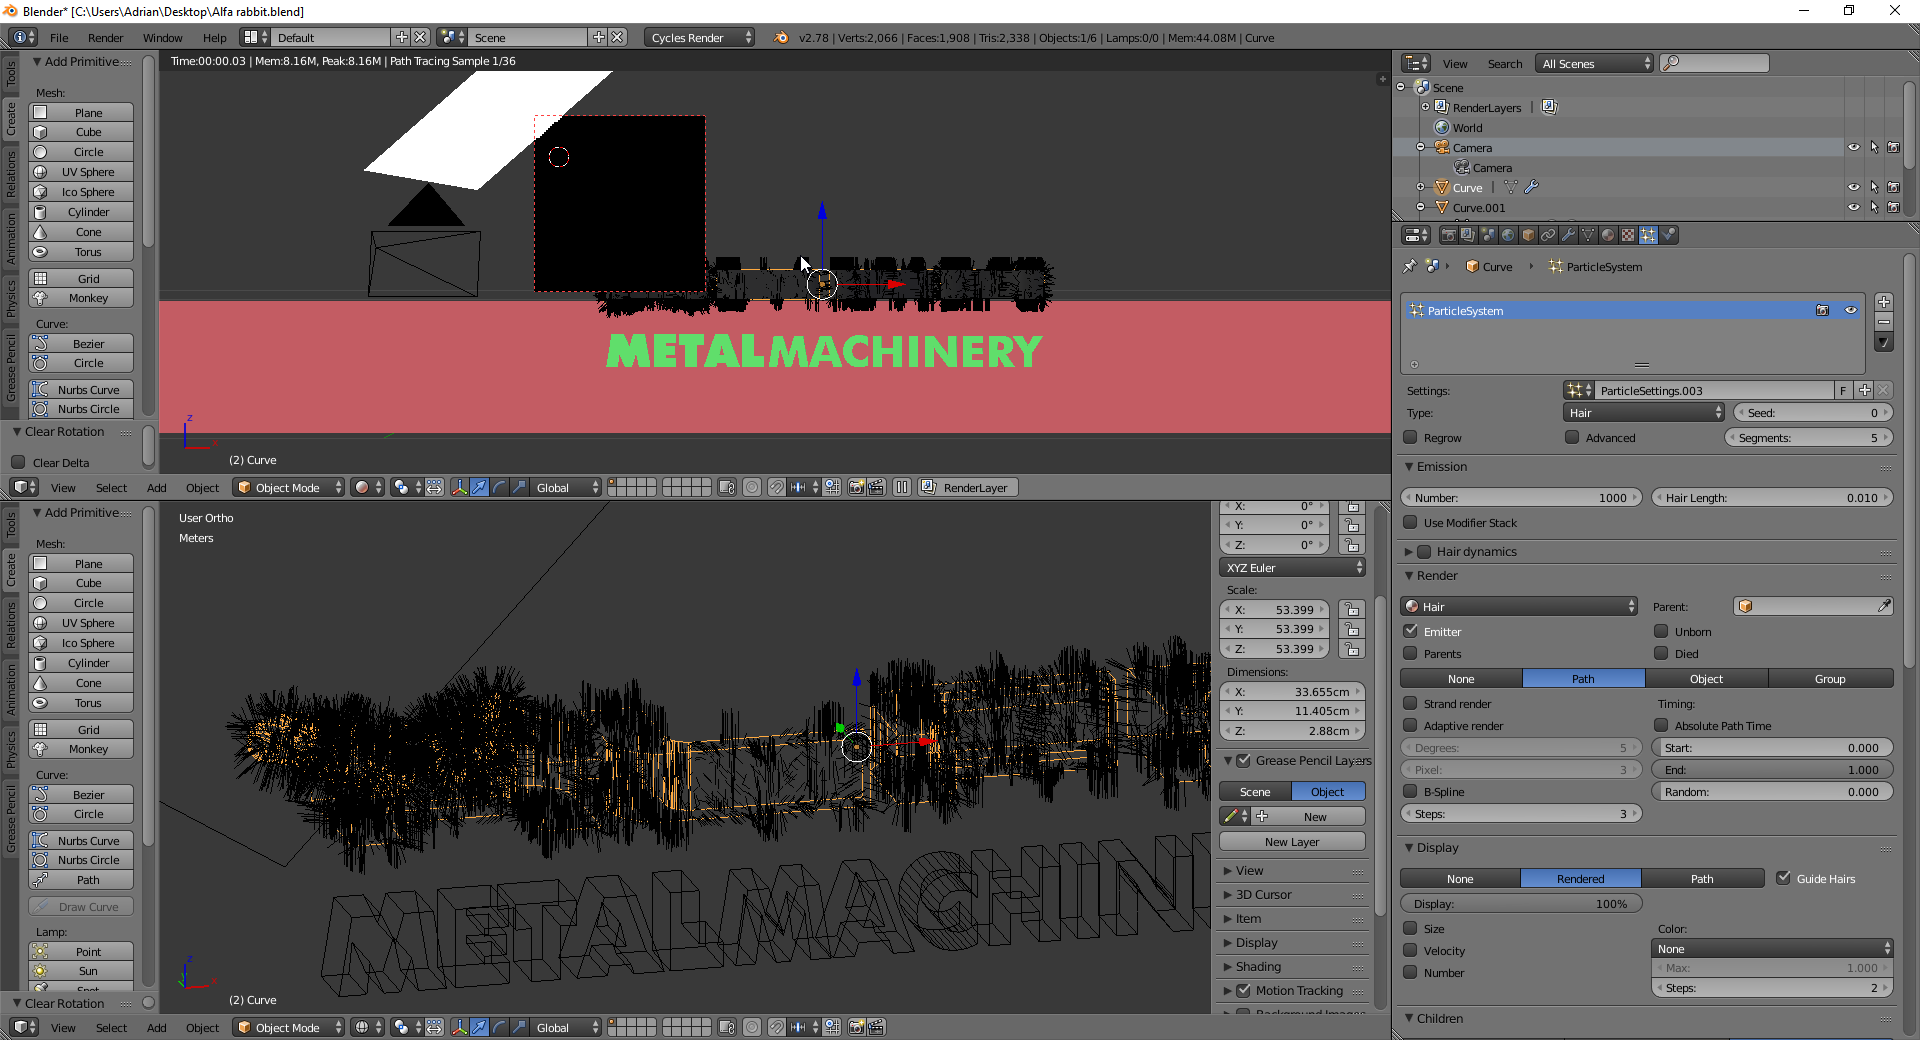
Whoah that scene really crashed my Blender on GPU rendering. xD
But I think I’ve found the problem.
You should have look at the concept of scaling. If you have a look at the objects scale values you can see that its over 50. Normally that’s not that important but since the Hair works with that scaling value the hair strands where massive. If you press Ctrl + “A” > Scale you will set the objects scale to 1 (The actual size of the object will not change). Now you can change the hairs length by changing the “Hair Length” in the particles settings to something smaller. The strands will be shorter but still pretty cone shaped. You can change that under Cycles Hair Settings > Root (smaller values = smaller roots)
This should have fixed the problem.
Annotation:
I noticed that you had the wrong material selected. To actually use your hair material you will have to select it under the particle settings > Render > the box where “Alfa mat” is selected…just select “Hair”
I hope that helps 
I took a look at your file.
There are a few things wrong with it.
I would actually consider starting over, and following this tutorial for text https://www.youtube.com/watch?v=QxDOhxjdFOs
The topology is all wrong and the fur will never look right.
Also you had around 600 “doubles”, anytime you import an svg file and convert to mesh make sure you select all (in edit mode) and then remove doubles. Make sure you apply scale (ctrl + a).
Like I said though it looks weird because the mesh is all mangled. After doing whats in the tutorial it should look much cleaner.
Thank you, Cubezz and Iccyou520! After I scaled the object the hair started to render :D. My problem now is what Icyou52 stated, that, the topology is wrong. There are huge patches of hair loses even after normalizing. I need to redo the job. Thank you guys again. I will keep in touch with the progress!