This is WIP thread for my first attempt on sculpting human head. It is quite a challenge for me, but I hope it won’t look like a monster in final result 

good start but I think you need to carve off some chunks still. don’t be too timid.
Thank you both for encouraging opinions.
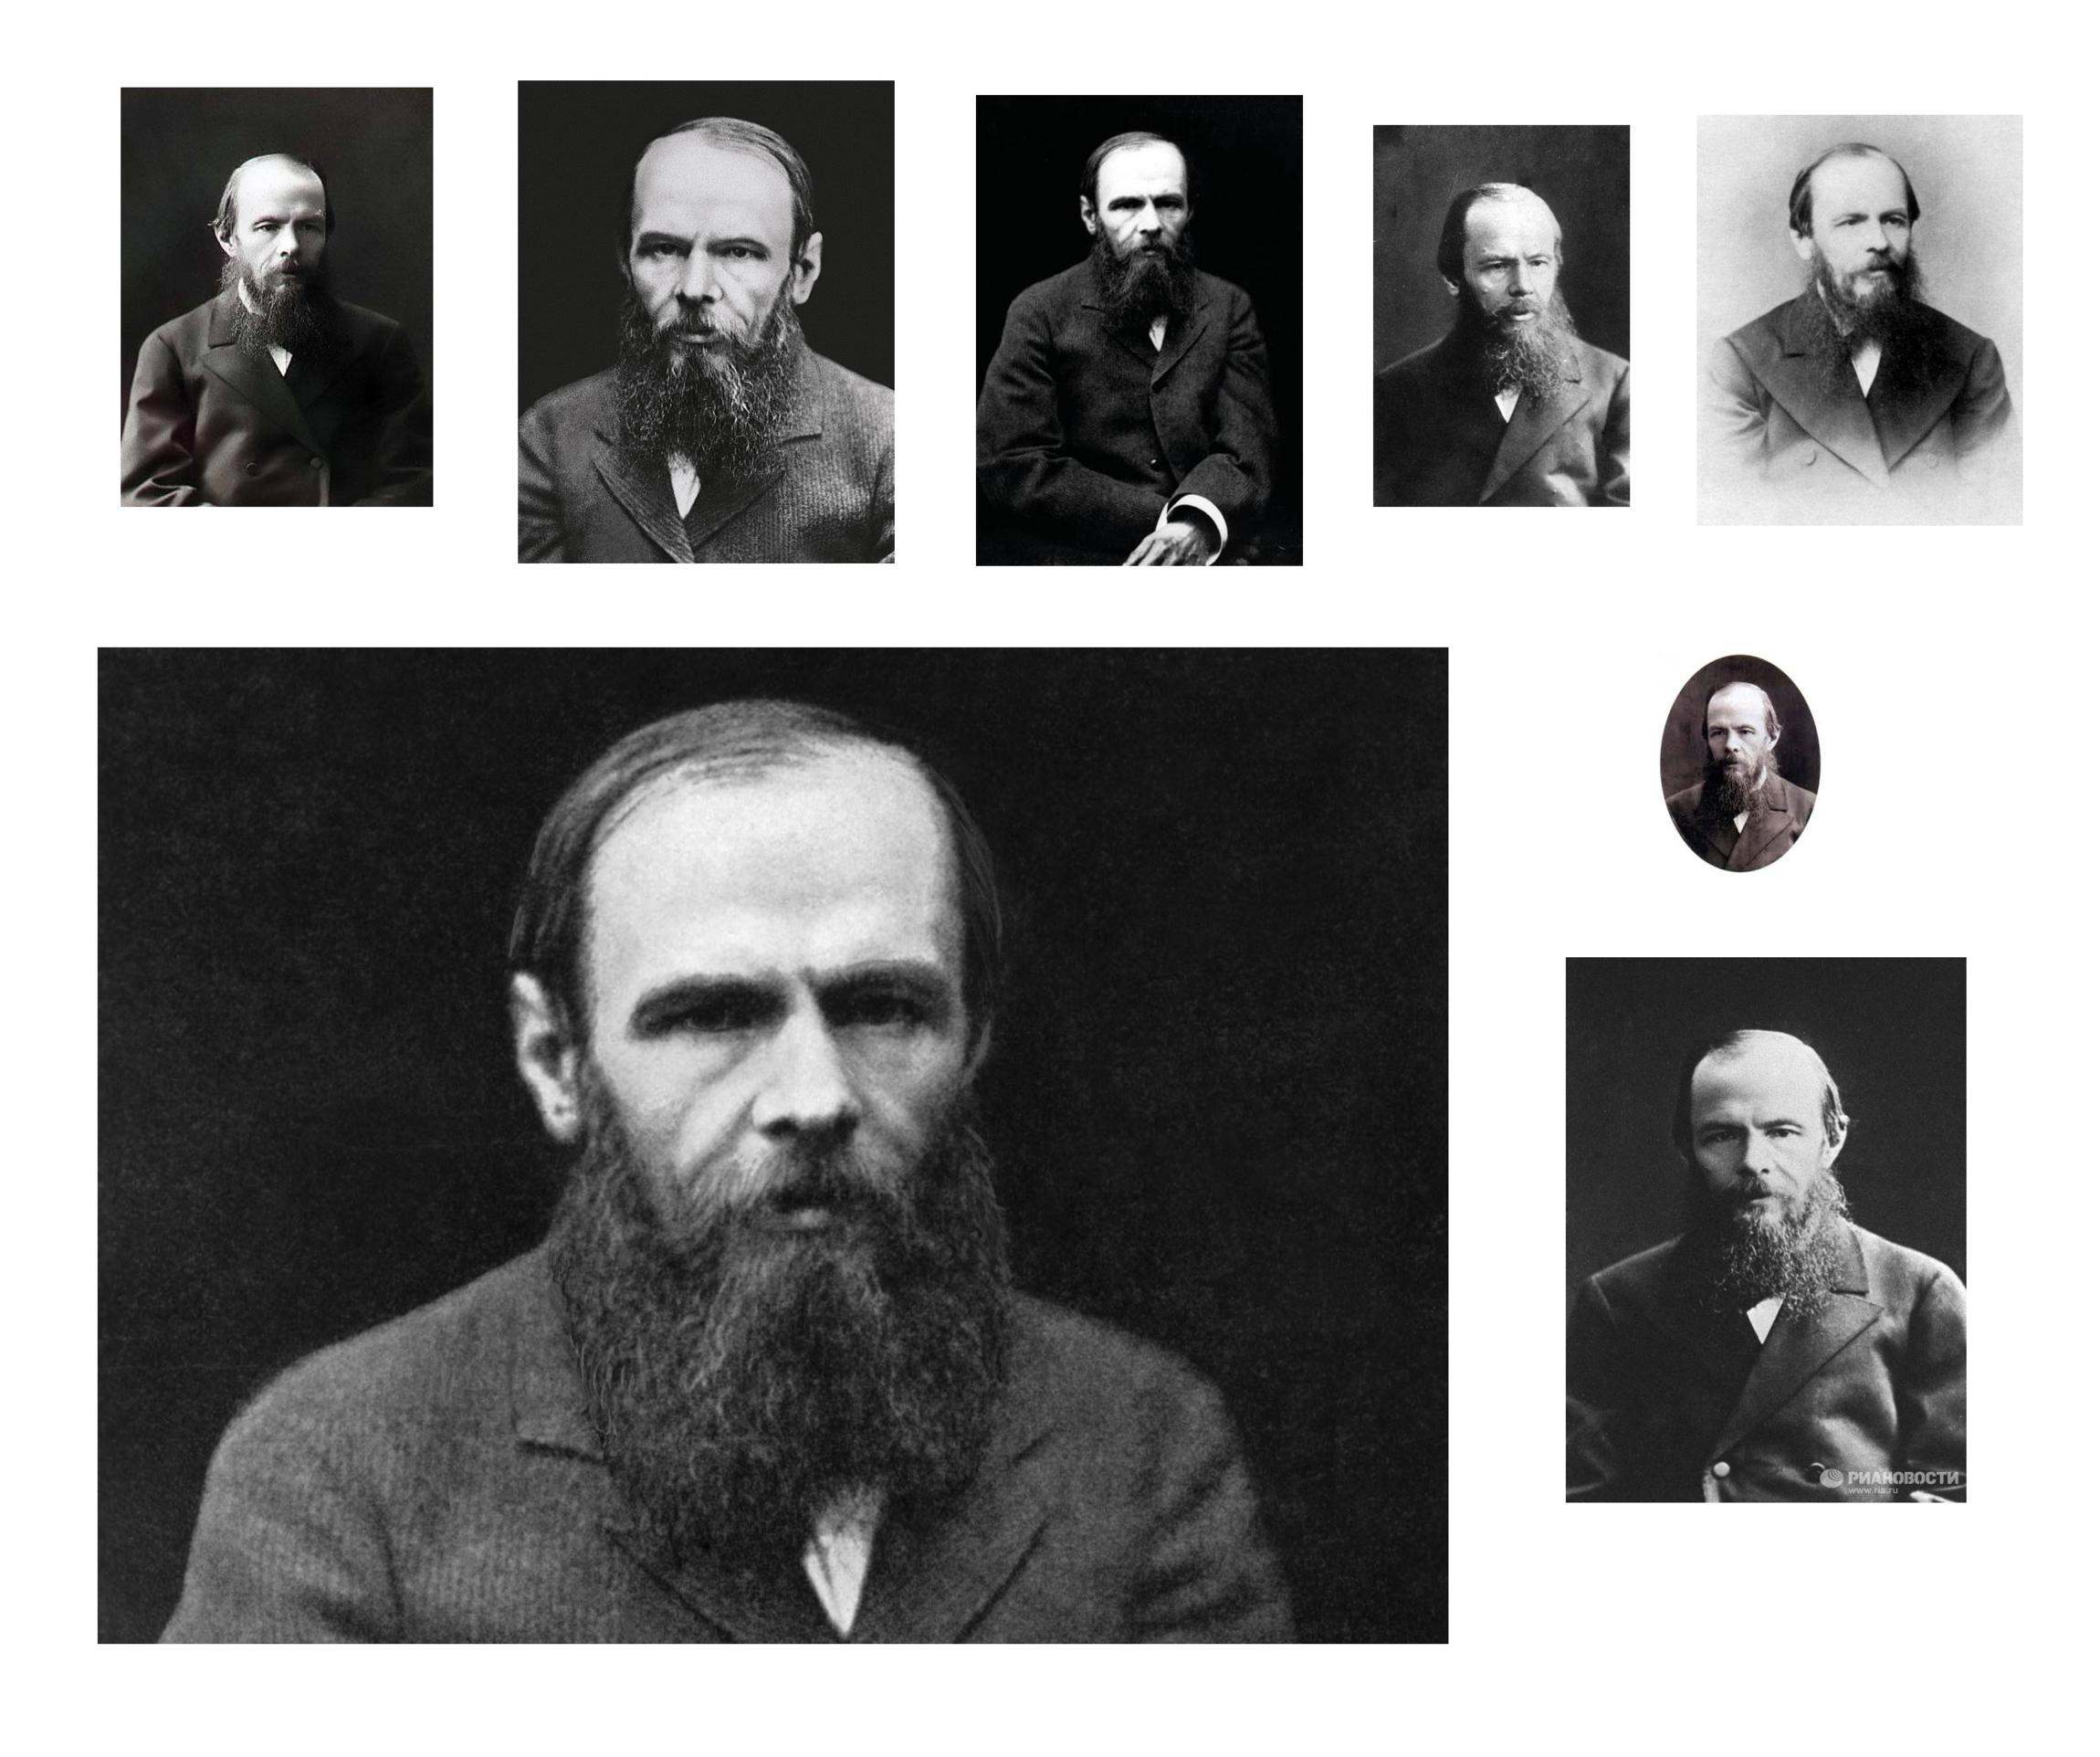
The first sculpt I posted was based on my relative and I would not like to upload photos of her online, that is why I decided to change the subject. My new references are:
Here is the new version of my sculpt:

Looks pretty good…here are a couple suggestions:
Hey there! you choose a difficult one! because you don’t have profile view, and the pictures are lowres, but never mind, with what you have we will work upon. But next please choose an easy one, with perfect references, highres and with a profile, so it will be easy for you to start understanding the anatomy.
Also, one important thing is to control the light when you sculpt, so find a way to properly change the OpenGL lights, you can do it in the user preferences, just let one light, and also there is an addon that will put the configuration right in the viewport.
Well I just try to make some changes and highlight some features of his face:
Very early stages, Just keep going with the primary forms, just blocking the forms and the proportions, don’t think in anything else.
Again thank you both for help! I will work on this sculpt and post an update soon 
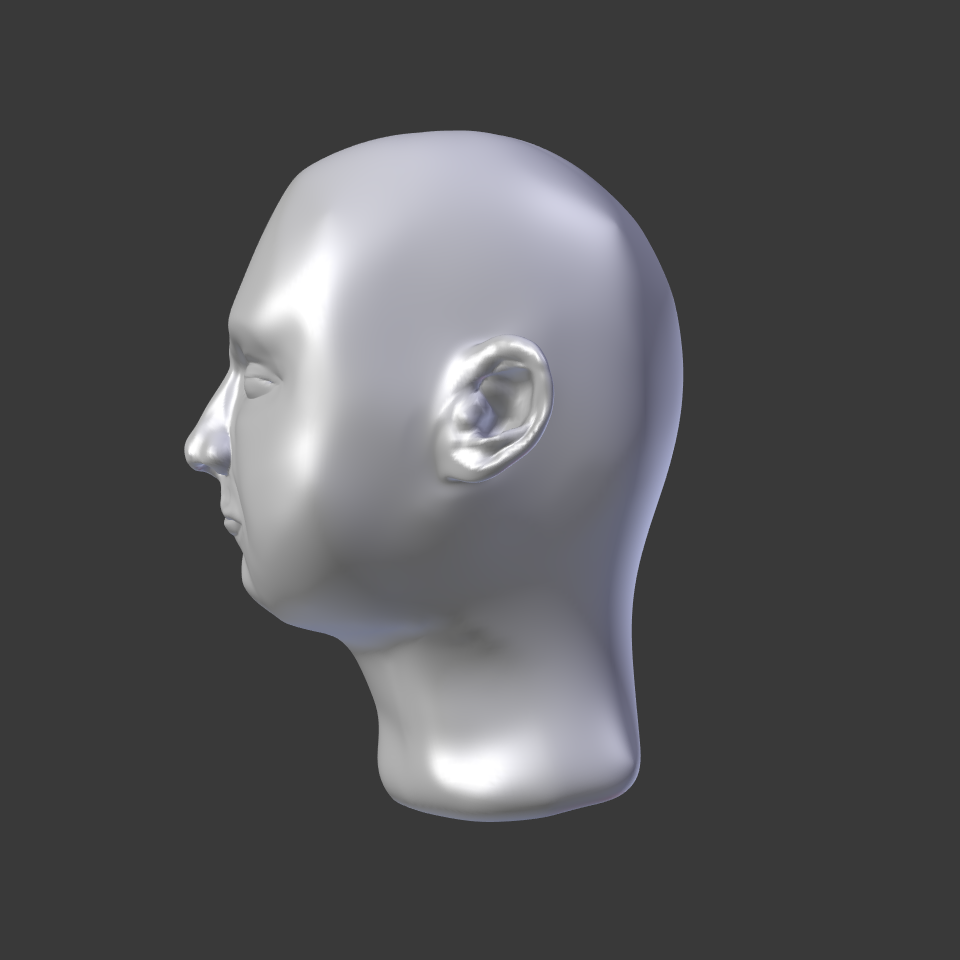
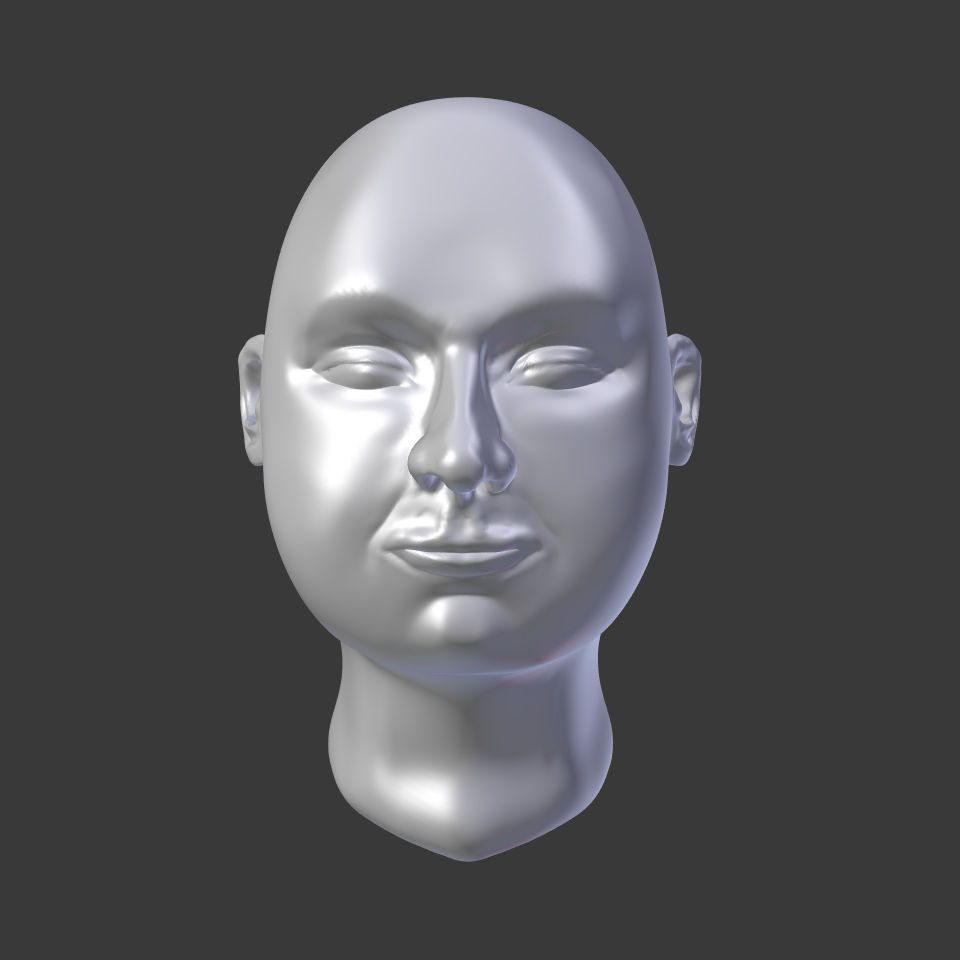
It’s time for some update. I tried to follow guidelines of you both, but I am pretty sure I am still missing a lot of things.
I rendered it using one OpenGL light shining from front direction. I hope such configuration will be optimal.

looks really good!
Very nice!!!
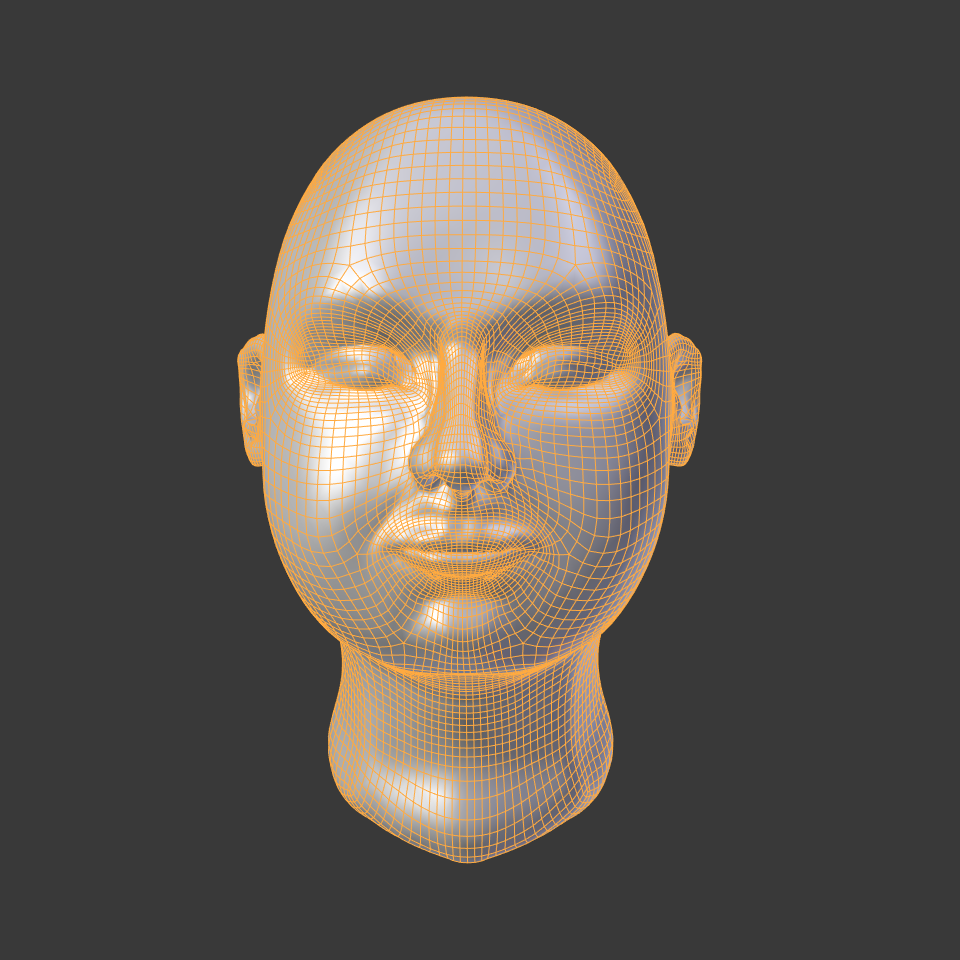
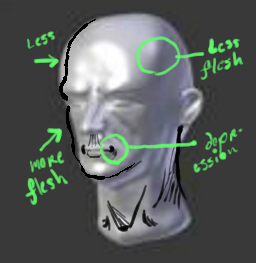
Can you fix the neck, and the ears, and in the OpenGL lights, make it from the front, as you have, but higher, also, play with the intensity of the reflexion, and the preview material in Cycles? (you can test also the ambient oclusion)
and then make it more old: (not so much of cours)
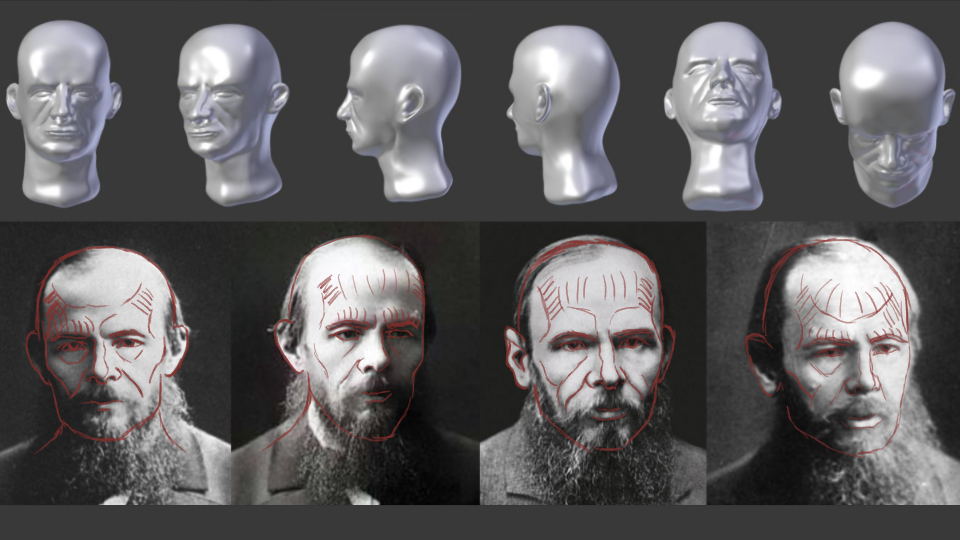
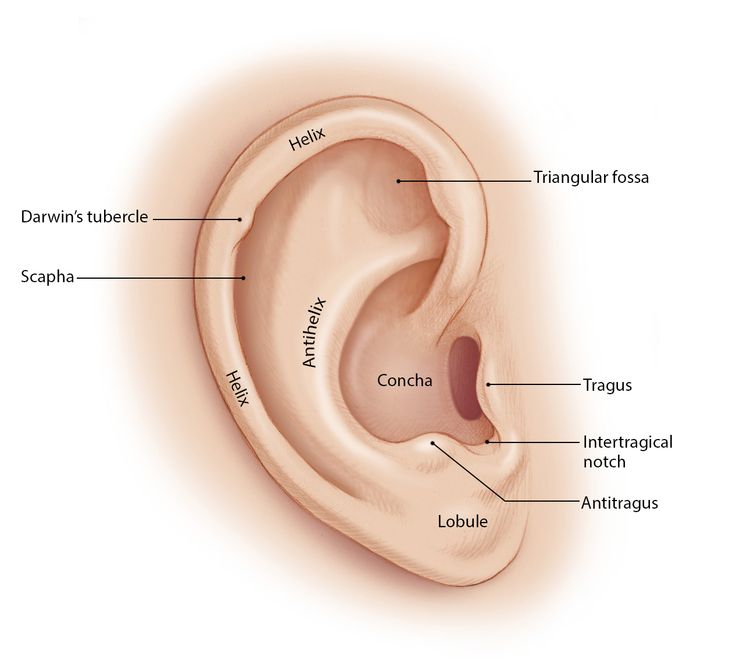
Ear anatomy:
I am trying to create new update but I am encountering very strange issue - when I sculpt the neck exactly the same effect is applied to new tip of the head. I looks like some weird bug in Blender and it is blocking me from proceeding further. I tired applying multires modifier, exporting object to obj and importing it again, but with no luck. Do you have any idea why it is happening?
Check your symmetry tab in the tool bar and see if somehow your Z axis got turned on instead of X?
I wish it was the reason but that’s not the case. Axis are turned properly, the issue persists even with symmetry turned off completely.
I’ve appended the head object to brand new blend file and it seems that the issue is gone. It is very very strange. Not sure whether it was because of some weird setting I turned on accidentally or maybe some bug in Blender. Anyway I can continue with my work
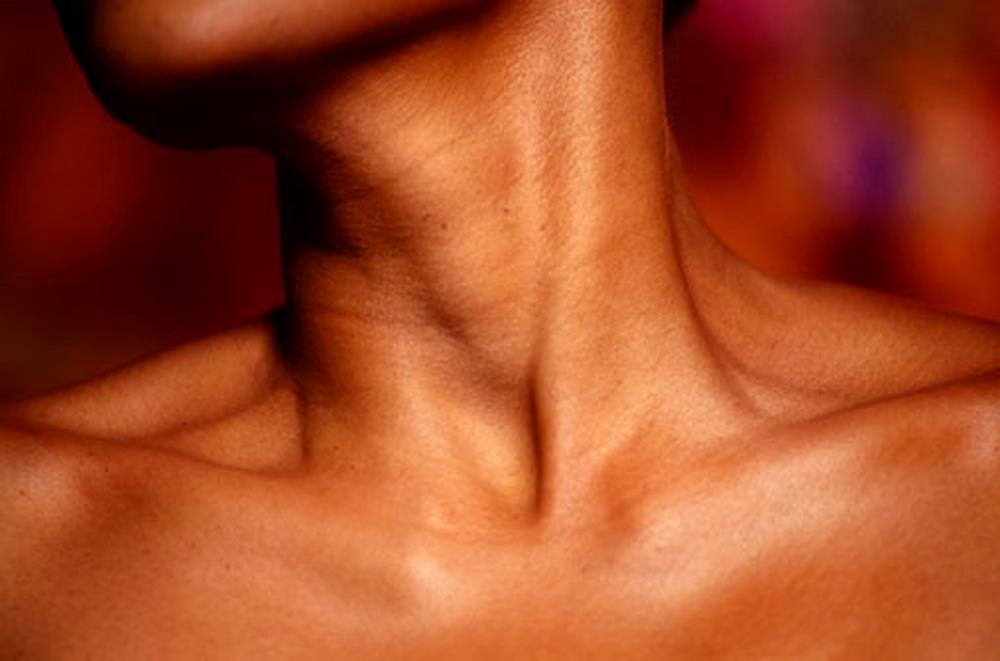
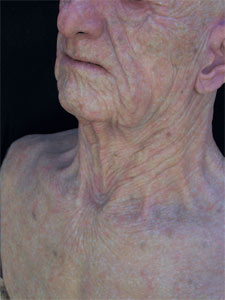
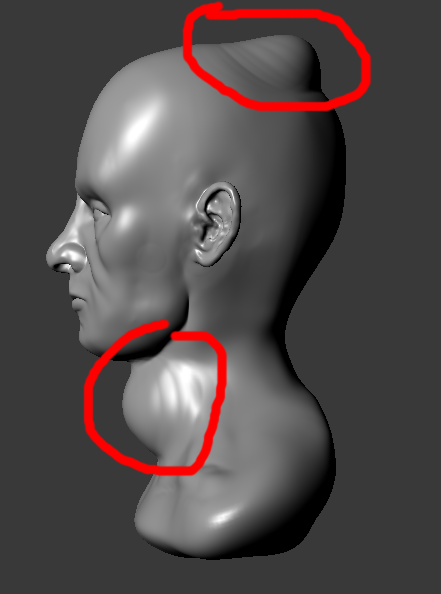
Next update. I’ve been working mostly on ears and the neck. Also added some features of old body… but I am wondering whether it is better to add wrinkles after or before retopology or maybe it doesn’t matter? What do you think?

I don’t have a computer now, but, the back of the head the clavicle can improve a lot search for refereces and some anatomy illustration. Also, is time to put some eyeballs! Dont go jet for details, make another pass cheking the references. Anyhow you made a tremendous progress!
Thanks  I’ve working on back of the head, also added eyeballs. It is still not so similar to the references as I would like it to be, but it might be because of lacking hair and the beard.

After some break I decided to continue working on this head. I think I am done with the mesh (I am not aiming for hyper photorealism and 100% anatomy correctness) so I have started texturing process. Below you can see the first version of the skin texture.

I forgot to mention that texture was created in Substance Painter