I’m trying to use Cycles to bake lightmaps for a game.
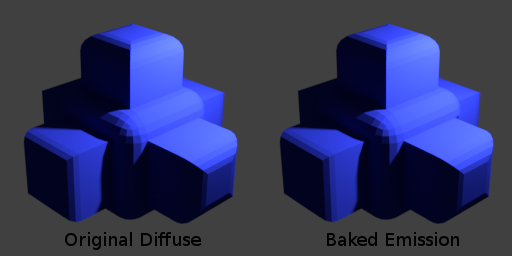
So I’m baking Diffuse Direct and Indirect together, and then baking a Diffuse Color bake afterwards. I read that these can be safely combined in Photoshop by simply using the Multiply blend mode.
However when I do this it appears that Blender is not saving bright (bloom-like) areas of the environment to the lightmap. Because all I see are shadows in the end result - if any parts of the mesh were being brightened beyond their original color, I don’t get to see it using this method.
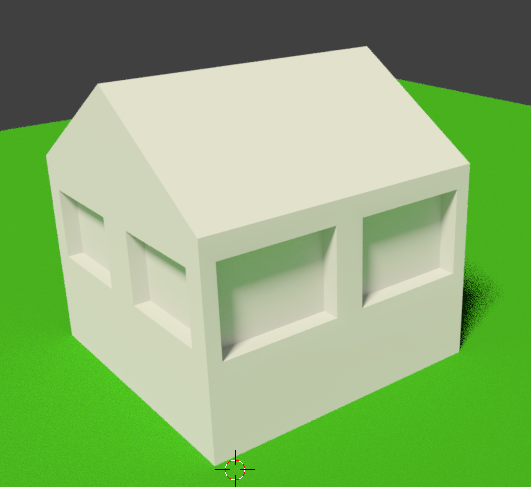
Strangely, when I bake Diffuse Direct+Indirect+Color ALL together at the same time, the highlights DO get retained. The lightmap looks exactly how it should this way. For example, I have a building where one side is in shadow, while the opposite side is being brightened a lot by the sun. By baking all 3 diffuse passes together simultaneously, these different shades of the building are baked properly in the lightmap texture. BUT when I bake DiffuseDirect+Indirect separately from Color, and then combine it manually in Photoshop with the Color pass, I end up with a lightmap where only the shadowed side of the building is baked properly, while the other side is completely missing the strong brightness from the sun.
And it makes sense that this would happen, since I’m using Multiply in Photoshop, which only darkens and doesn’t brightens. SO how on earth do I get that brightness to appear? What special voodoo is Blender doing with the 3 different passes when baked together vs baked separately and combined manually. I would rather bake Direct+Indirect separately from Color because I can bake the former with a much lower sample count and then just denoise it in Photoshop. By baking them all together I can’t denoise it because then the Color pass also gets scrambled and loses quality.
Thank you so much for your help.